-
-
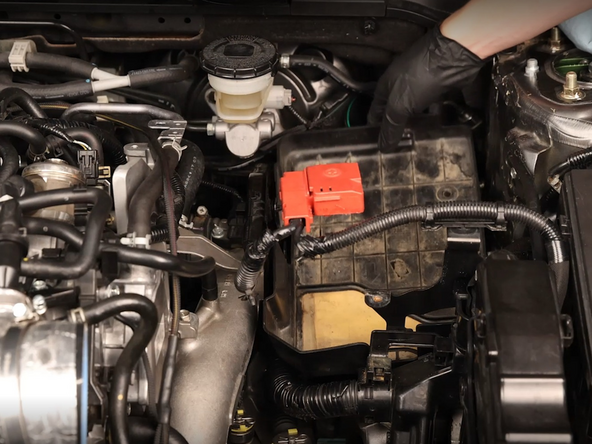
Begin by disconnecting the battery and removing the battery tie-down bracket.
-
-
-
Unbolt and remove the airbox up to the inlet pipe. This will help you access the lower section of the slave cylinder.
-
-
-
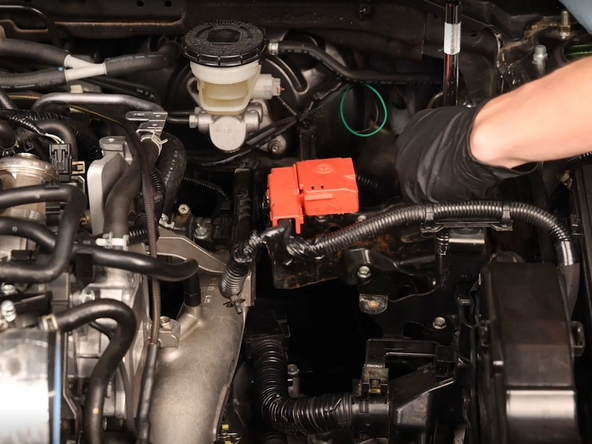
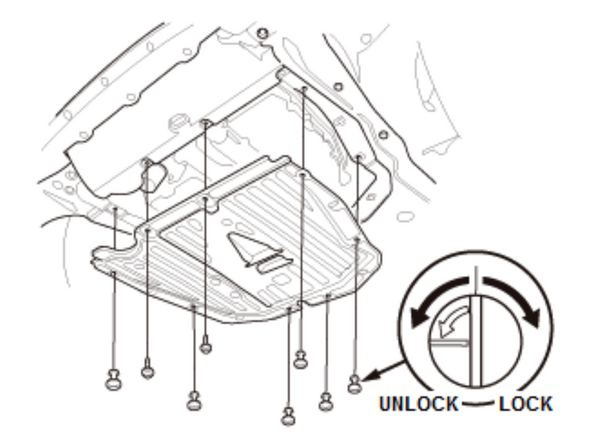
Remove the plastic battery tray and unbolt the battery bracket. Be sure to remove the bolts on the tray and frame.
-
Remove the battery bracket from the car.
-
-
-
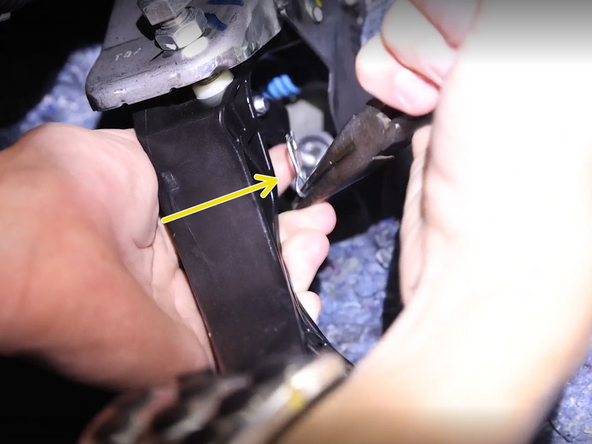
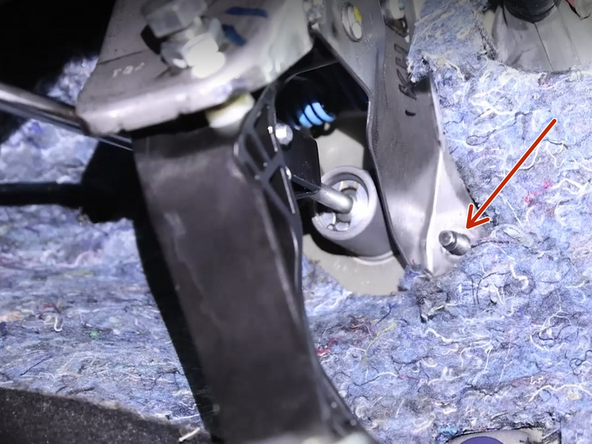
Inside of the car, remove the retaining clip at the pedal.
-
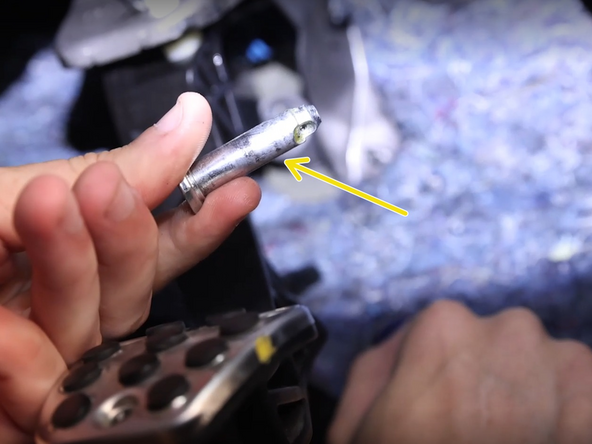
Remove the pin to free the clevis from the pedal.
-
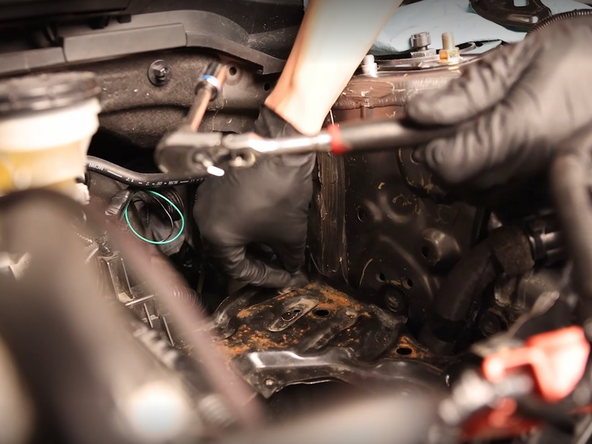
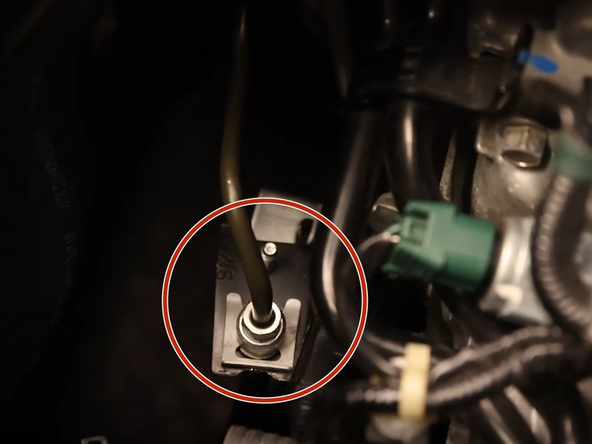
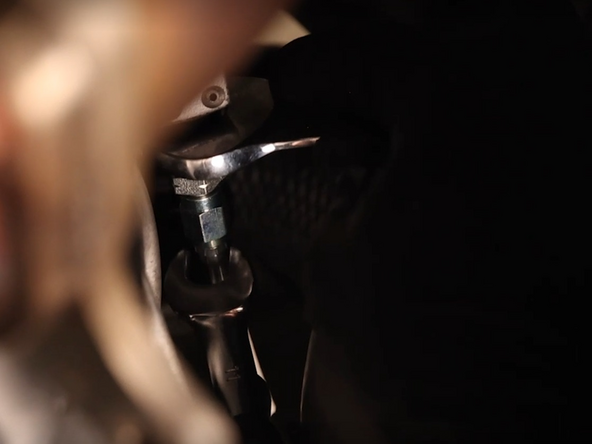
Remove the two 12mm nuts so the CMC can slide outward.
-
-
-
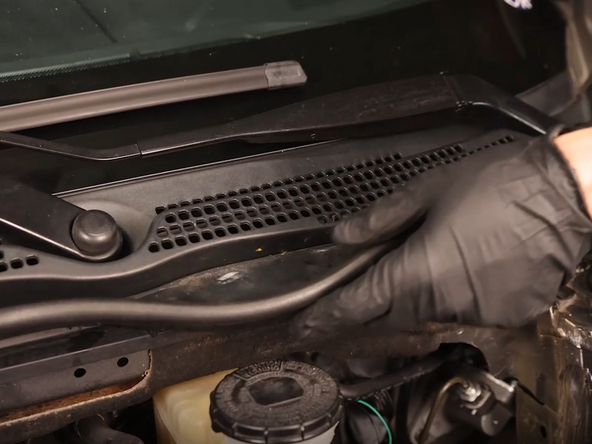
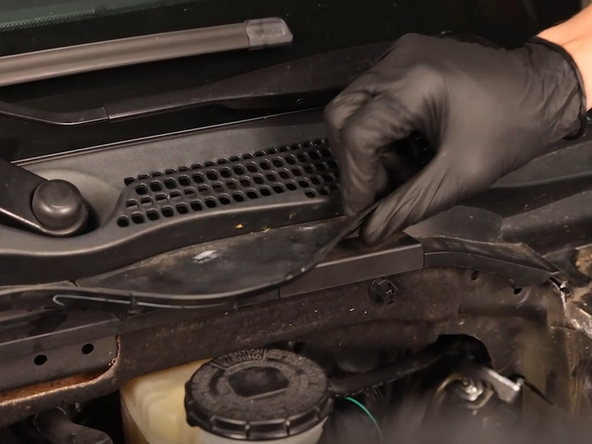
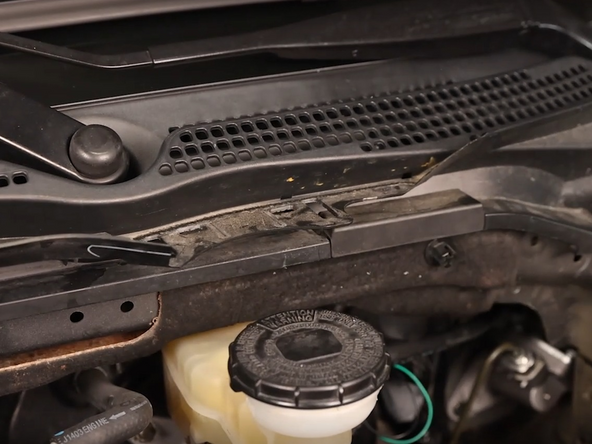
Remove the rubber cowl seal.
-
Remove the plastic reservoir access cap.
-
-
-
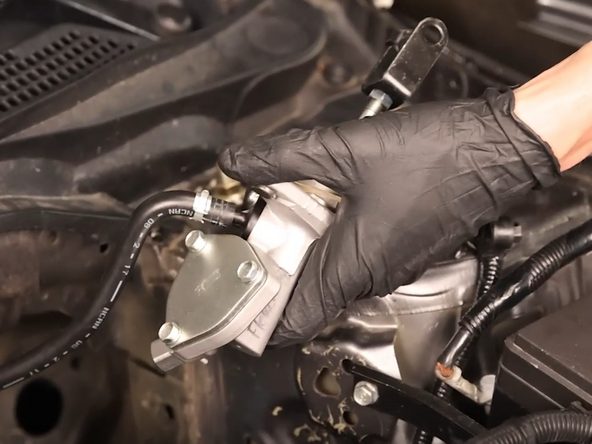
Remove the CMC from the vehicle.
-
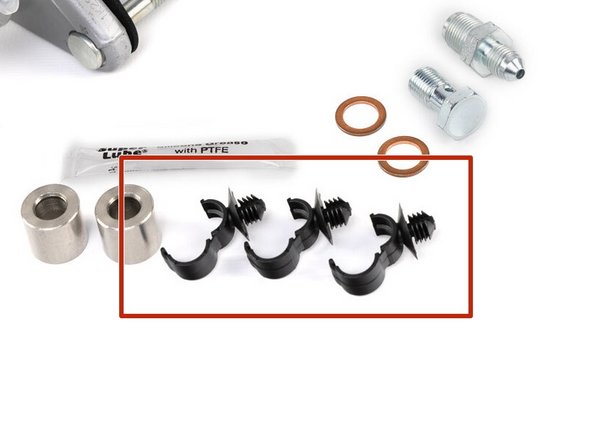
Be sure to remove the firewall seal as well. We include a replacement.
-
-
-
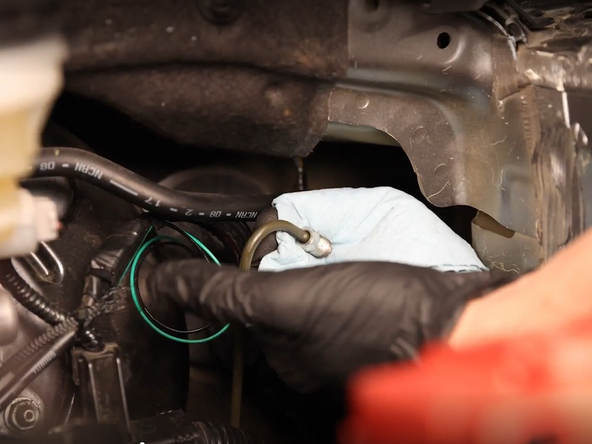
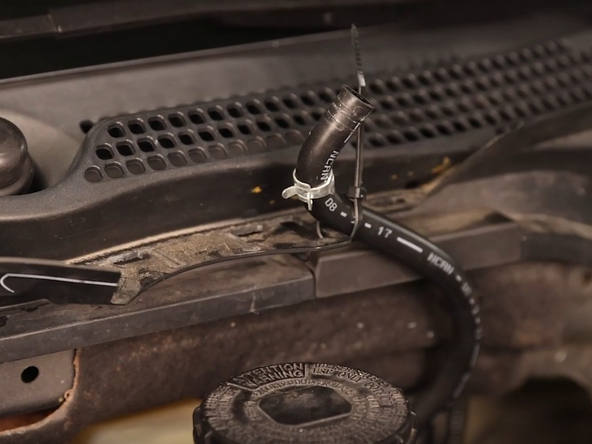
Remove the reservoir line hose and secure to the crown with the supplied zip tie.
-
This is done to prevent the lose of fluid.
-
-
-
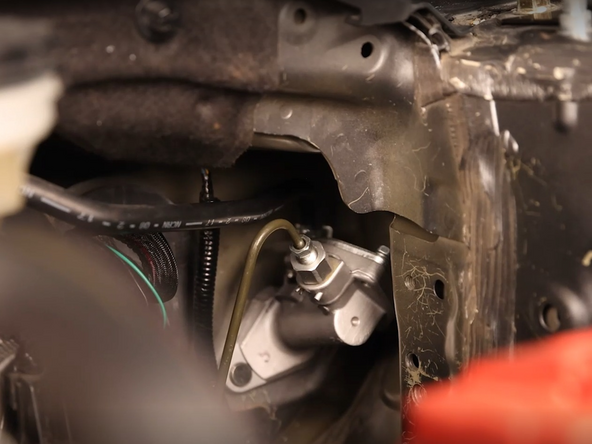
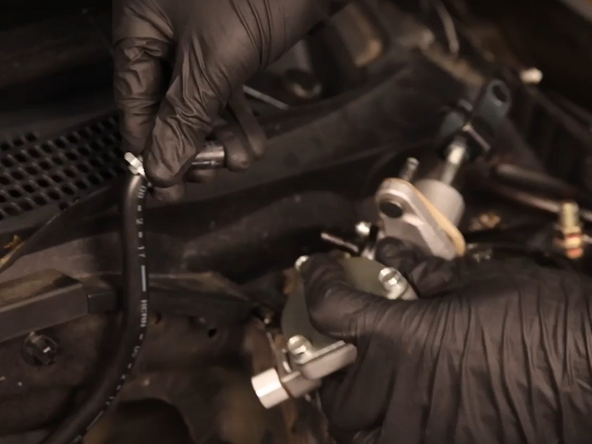
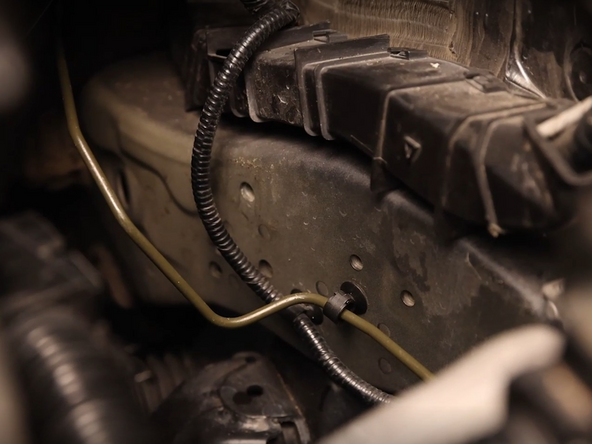
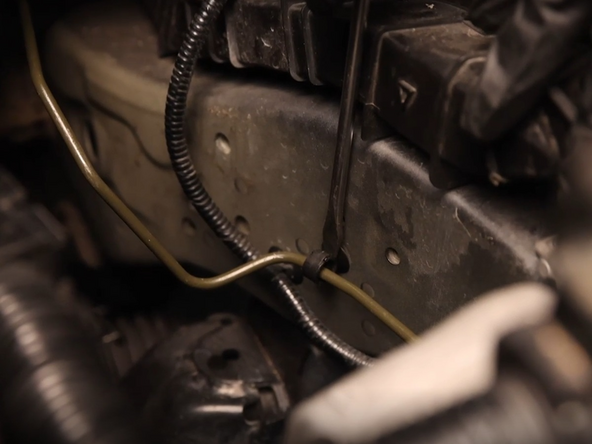
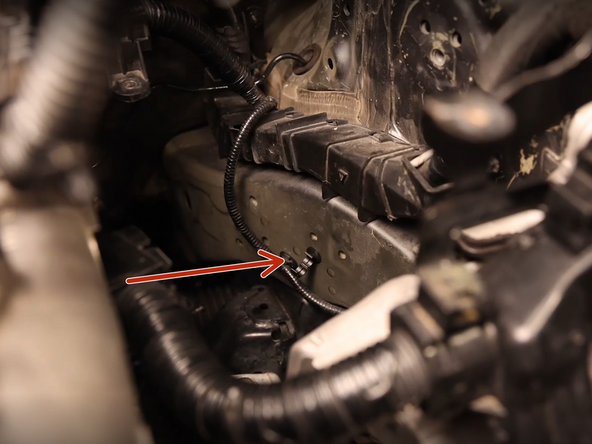
Unclip the clutch line and remove it from the car.
-
Be careful not to drip brake fluid on any painted surface.
-
-
-
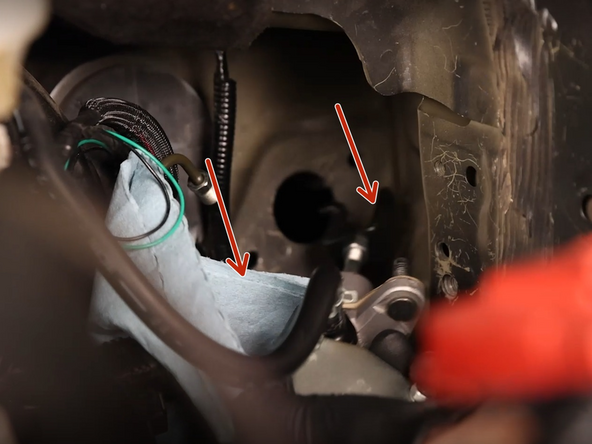
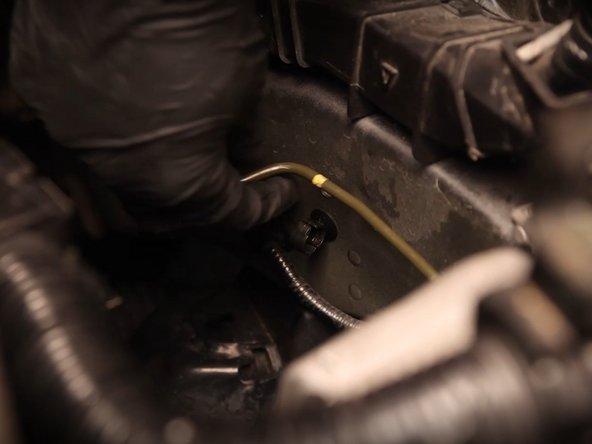
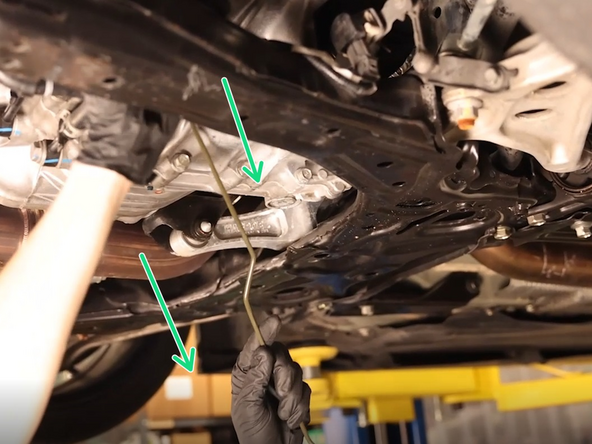
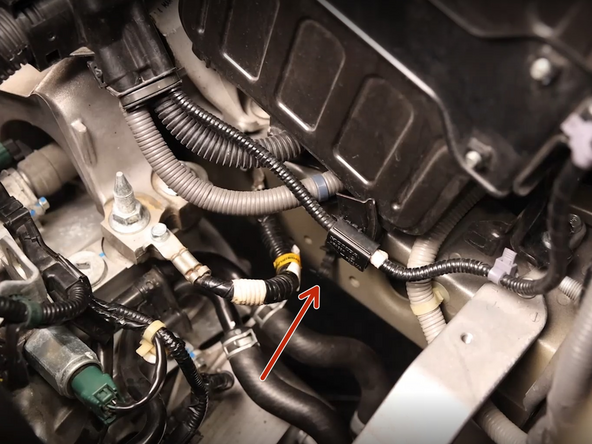
Remove the clutch line from the car. Removing it from under the car is easier as you won't have to bend it around the engine mount.
-
-
-
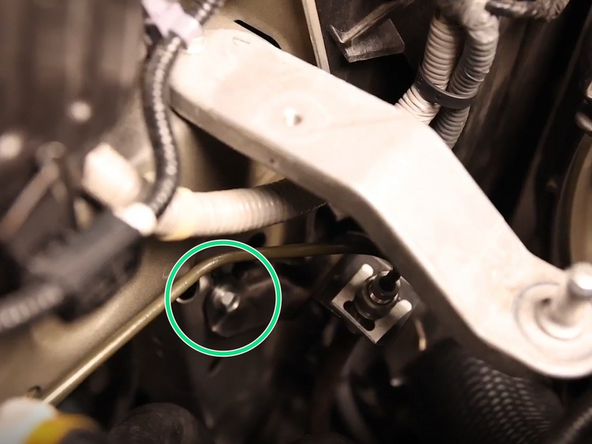
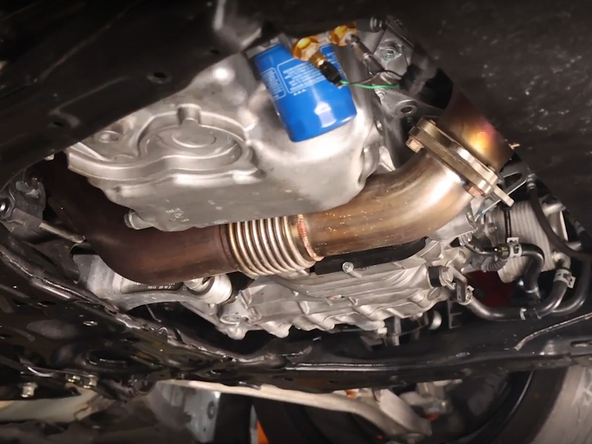
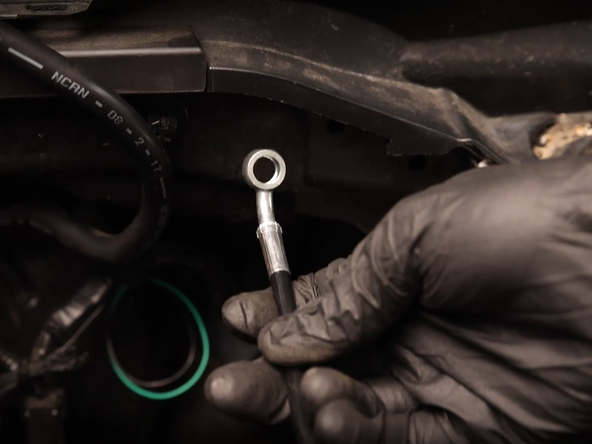
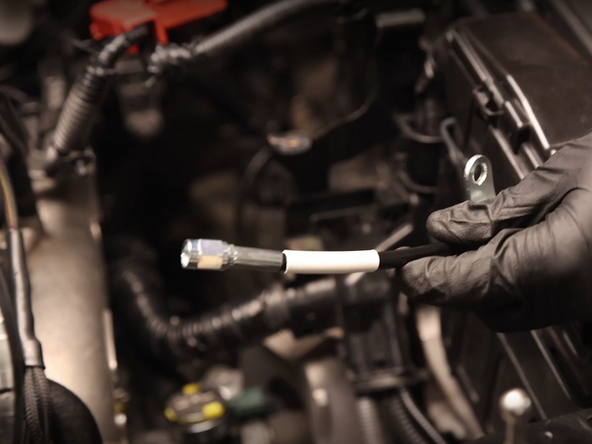
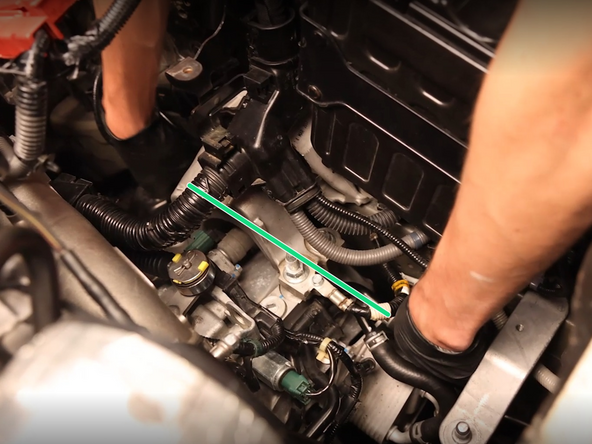
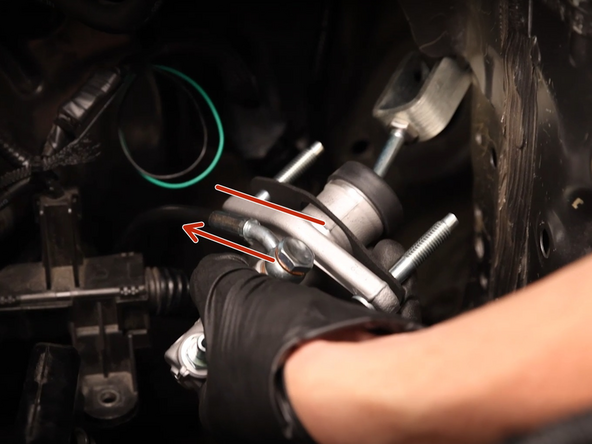
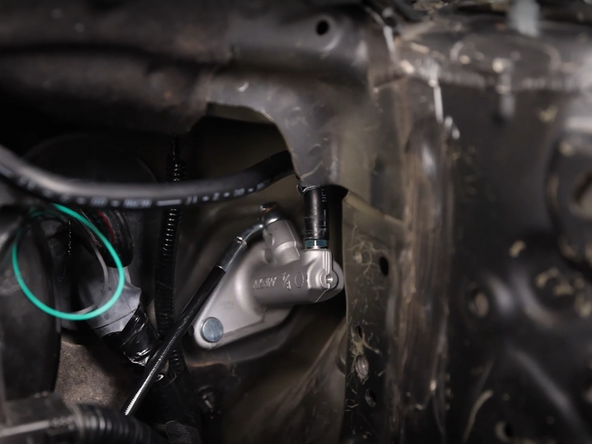
Route the clutch line between the engine mount and frame rail.
-
The banjo fitting should be on the CMC side; the straight fitting goes to the CSC.
-
Make sure the banjo side goes UNDER the factory brake line.
-
-
-
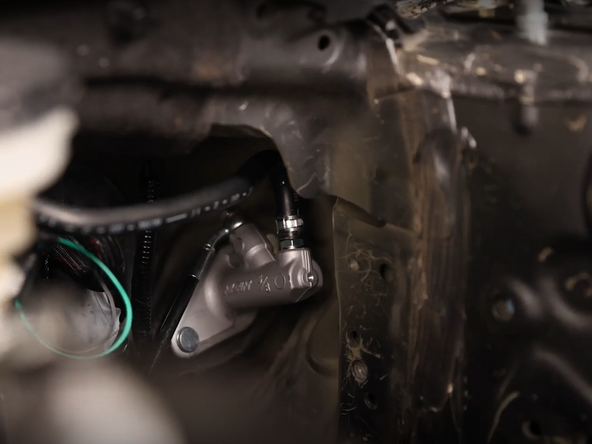
Install the line into the clips you installed on the frame in step 14.
-
-
-
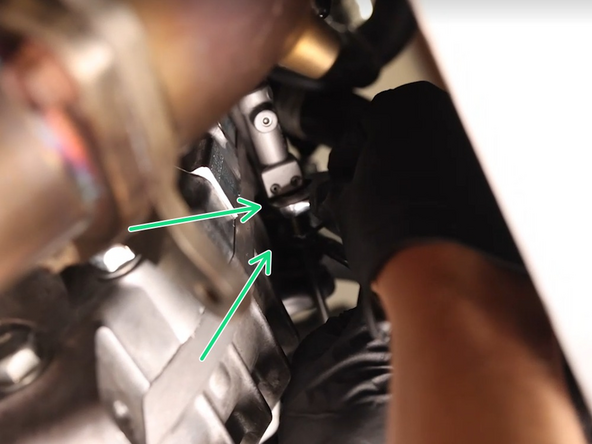
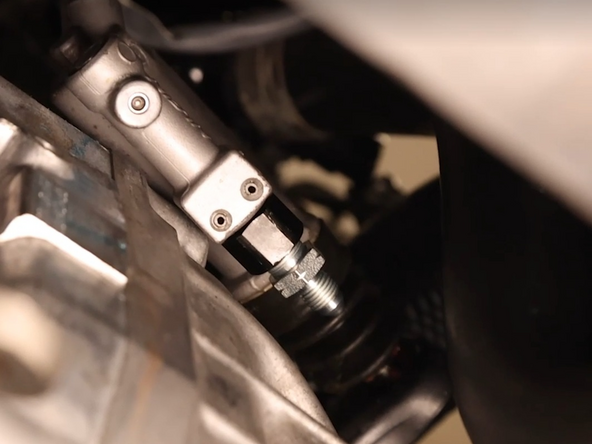
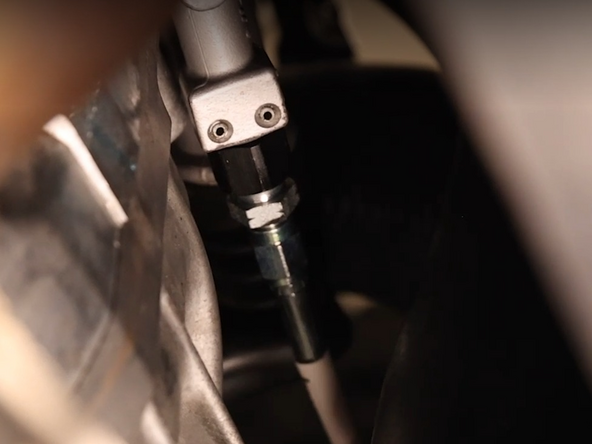
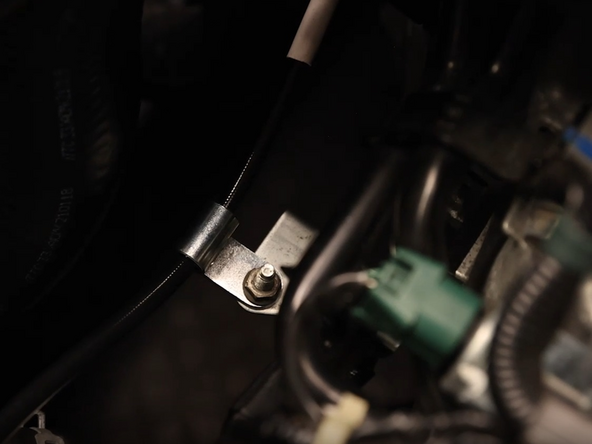
Secure the clutch line bracket to the OEM mounting location on the front of the transmission.
-
-
-
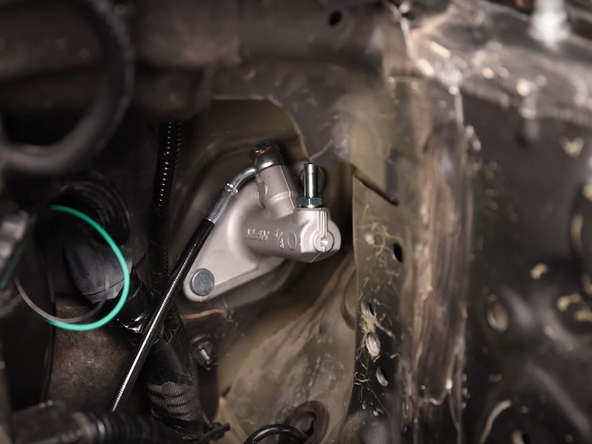
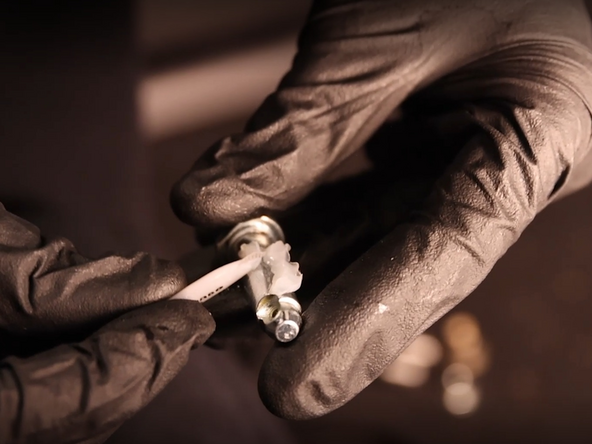
Install the clutch line on the new CMC and make sure it is clocked correctly. The fitting should be in line with the mounting face.
-
This is done to ensure no contact between the firewall and clutchline.
-
The banjo fitting should have a washer on the top and bottom.
-
Be sure to install the new firewall seal.
-
-
-
Install the CMC into the firewall.
-
Make sure all fittings are tight and the clutch line doesn't contact anything. Adjust the fitting if it does.
-
-
-
Install the reservoir hose to the new CMC and reinstall the clamp.
-
-
-
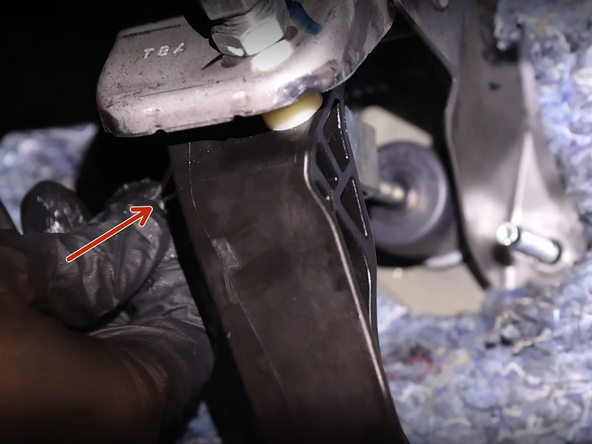
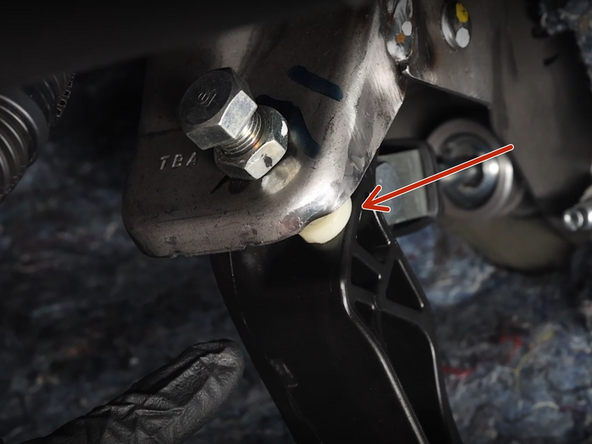
Install the greased clevis and then reinstall the OEM retaining clip.
-
-
-
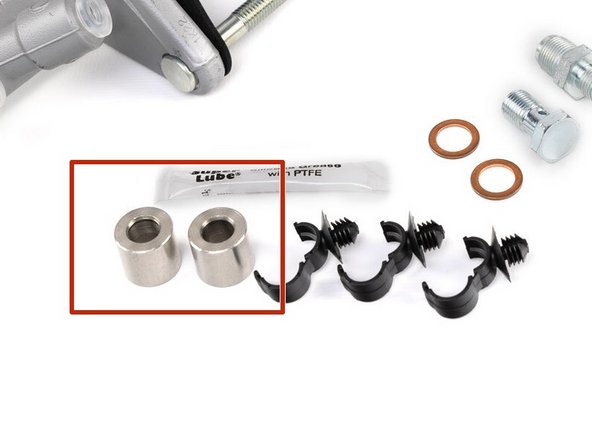
Install the mounting spacers and secure the CMC with the factory 12mm nuts.
-
-
-
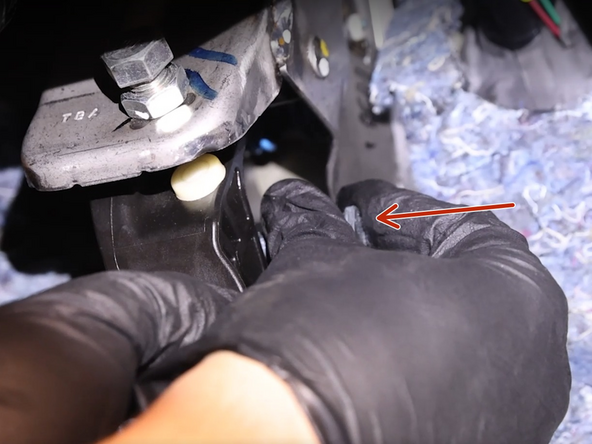
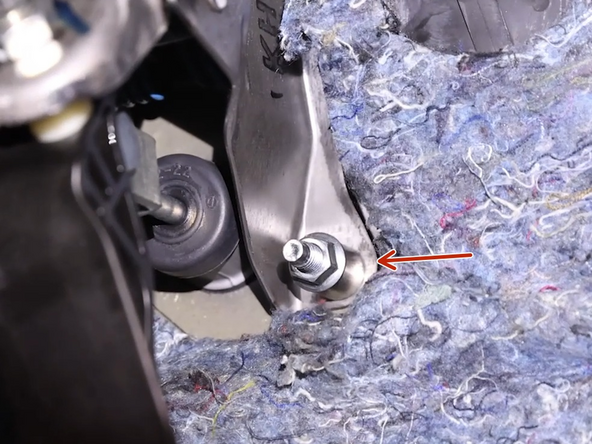
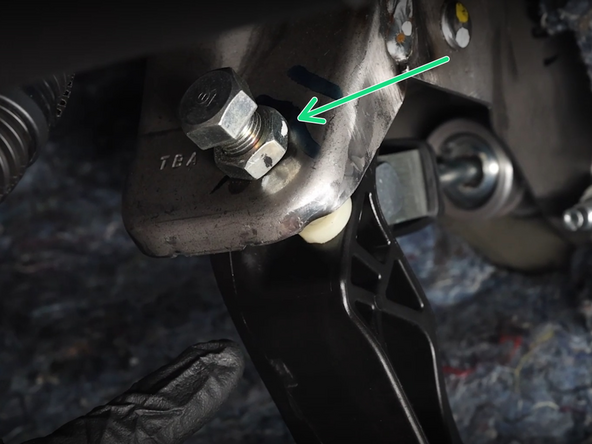
Once the CMC is tight against the firewall, pull the pedal upwards towards the pedal stop.
-
Confirm the pedal is resting on the pedal stop.
-
If it does not, loosen the pedal stop and thread it down until it touches the pedal.
-
Retighten the nut and prepare to bleed the system.
-
It is important that the pedal stop be adjusted IF NEEDED. We calibrate these parts beforehand so you shouldn't have to adjust it, however, if you do need to adjust it slightly that is fine. If you adjust the pedal stop and the pedal it still does not touch it, please stop the installation and contact us ASAP.
-
-
-
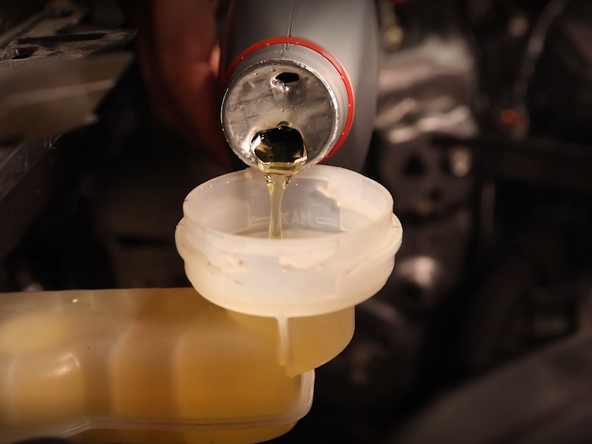
Bleed the clutch release system. We suggest using a vacuum bleeder or at least a hand vacuum pump to remove all of the air from the system.
-
Be sure to keep the reservior filled during the entire sequence.
-
Use the same fluid already installed in your car. Do not mix brake fluids.
-
After a few minutes of bleeding, the pedal should be firm and actuate the clutch fork completely.
-
-
-
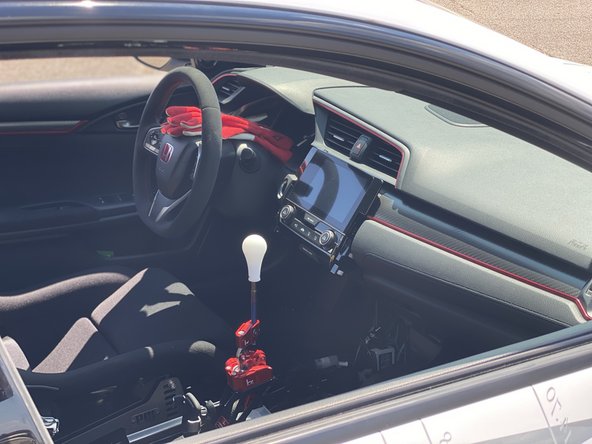
Drive the car and take notice of the pedal engagement / disengagement.
-
You may notice more vibrations and noice with this master cylinder. That is normal. The pedal does not have a damper so all of the NVH will be trasnmissited through the line to the pedal.
-
It will feel more consistent, but the system can be noisier than the OEM parts.
-
Enjoy rippin!
-