Difficulty
Easy
Steps
5
Time Required

User-Contributed Guide
This guide is not managed by the site's staff.
Quiz
0
-
-
Before you begin, unbox and locate all of the parts in the K-Swap Cold Air Intake kit.
-
x1 Intake tube, x1 3 inch velocity stack with dry element filter, x1 valve cover breather, x1 stainless t-bolt clamp, x1 mounting clamp, x1 lower mounting bracket & hardware pack.
-
-
-
This kit fits all 92-00 Honda Civic & 94-01 Integra frames. Under the LH side frame rail, located the threaded hole.
-
Using the supplied hardware, bolt the bracket to the threaded hole in the frame.
-
Use the remaining hardware to connect the mounting clamp to the bracket. Do not tighten at this time.
-
-
-
Determine where you want to install the IAT sensor. The sensor should be as close to the throttle body as possible.
-
We prefer putting it on the underside or in the back of the tube for a clean, hidden look.
-
Make sure you have your intake positions correctly. One side is marked "PRB" and the other side says "RBC". These markings will designate which section connects to the throttle body and is dependent on your intake manifold.
-
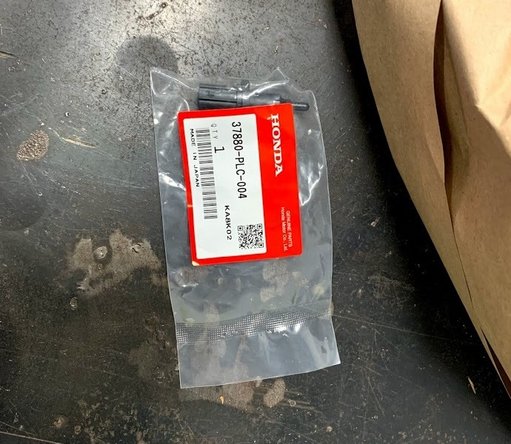
Use sensor: 37880-PLC-004
-
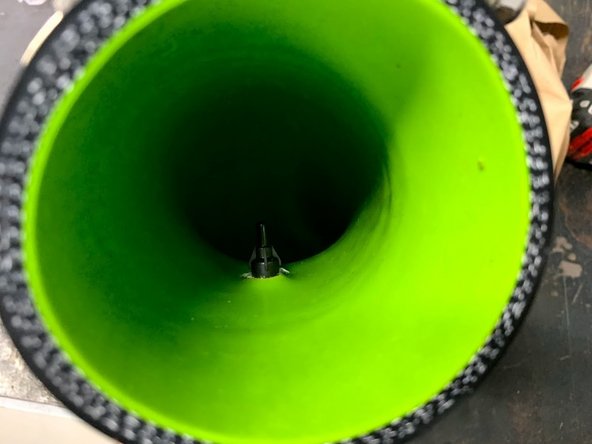
Using a drill, mark and drill the IAT sensor hole where you prefer. Be sure to size it correct so the sensor goes in and is completely sealed.
-
Clean the debris out of the intake tube using compressed air.
-
-
-
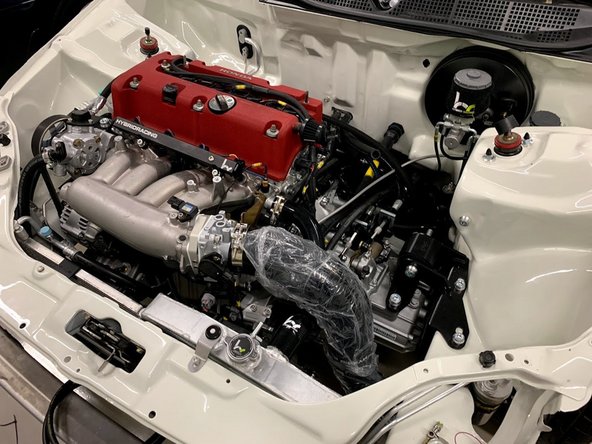
Use the supplied T-bolt clamp and attach the intake tube to the throttle body.
-
We recommend keeping the plastic wrap on the intake tube to reduce the dirt that can get stuck to it during the install process. Remove it once it is installed.
-
Slide the silicone tube through the lower clamp and install the plastic velocity stack. Tighten the lower clamp onto the velocity stack.
-
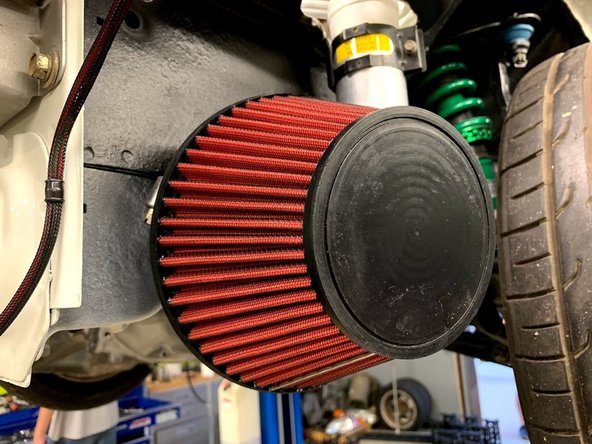
Install the high flow dry air filter and secure it using the large worm-gear clamp.
-
The intake tube was designed to be used on larger, aftermarket throttle bodies, however it CAN be used on a stock K20A/A2 throttle body with a little bit of work. The clamp will be tight along the lower section of the throttle body port.
-
-
-
Your intake installation is complete! Enjoy! You can now remove the plastic wrap covering the intake tube.
-
Always be caution while driving a car equipped with a cold air intake in the rain. It is possible to hydro-lock your engine!
-