-
-
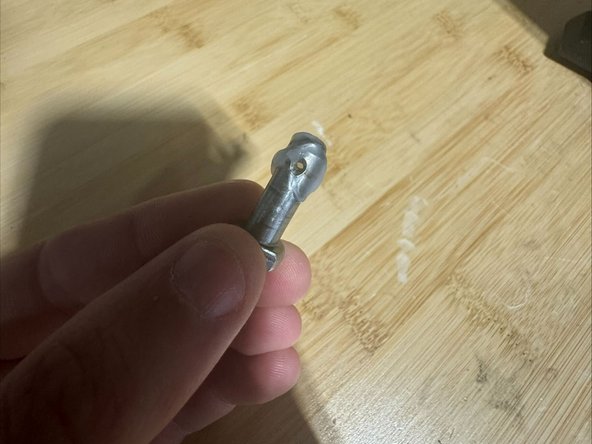
Remove the Cotter Pin and Clevis Pin
-
Inspect the Clevis Pin for wear. On high-mile 04-08 TSX, we have seen clutch petal cause wear to the pin. If it is worn, you can reuse, but plan to replace.
-
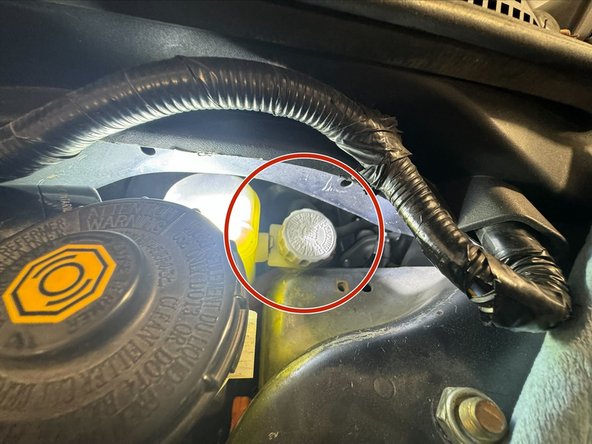
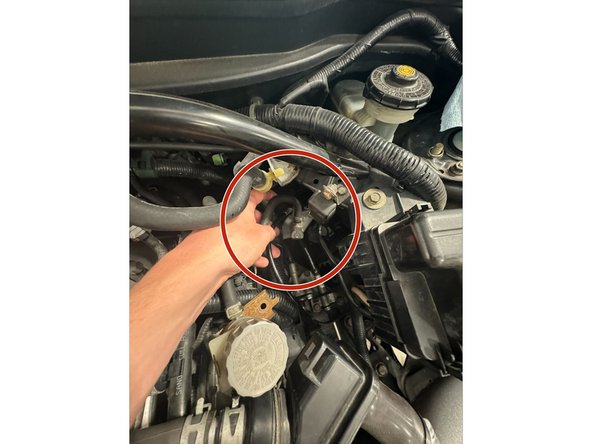
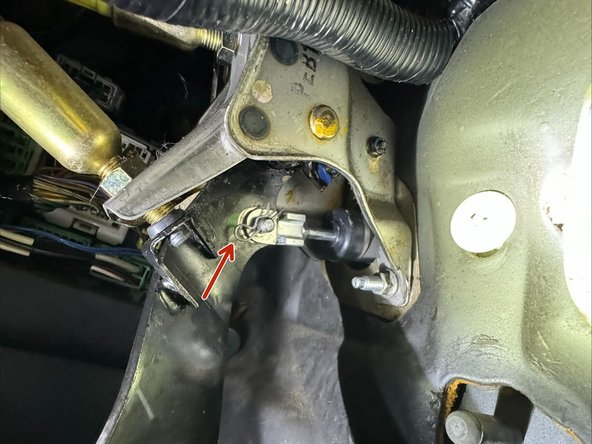
Remove x2 M8x1.25mm nuts holding CMC to Firewall.
-
Use a 12mm deep-socket (preferably on 1/4-drive rachet)
-
-
-
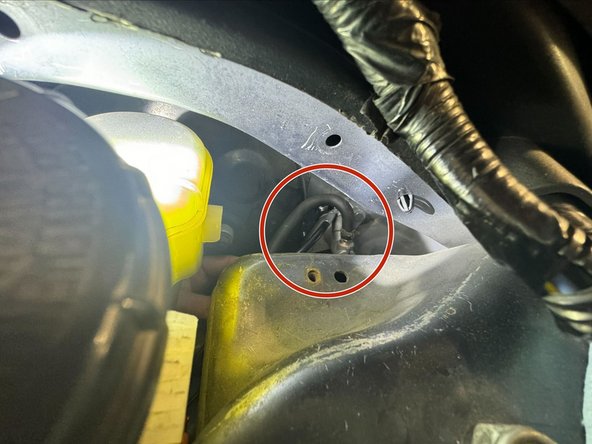
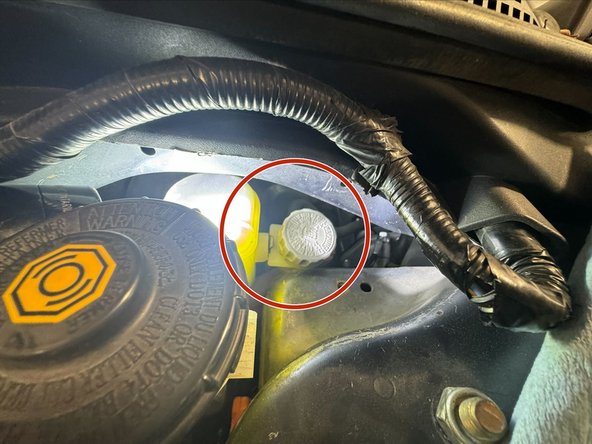
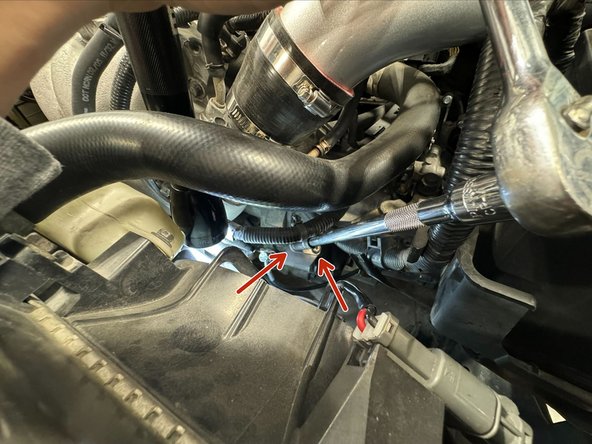
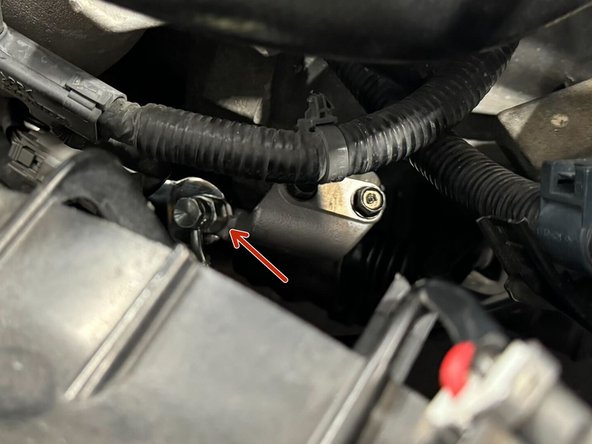
Remove the x1 M6x1.0 bolt mounting reservoir to strut tower. Use a 10mm socket and extension.
-
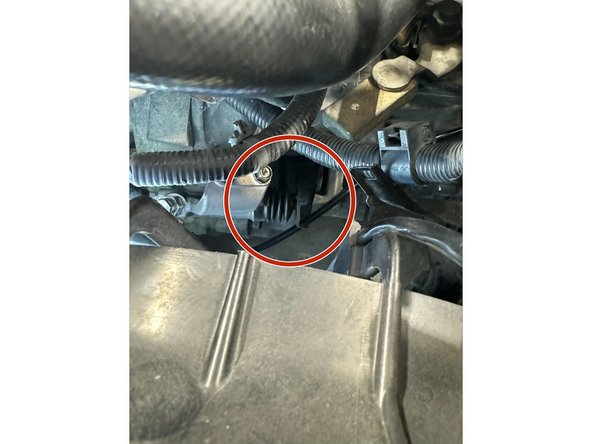
The reservoir hose does not need to be removed from CMC yet. As you will see in later steps, the CMC and Reservoir and be pulled out together.
-
-
-
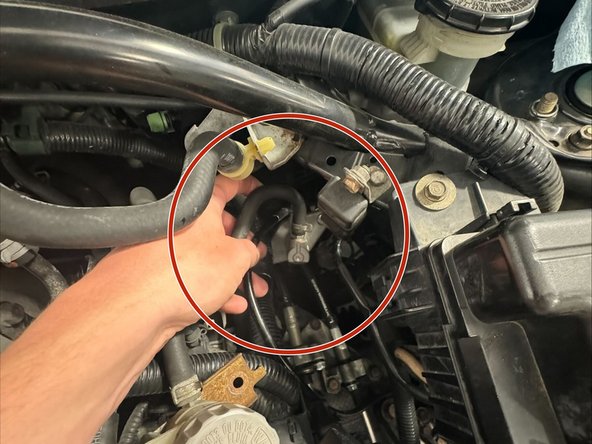
If your vehicle still has the OE clutch hardline, first remove hardline from CMC.
-
If your vehicle already has a flexible braided clutch line, save yourself the mess and DO NOT remove from CMC yet.
-
Push the reservoir into cavity between firewall and strut tower. Then pull it underneath the Brake Master Cylinder.
-
Pull the OE CMC out of firewall. Then following same route underneath the Brake Master, pull the CMC out.
-
-
-
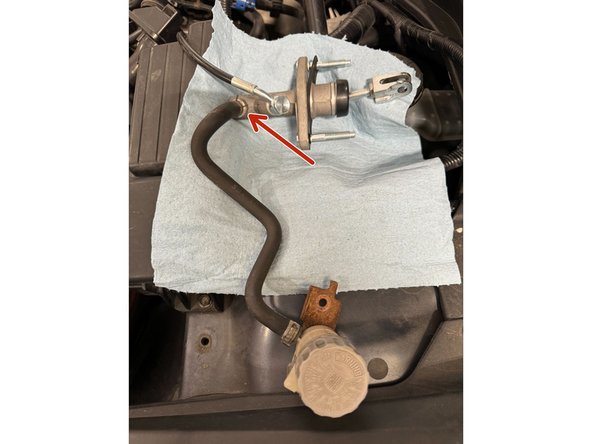
Using pliers, loosen clamp on reservoir hose at the CMC. Then immediately move hose to new CMC.
-
Put the Clutch Line on the left side of Reservoir hose as shown in Picture 2.
-
Ensure the angle of Clutch Line relative to CMC body is similar to Picture 2. If not, the Clutchline may interfere with Brake Vacuum Booster.
-
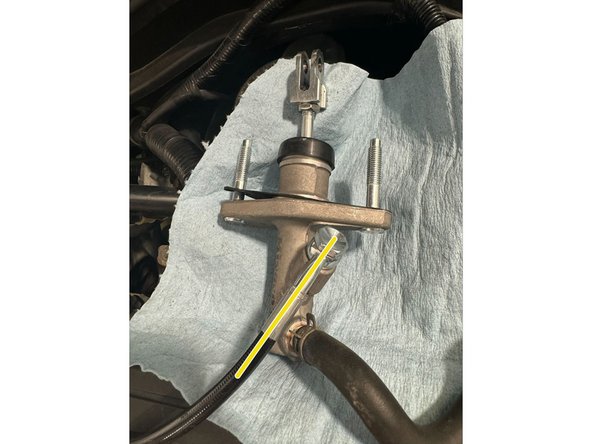
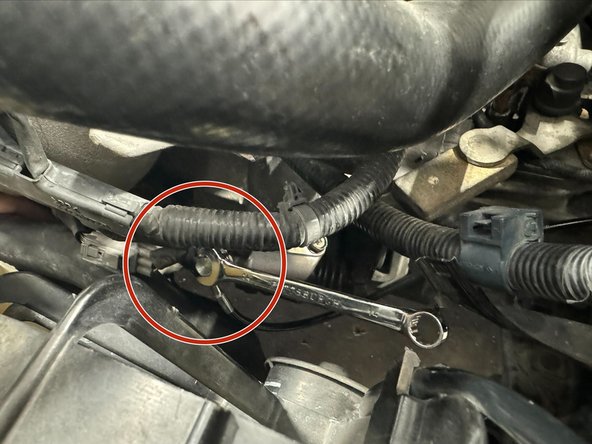
Use a 14mm open ended wrench to tighten.
-
DOUBLE CHECK that banjo washers and bolt are installed properly.
-
-
-
Pass the CMC and Reservoir underneath the Brake Master.
-
This is simply the reverse of removal procedure.
-
After Reservoir positioned on Strut Tower, tighten mounting bolt x1 M6x1.0, using 10mm socket.
-
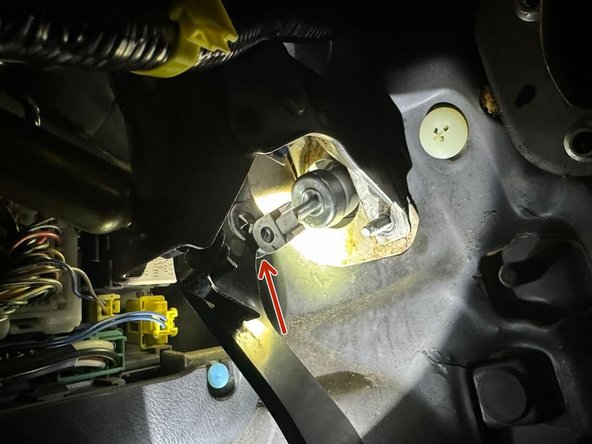
Push CMC Clevis and Rod through hole in Firewall. Then align studs with respective holes and push until CMC flange is flush to Firewall.
-
-
-
Before tightening CMC to Firewall, ensure that Clevis is straddling the pedal.
-
Using the provided x2 M8x1.25 nuts, tighten the CMC to Firewall.
-
Using provided Silicone Grease, grease the Clevis Pin.
-
Push Clevis Pin through Clevis and Pedal.
-
Jiggle the pedal to help align holes.
-
Use provided Cotter Pin to retain the Clevis Pin.
-
-
-
Remove OE Clutch Line from Slave Cylinder
-
Remove OE Slave Cylinder.
-
Use 12mm socket and extension to remove x2 M8x1.25 bolts
-
Replace OE Slave Cylinder with New unit.
-
Use provided x2 M8x1.25 bolts to install.
-
DOUBLE CHECK that Slave Cylinder Rod is seated properly on Clutch Fork.
-
-
-
Route Hybrid Racing Clutch Line along frame rail and front of transmission case.
-
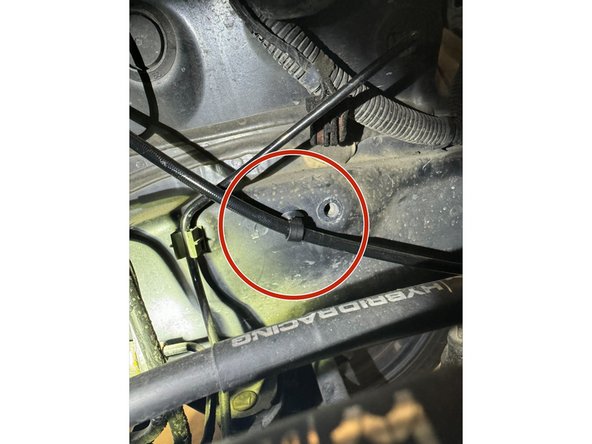
Use provided black Nylon Mounting Clip to hold Clutch Line against frame rail.
-
Mounting location shown in Picture 1 is underneath Fuse Box, at the bottom of Strut Tower.
-
-
-
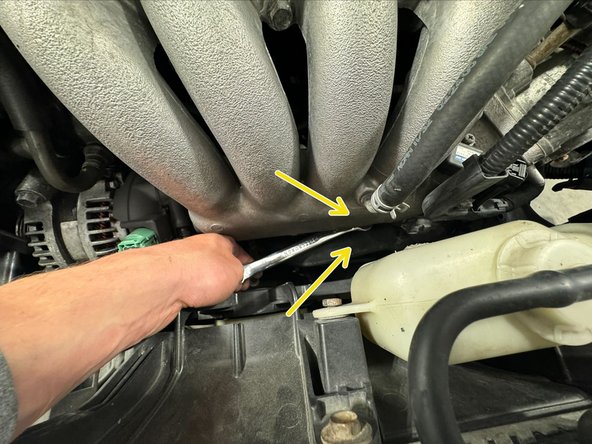
Using provided Banjo bolt, connect Clutchline to SLV Cylinder.
-
Use a 17mm and 14mm open-ended wrench.
-
Hold fitting on SLV Cylinder with the 17mm wrench.
-
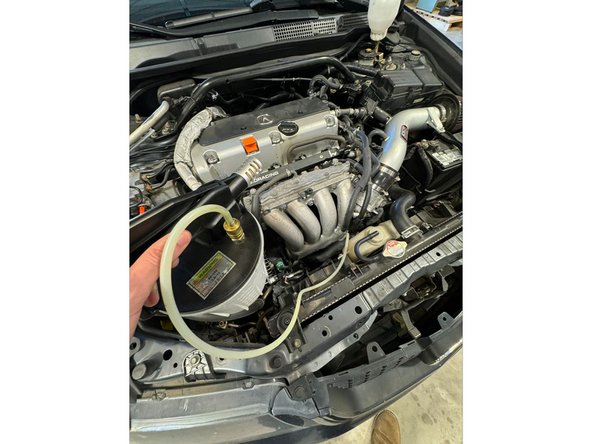
To reach the location, you can pass the 17mm between the Lower Radiator Hose and Intake Manifold
-
Tighten the Banjo bolt using the 14mm wrench.
-
DOUBLE CHECK that banjo washers and bolt are installed properly.
-
-
-
If you have not bled a Clutch system before, this is a tedious process and will take at least 30 minutes to complete.
-
Because the system nearly dry/empty of hydraulic fluid, We suggest using a vacuum bleeder or at least a hand vacuum pump to remove all of the air from the system.
-
Be sure to keep the reservoir filled during the entire sequence.
-