Introduction
Important!! Please read the entire install guide twice before starting your installation. No really, it’s a good idea to read it twice before you begin so everything goes smooth.
-
-
Remove your shift knob.
-
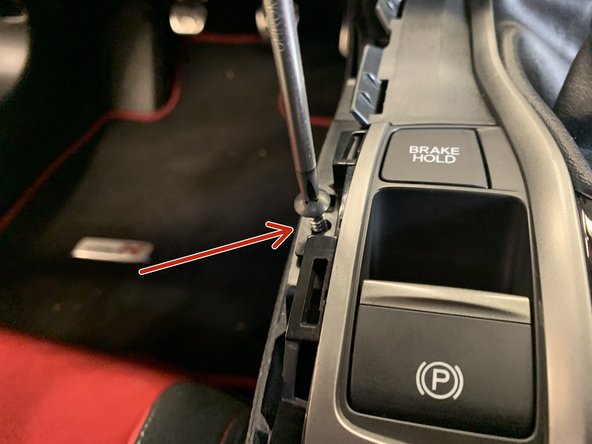
Remove the boot collar by pushing downward on the clip.
-
Use a 14mm Open End Wrench to unscrew the threaded section of the collar. Some may require tools to remove, be careful not to damage the threads.
-
-
-
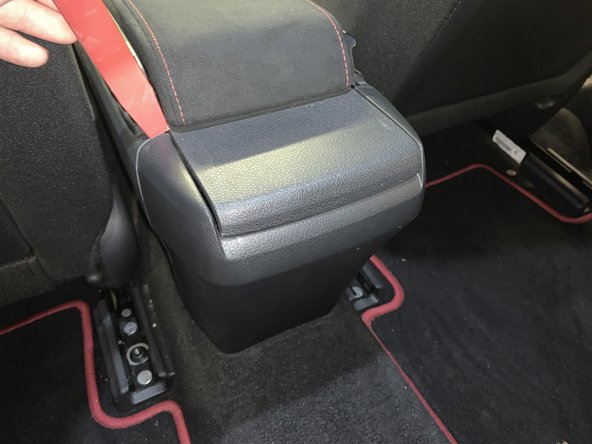
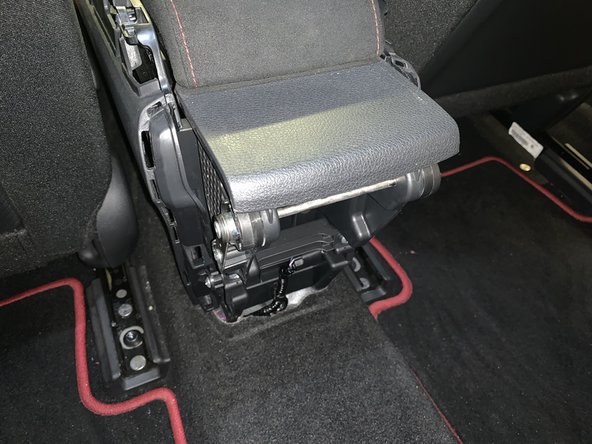
Pull upwards on the side console pads and remove them.
-
They aren't screwed or bolted into place so just pull up and they will pop out.
-
-
-
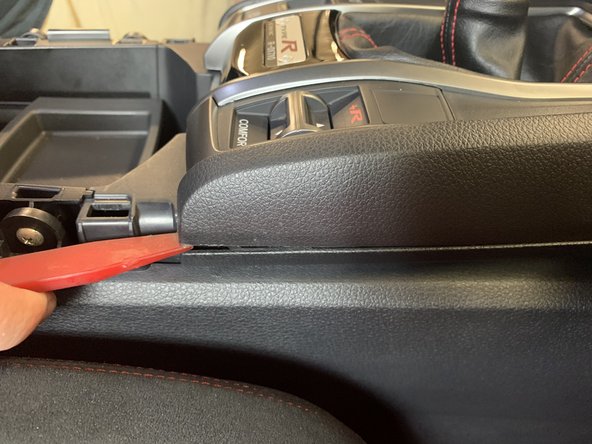
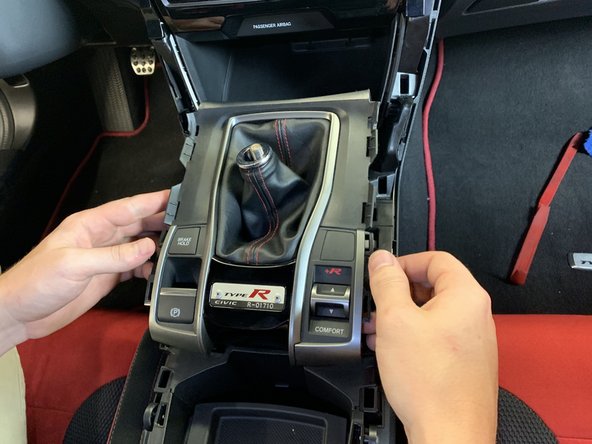
Use a plastic panel tool to pry the upper console section. Once it pops up, grab the upper section and pull it towards you.
-
These panels are held in with clips and do not require tools.
-
Pop both left and right upper sections off.
-
-
-
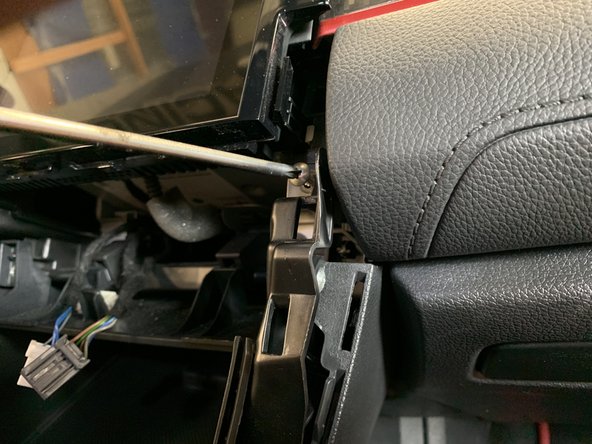
Using a #2 phillips screwdriver, unscrew the two screws that hold the shift boot cover.
-
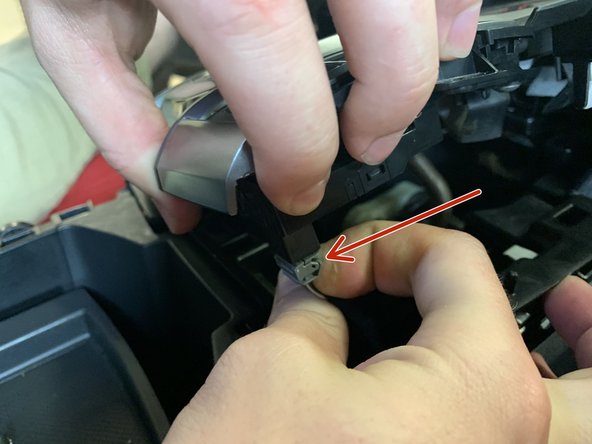
Use your hands and pry the sides of the cover up and pop it off.
-
Don't pull on it too hard because there are electrical connectors holding it in place.
-
-
-
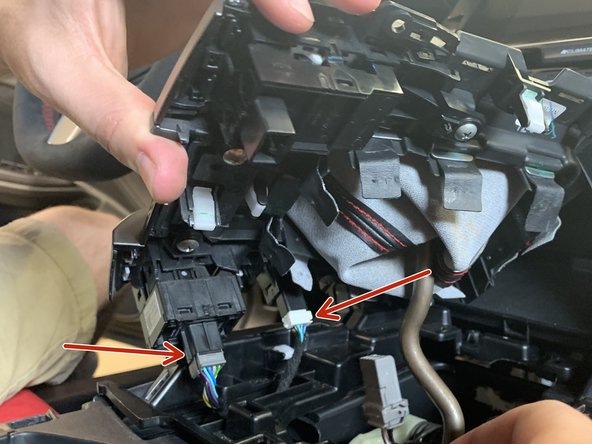
Unplug the drive mode selector as well as the parking brake and brake hold button.
-
Depending on the year/model you may have more or less buttons to unplug here.
-
-
-
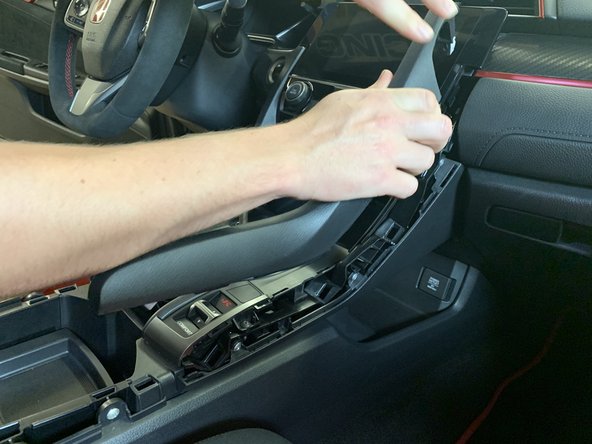
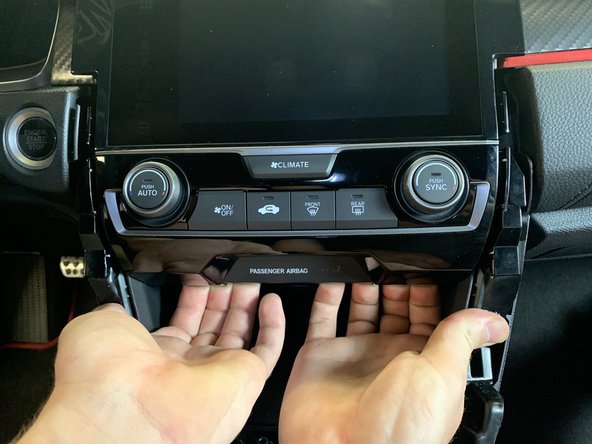
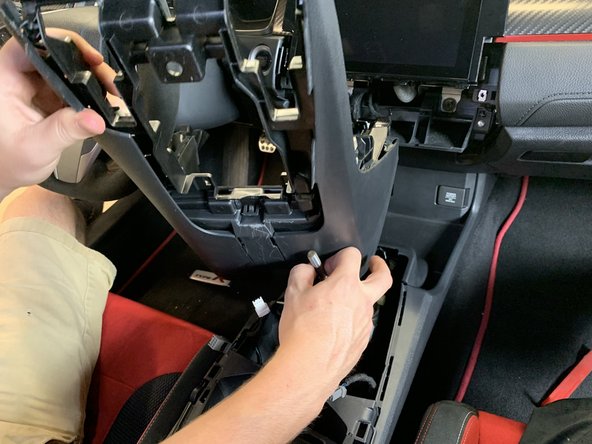
Use your hands and pry the lower section of the climate control towards you.
-
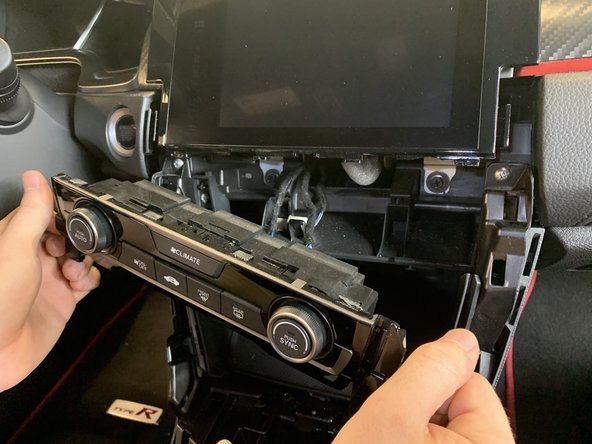
Once it pops out, grab it from the sides and pull a little more. It should pop out.
-
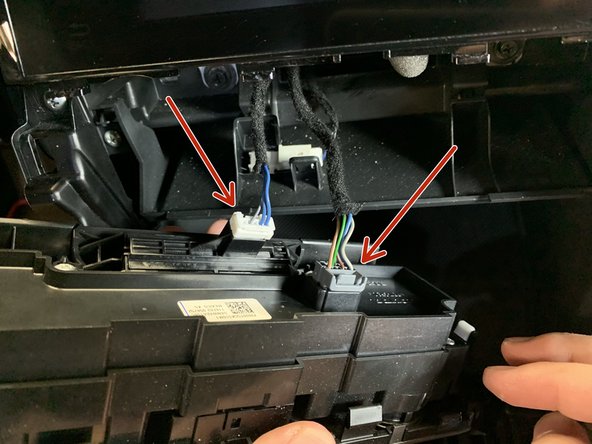
Unplug the climate control and set it aside.
-
-
-
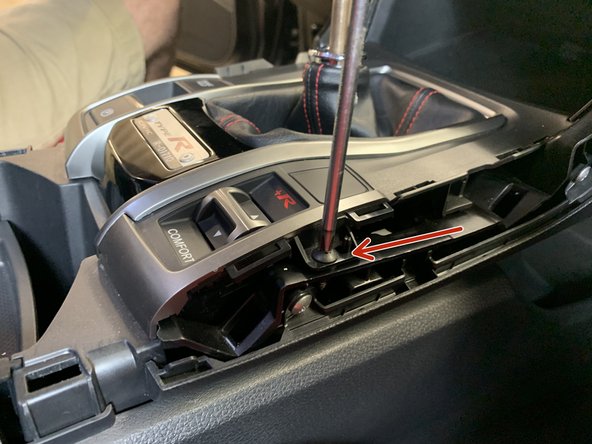
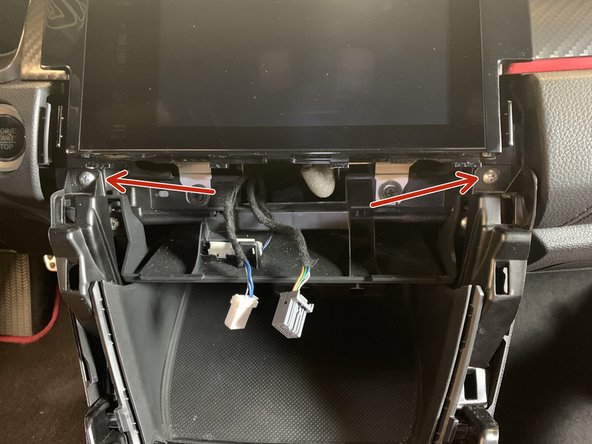
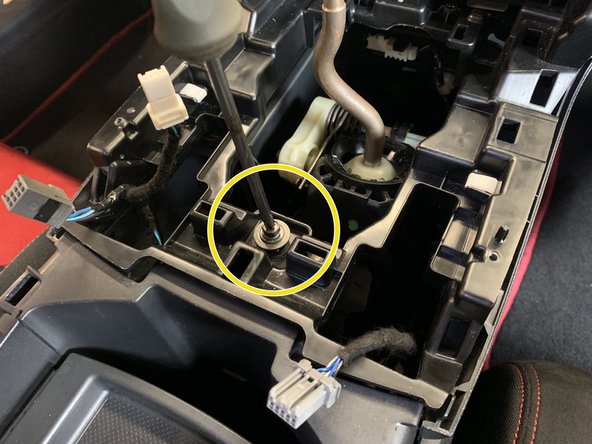
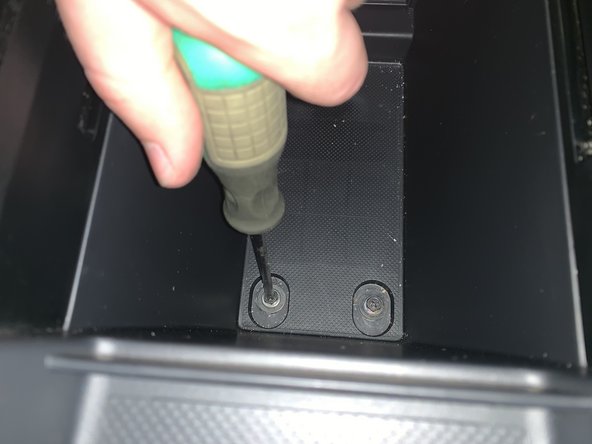
Use a #2 Phillips screwdriver to remove the two upper console screws.
-
Next, remove the center console screw.
-
-
-
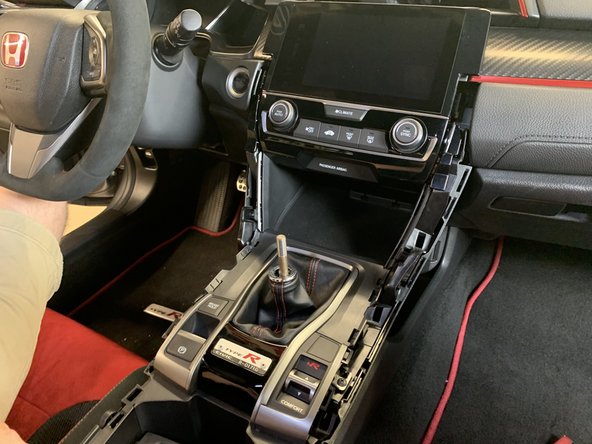
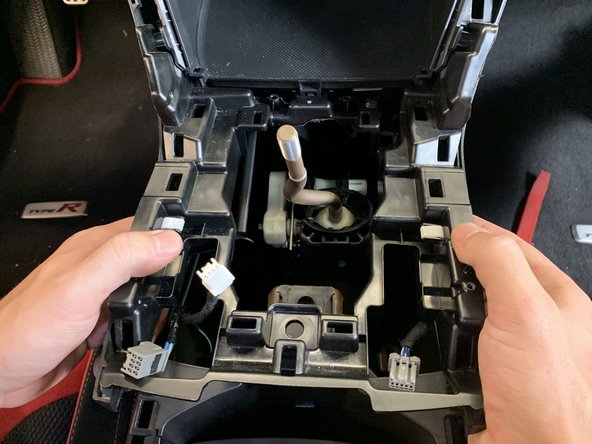
Use your hands and pop the sides of the console up. Once it is free, lift upwards and remove it completely.
-
You may need to put your shifter into 4th gear to clear the plastic cover.
-
-
-
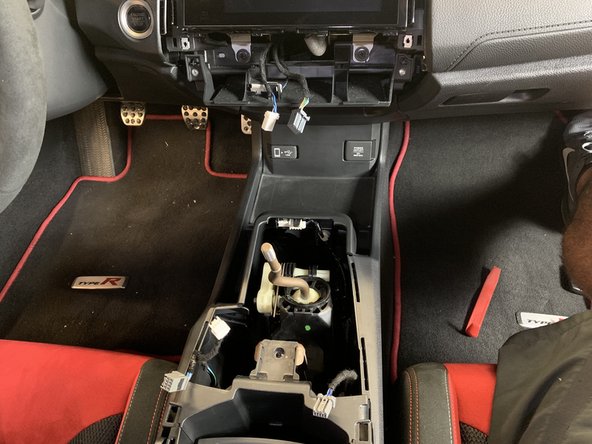
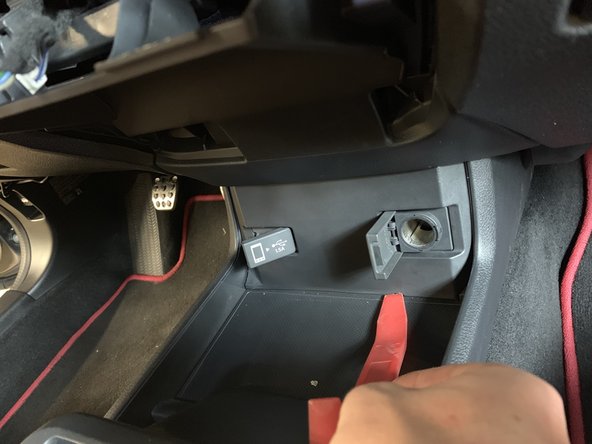
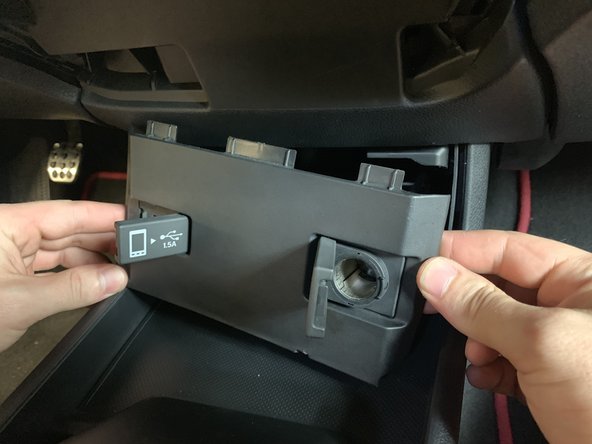
Use a plastic panel pry tool on the lower section of the console cover.
-
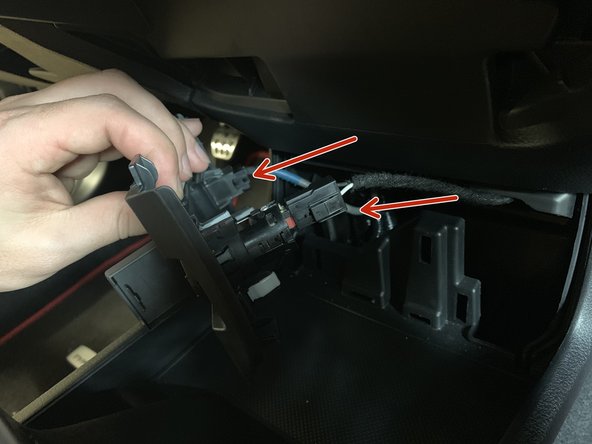
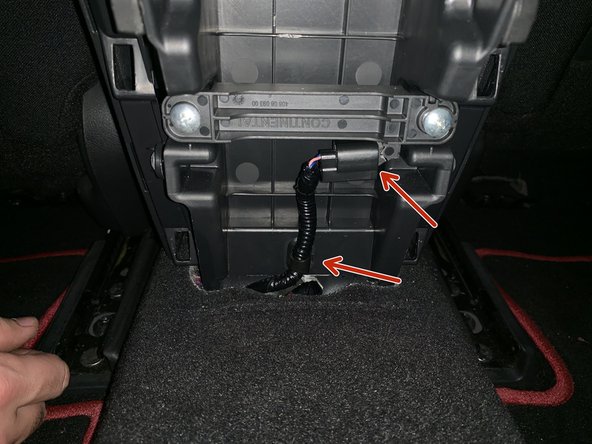
Unplug the 12v connector and the smartphone USB connector.
-
-
-
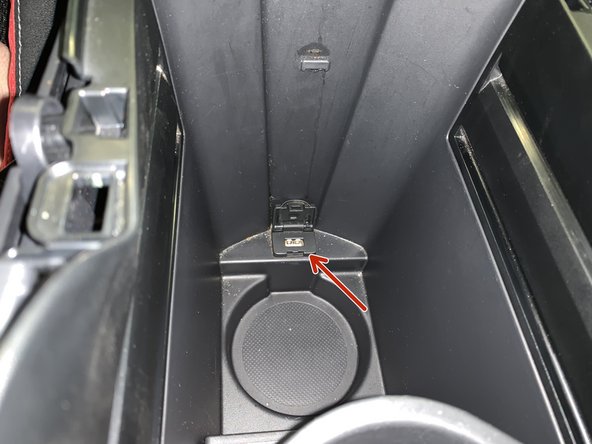
Use a plastic panel pry tool to separate the rear section of the console.
-
Once the cover comes off, unplug the keyless entry connector and remove the clip holding the harness in place.
-
-
-
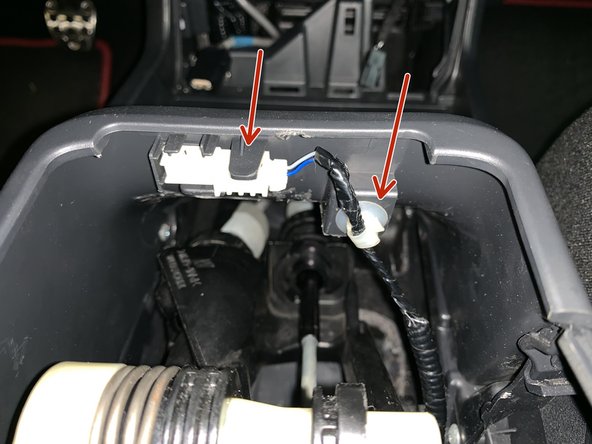
Remove the console light as well as the lower USB connector.
-
You will need to lift the console up and unplug it from the bottom.
-
-
-
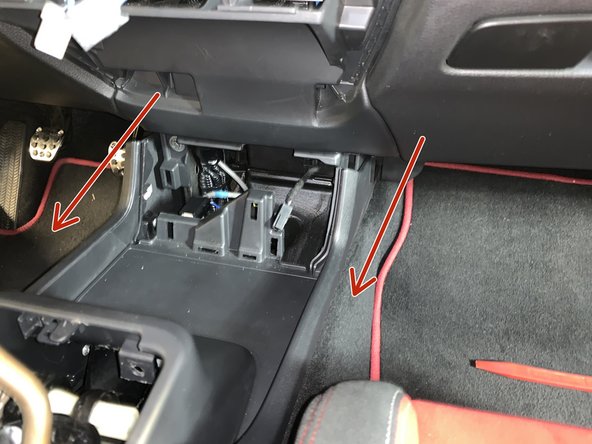
Slide the entire console backwards a few inches to unclip it from the dashboard.
-
Lift the rear section up and remove the entire console from the car.
-
-
-
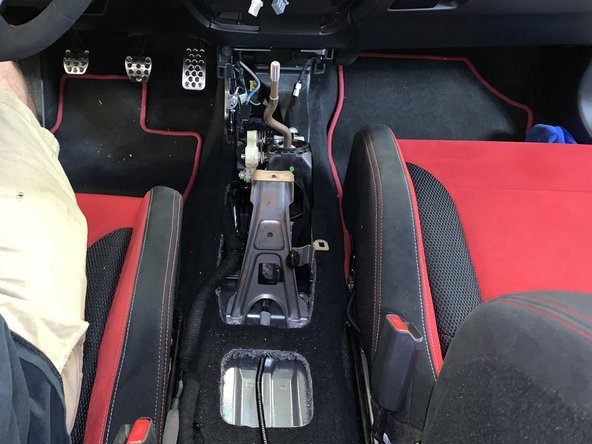
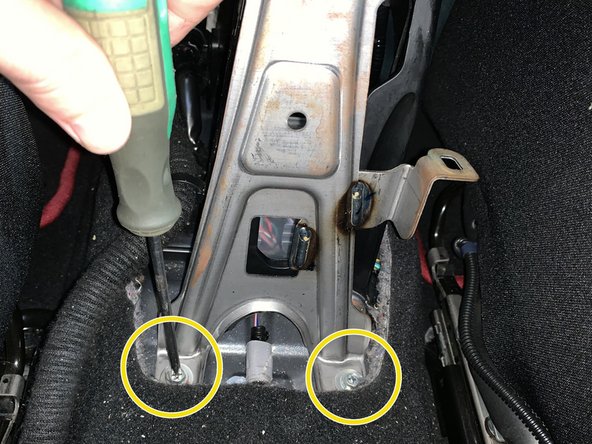
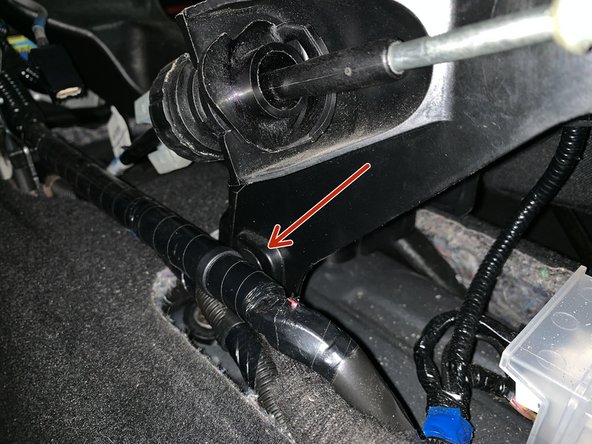
Remove the two bolts that hold the console bracket to the chassis.
-
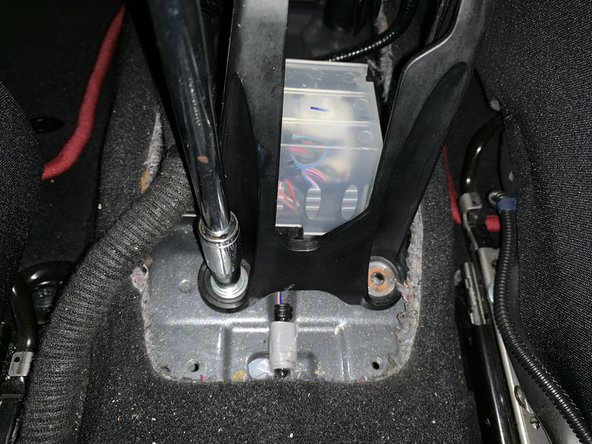
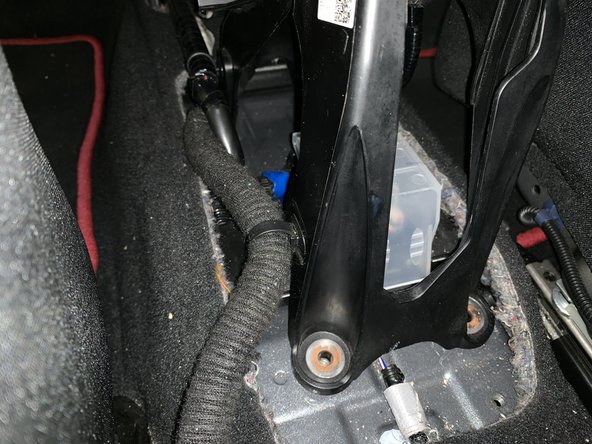
Remove the x4 10mm bolts on the base of the factory shifter.
-
-
-
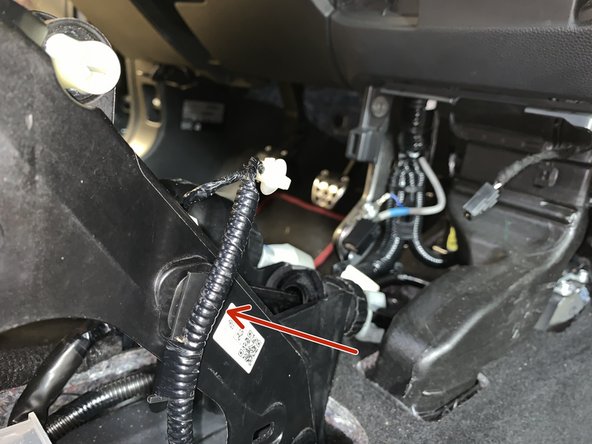
Remove the clips that hold the wiring harness to the factory shifter.
-
-
-
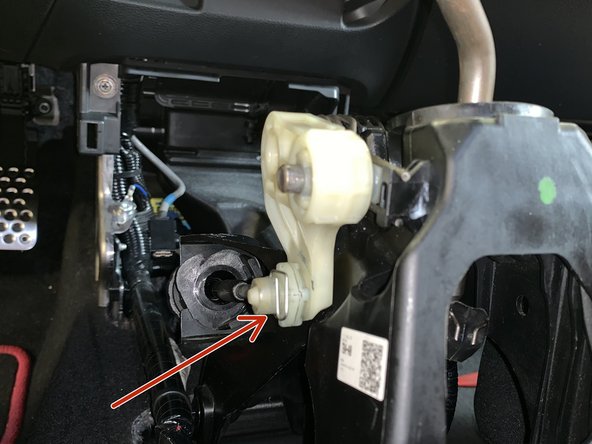
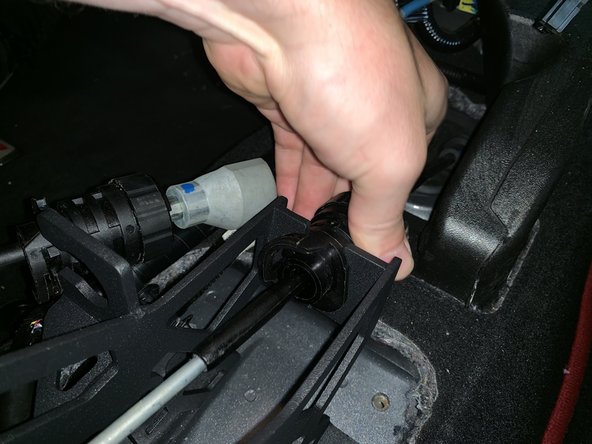
Remove the cables from the factory shifter. This can be tricky so take one cable at a time. It spins and then slides upwards out of the shifter.
-
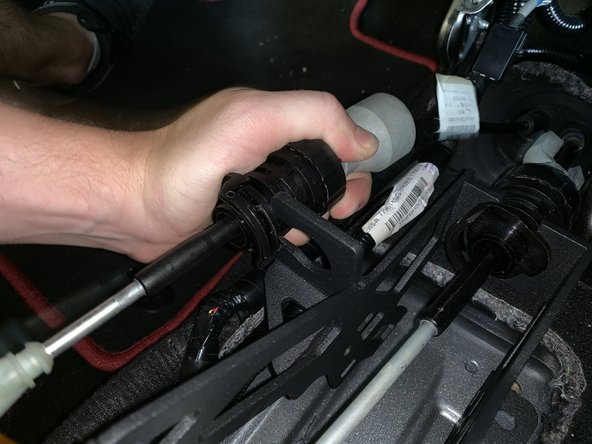
Pull the LH side retaining ring and slide the cable off the pin.
-
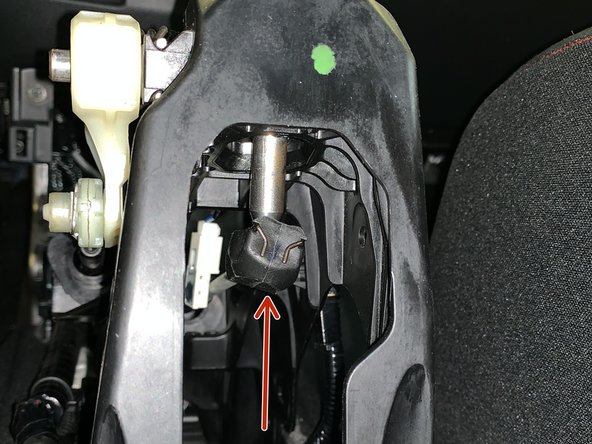
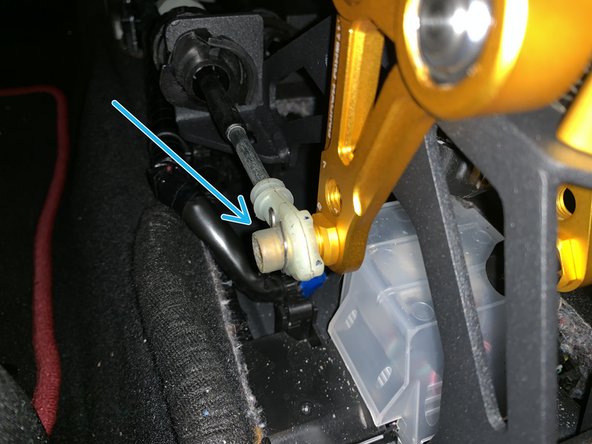
The lower cable retaining ring must be pulled apart and then you can slide the cable end link off the shifter ball.
-
-
-
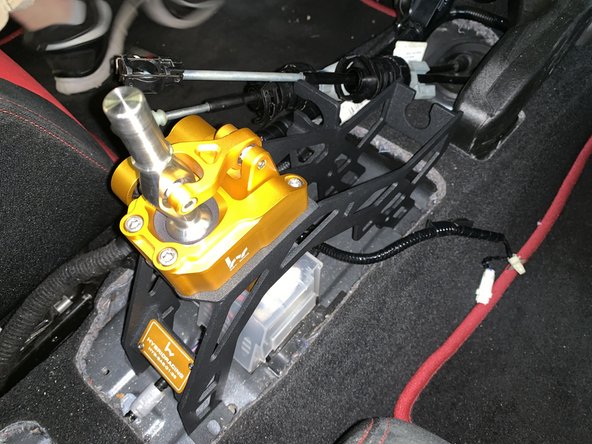
Install the Hybrid Racing shifter and line up the shifter cables.
-
Twist the cable mount and slide it into the shifter. Make sure you align it correctly otherwise the cables will not slide in.
-
Using the provided bolts and washers bolt the shifter to the chassis with a 5mm Allen wrench
-
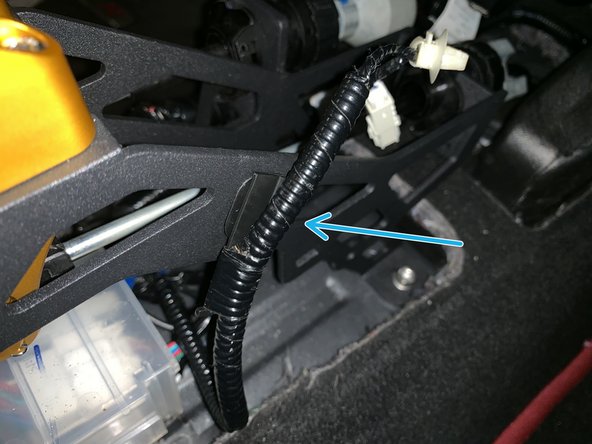
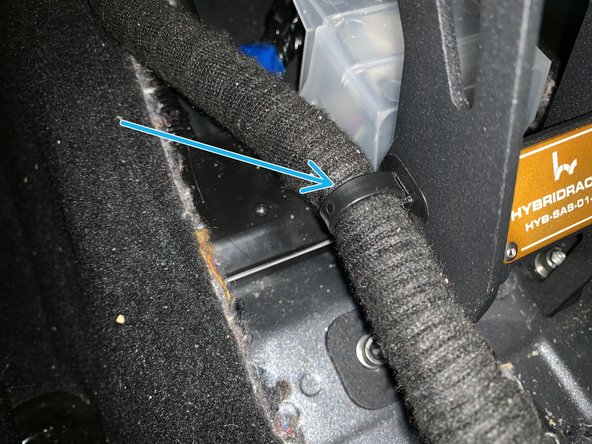
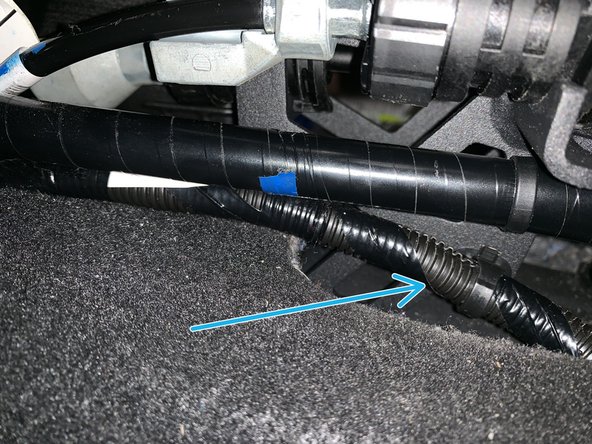
Once the cables are installed on the shifter, you will need to slide the stock cables through the floor grommet. It may take a bit of force but they slide through easy and you can bolt the shifter into place.
-
-
-
There are two separate adjustments for each shifter cable. The Front/Back and Left/Right cable can be adjusted independently.
-
Position 1 is the longer of the two settings. In an FK8, this setting is about 5% shorter than stock.
-
Position 2 is the shortest possible setting. In an FK8 this setting is about 25% shorter than stock.
-
Choose your preferred settings and connect the shifter cables.
-
Please note that the included pin and washers are only to be used with aftermarket shifter cables. IF you are using the stock cables, you will not need them. Use the stock end link and stock clip.
-
-
-
Reinstall the factory wiring harness onto the base of the Hybrid Racing shifter.
-
-
-
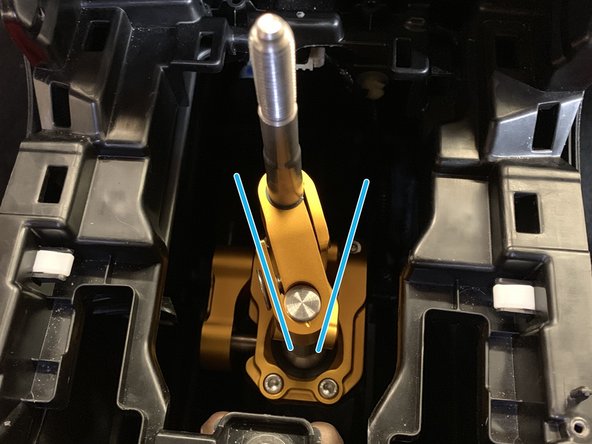
Remove the 4 Allen bolts that hold the shifter to the base. (only 3 are shown in the image)
-
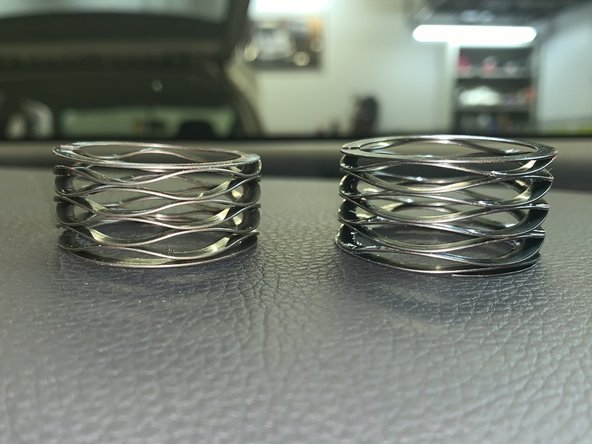
Once the four bolts have been removed, lift the shifter assembly up and the lower spring will come out of the bottom.
-
Each Hybrid Racing shifter comes assembled with the stiffer spring, if you prefer a slightly less stiff feeling, swap the spring to the softer spring.
-
-
-
If you chose to change the inner spring, use a torque wrench and tighten the bolts to 6ftlb / 72inlb.
-
-
-
Follow the interior removal steps in reverse to install the entire center console.
-
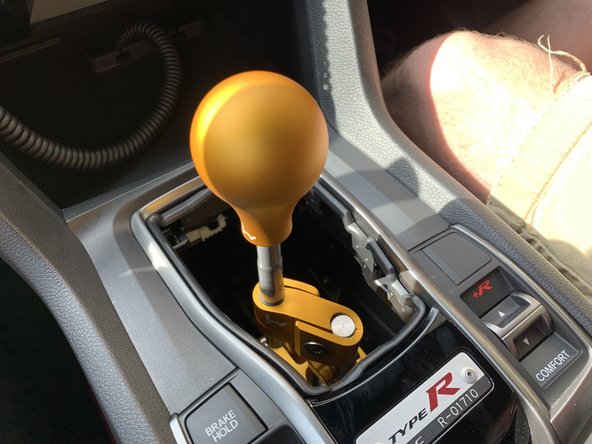
Adjust the upper offset to rotate the shift knob.
-
Due to space limitations, the offset can only be rotated a slight amount to the left or right. Our shifters are assembled in a LHD configuration. If you are installing this in a RHD car, loosen the offset bolt to rotate the shift knob towards the driver.
-
-
-
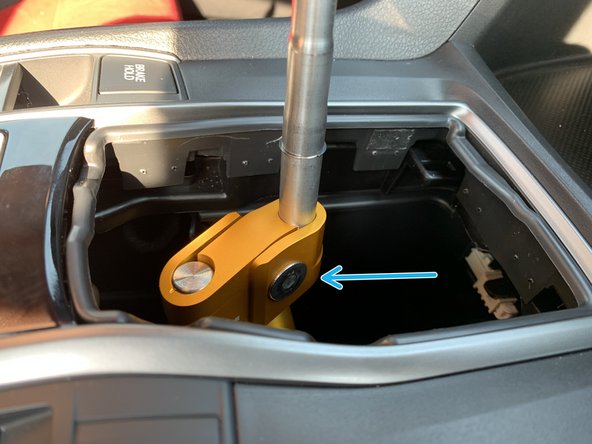
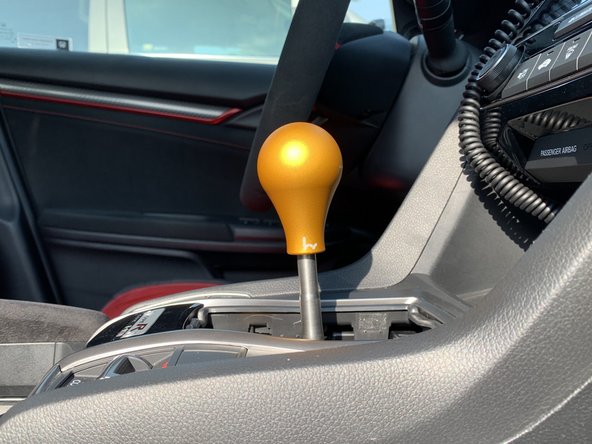
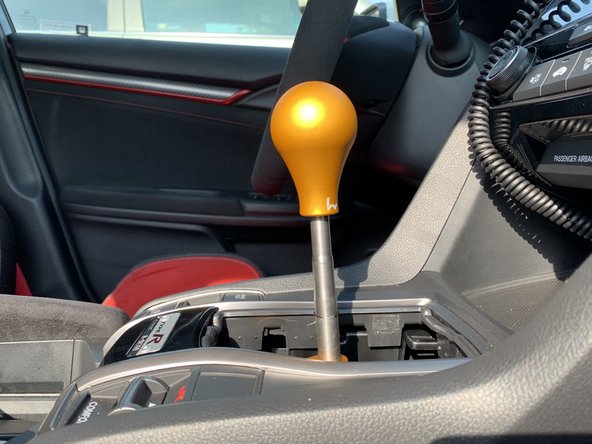
Use a 5mm allen wrench to adjust the shift knob height and set it to your personal preference.
-
These images depict the minimum and maximum height.
-
We removed the shift boot and collar for these images. It will 100% work with the stock knob, stock boot and collar.
-