-
-
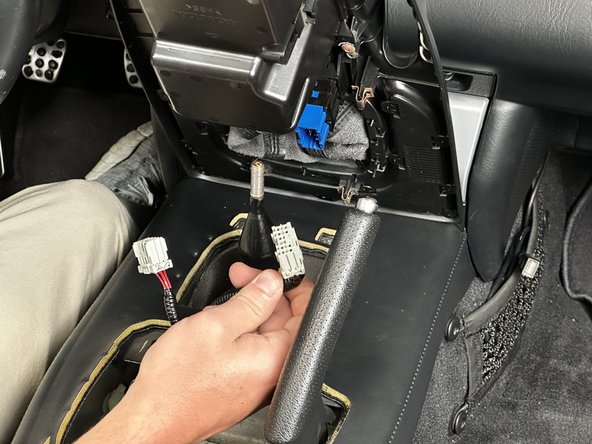
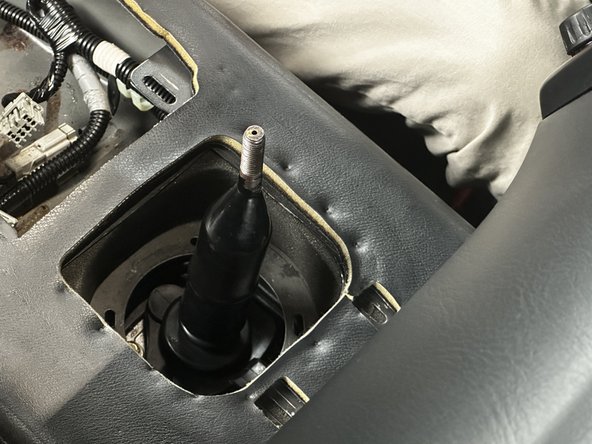
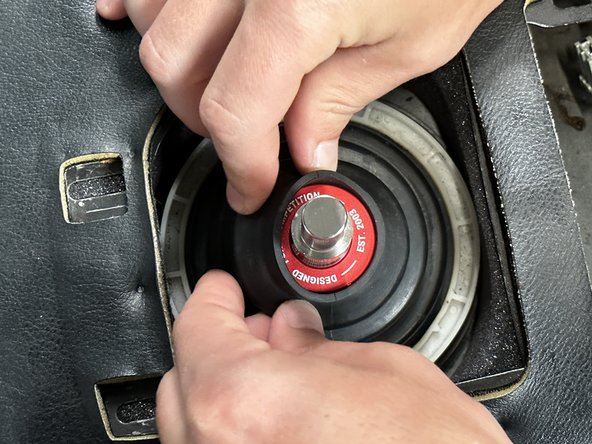
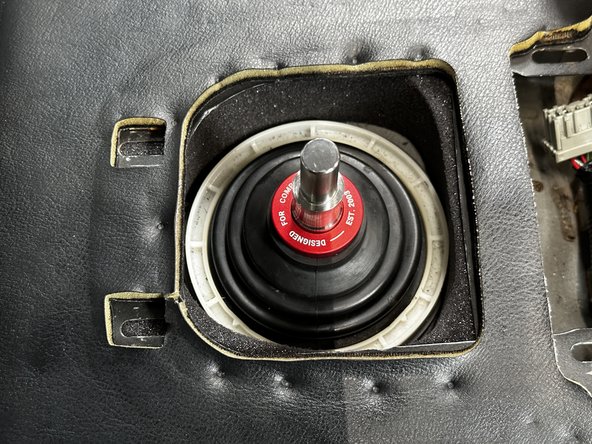
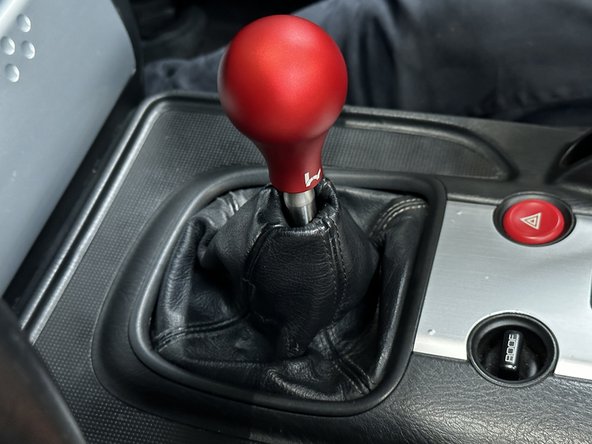
Begin by removing the shift knob. Depending on which knob is installed, you may need to remove a lock nut.
-
-
-
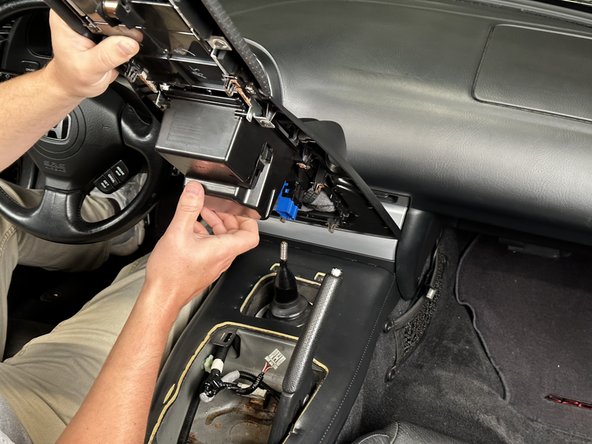
Use your fingers to pry up the sides of the console cover. Start in the front and work your way to the back.
-
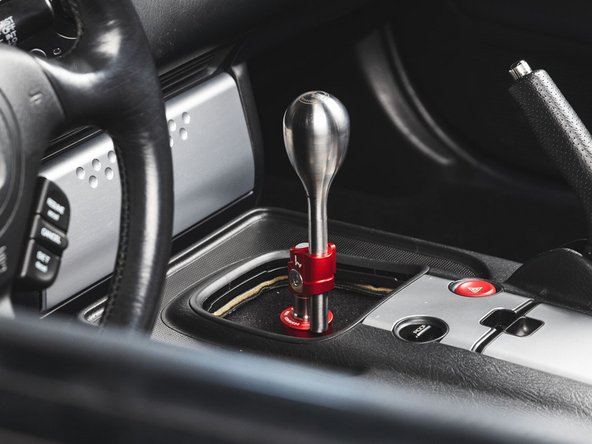
The car shown is a 2004-2005 AP2 S2000. Depending on the model year, the process may vary slightly.
-
-
-
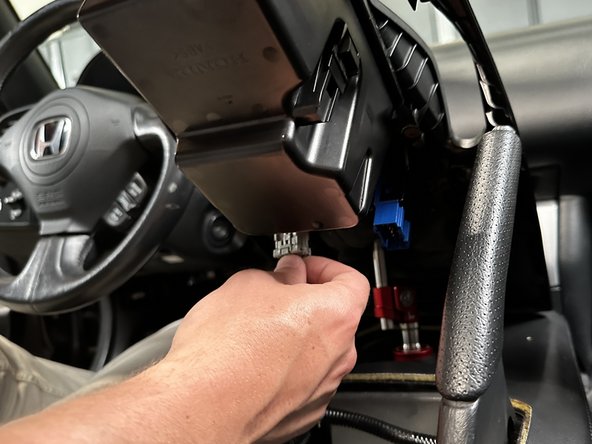
Once the console cover has been unclipped, unplug the wiring connectors.
-
Depending on the model year, there may be more connectors to disconnect than are shown.
-
Once it has been disconnected, remove the console cover and set it aside.
-
-
-
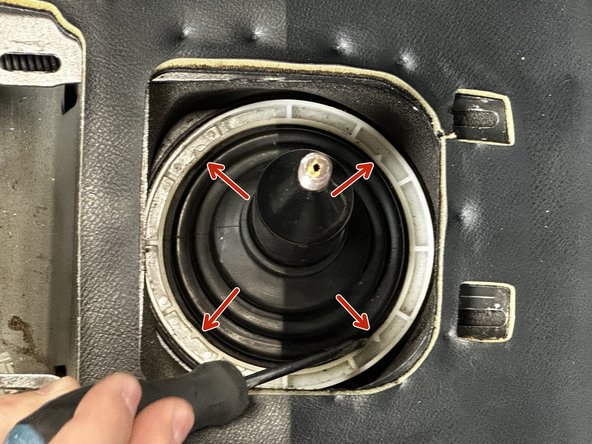
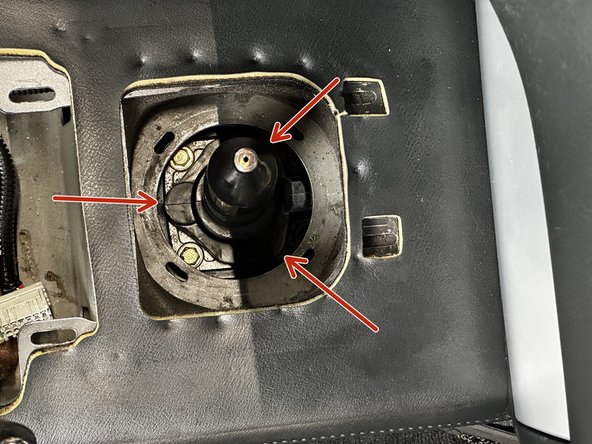
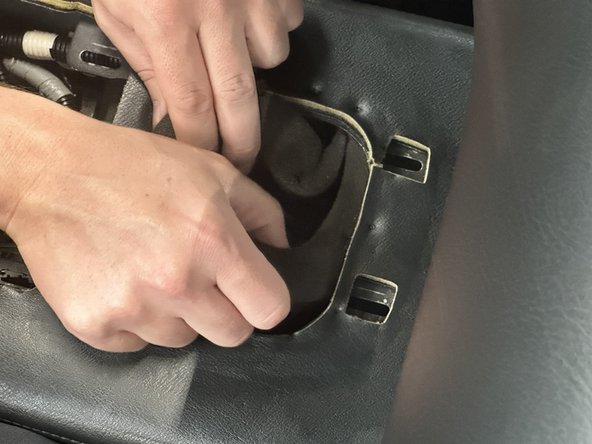
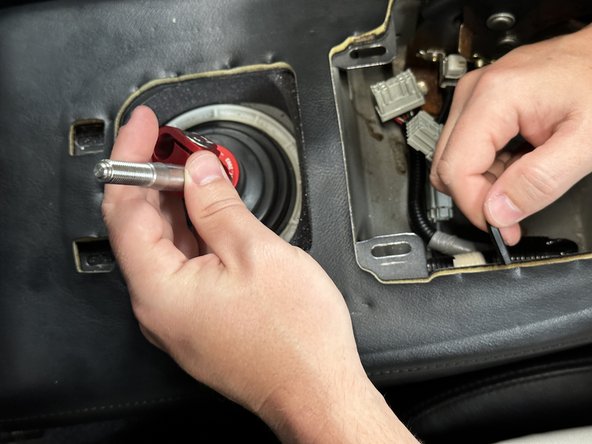
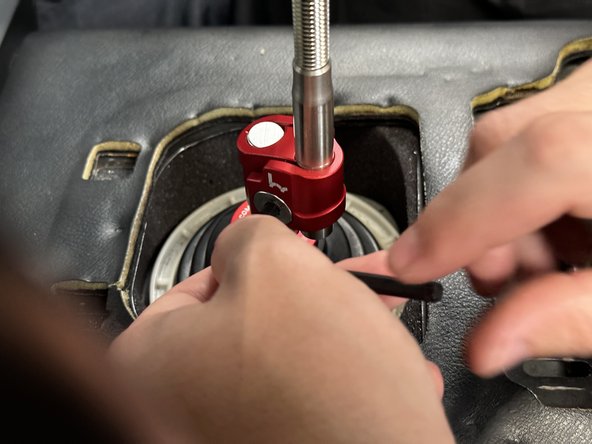
Use a flat-tipped screw driver, unclip the dust boot cover by prying outward. There are four clips at each corner.
-
Pay attention to the arrows on the plastic ring. They are highlighted in red.
-
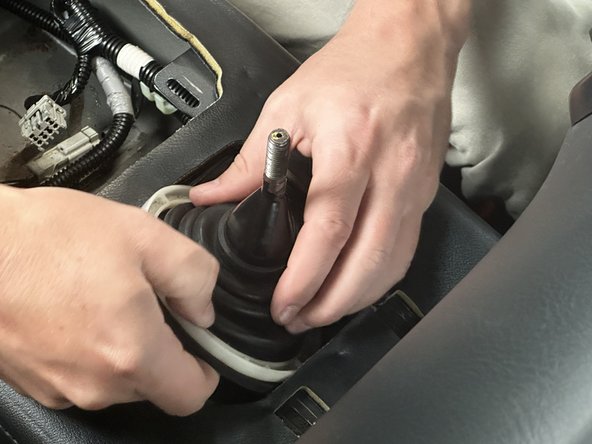
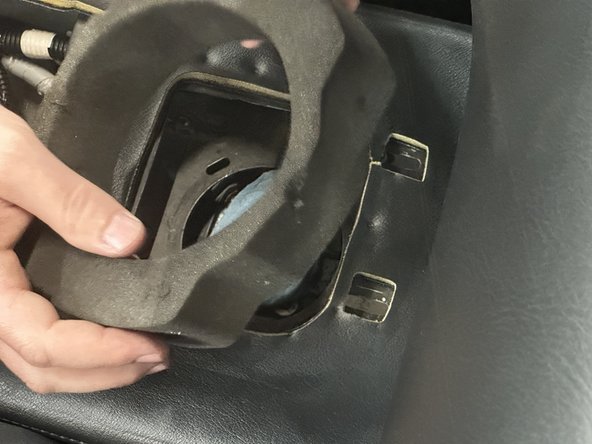
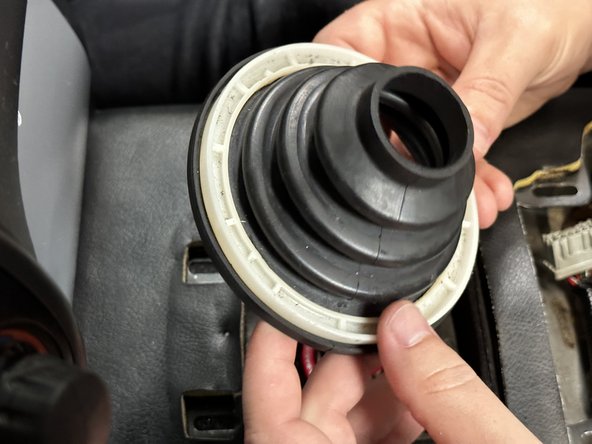
Slide the rubber dust boot cover upwards and remove it from the car. Set this aside, as it will be reinstalled later.
-
-
-
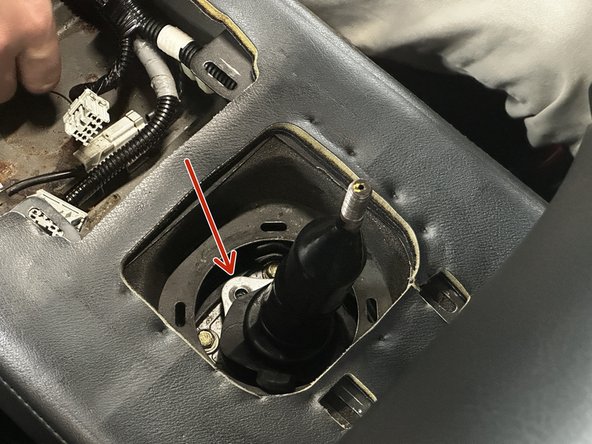
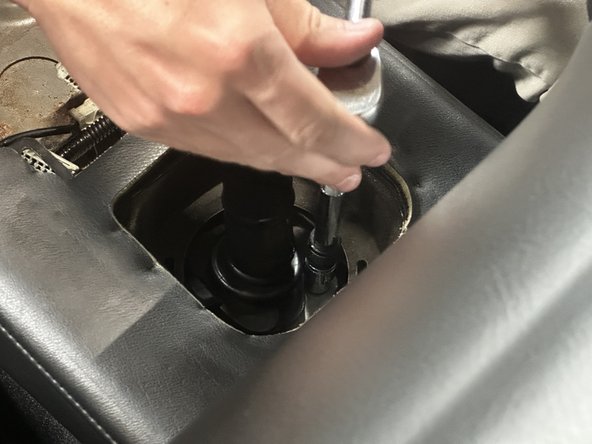
Use a 10mm socket and ratcher to unbolt and remove the shifter mounting bolts.
-
These bolts are under the rubber cover, so accessing them can be tedious.
-
-
-
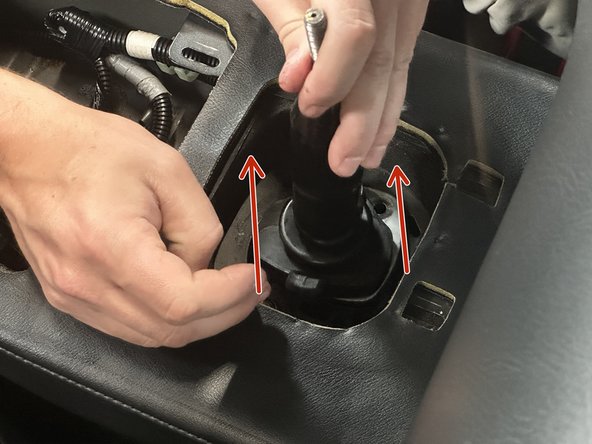
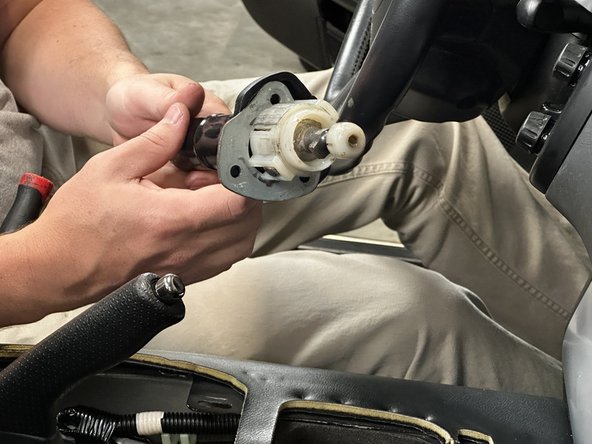
Once you have removed all three bolts you can lift the shifter upwards and remove it from the car.
-
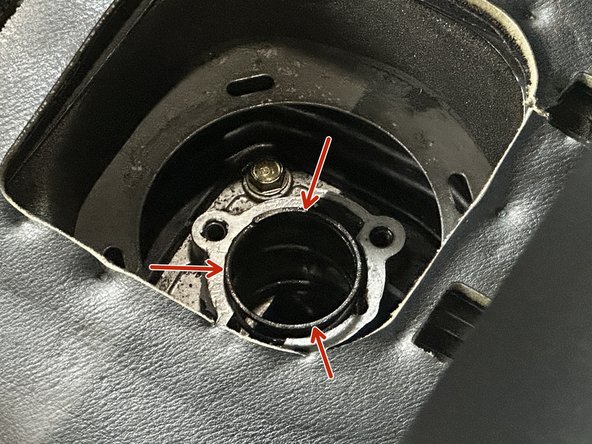
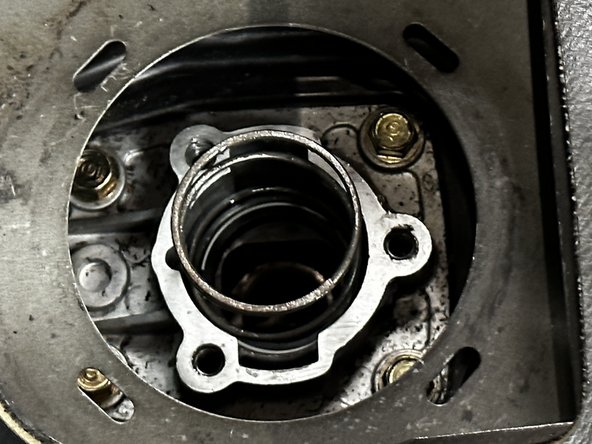
Pay attention to the spring that will remain in the transmission. Remove this spring and set it aside, as it will get reused.
-
-
-
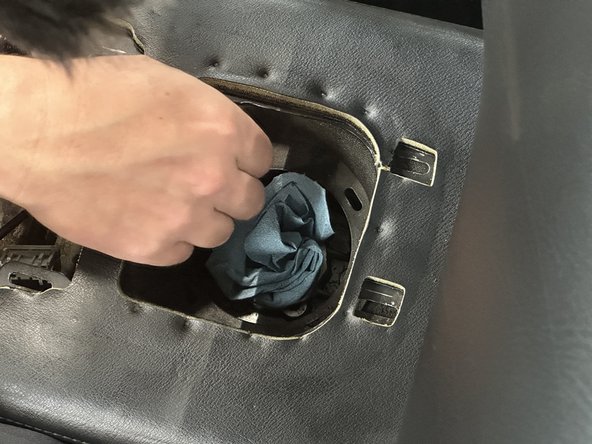
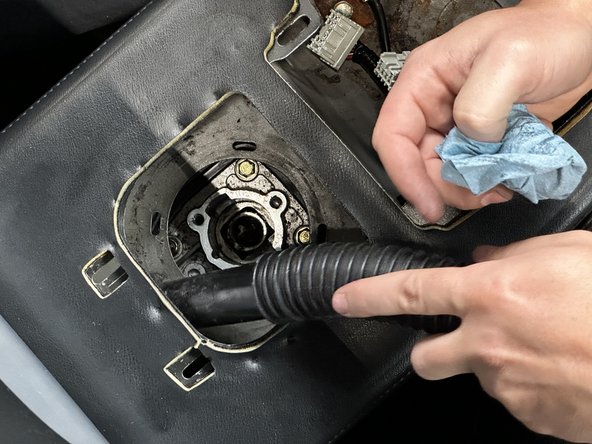
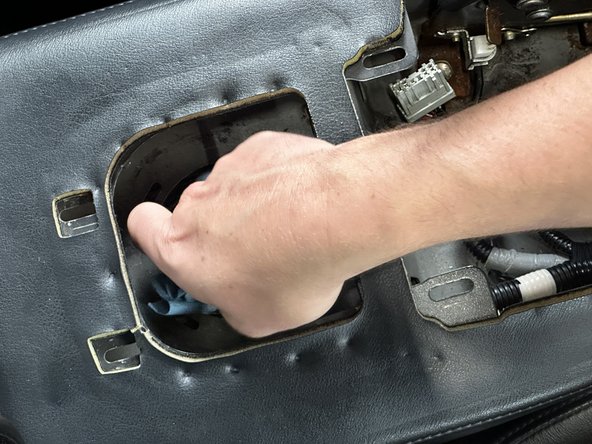
Take a clean rag or shop towel and cover the opening of the transmission. Be sure to prevent any dirt or debris from falling in.
-
Remove your factory shift insulator foam.
-
-
-
If your car is exceptionally dirty, take the time to vacuum or clean the surrounding area.
-
On older models, the factory insulating foam can deteriorate and crumble. It's a mess.
-
-
-
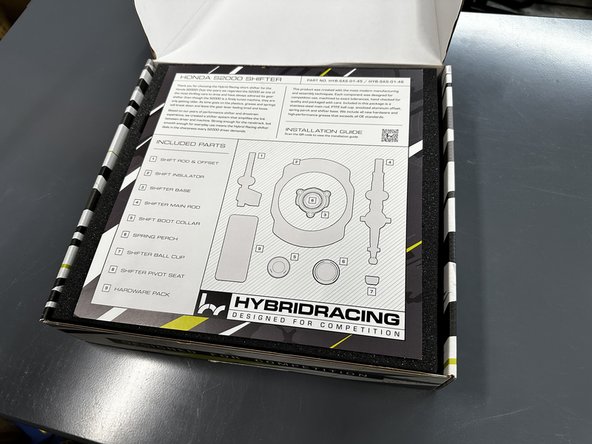
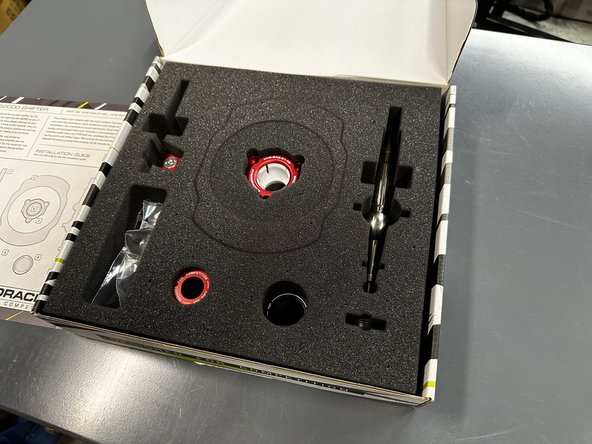
Open the Hybrid Racing S2000 shifter package and take note of all parts that are in the foam.
-
The information card has a diagram that lists each part. Use that card for reference if you need it.
-
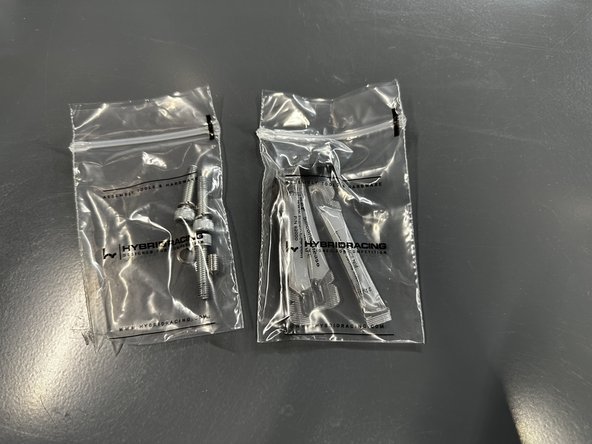
There are two bags of hardware and tools. If you do not have access to Allen wrenches, you can use the ones provided in the package.
-
-
-
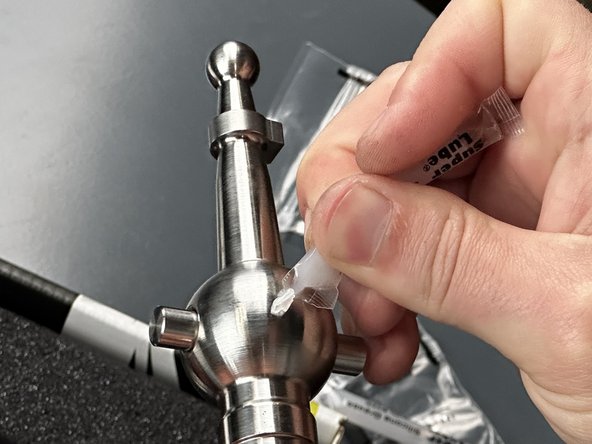
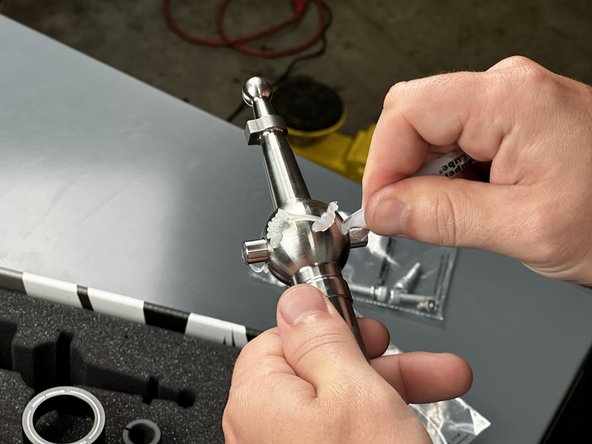
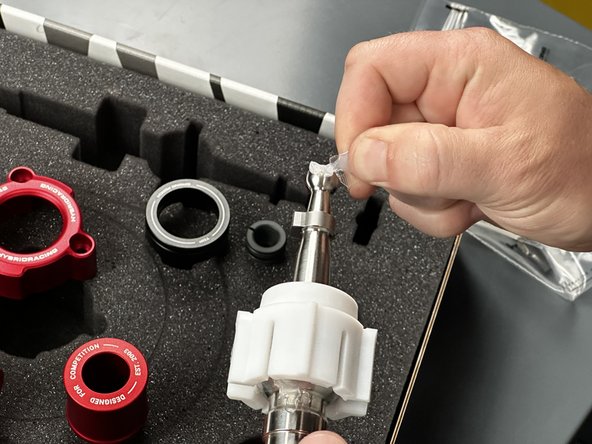
Locate the Shifter Main Rod (#4) in the package as well as a pack of grease.
-
Apply one tube of grease around the outside of the center ball. Be sure to spread it evenly with your finger.
-
-
-
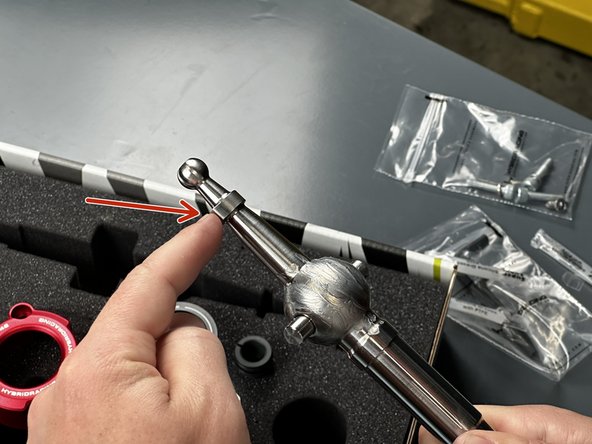
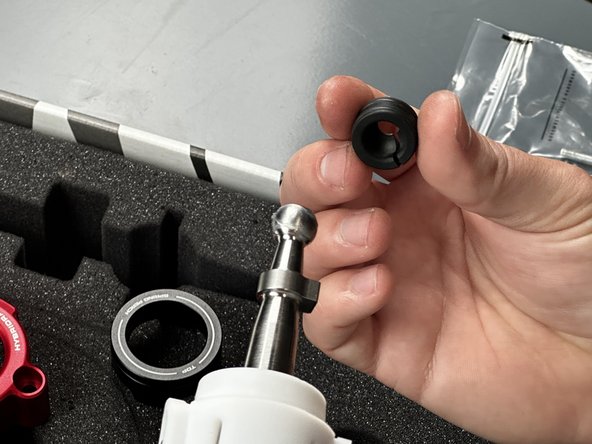
Pay attention to the reverse lockout notch. This notch should point to your left when you hold it in your hand.
-
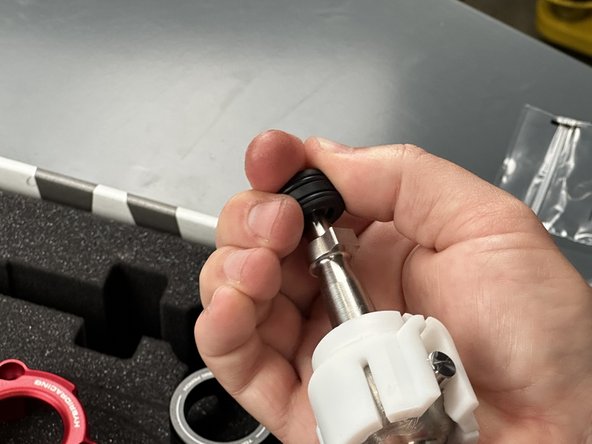
With the notch pointing left locate the Shifter Pivot Seat (#8) and slide it down onto the ball.
-
Make sure the center line of the SPS is pointing up, and the reverse notch is pointing to the left.
-
If these parts are installed backward, you cannot install the shifter correctly.
-
-
-
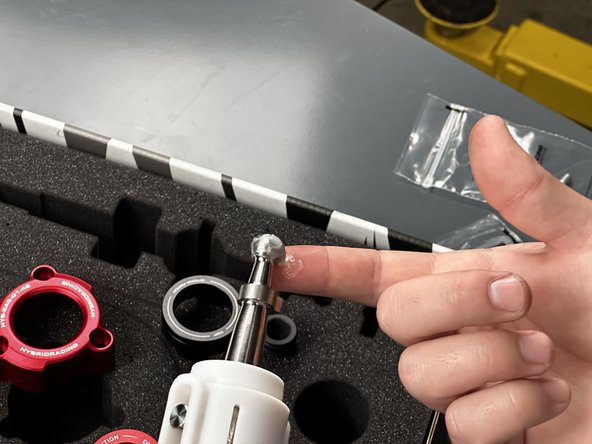
Open another packet of grease on the Shifter Main Rod and apply it to the end ball.
-
Be sure to spread it evenly.
-
-
-
Locate the Shifter Ball Cup (#7) and snap it in place. This part should spin smoothly and freely.
-
-
-
Use the last remaining packet of grease and apply it to the outside surface of the Shifter Pivot Seat. Be sure to leave enough grease for the next step.
-
Spread it evenly.
-
-
-
Apply the remaining grease to the outside of the Shifter Ball Cup.
-
Spread it evenly.
-
-
-
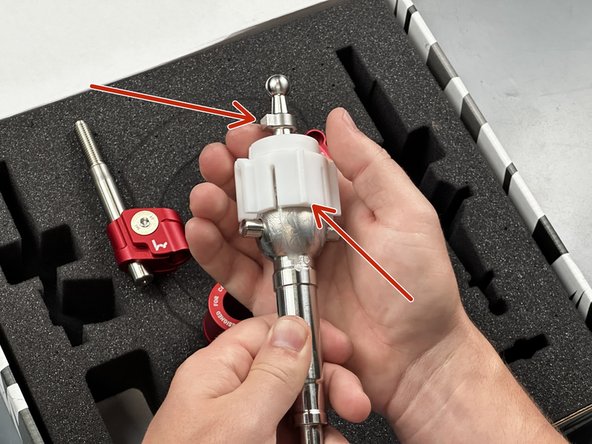
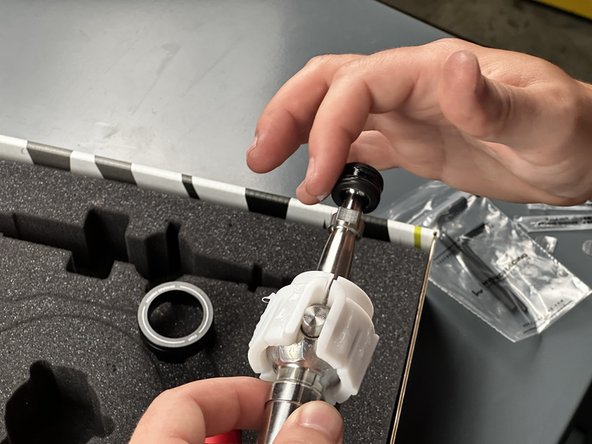
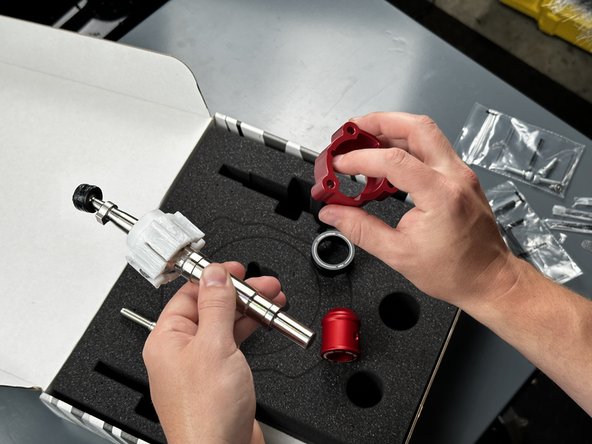
Locate the Shifter Base (#3) and slide it onto the Shifter Pivot Seat.
-
Pay attention to the groove in the Shifter Base. It will align with the bump on the Shifter Pivot Seat. This is critical as the shifter will not align correctly otherwise.
-
-
-
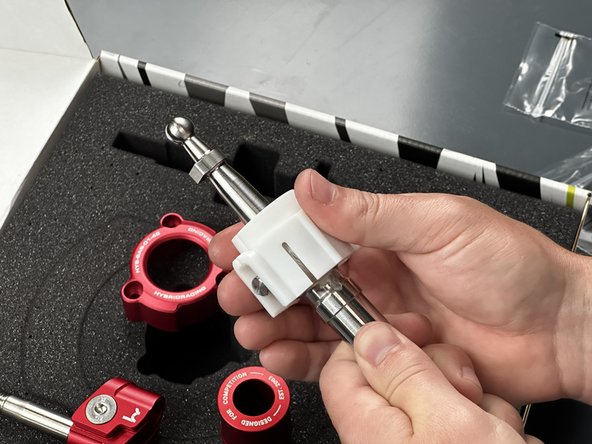
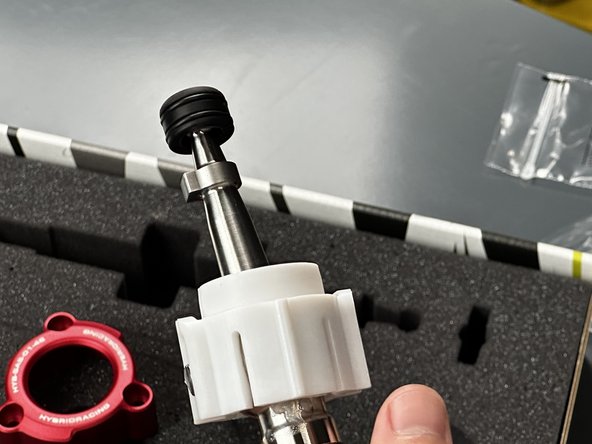
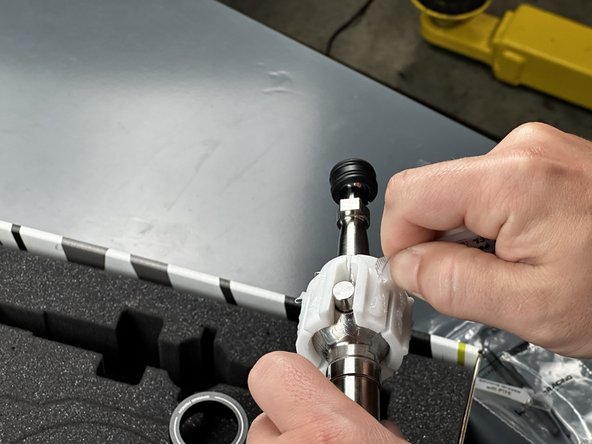
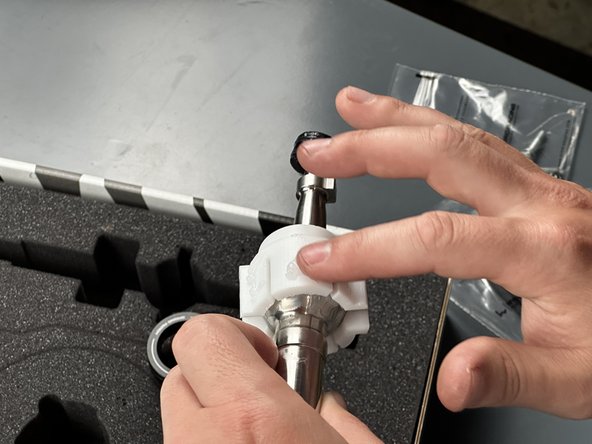
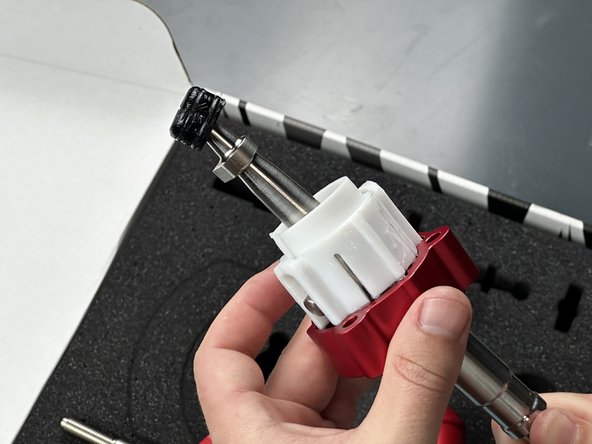
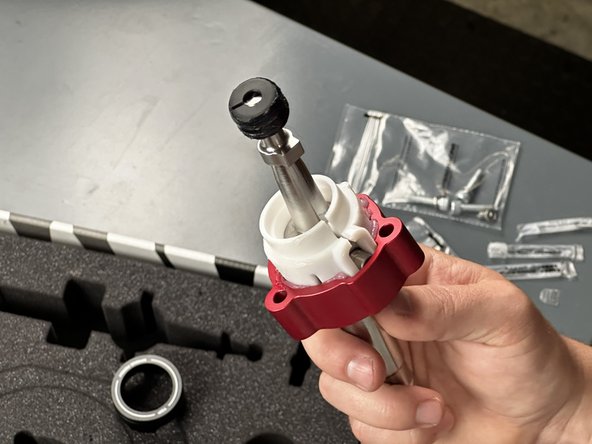
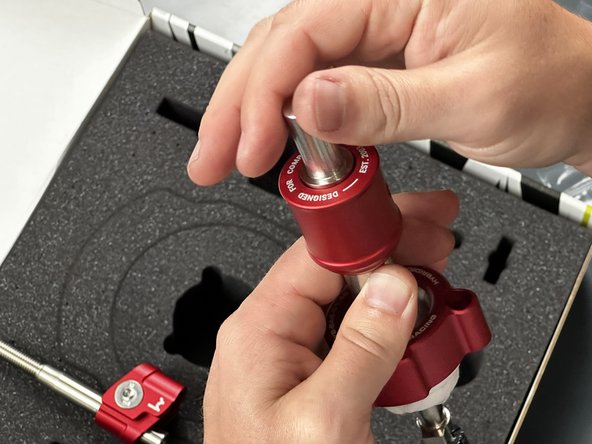
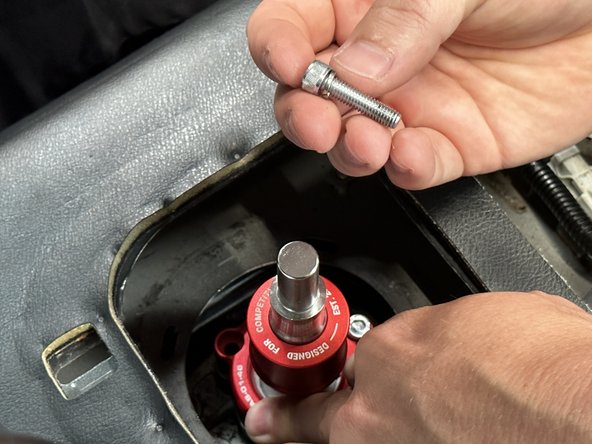
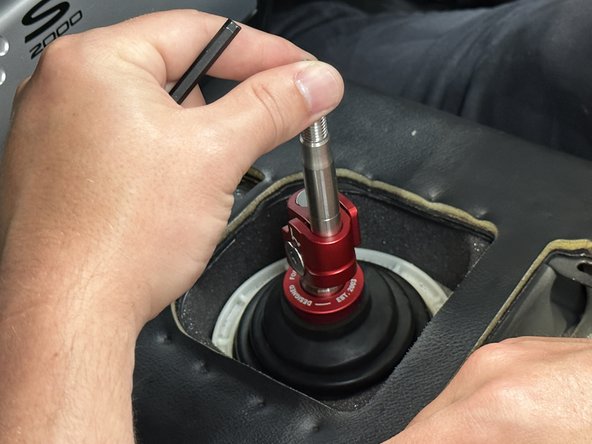
Locate the Shift Boot Collar (#5) and slide it onto the Shifter Main Rod.
-
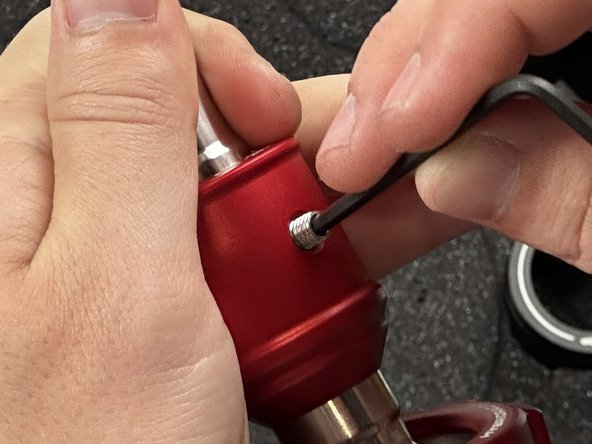
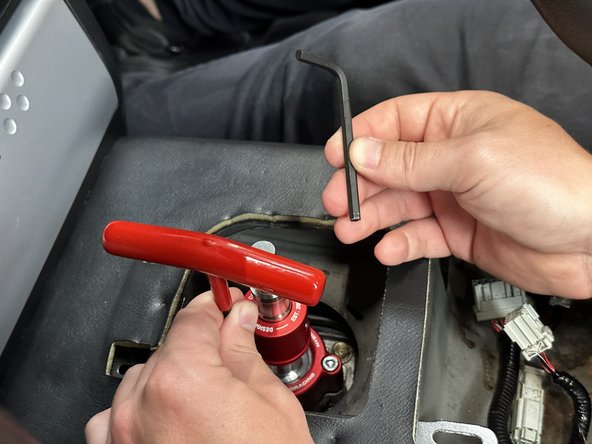
Align the holes and install the set screw provided in the hardware bag. Be sure to snug this down before moving on.
-
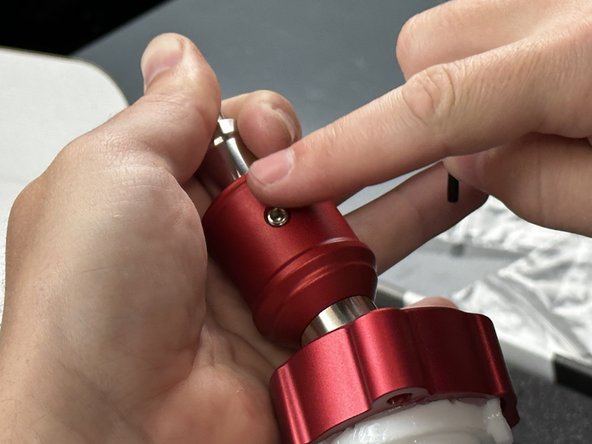
When installed correctly, it should sit below or flush with the surface of the aluminum collar.
-
-
-
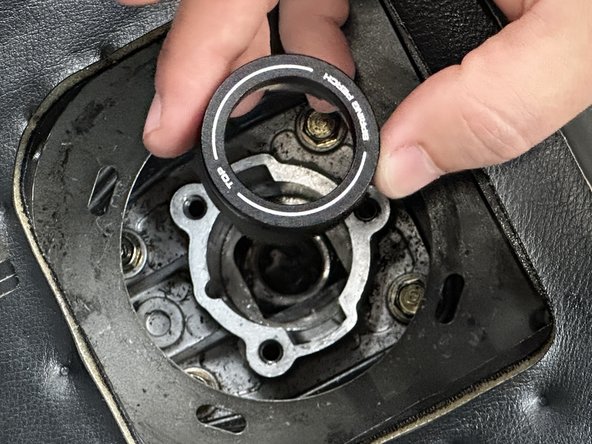
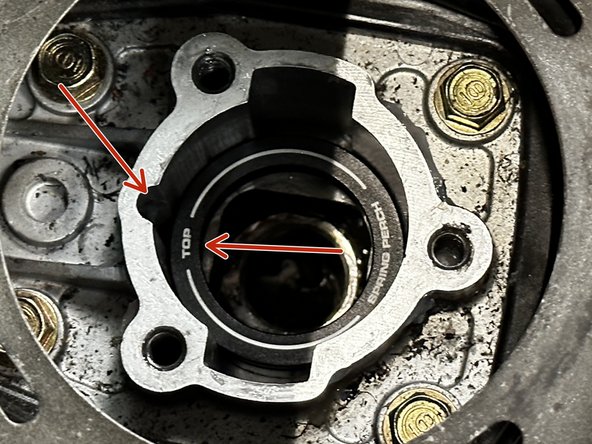
Locate the Spring Perch (#6) and install it into the transmission.
-
The Spring Perch is laser etched so the top side much face up. Do not install this part upside down. You can align the word TOP with the notch on the transmission.
-
Re-install the OEM shifter spring.
-
-
-
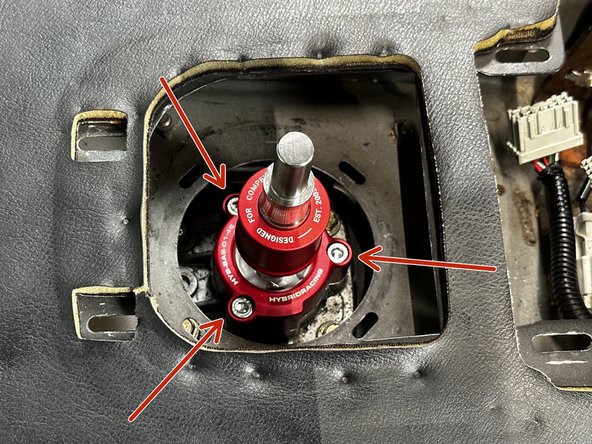
Use the supplied bolts and washers and bolt the shifter base to the transmission.
-
You can use the supplied tool if you do not have access to one.
-
-
-
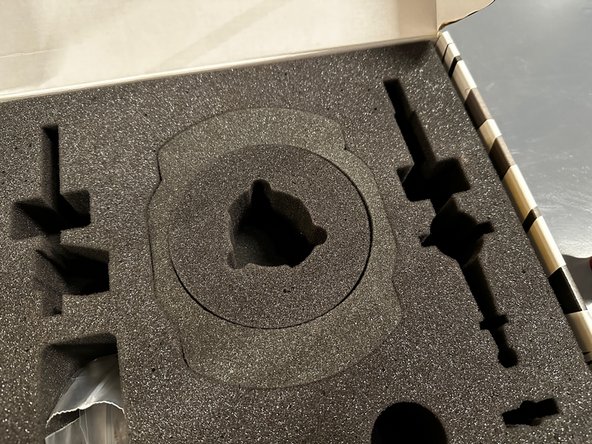
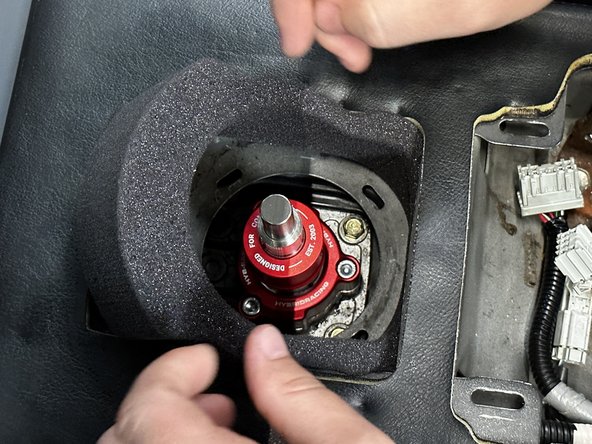
Locate the Shift Insulator foam located as part of the box packing.
-
Install this new piece in place of the old factory part. This will reduce the NVH transmitted through the floor.
-
-
-
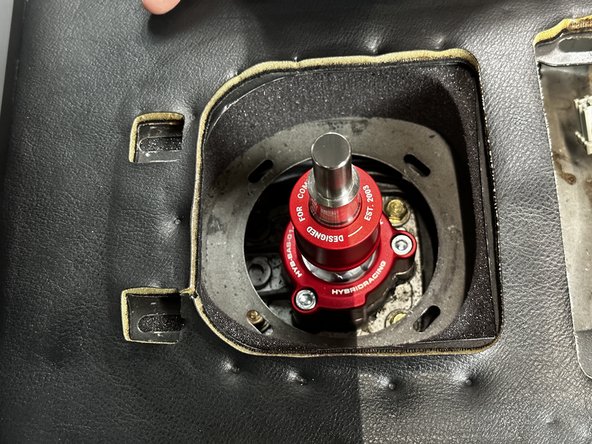
You can now re-install the factory shift boot.
-
Clip it back into place. and slide the rubber over the collar.
-
Some customers will choose not to reinstall this part as it is not critical for function. If you choose not to install this part, you will experience more NVH.
-
-
-
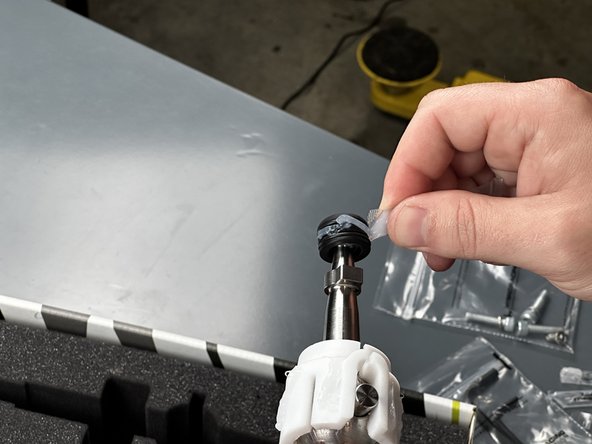
Locate the Shift Rod & Offset (#1) and position it to your liking.
-
This part can rotate 360* and raise the shift knob. Try a few different positions to dial in what feels best.
-
Verify you can shift into every gear and that the shifter's reverse lockout function works correctly. It should be smooth and easy to operate.
-
-
-
Re-install the center console. Be sure to connect all switches.
-
The shifter is now installed. Be sure to check for noise and vibrations during a drive. If you experience increased noise and rattling, check your shift knob. We suggest knobs heavier than 160g to dampen the noise.
-
If you have any questions or issues during installation, please reach out. Support@hybrid-racing.com / 225-932-9588
-