
-
-
Begin by disconnecting the negative terminal of the battery.
-
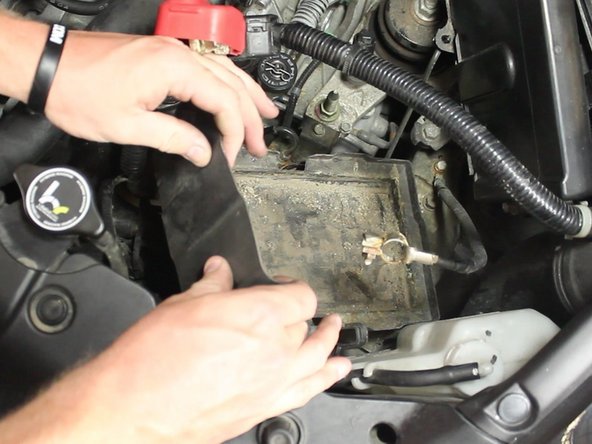
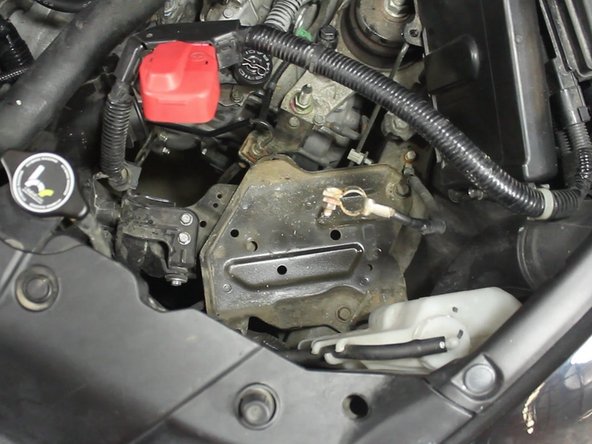
Next remove the positive terminal, then loosen the battery bracket.
-
-
-
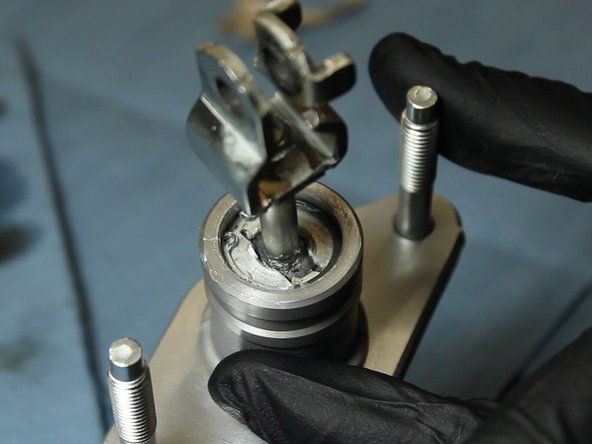
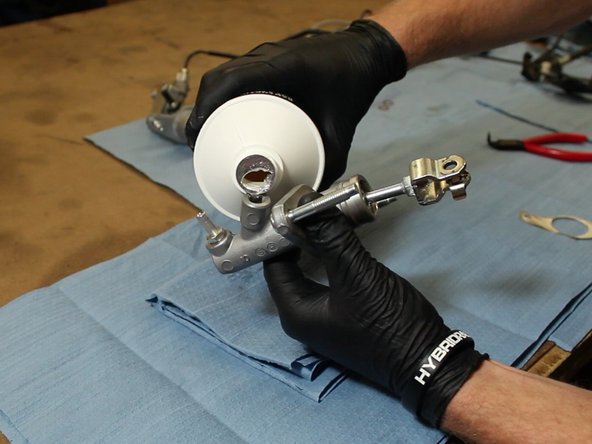
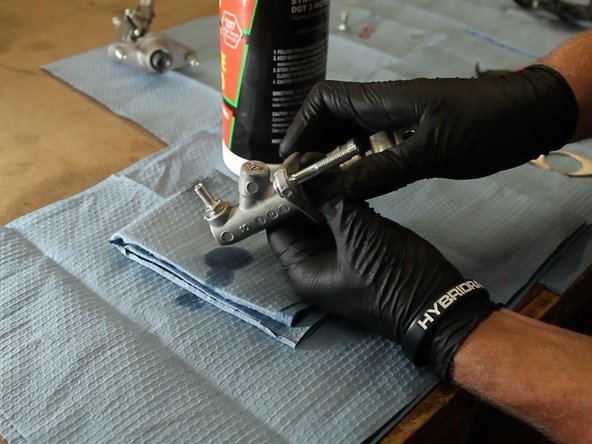
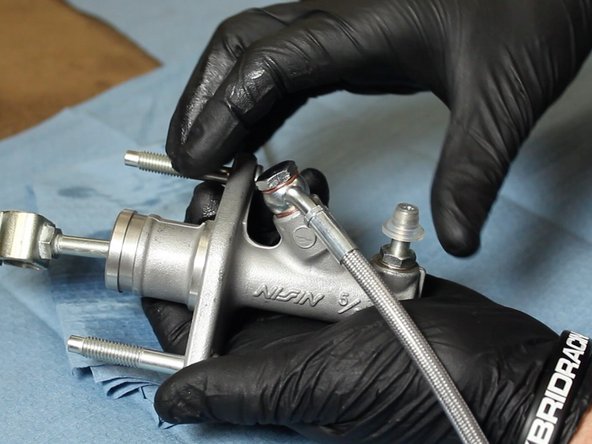
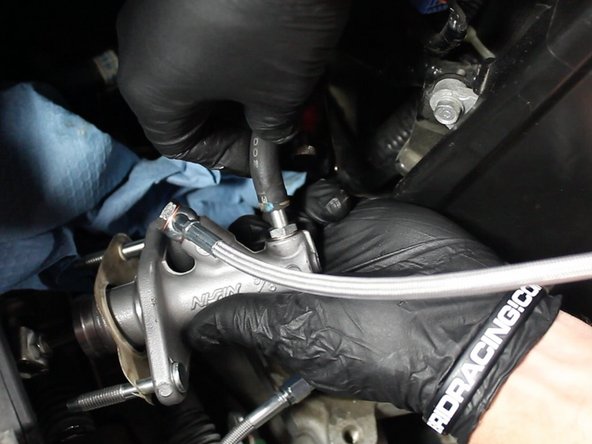
Once the EM1 CMC has the correct rod/fork, fill it with fluid. We recommend DOT 4 brake fluid.
-
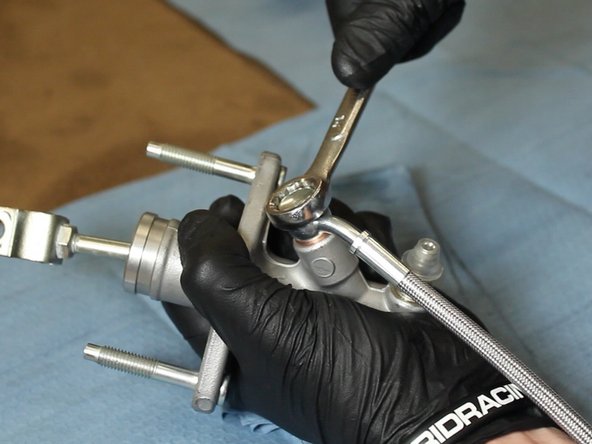
Slowly push the rod in and watch for air bubbles to come out of the fitting. The goal of this is to remove as much air from the CMC as possible. This will aid in the bleeding process.
-
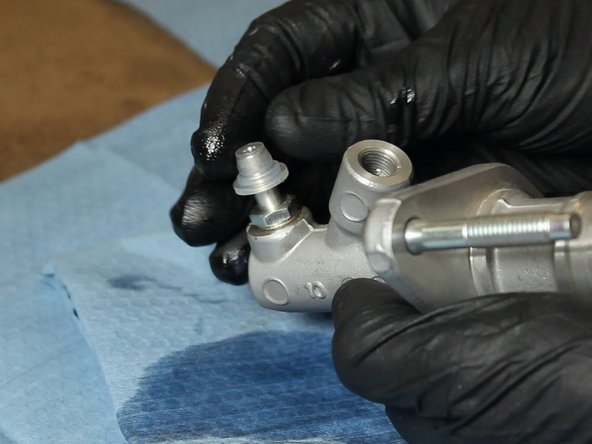
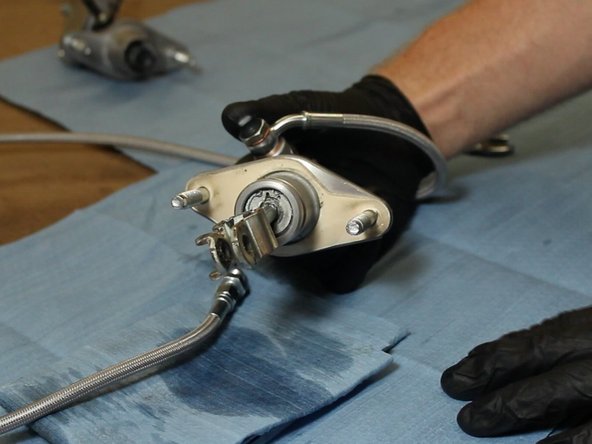
Cap the fluid outlet on the EM1 CMC.
-


Cancel: I did not complete this guide.
4 other people completed this guide.

23 Comments
I have a question, I am going to replace my Master cylinder kit with this one for my 2007 Honda Civic Si, is necessary change the rod? it's not remove the old master cylinder and slave and install the new one?
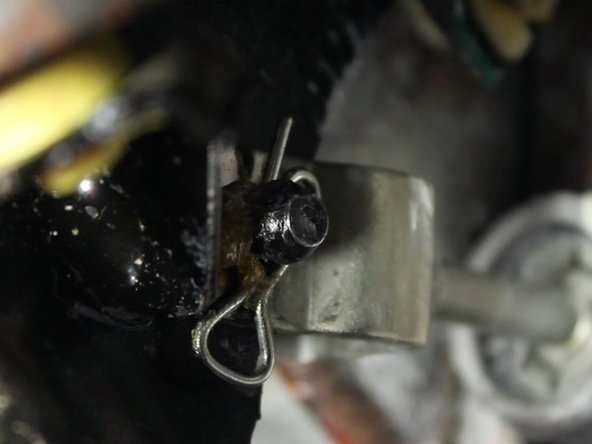
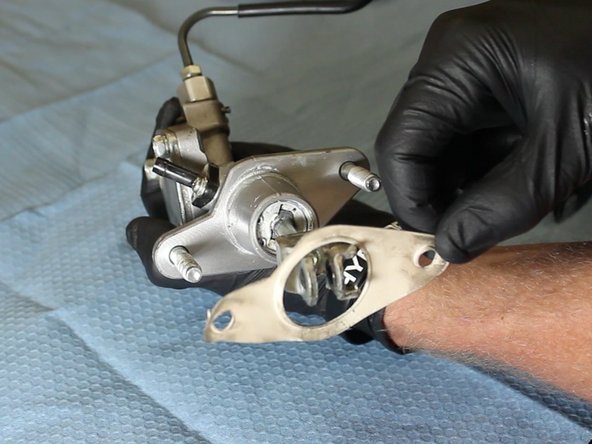
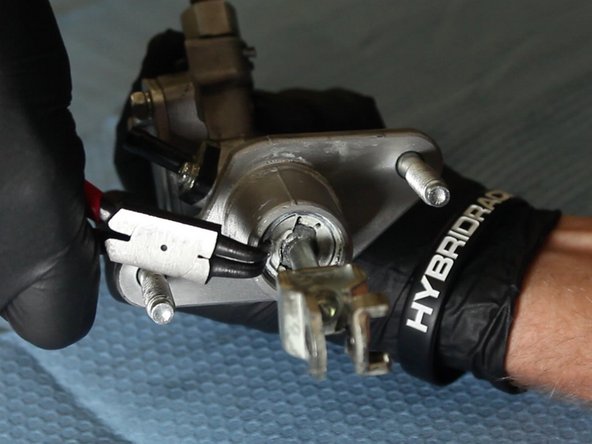
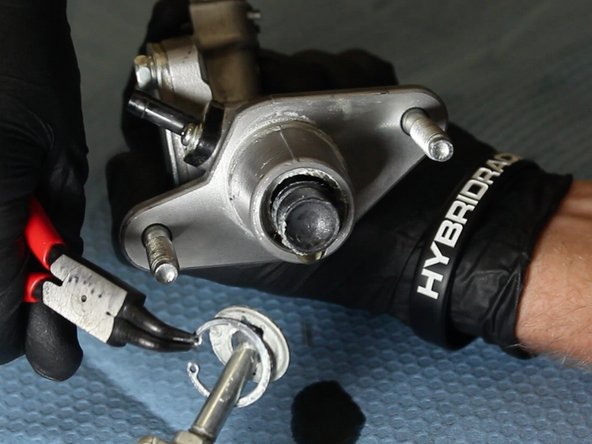
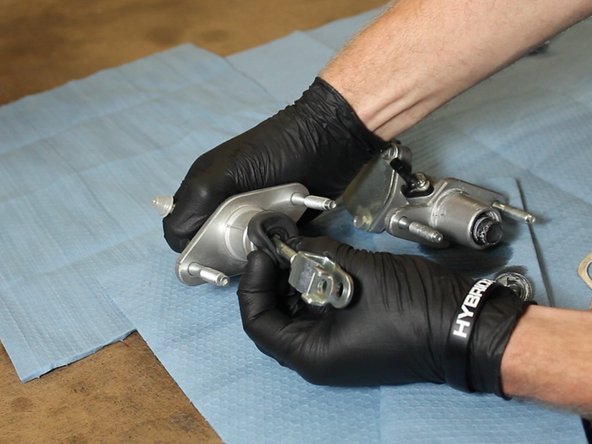
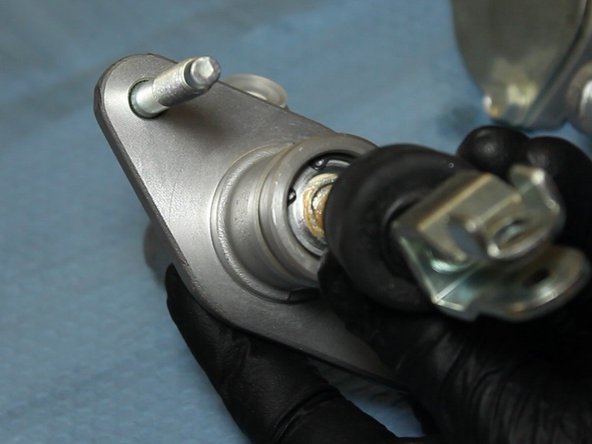
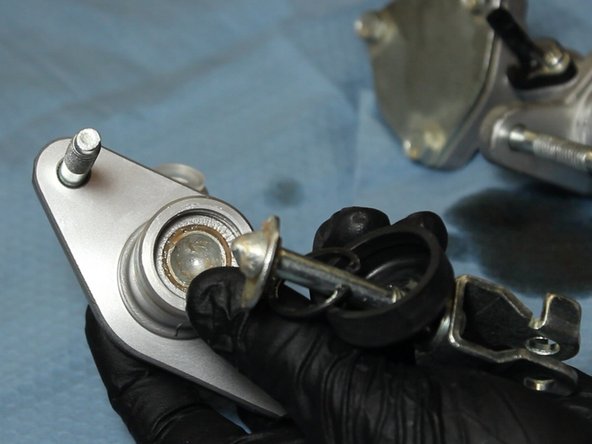
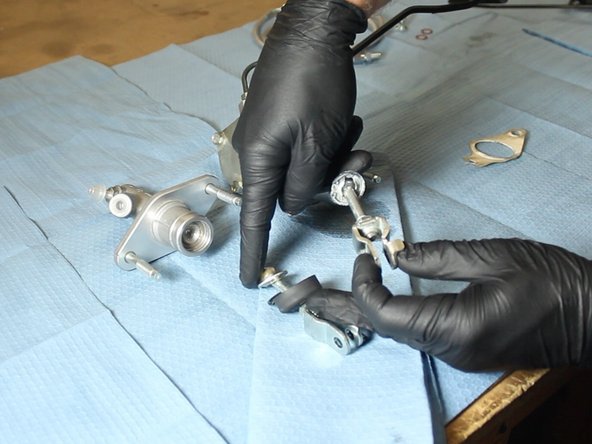
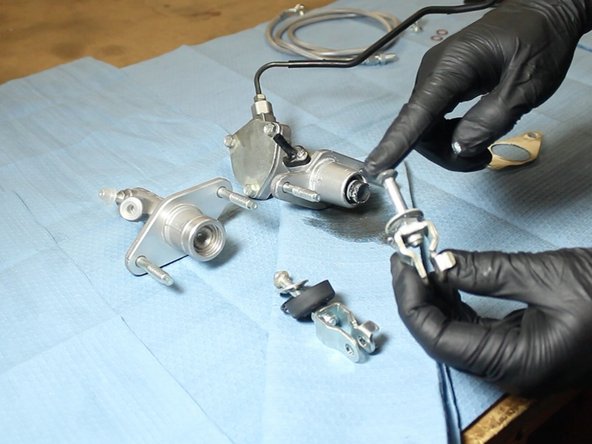
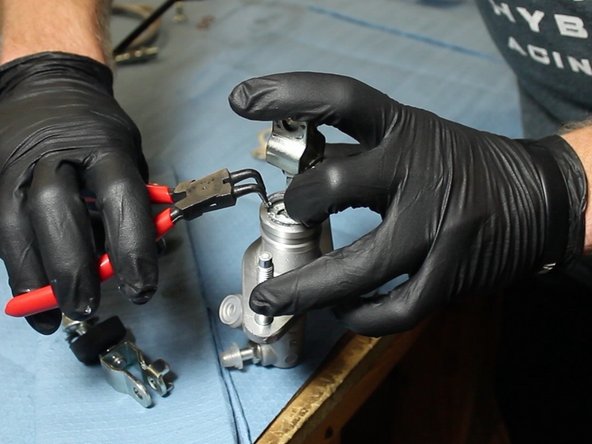
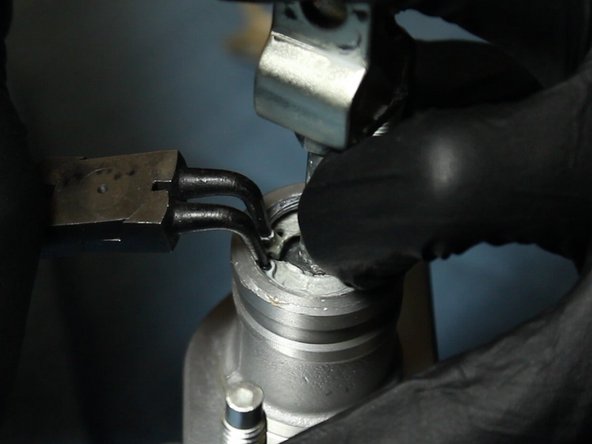
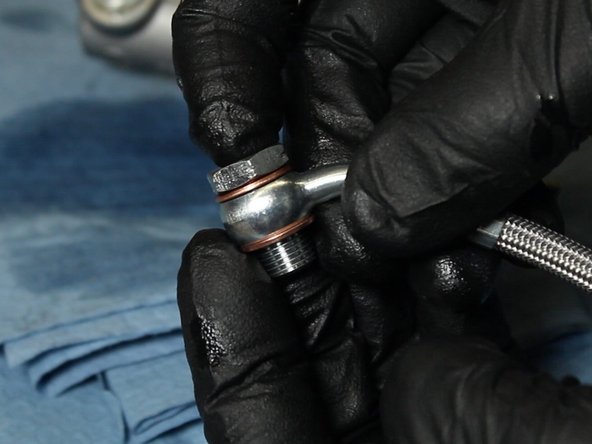
Using the C-clip pliers, insert the OEM rod & fork into the EM1 CMC. The EM1 dust boot is optional.
If you want a drop-in kit, you'll need item HYB-CMC-01-20, https://www.hybrid-racing.com/products/h.... This part number does not require you to change any internals.
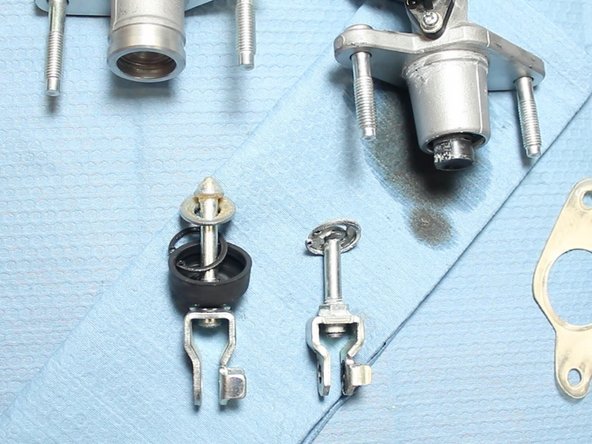
If you have kit HYB-CMC-01-02, you will need to follow the instructions above, which show you needing to remove the clevis and rod.
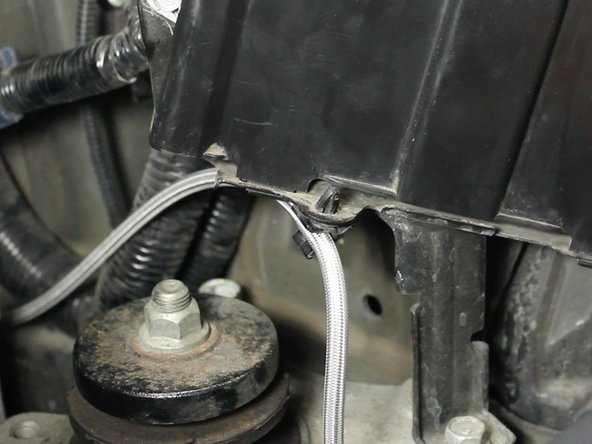
Are there any pictures of how the clutch line attaches to the slave cylinder?
When I bought the car it came clutch master cylinder from autozone Can i still use the rod from that part and switch with hybrids racing one or it has to be Honda part
Ivananalco12 - Resolved on Release Reply