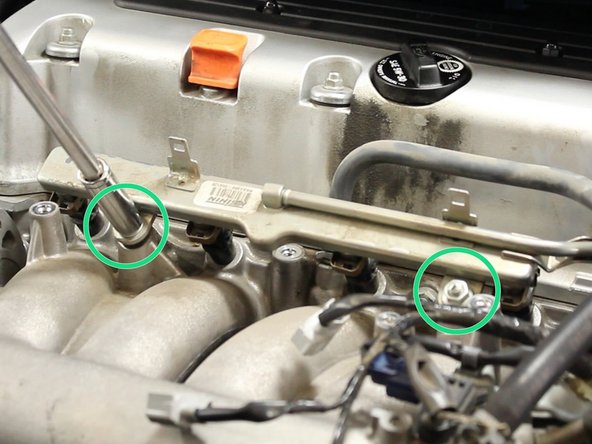
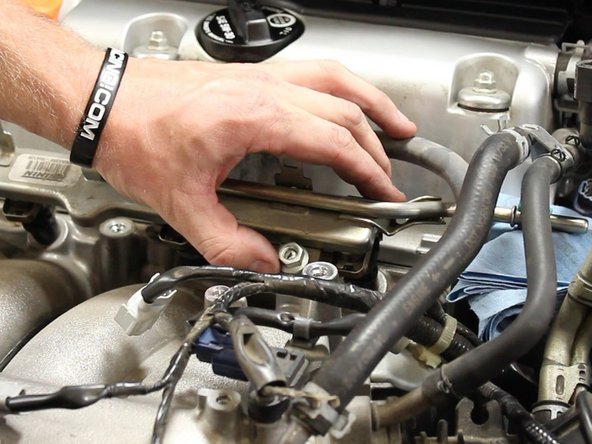
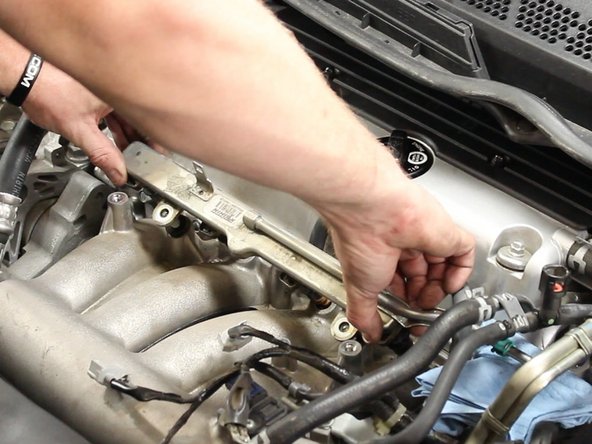
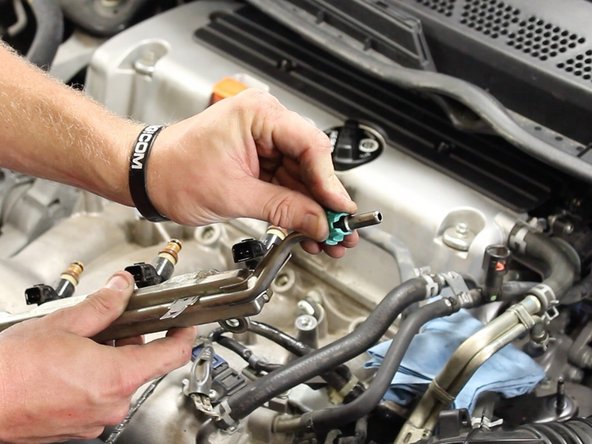
1. Use a 10mm socket to remove the two nuts that hold the upper engine cover in place. Remove the engine cover. If you are installing an aftermarket fuel rail as seen in this guide, you will not be able to re-use the factory engine cover.
    • Use a 10mm socket to remove the two nuts that hold the upper engine cover in place.

    • Remove the engine cover.

    • If you are installing an aftermarket fuel rail as seen in this guide, you will not be able to re-use the factory engine cover.

  2. Remove the upper engine cover mounting studs. (3) Remove the upper engine cover mounting studs. (3) Remove the upper engine cover mounting studs. (3)
    • Remove the upper engine cover mounting studs. (3)

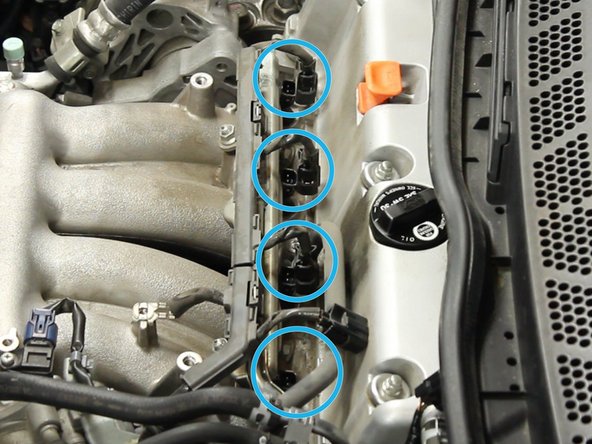
  3. Remove the upper intake manifold ground. Disconnect all of the fuel injectors. Un-clip the wire harness from the top of the OEM fuel rail and move it out of the way.
    • Remove the upper intake manifold ground.

    • Disconnect all of the fuel injectors.

    • Un-clip the wire harness from the top of the OEM fuel rail and move it out of the way.

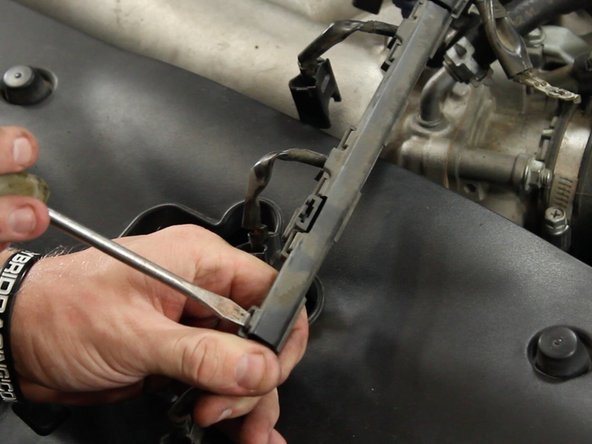
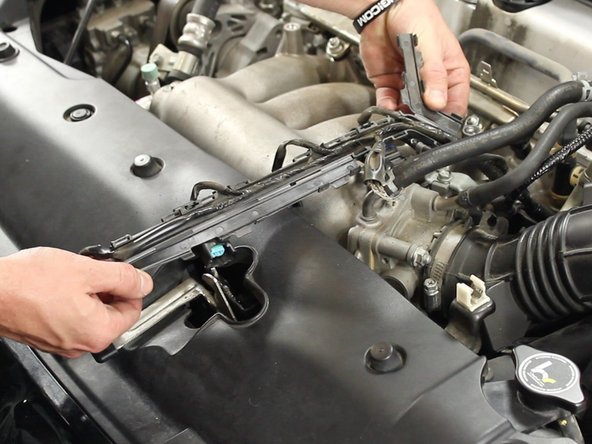
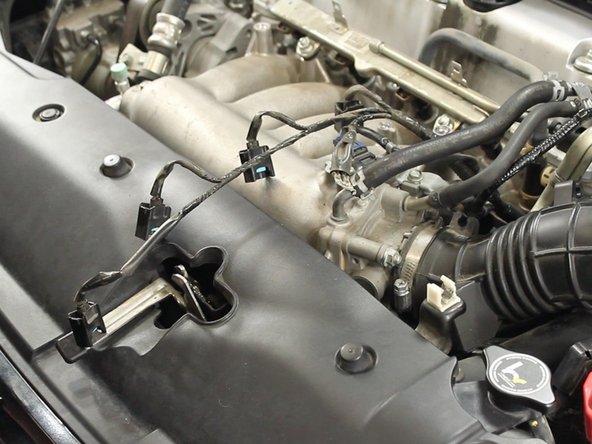
  4. Using a flat tip screw driver or pick, remove the plastic wire harness cover. There are many clips that hold the cover together, you may need to use both hands to pry it open as you un-clip it. This item will not be reused. There are many clips that hold the cover together, you may need to use both hands to pry it open as you un-clip it. This item will not be reused.
    • Using a flat tip screw driver or pick, remove the plastic wire harness cover.

    • There are many clips that hold the cover together, you may need to use both hands to pry it open as you un-clip it. This item will not be reused.

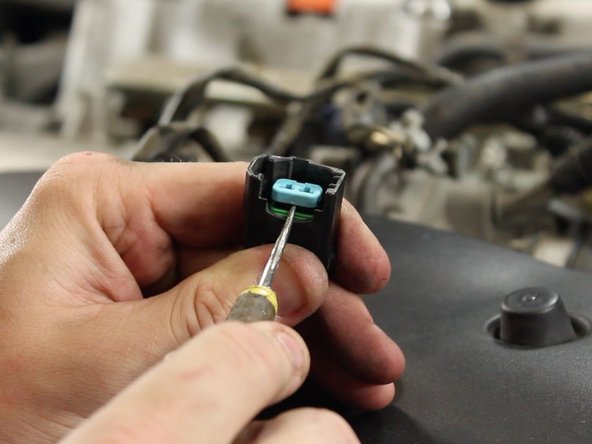
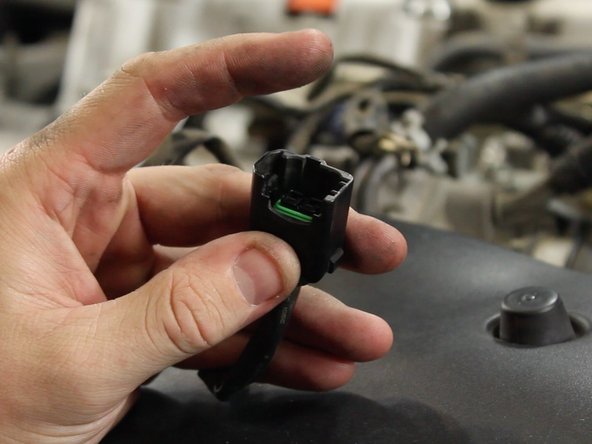
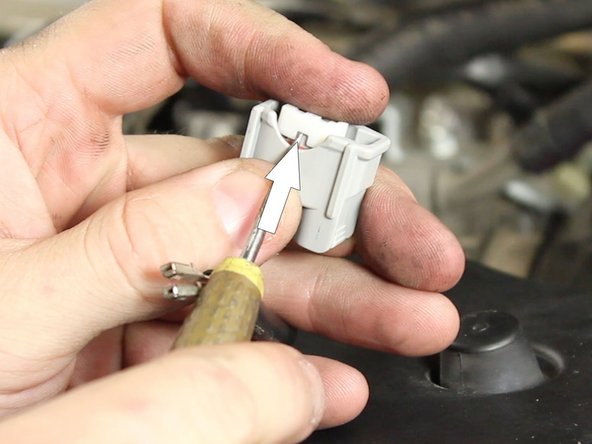
  5. Using a small flat tip screw driver or pick tool, remove the pin lock inside of the OEM fuel injector connectors. (qty 4) Using a small flat tip screw driver or pick tool, remove the pin lock inside of the OEM fuel injector connectors. (qty 4)
    • Using a small flat tip screw driver or pick tool, remove the pin lock inside of the OEM fuel injector connectors. (qty 4)

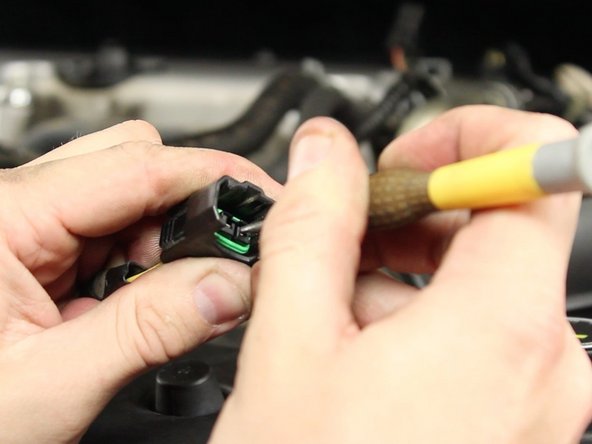
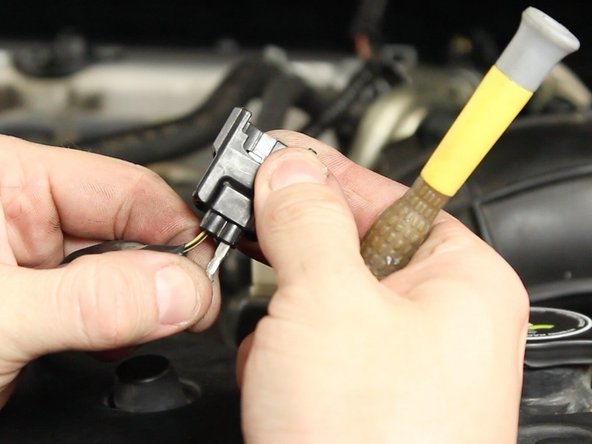
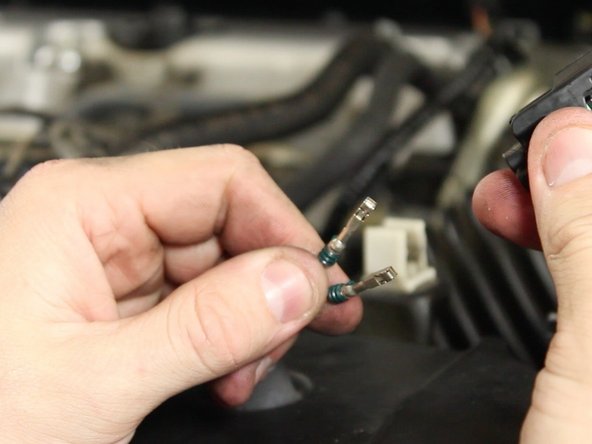
  6. Using a small point pick, pry the pin lock upwards while pulling the wire out of the connector. Be sure not to damage or deform the factory pins. This guide shows the use of the factory pins in the RDX injector connectors. These pins WILL work, however they do not lock in place. If you choose to install the RDX injector connector pins (sold separately,) do that now.
    • Using a small point pick, pry the pin lock upwards while pulling the wire out of the connector.

    • Be sure not to damage or deform the factory pins.

    • This guide shows the use of the factory pins in the RDX injector connectors. These pins WILL work, however they do not lock in place. If you choose to install the RDX injector connector pins (sold separately,) do that now.

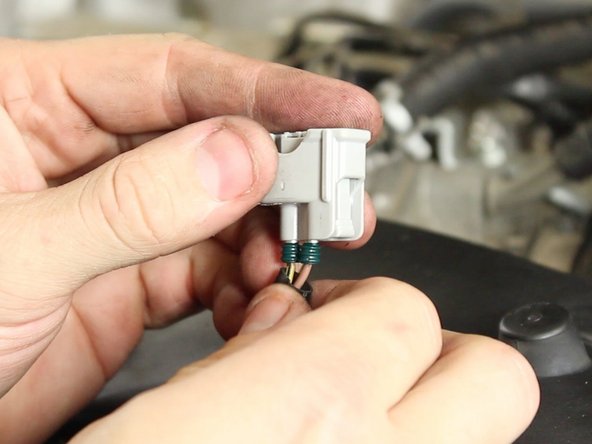
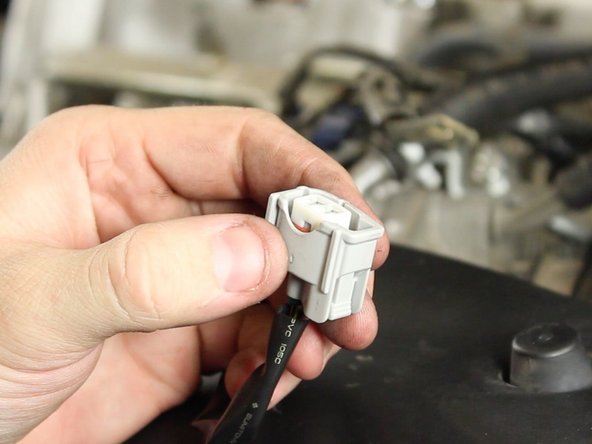
  7. Insert pins into the new RDX injector clips. Be sure the yellow wire with the black line is on the opposite side of the clipping mechanism as shown in the pictures. Snap pin lock down on the clip to lock the pins in place.
    • Insert pins into the new RDX injector clips.

    • Be sure the yellow wire with the black line is on the opposite side of the clipping mechanism as shown in the pictures.

    • Snap pin lock down on the clip to lock the pins in place.

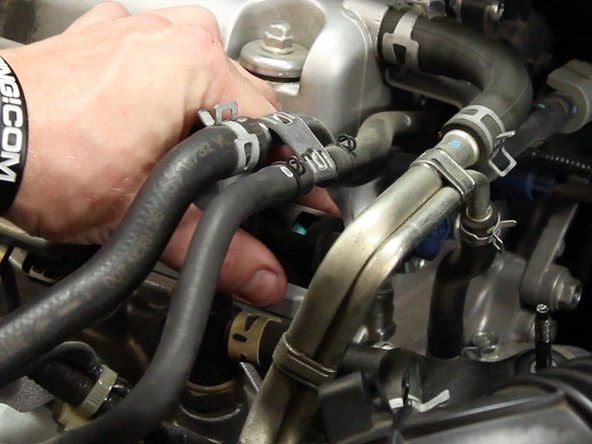
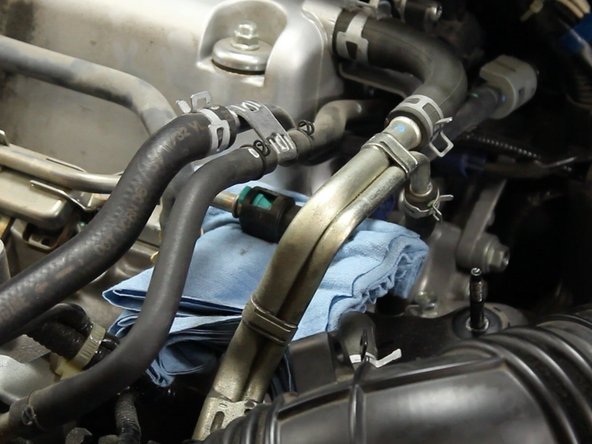
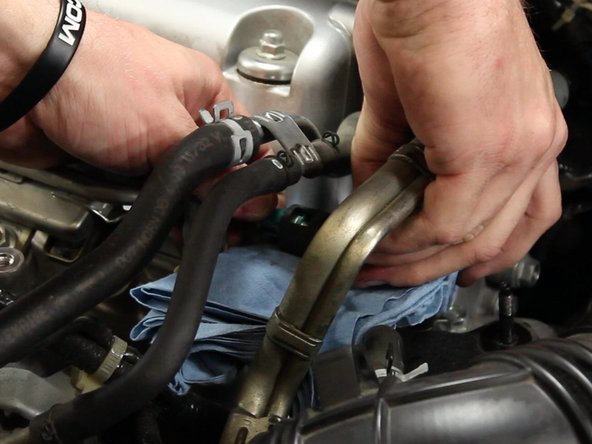
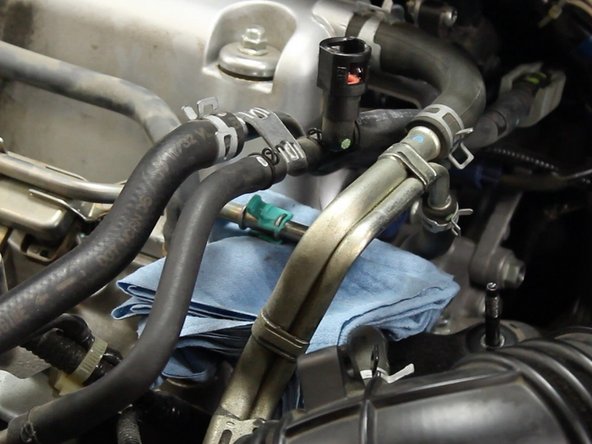
  8. Remove the quick disconnect fuel fitting cover from the fuel rail connection.
    • Remove the quick disconnect fuel fitting cover from the fuel rail connection.

    • If you are using an aftermarket fuel rail, you will not need to reuse the cover.

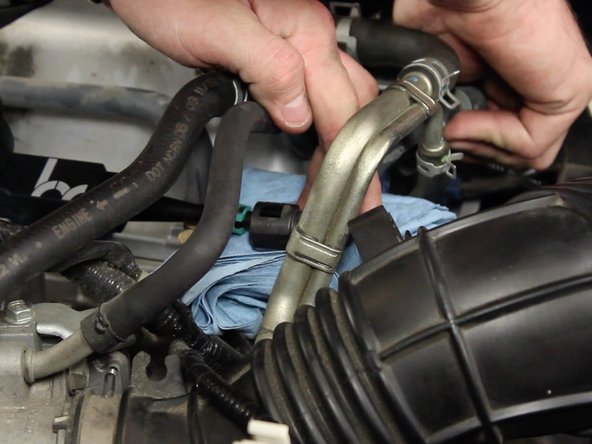
  9. Disconnect the fuel line from the fuel rail by pressing on the release clips. Once the line has been disconnected, turn the fitting upward to prevent more fuel from spilling. If the vehicle has been running within the past hour, the fuel system could still be holding pressure. When disconnecting the line, be sure to have plenty of towels for any fuel spray or spillage.
    • Disconnect the fuel line from the fuel rail by pressing on the release clips.

    • Once the line has been disconnected, turn the fitting upward to prevent more fuel from spilling.

    • If the vehicle has been running within the past hour, the fuel system could still be holding pressure. When disconnecting the line, be sure to have plenty of towels for any fuel spray or spillage.

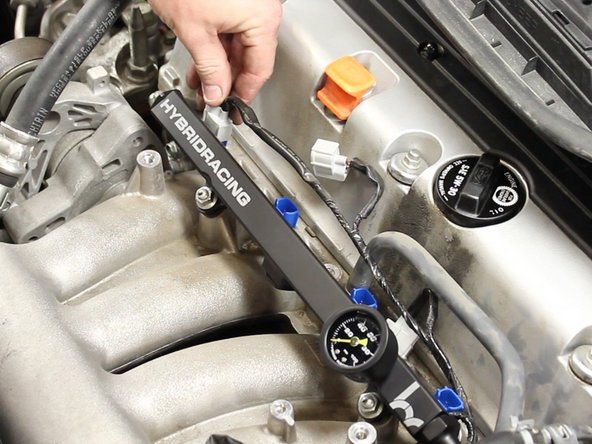
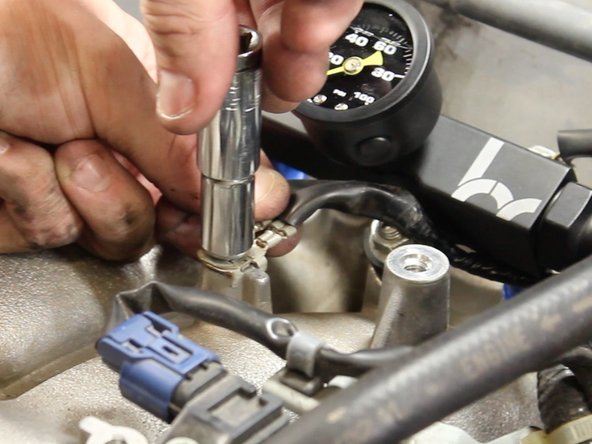
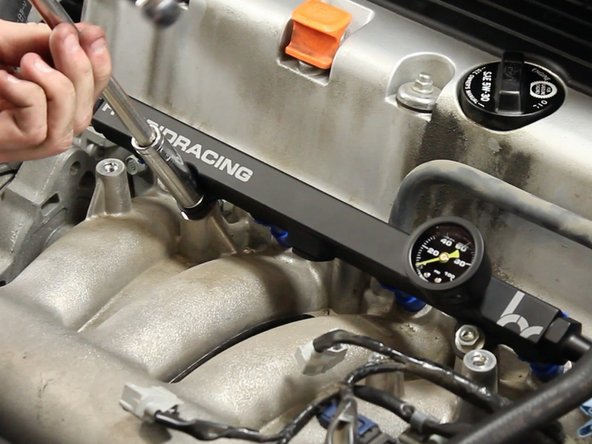
  10. Remove the 12mm nuts that mount the fuel rail to the intake manifold. With both hands, carefully pull away the fuel rail from the manifold to remove. If you do not pull evenly, you could damage the injectors.
    • Remove the 12mm nuts that mount the fuel rail to the intake manifold.

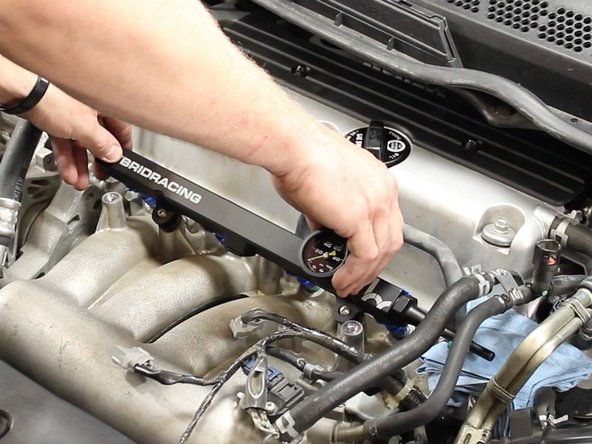
    • With both hands, carefully pull away the fuel rail from the manifold to remove.

    • If you do not pull evenly, you could damage the injectors.

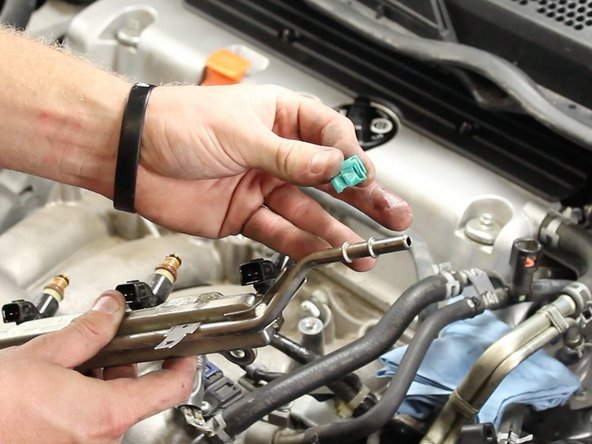
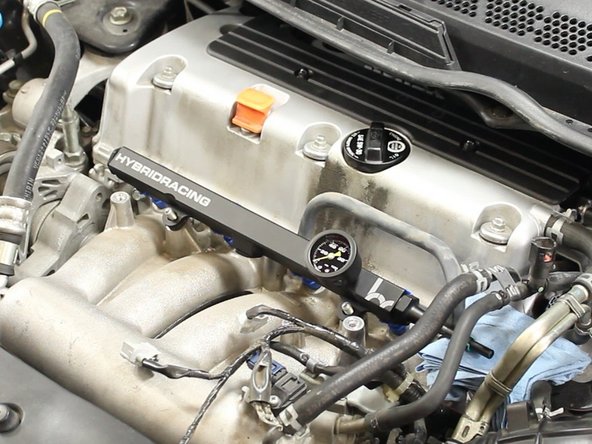
  11. Remove the quick disconnect locking clip from the factory fuel rail and install on the new fuel rail. This is only required if you are switching to an aftermarket fuel rail.
    • Remove the quick disconnect locking clip from the factory fuel rail and install on the new fuel rail.

    • This is only required if you are switching to an aftermarket fuel rail.

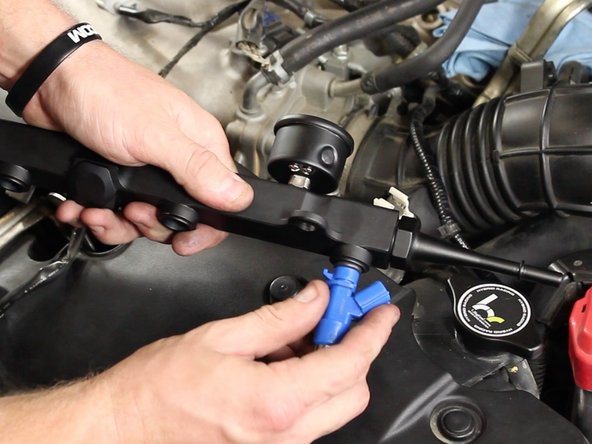
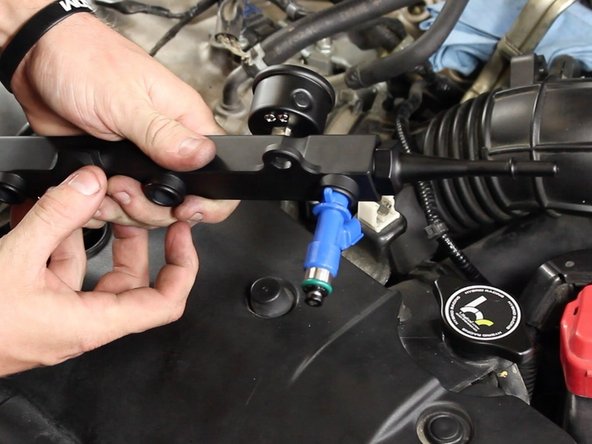
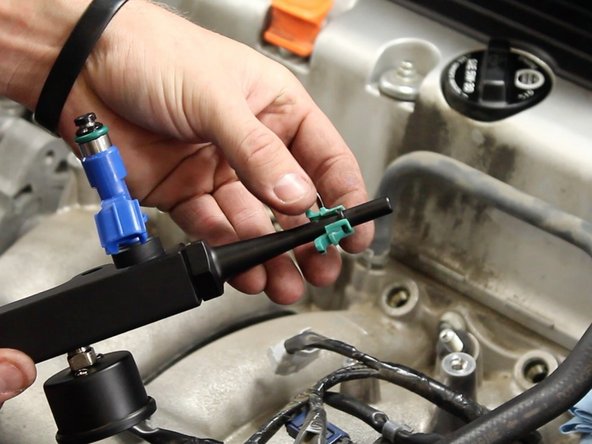
  12. Insert injectors into the ports of the fuel rail. Make sure the wire harness connection clips are on the opposite side of the fuel rail mounting points. Fuel or a small amount of oil applied to the o-rings will ease the installation of the injectors into the fuel rail. Install  the quick disconnect fuel line connection clip.
    • Insert injectors into the ports of the fuel rail. Make sure the wire harness connection clips are on the opposite side of the fuel rail mounting points.

    • Fuel or a small amount of oil applied to the o-rings will ease the installation of the injectors into the fuel rail.

    • Install the quick disconnect fuel line connection clip.

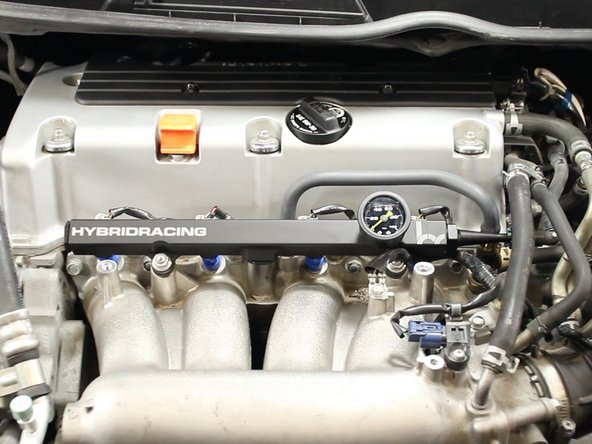
  13. Re-install the fuel rail with the new injectors. Evenly push on the fuel rail to insure you evenly seat the injectors into the intake manifold. Use a small amount of fuel or oil on the injector o-rings to ease in the installation of the injectors into the manifold. Re-install the 12mm nuts to tighten down the fuel rail.
    • Re-install the fuel rail with the new injectors. Evenly push on the fuel rail to insure you evenly seat the injectors into the intake manifold.

    • Use a small amount of fuel or oil on the injector o-rings to ease in the installation of the injectors into the manifold.

    • Re-install the 12mm nuts to tighten down the fuel rail.

  14. Attach quick disconnect fuel line to the fuel rail. Clip the injector clips onto the new injectors. Make sure you have the correct clip going to the matching injector for proper function.
    • Attach quick disconnect fuel line to the fuel rail.

    • Clip the injector clips onto the new injectors.

    • Make sure you have the correct clip going to the matching injector for proper function.

    • Re-install the ground wire in the factory location.

  15. Insert wisdom here.
    • Insert wisdom here.

    • With the new injectors installed, make sure you have the ECU map adjusted to accommodate the new fuel injectors.

    • You have successfully completed the installation!

Finish Line

One other person completed this guide.

Hybrid Racing

Member since: 04/29/2014

12,413 Reputation

67 Guides authored

7 Comments

will this work on 2014 crv’s?

FRANCIS TALLO II - Reply
Jason, you can swap out the injectors and keep the OEM fuel pressure, however is isn’t going to work as well without actually retuning the car. You should use KPRO and have the fuel trim / injector size adjusted accordingly.

David Cordell - Reply
Can I use RDX 410cc injectors with Honda OEM ECU(fuel pressure 54psi)?? My car is EG K Swap…

Is RDX 410cc better than stock Keihin 310cc for OEM ECU?

Thanks a lot!

Jason Cheng - Reply
what is the yellow and black wire?

thomas gill - Reply
That powers the injectors.

Hybrid Racing -

Add Comment

View Statistics:

Past 24 Hours: 5

Past 7 Days: 23

Past 30 Days: 109

All Time: 20,526