-
-
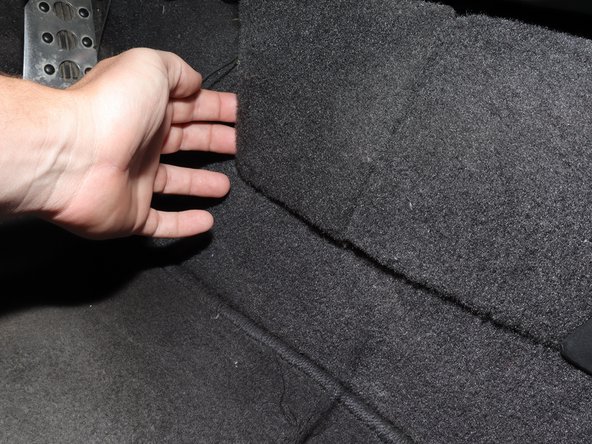
Begin by sliding the shift boot downward and unclipping it from the knob.
-
Remove the shift knob.
-
-
-
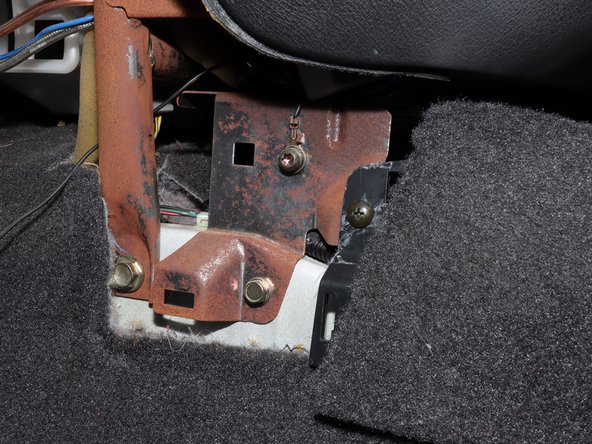
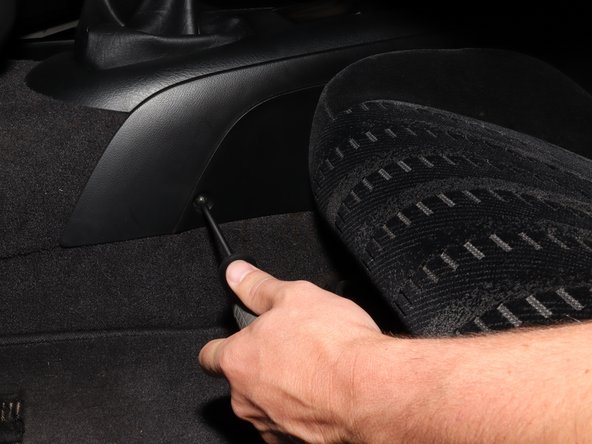
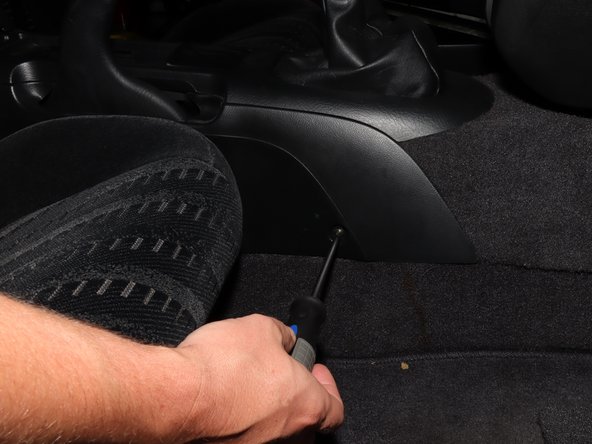
On the right hand side kick panel, remove the cover revealing the console bracket.
-
Remove the phillips screw.
-
-
-
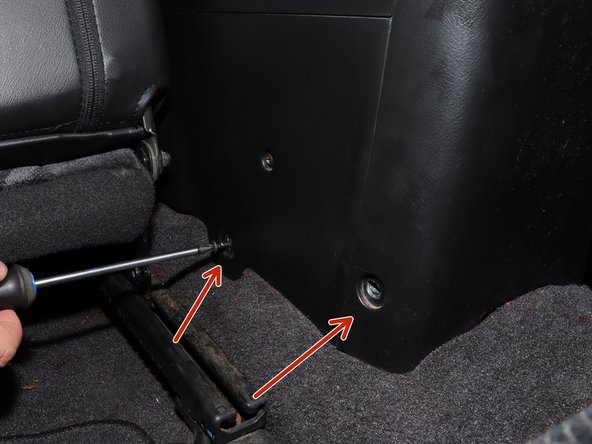
On the rear section of the console, locate the 4 mounting screws.
-
There are 2 on each side. Remove all of them.
-
-
-
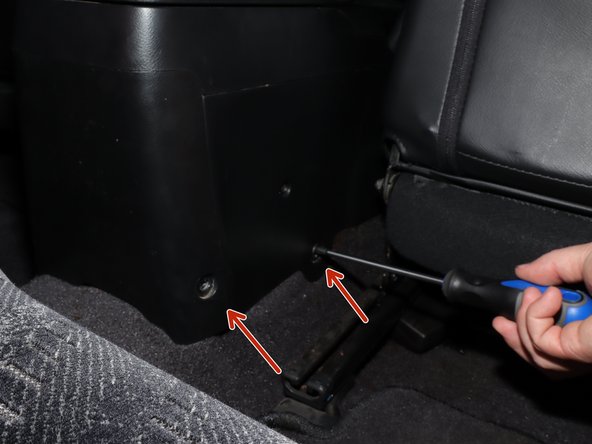
On the upper section of the center console, locate the mounting screws.
-
There should be one on each side. Remove them.
-
Lift the e-brake handle to the locked position.
-
-
-
Remove the console and set aside.
-
Be sure to disconnect any electrical connectors.
-
-
-
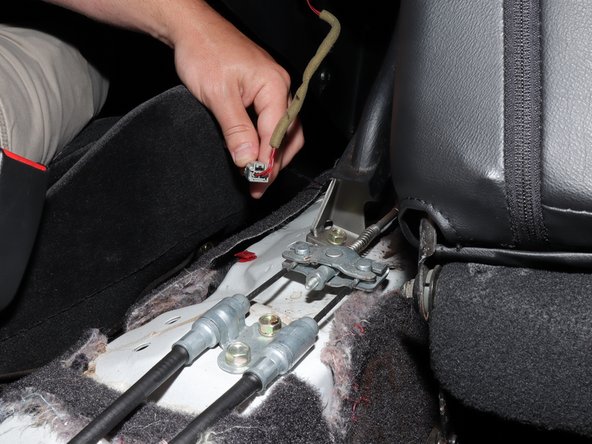
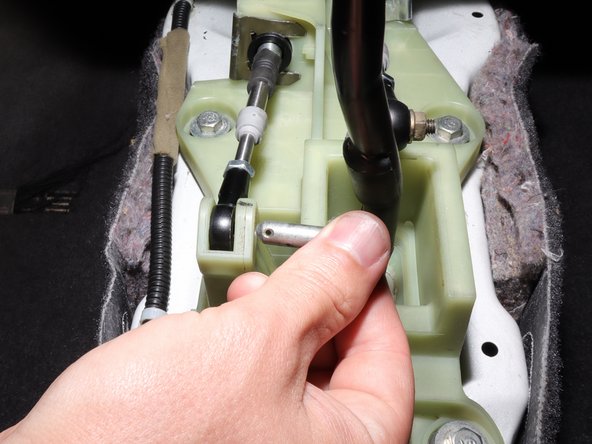
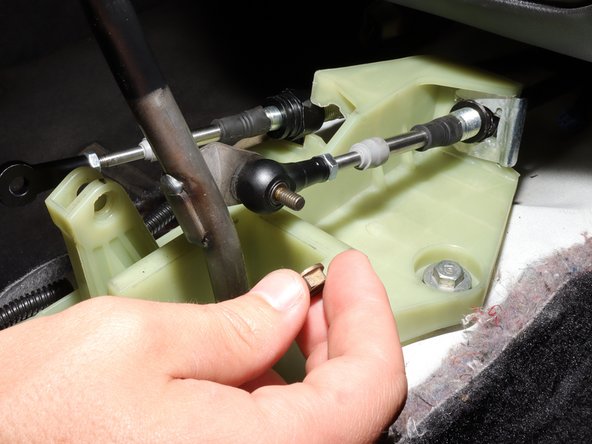
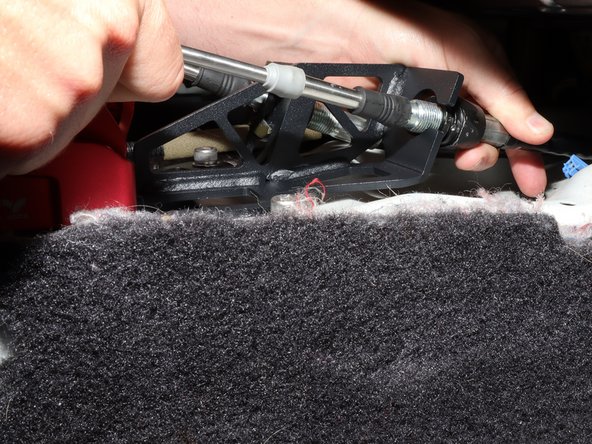
Remove the LH side shifter cable from the shifter.
-
Remove the clip, then slide the pin out.
-
-
-
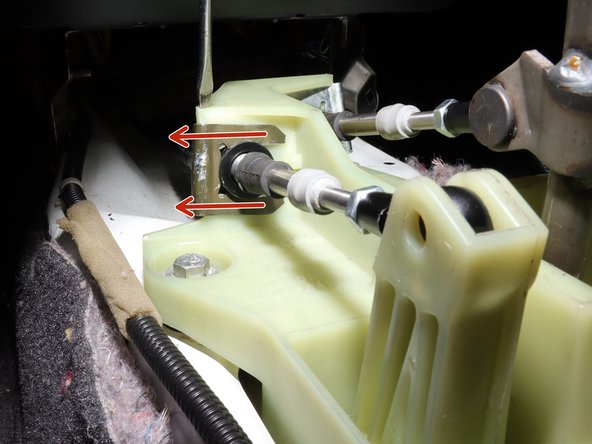
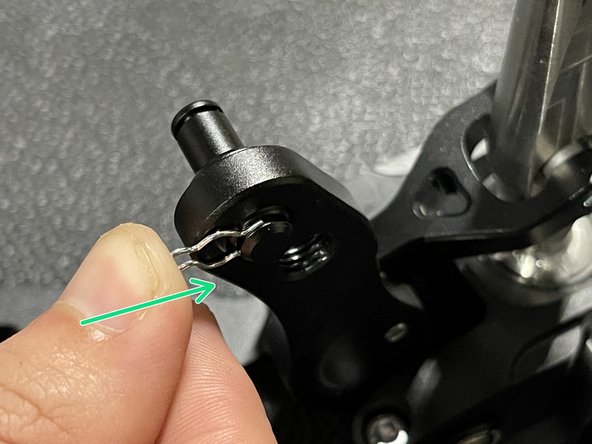
Remove the spring clip holding the cable in place.
-
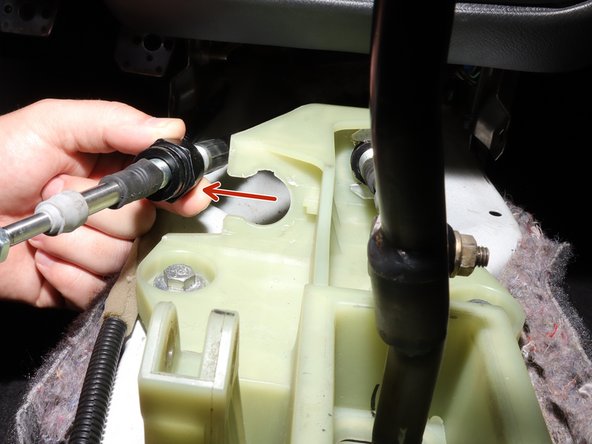
Once the clip is removed, push the cable inward and slide it away from the shifter.
-
-
-
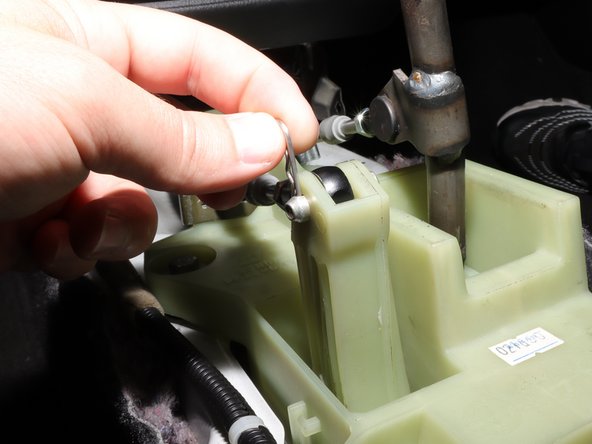
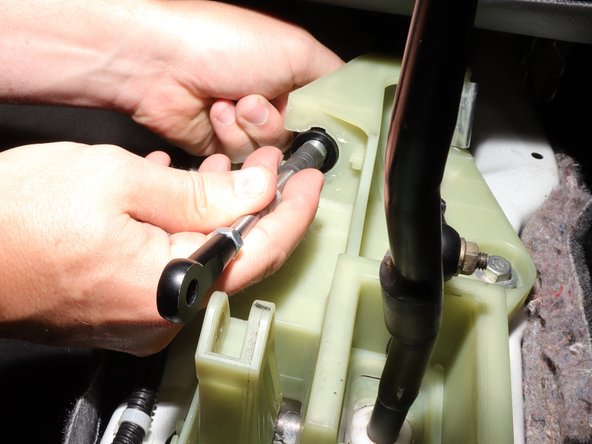
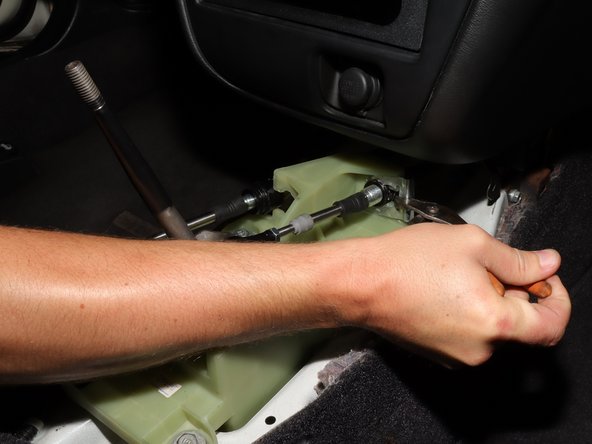
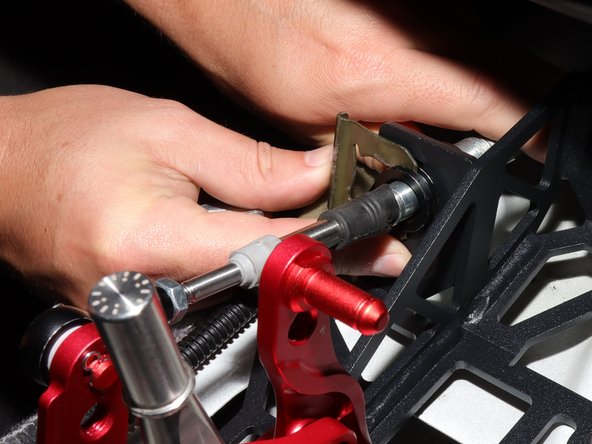
Remove the RH side shifter cable from the shift rod. You may need to use a 10mm socket.
-
Remove the spring clip, and like the previous side, push the cable in and slide it away from the shifter.
-
-
-
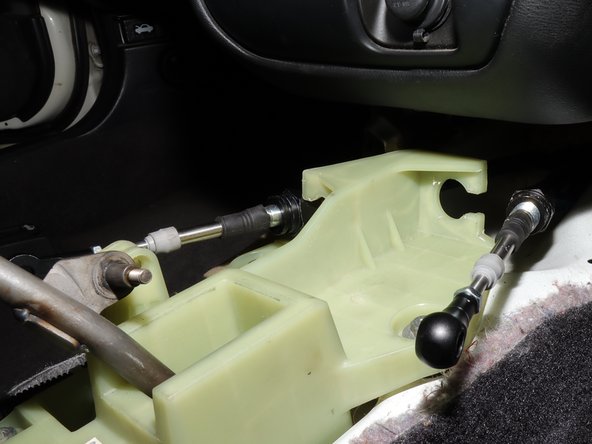
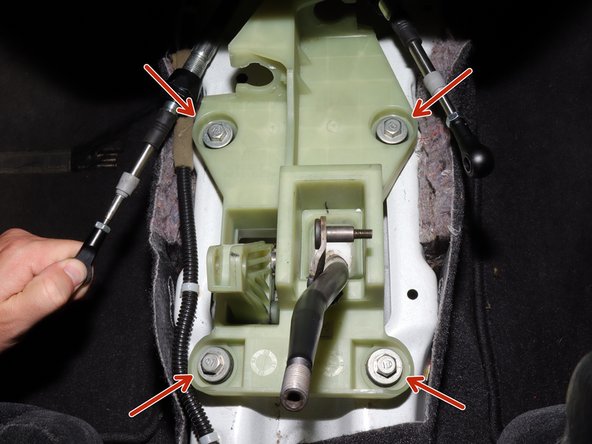
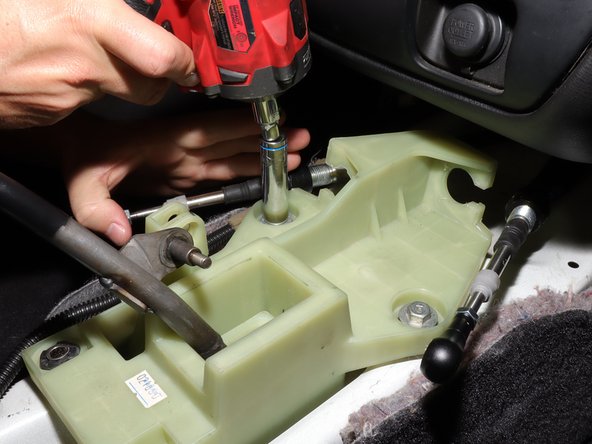
Remove the four shifter mounting bolts.
-
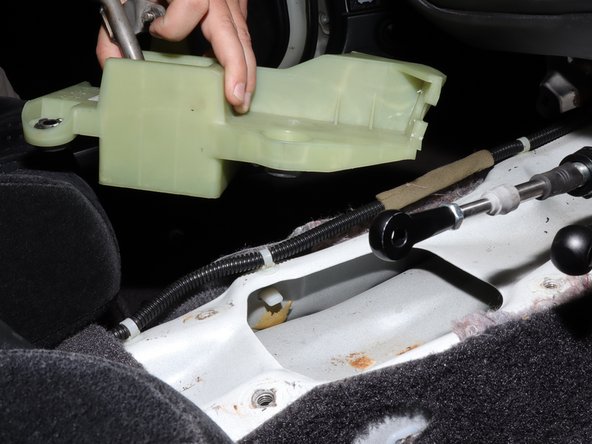
Remove the shifter from the inside of the car.
-
-
-
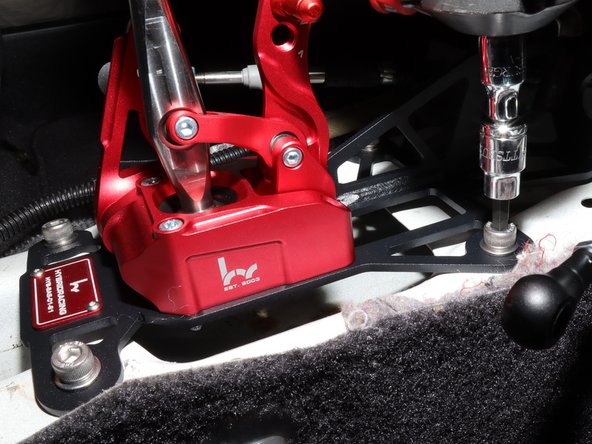
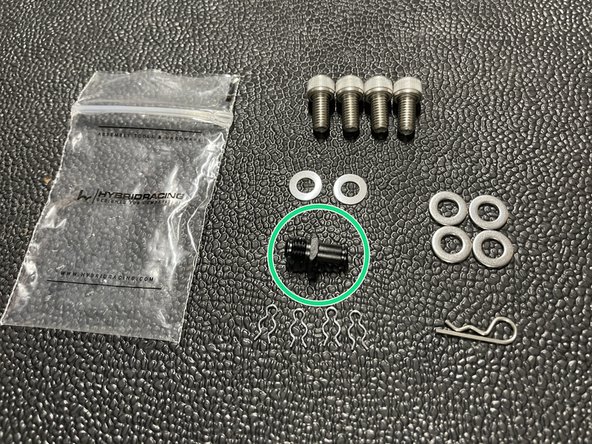
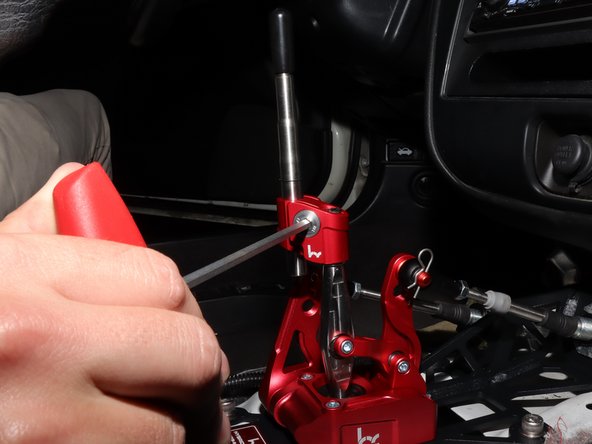
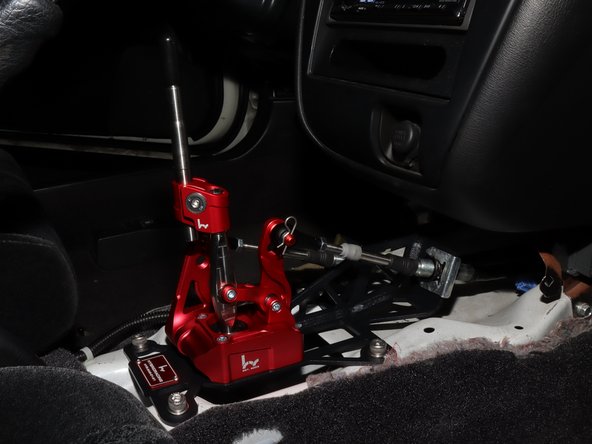
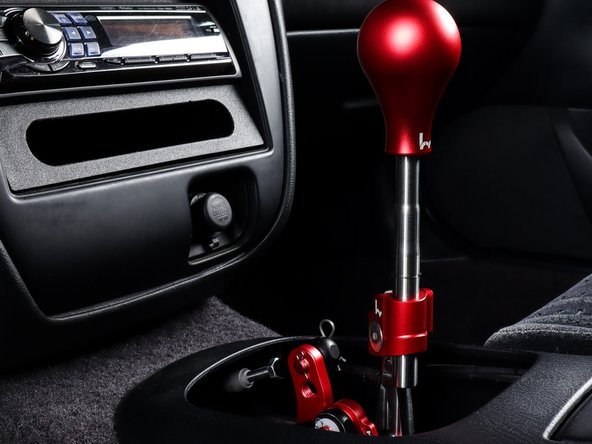
Install the new Hybrid Racing shifter using the supplied hardware.
-
Once all bolts are in place, use a 6MM Allen to tighten them down.
-
-
-
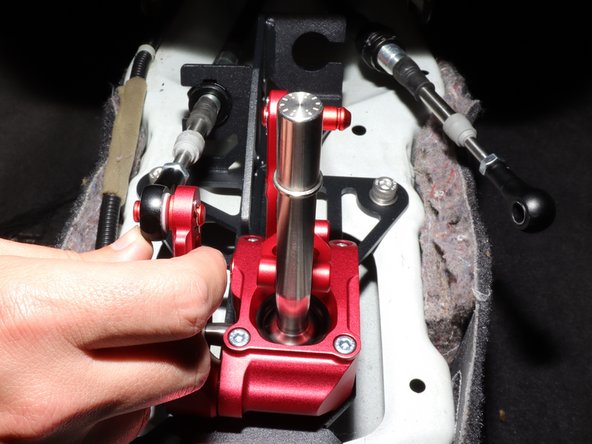
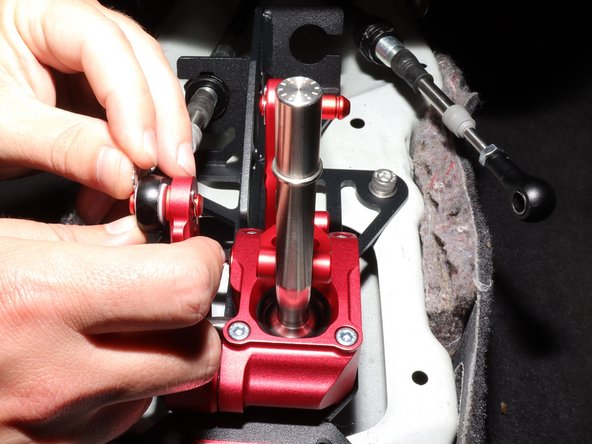
Install the LH side cable by inserting it into the shifter, and slide the end link onto the shifter.
-
Use the supplied washers and cotter pin.
-
Install the spring C clip to hold the shifter cable to the shifter.
-
Position 2 is the shortest setting
-
Position 1 is the longest setting.
-
-
-
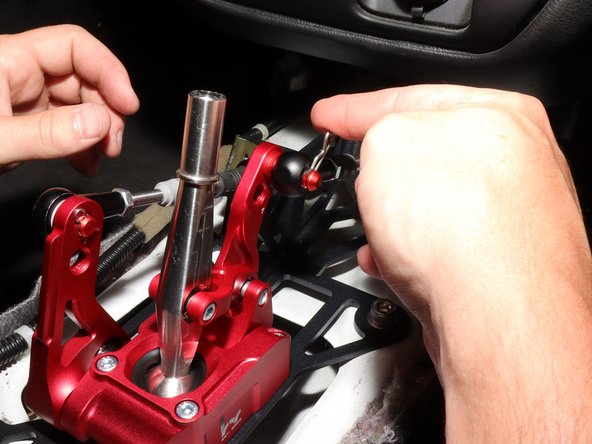
Insert the RH side shifter cable into the shifter and slide the end link onto the shifter arm.
-
Use the supplied washers and cotter pin to secure it.
-
Finally, install the spring C clip to hold the shifter cable in place.
-
For the 2003 Acura CL Type-S, see steps 14 & 15.
-
Position 2 is the shortest setting
-
Position 1 is the longest setting
-
-
-
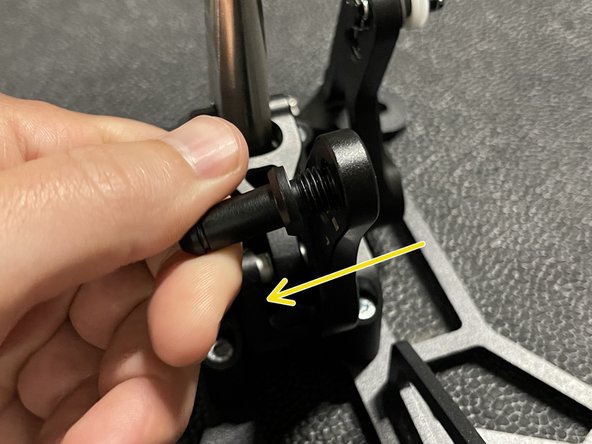
If you are installing this in a 2003 Acura CL Type-S chassis, you must change the shifter cable pin on the Hybrid Racing shifter.
-
The shifter is assembled with the larger pin for the Honda Accord and Prelude. If you try to install this in the CL Type-S, you'll notice the cable pin is too large.
-
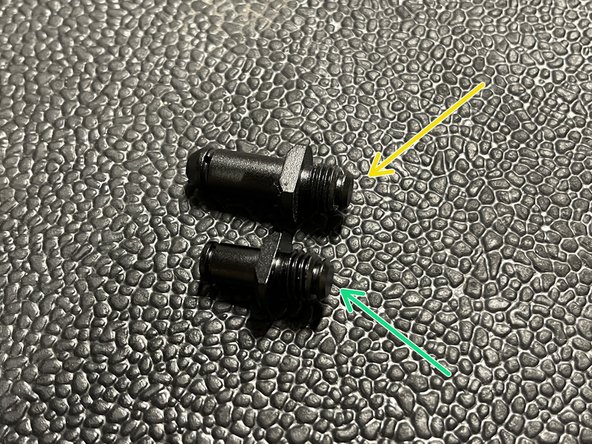
Included in the hardware bag, there will be an extra cable pin. This is smaller and required only for the 2003 Acura CL Type-S.
-
The Honda Accord/Prelude/Insight pin is larger and longer.
-
The Acura CL Type-S pin is shorter and smaller in diameter.
-
-
-
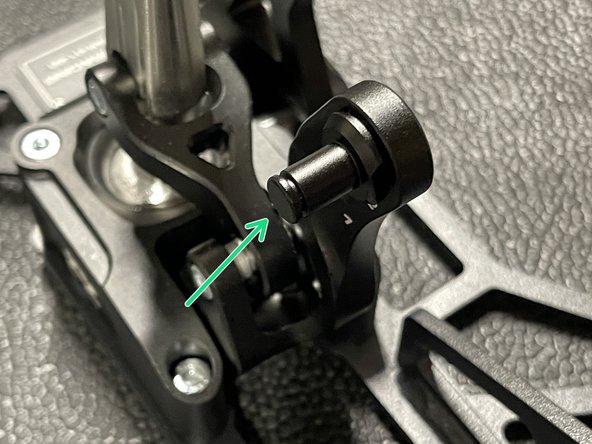
Remove the retaining pin and use a 12mm wrench to loosen the pin.
-
Install the smaller pin for the CL Type-S and tighten with a 12mm wrench.
-
Install the retaining clip.
-
You can now continue with the installation based on the car you have.
-
-
-
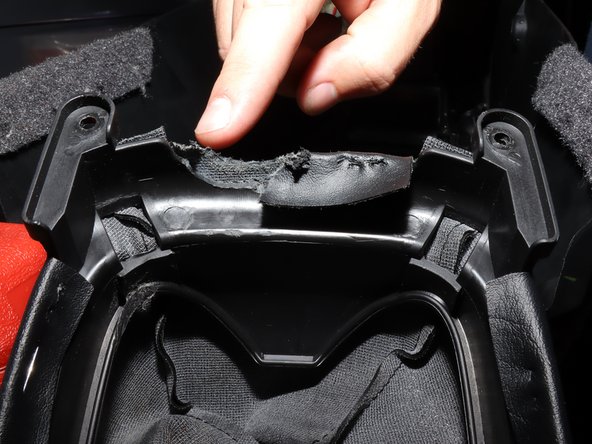
Please note that in the shortest setting, the shifter arm may contact the shift boot.
-
If it does, some trimming of the shift boot may be necessary. Alternatively, you can remove the shift boot if you prefer to leave the shifter assembly exposed.
-