-
-
Begin by removing both armrest sections.
-
These are held in with clips, so just grab them and pull them upwards.
-
-
-
Remove the upper console trim sections by inserting a plastic pry tool at the bottom.
-
Gently pry upward just enough to get your fingers under. Then pull the clips outward to release the plastic trim.
-
Be sure not the mar up the surfaces with the pry tool.
-
-
-
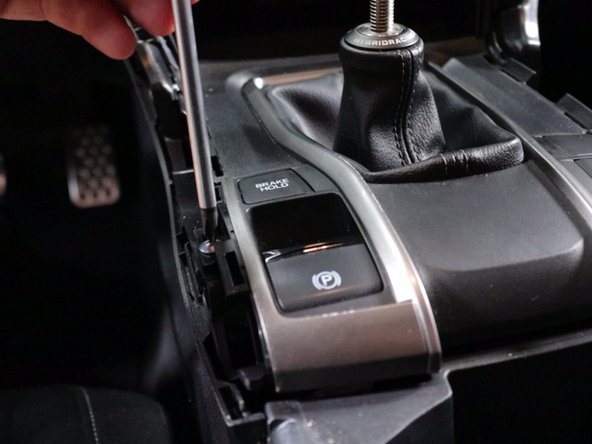
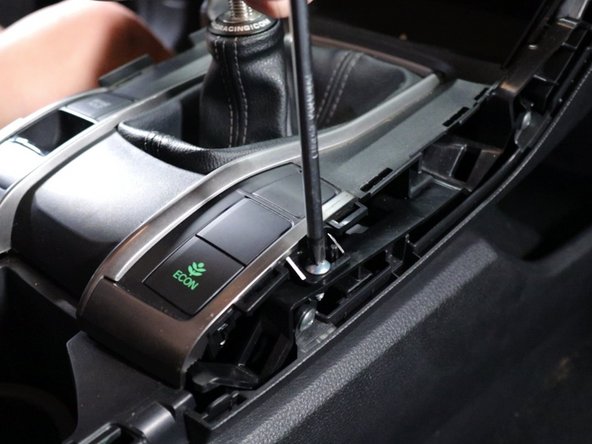
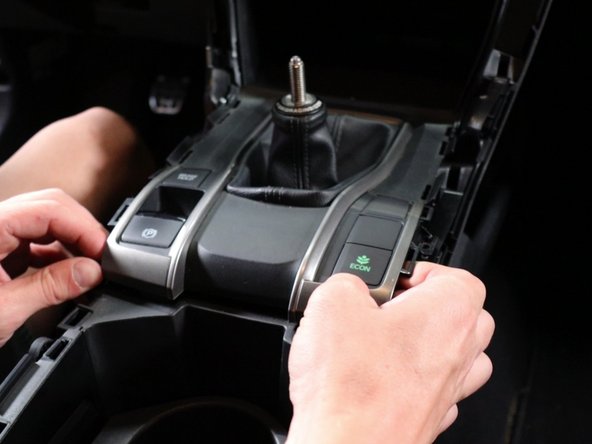
Remove the shift knob and boot collar.
-
Use a phillips screwdriver and remove the two retaining screws.
-
Then grab the back section and pull upwards; this should unclip the shift boot cover.
-
-
-
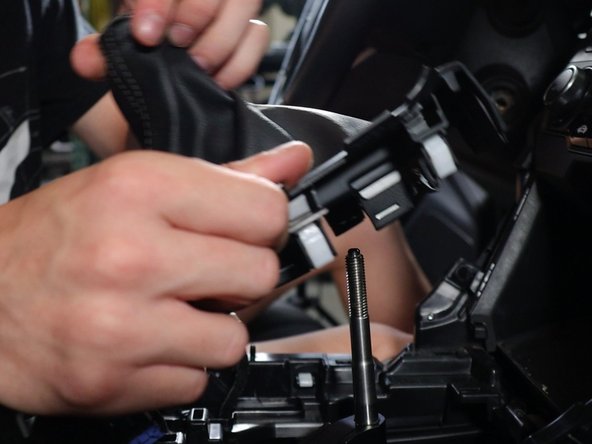
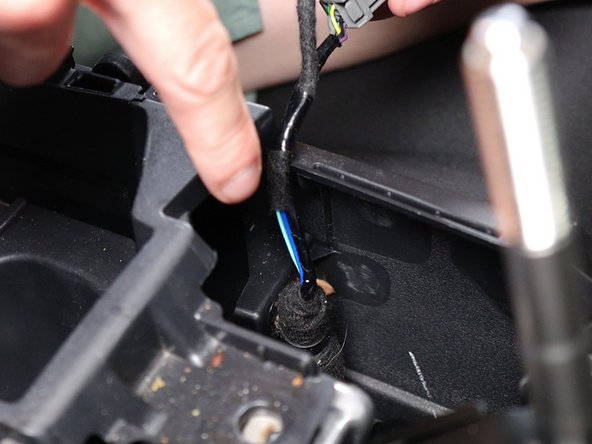
Lift the shift boot cover upwards and unplug all of the electrical connectors.
-
-
-
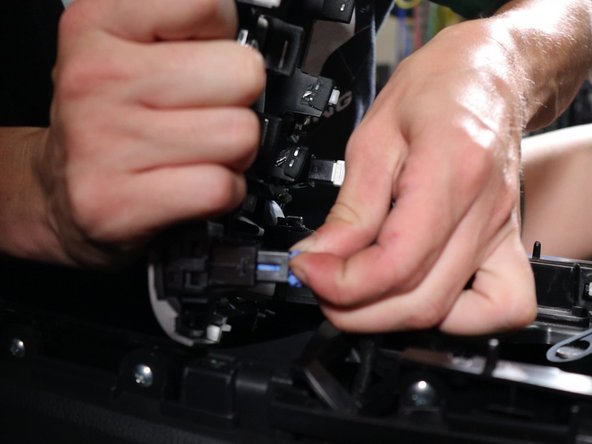
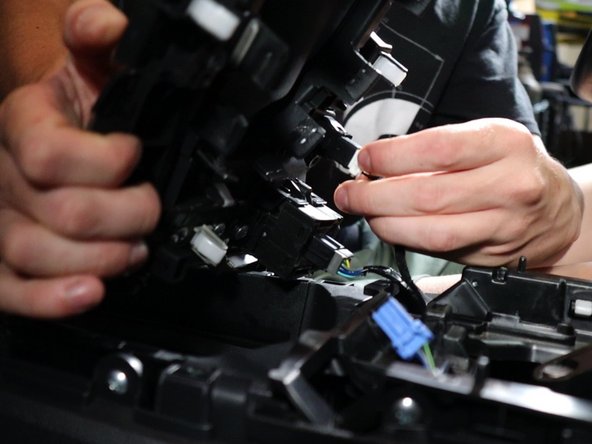
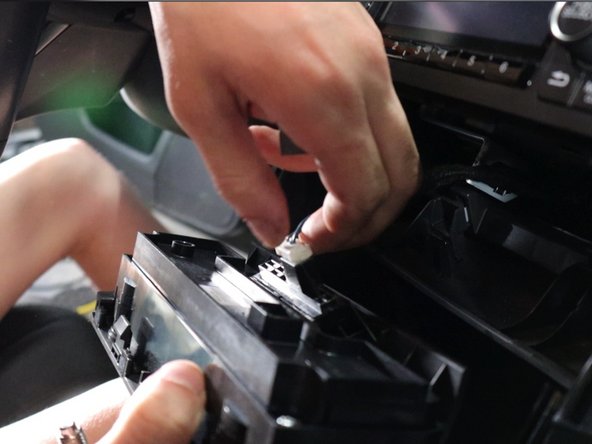
Use your fingers and gently pry the HVAC control panel outward. This will unclip and then you can unplug it.
-
-
-
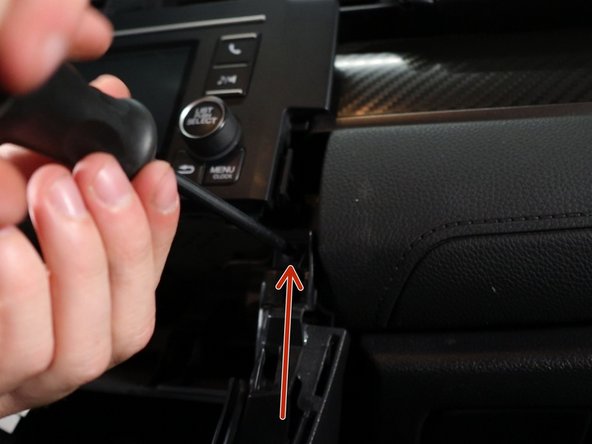
Remove the two phillips screws holding the side console trim sections in place.
-
-
-
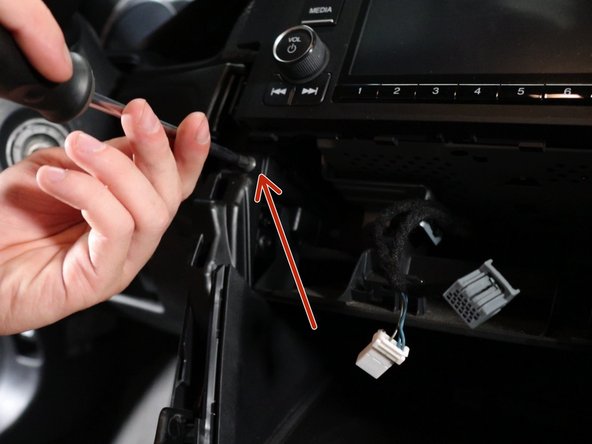
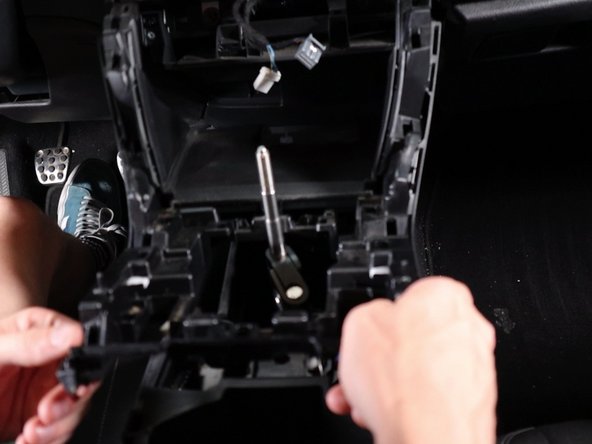
Remove the center console screw.
-
Then pull the upper section upwards and remove it from the car.
-
-
-
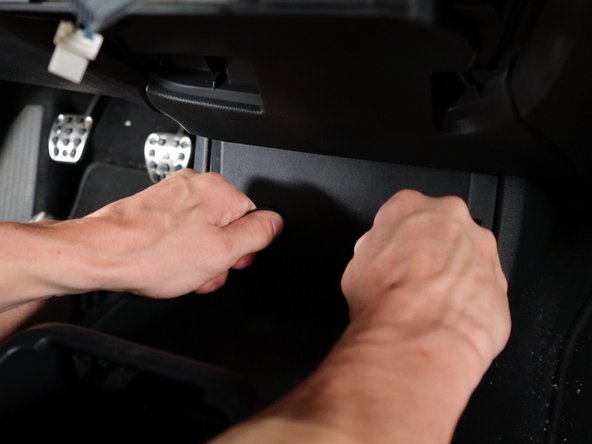
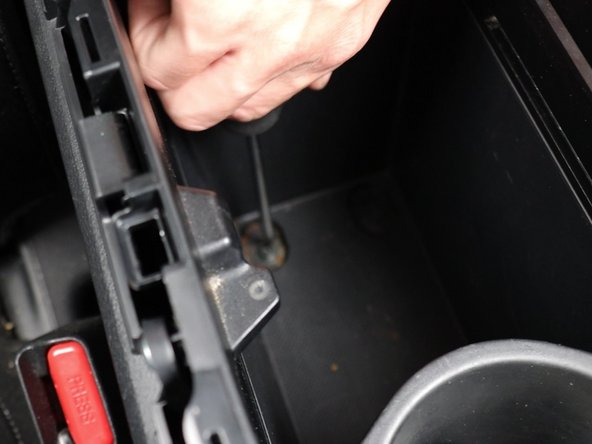
Begin the remove the lower section of the console by pulling the console panel outward. This contains the 12v socket and USB ports.
-
Unplug them all and remove the panel from the car.
-
-
-
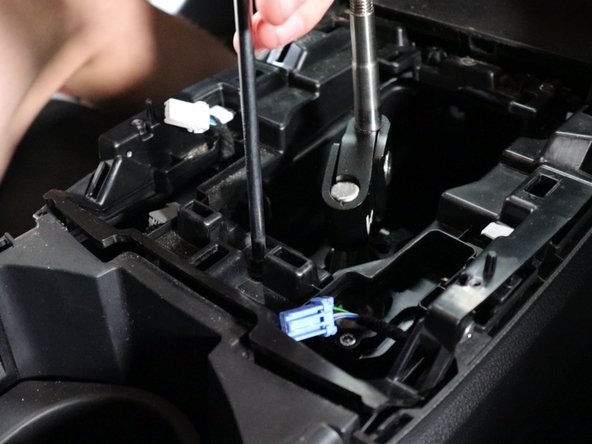
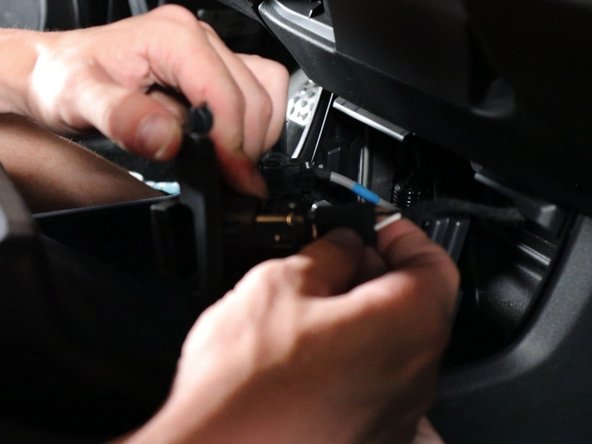
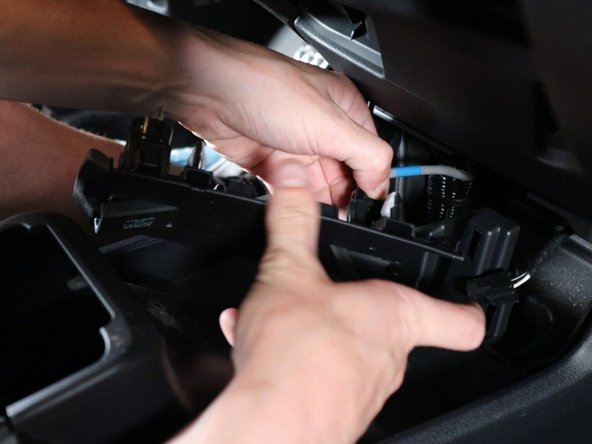
Unclip the inner wire harness inside of the console.
-
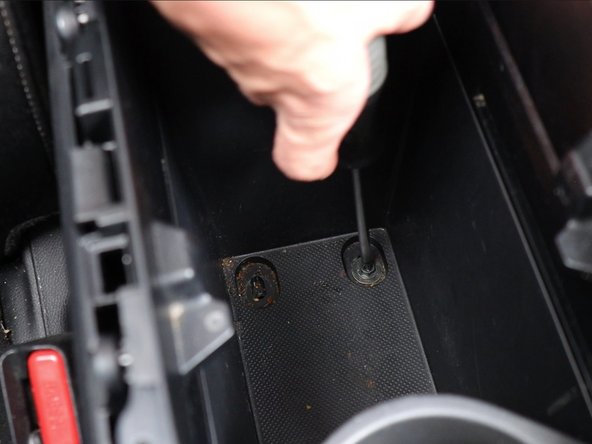
Then, inside of the armrest, under the bottom pad, remove the two screws.
-
-
-
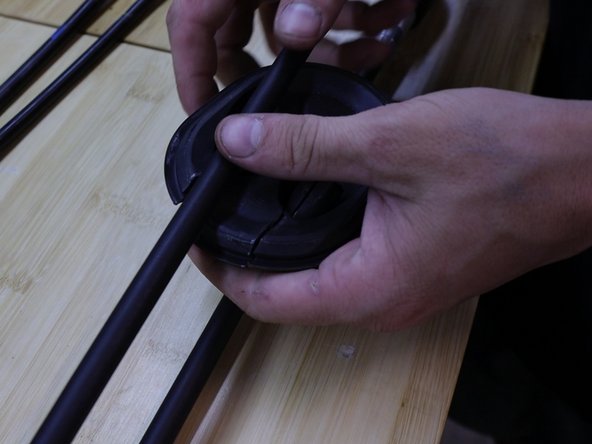
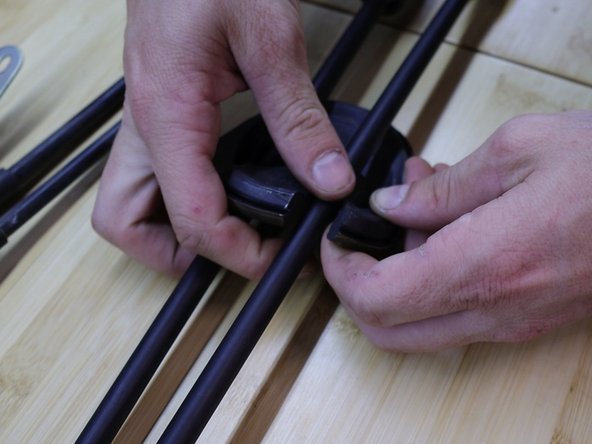
Disconnect the shifter cables.
-
Spread the wire apart and slide the cable off the ball.
-
Depress the corner of the shifter cable and spin it, then slide it upward to remove it from the shifter.
-
-
-
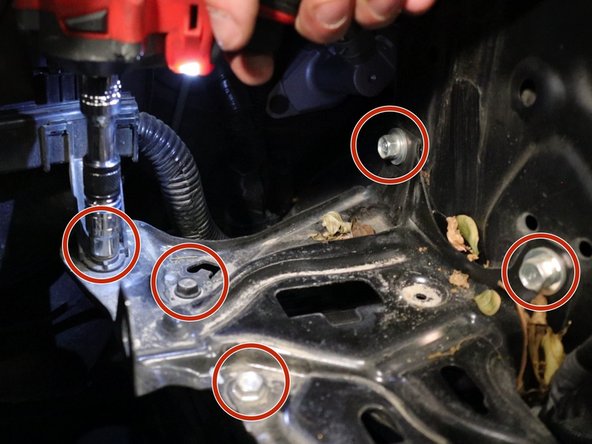
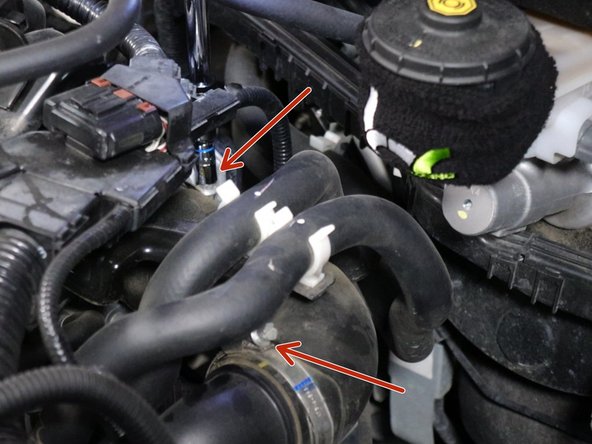
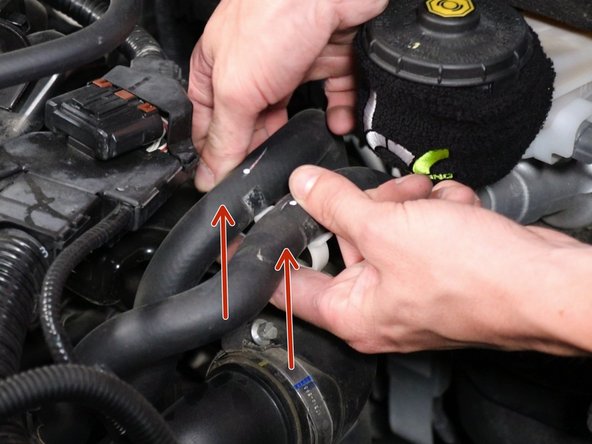
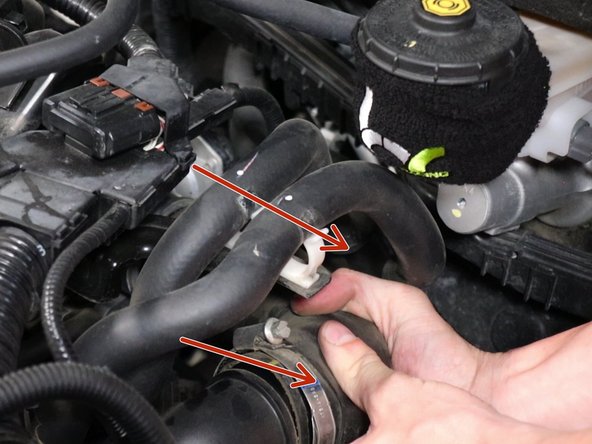
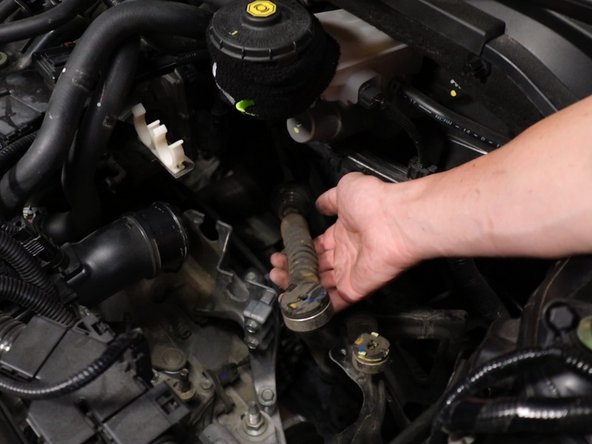
Loosen the air inlet tube and remove it. Be sure to move the hoses out of the way.
-
-
-
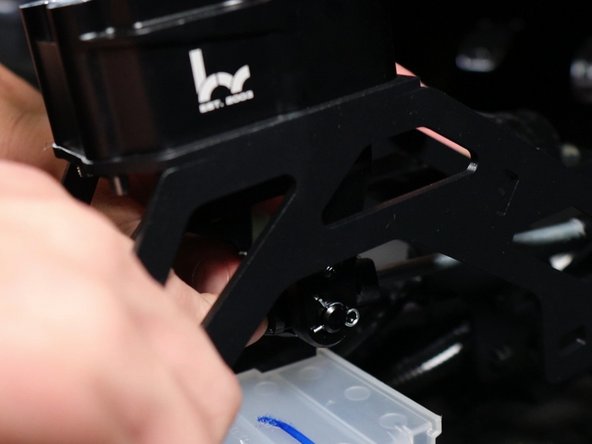
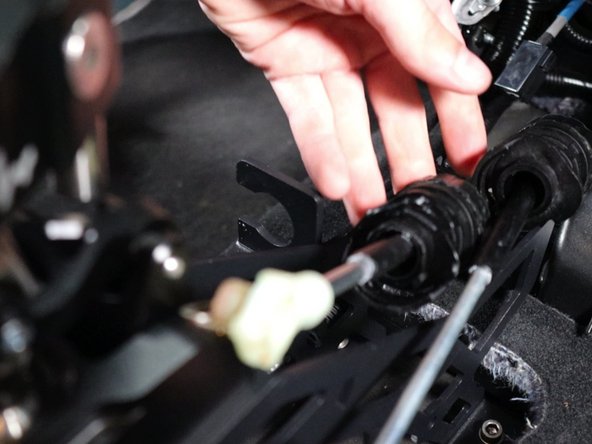
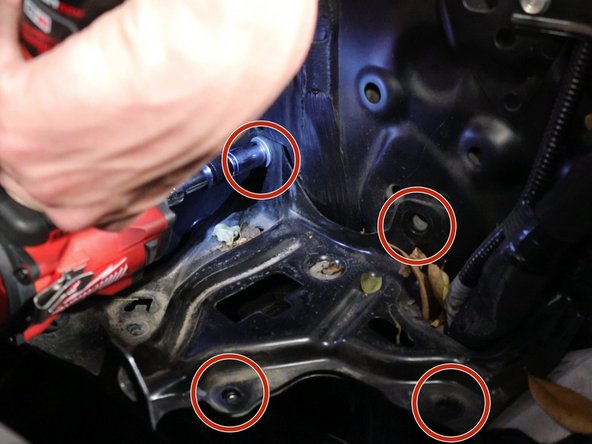
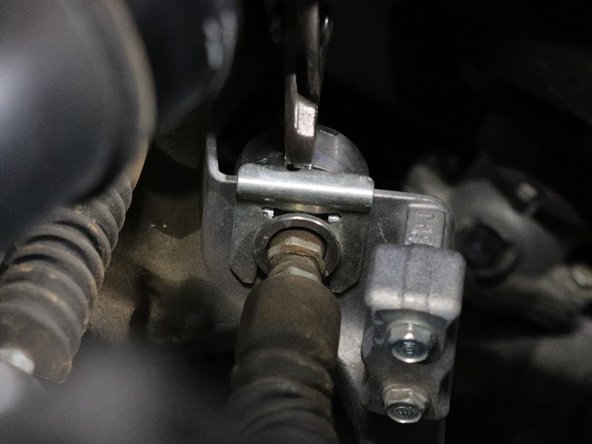
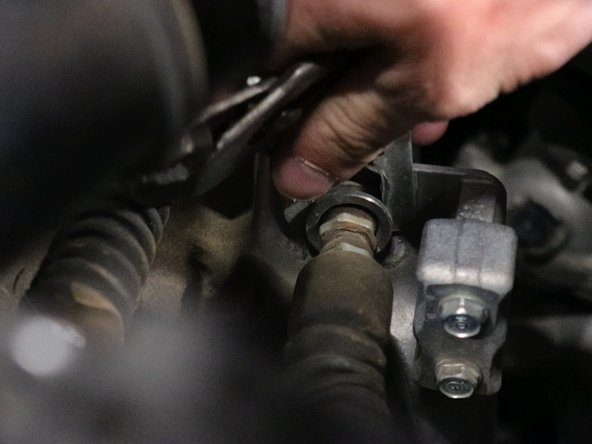
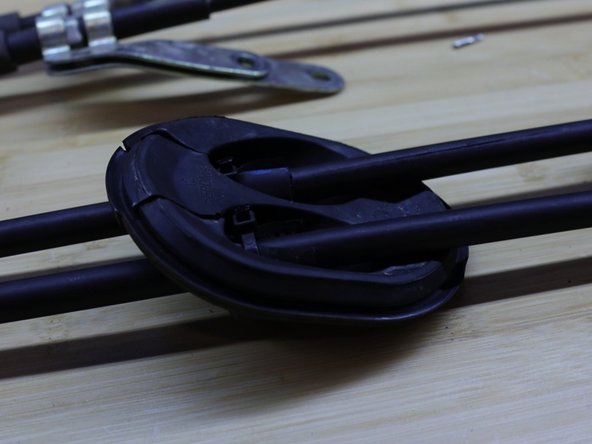
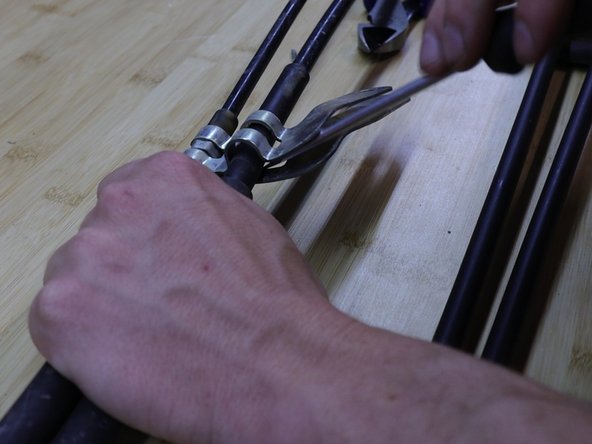
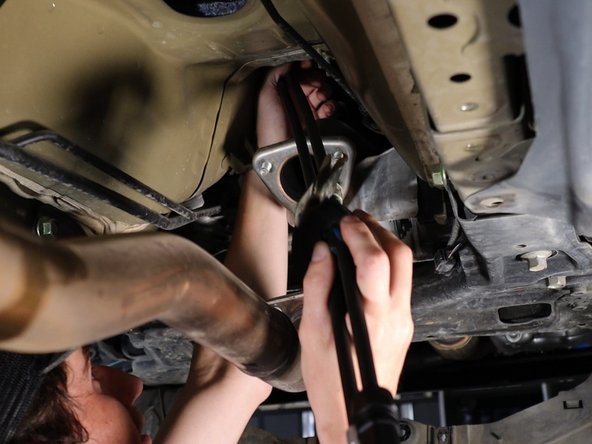
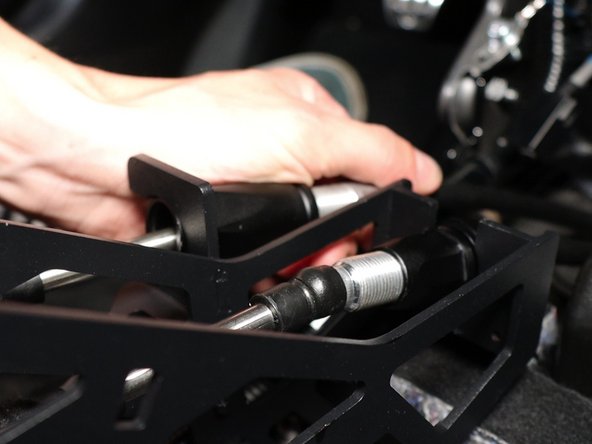
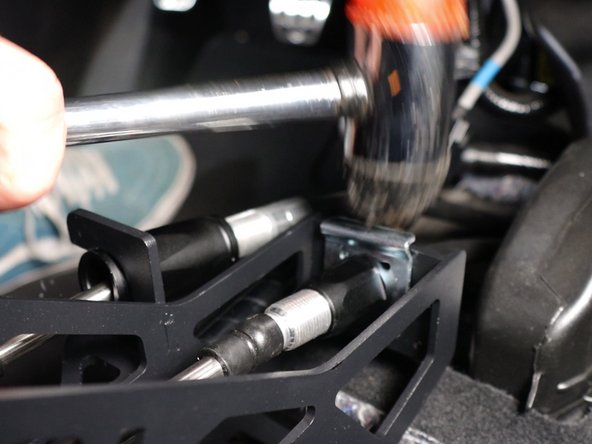
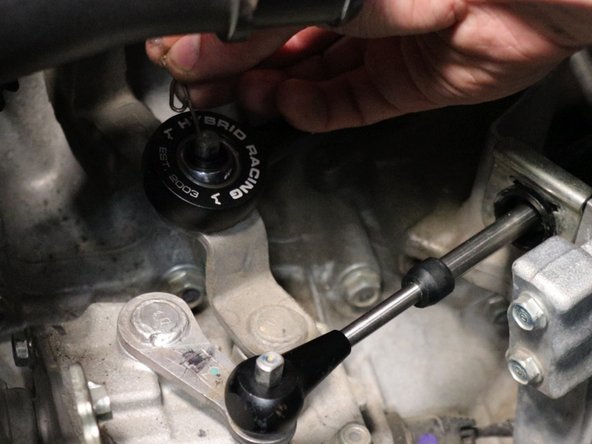
Remove the shifter cable spring clips from the transmission bracket.
-
These are tough and may require a pry tool such as a flat tip screw driver to pry bar.
-
Start at the end and work your way inward, grab them with plies and pull them upwards once they are loose.
-
Set them aside since you will reuse them.
-
-
-
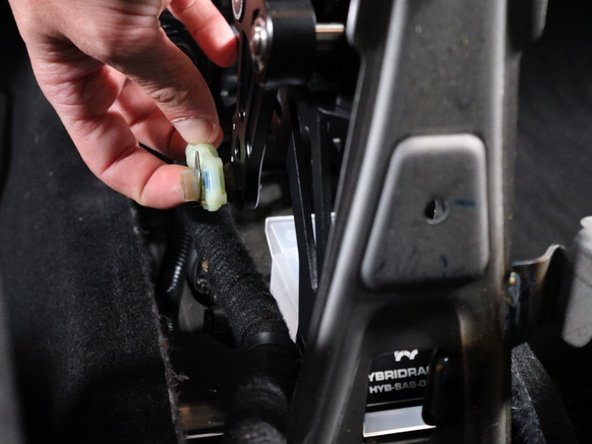
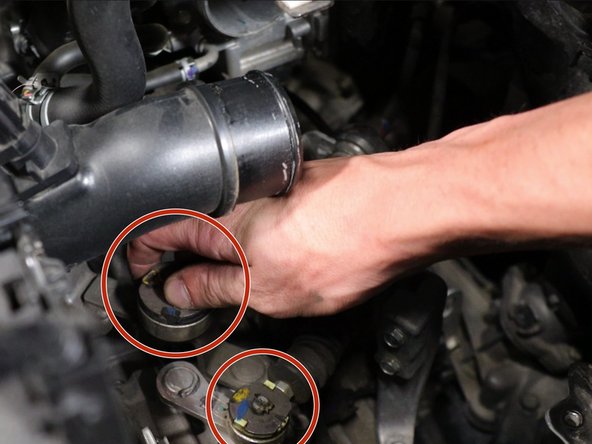
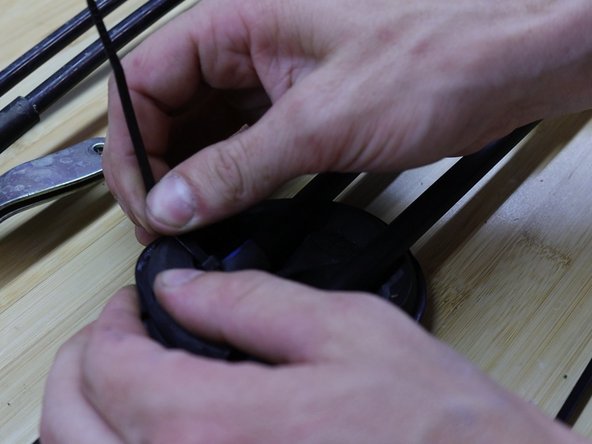
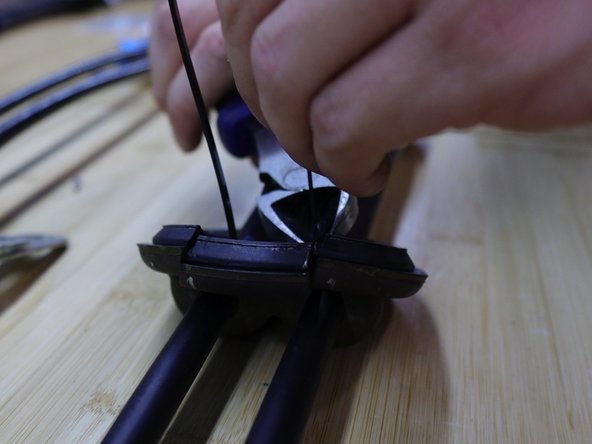
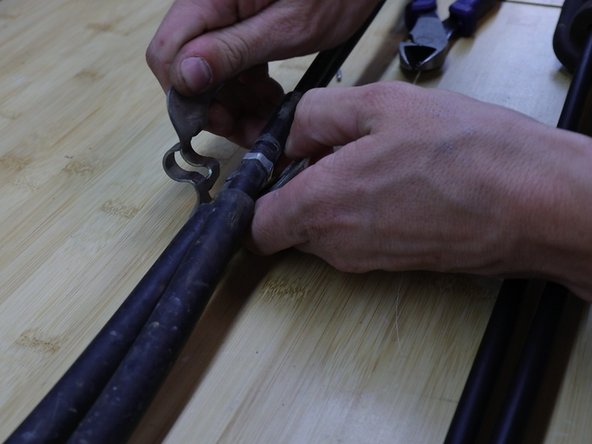
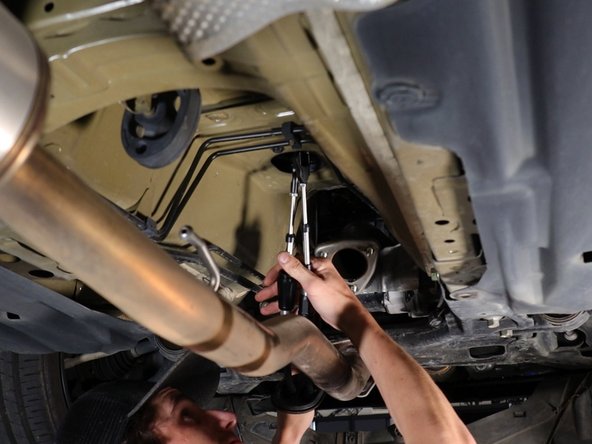
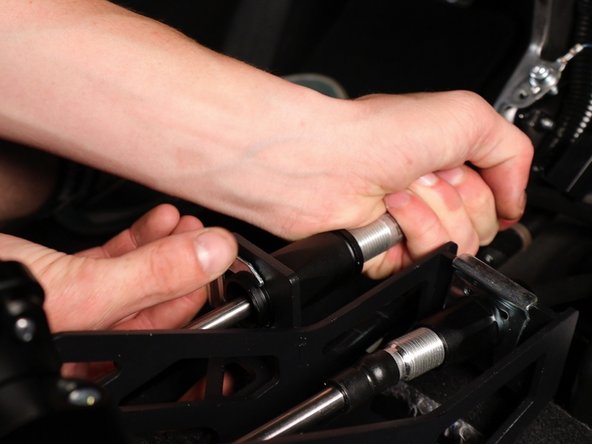
Remove the cotter pins from the shifter cables.
-
Slide the shifter cable backwards, sliding it out of the bracket. Then, slide it upwards off the gear selector pin.
-
This will remove the cable from the transmission.
-
Follow these steps for both cables.
-
-
-
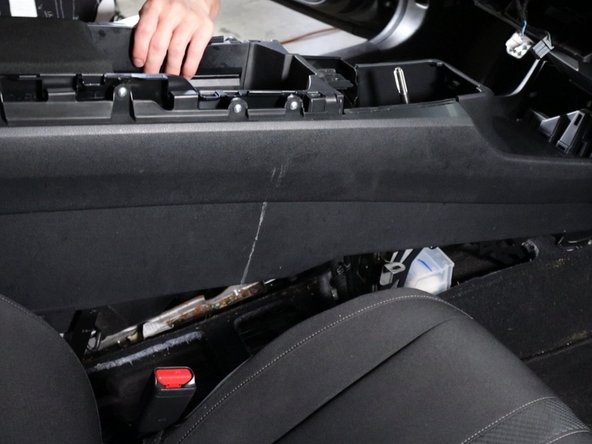
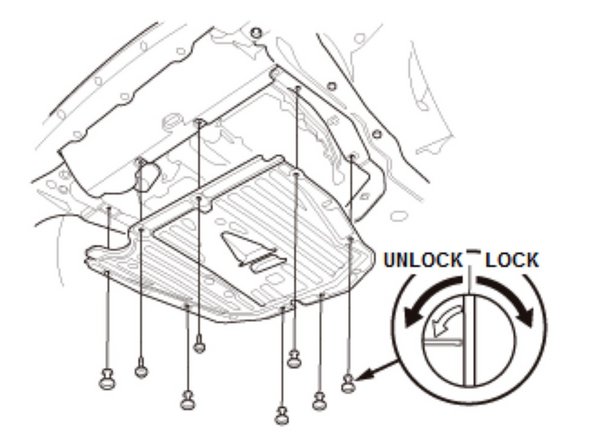
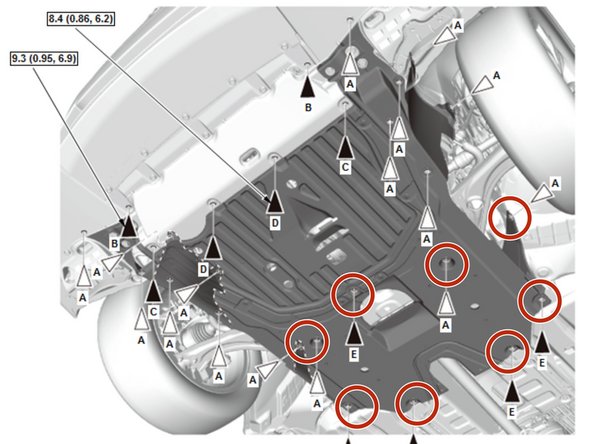
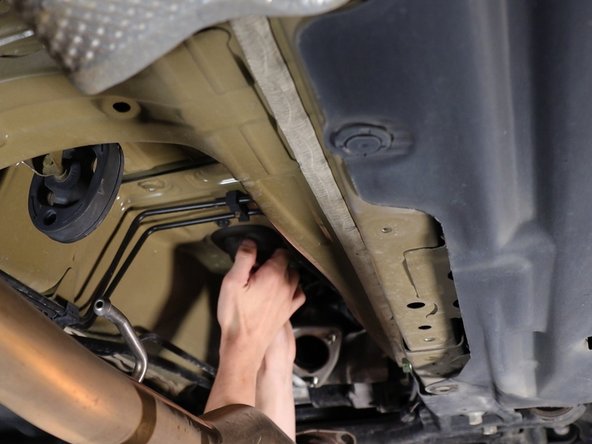
You must gain access to the bottom of the shifter cables so removal of the underpanel is necessary.
-
There are a number of screws and bolts holding the panel in place.
-
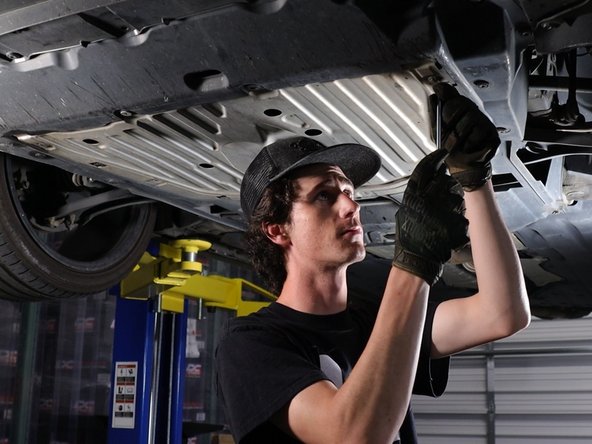
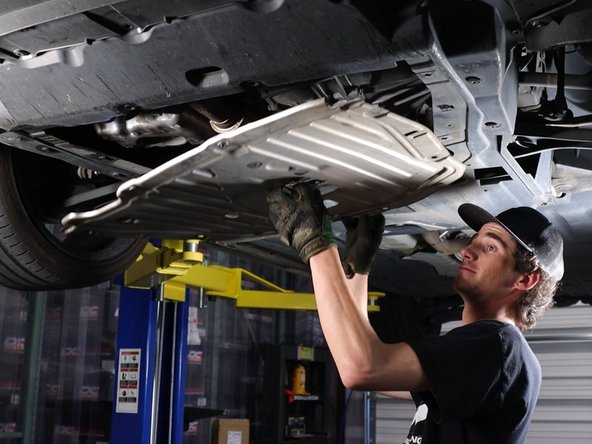
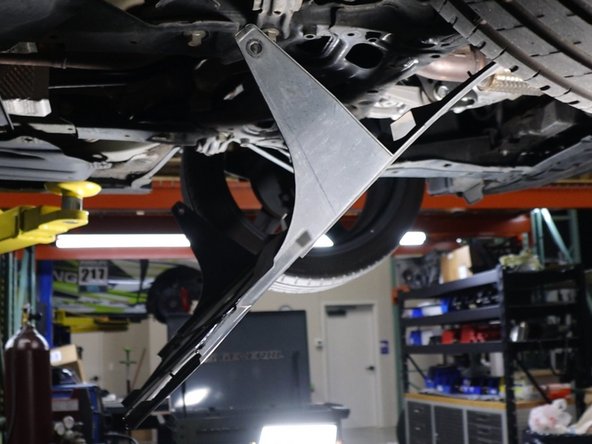
You can begin by removing the aluminum tray.
-
-
-
You must remove a section of the under panel to access the bottom section of the shifter cables.
-
Once the aluminum tray has been removed, you can then unclip the rear section and let it hang down. It is not necessary to remove the entire panel.
-
-
-
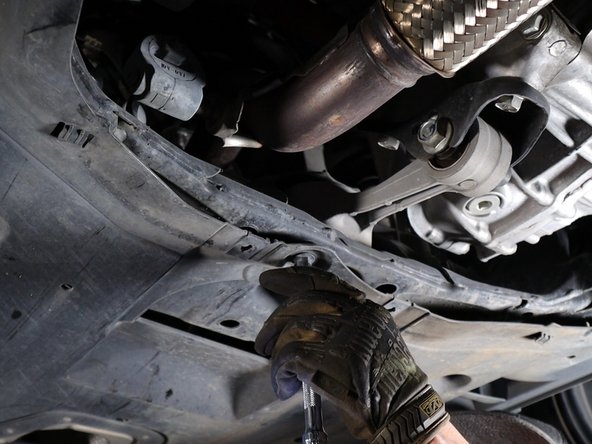
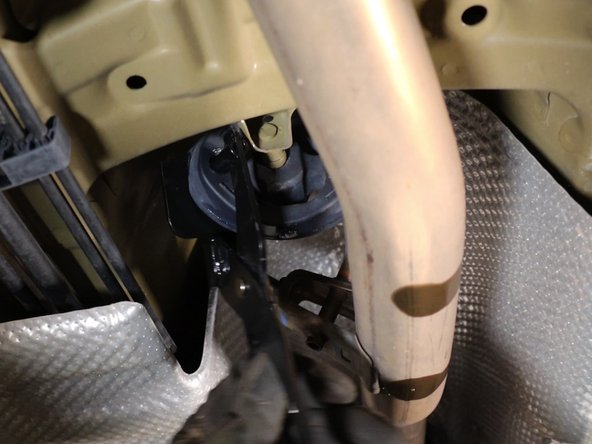
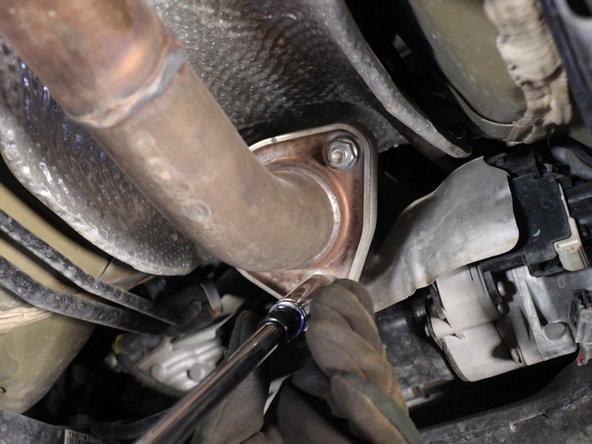
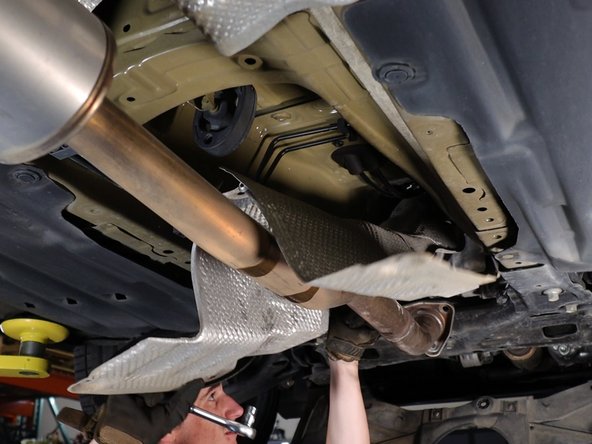
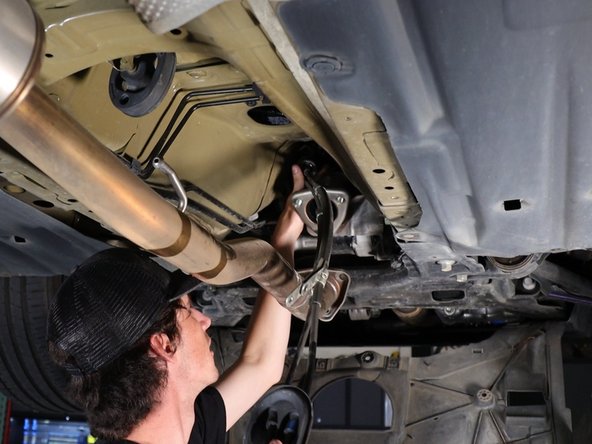
Remove the exhaust hanger. Spray lube helps the rubber slide easily.
-
Remove the three bolts holding the exhaust in place. Let it hang down.
-
-
-
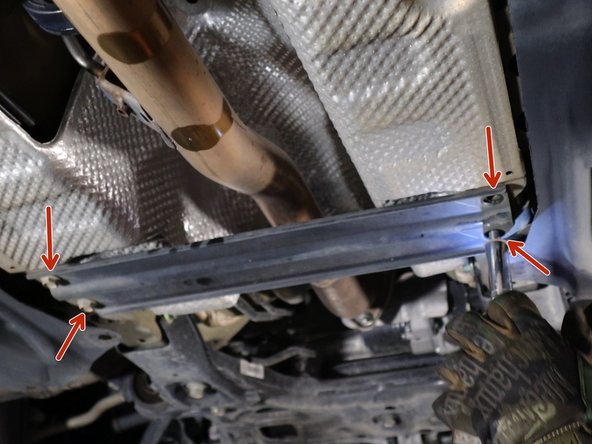
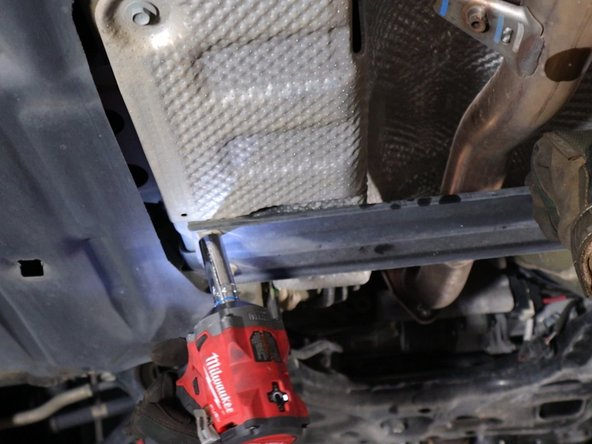
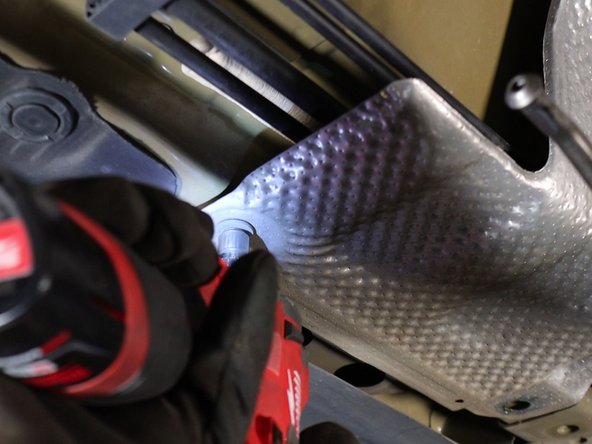
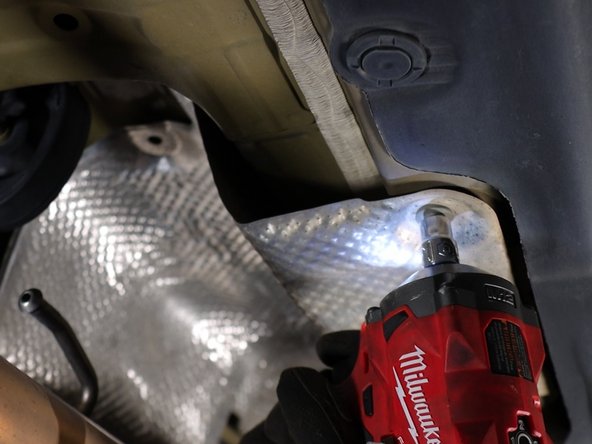
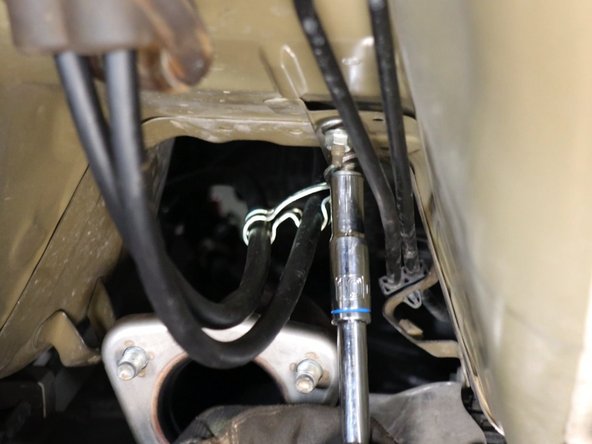
Unbolt and remove the lower heat shield. This will expose the shifter cables.
-
-
-
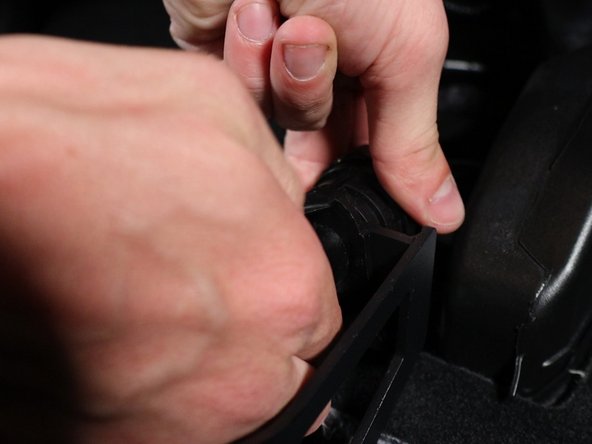
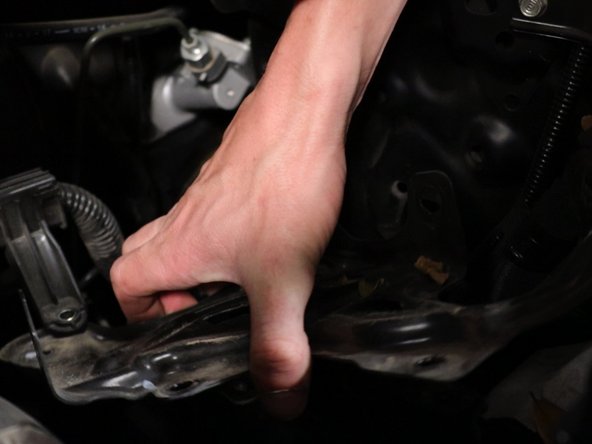
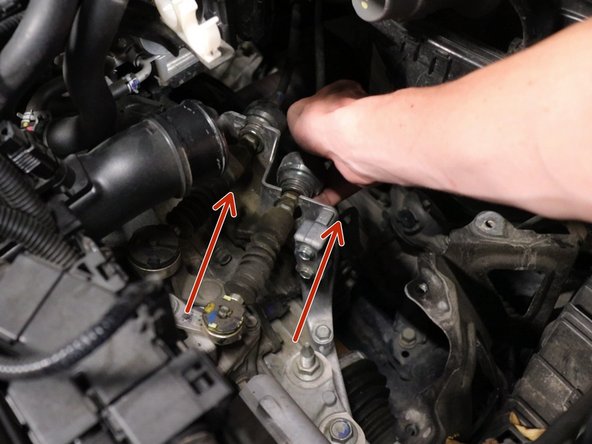
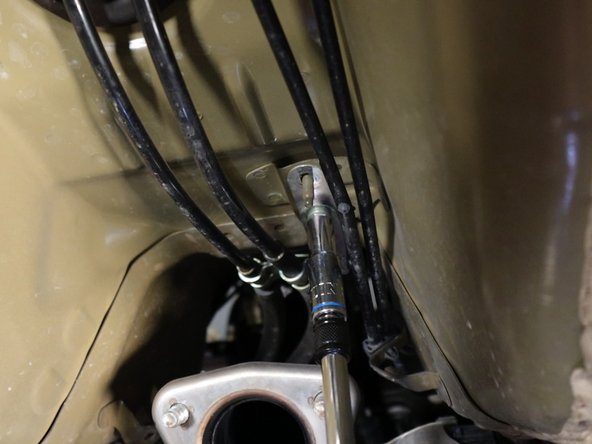
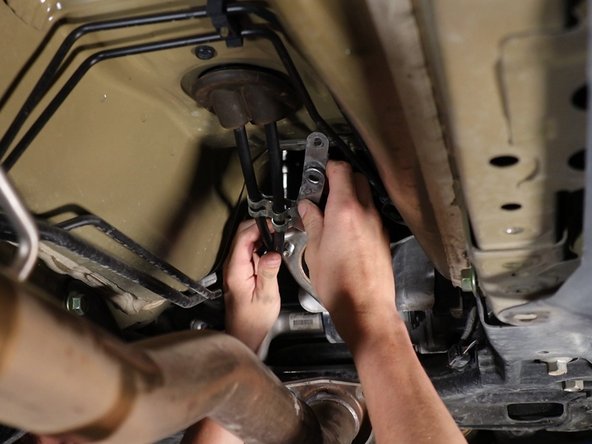
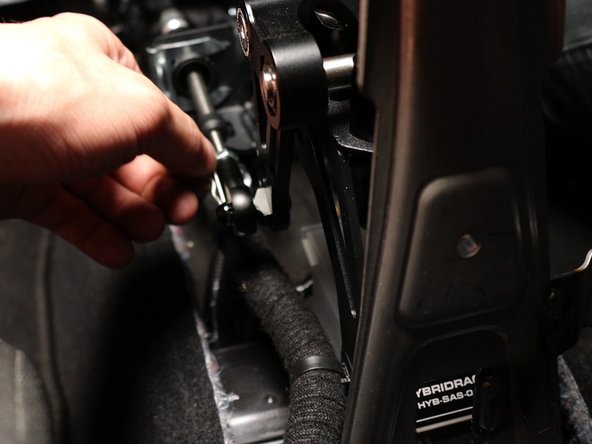
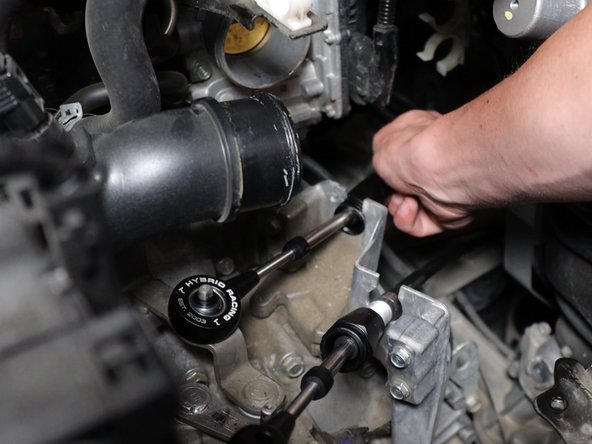
Unbolt the shifter cable mounting bracket.
-
Pull downward on the shifter cable seal and this will remove the cables from the chassis.
-
-
-
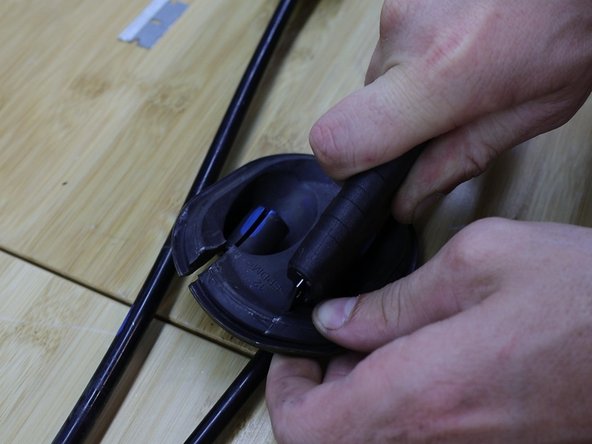
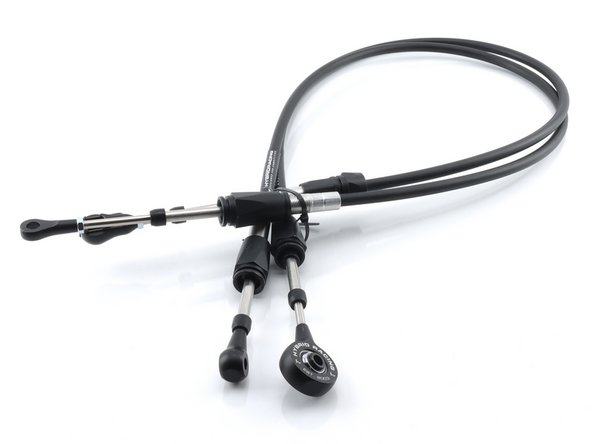
You will need to trasnfer the shifter cable seal and bracket to the new HR cables.
-
Line the cables next to each other and make sure they are in the same orientation.
-
Cut two slits into the grommet and transfer it to the new cables.
-
-
-
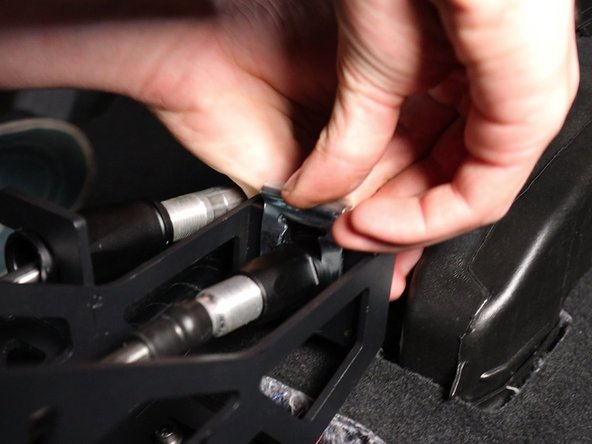
Secure the floor seal with both supplied zip ties. These ties help the cable stay in place.
-
-
-
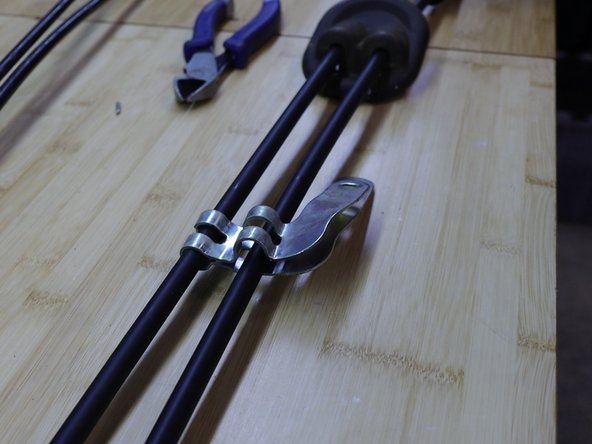
Make sure the cables are lined up and orentiented the same way.
-
Remove the bracket and transfer it to the HR cables. You will need to bend the metal tabs apart.
-
-
-
Under the car, slide the cables into the engine bay from the bottom up.
-
Once they are in, bend the cables and stick the other side back through the floor hole.
-
-
-
Reinstall the shifter cable clips and secure them in place with a mallet if necessary.
-
-
-
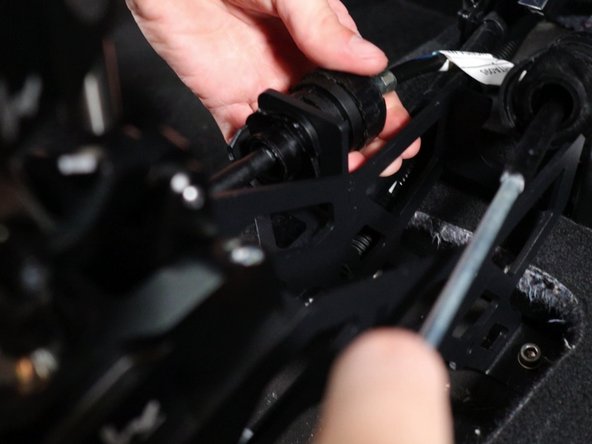
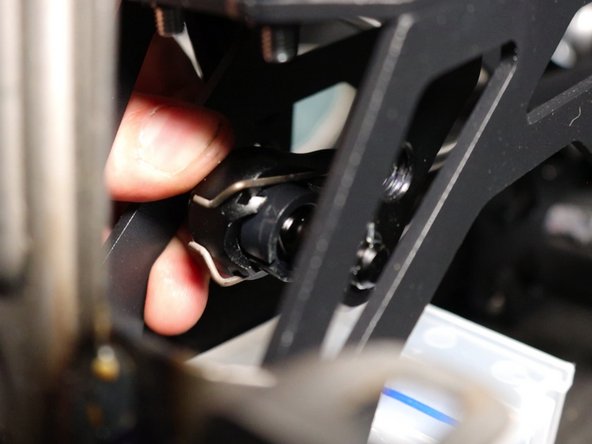
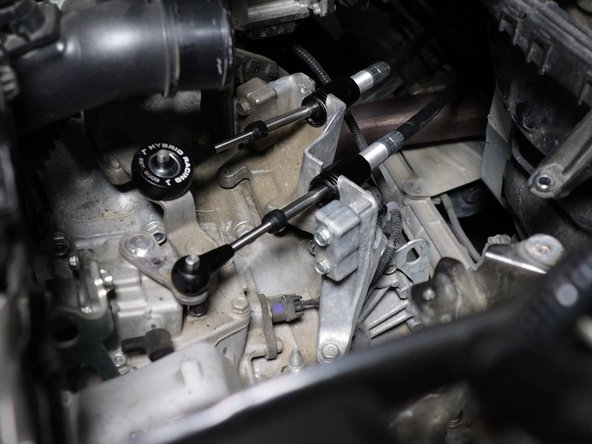
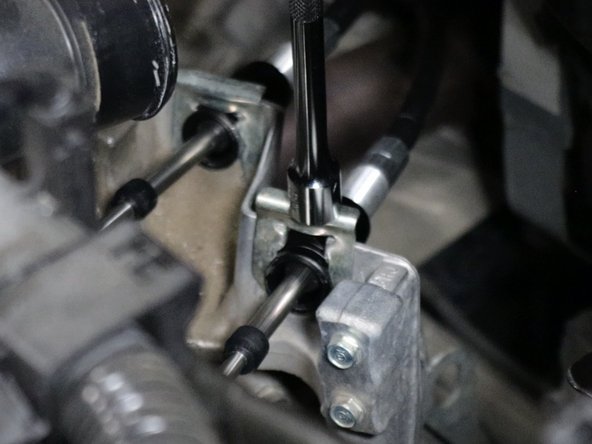
In the engine bay, install the shifter cables through the transmission bracket.
-
Then install the shifter cable spring clips that you removed earlier.
-
-
-
Under the car, slide the cable bracket into place and secure it back into place.
-
-
-
Once you have completed these steps, verify that the shifter can select each gear and that the movement feels tight and secure.
-
If you have issues with the installation process, please review these steps.
-
Contact support@hybrid-racing.com if you have questions or issues about the product or installation.
-
You can now reinstall the parts that have been removed. The shifter cable installation is complete.
-