
-
-
Begin by removing the storage bin, located under the AC controls.
-
There are no screws so grab the sides and pull outward. It should pop out.
-
Do not pull on the lid.
-
These instructions are for the USDM version of the CL9. If you are installing them in a Honda Accord CL7 the steps might be different.
-
-
-
Remove the center console trim by pulling up on the cupholder section first.
-
These plastic parts are delicate so be careful not to pull too hard in one area or you can crack the trim.
-
Work your way around the sides and end on the front. There are only a few clips that hold this part in place, so it should pop right out after the clips have been released.
-
Unplug both seat heater control switches.
-
-
-
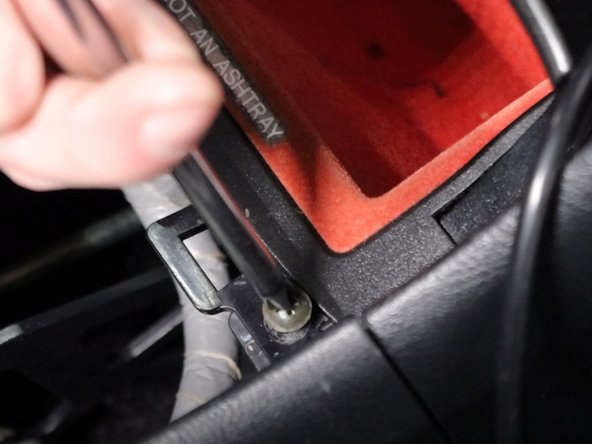
Remove all of the Phillips screws holding the console and coin pocket in place.
-
-
-
Remove the coin pocket and unplug the 12v socket.
-
-
-
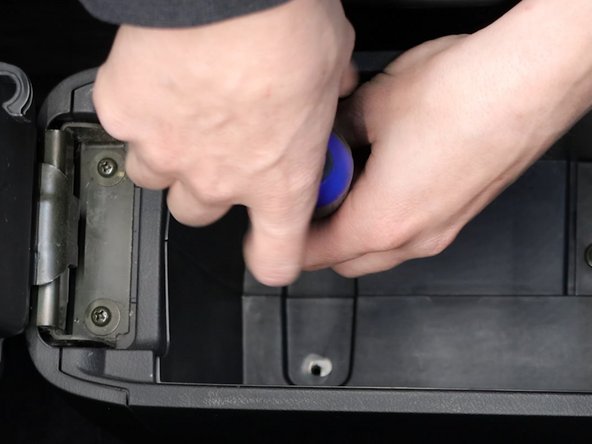
Remove the Phillips screws inside of the arm rest base.
-
Unplug the 12v socket and remove the wire harness from the console.
-
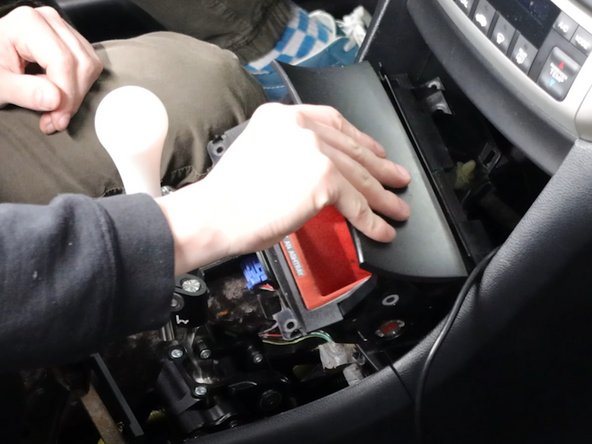
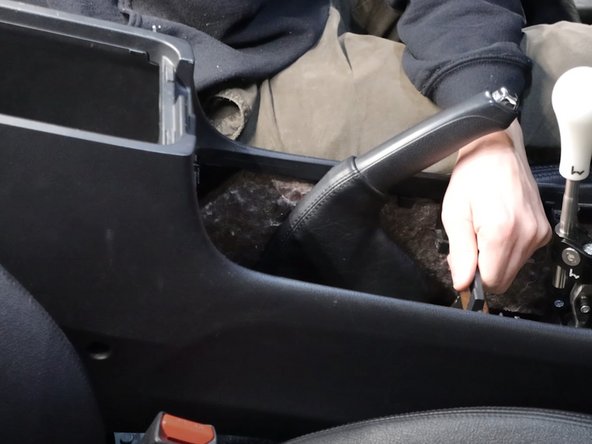
Unhook the ebrake boot from the console and slide the entire console backwards a few inches.
-
Then, remove it from the car.
-
-
-
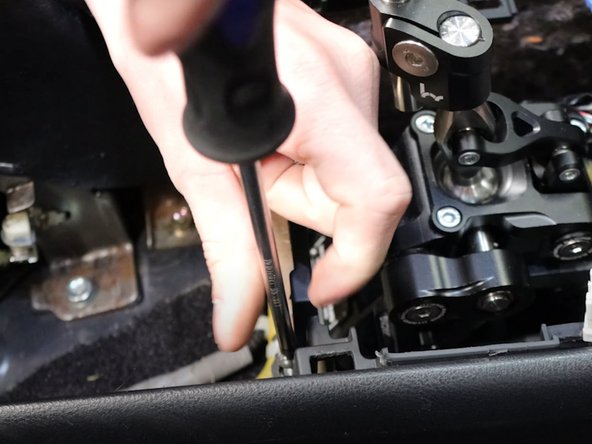
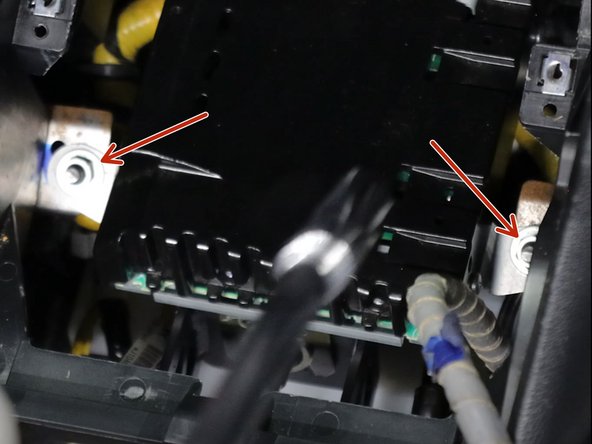
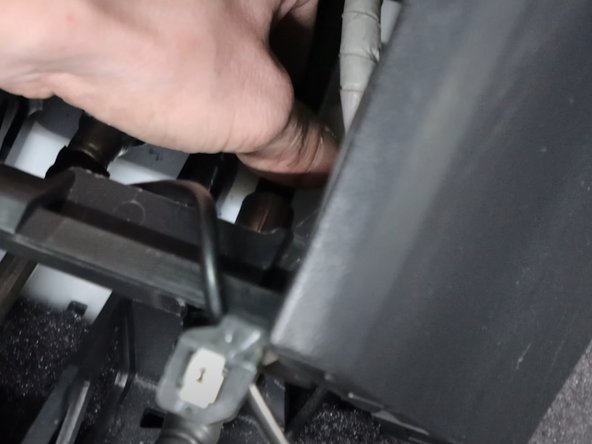
Remove the two 10mm nuts holding the stereo amplifier in place. Once removed, move the amp out of the way to expose the top of the shifter.
-
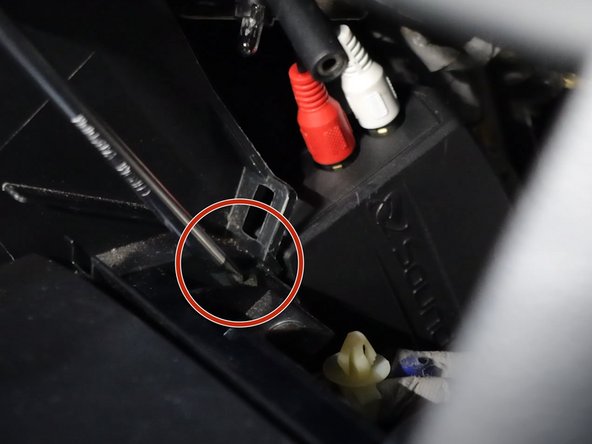
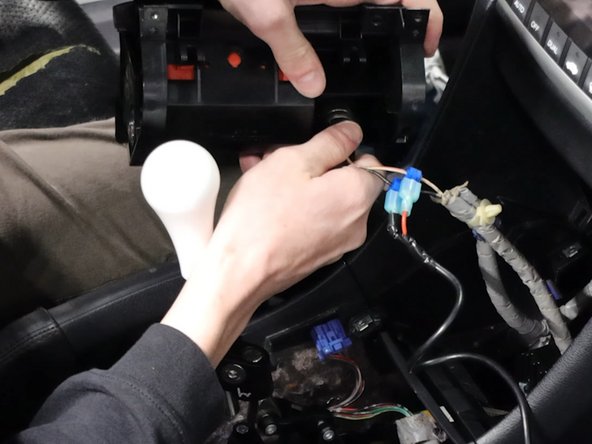
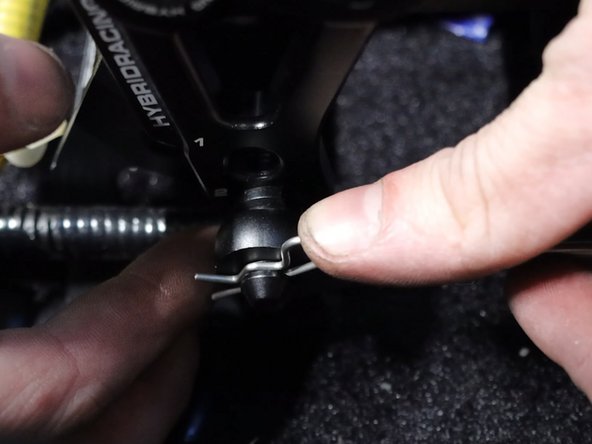
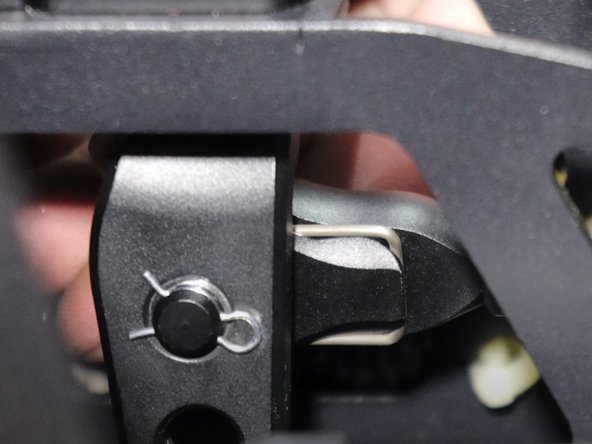
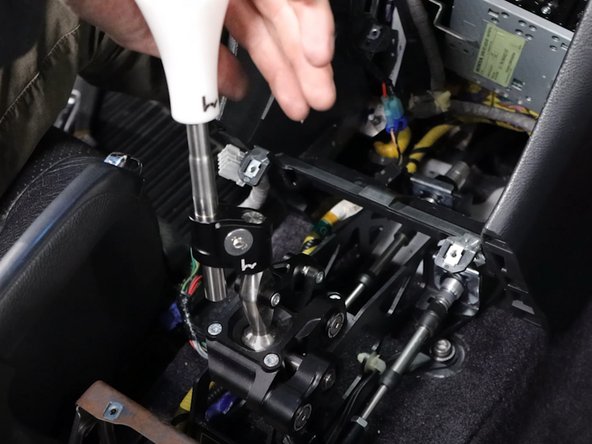
Use a flat-tip screwdriver and remove the two spring clips holding the shifter cables to the shifter.
-
-
-
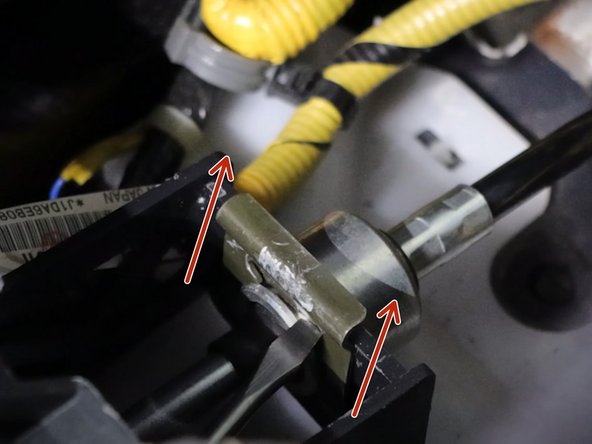
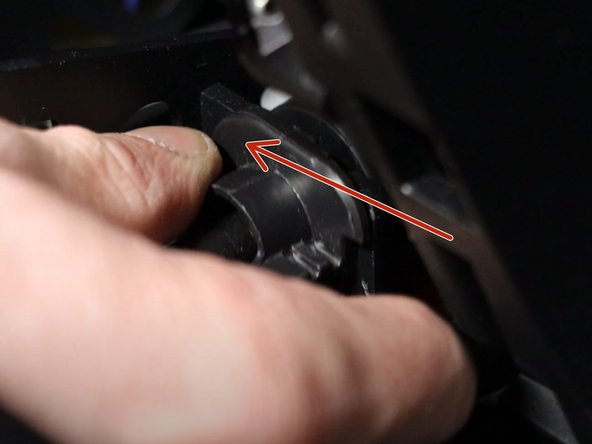
Rotate the left side shifter cable counter-clockwise and slide it upwards, removing it from the shifter base.
-
-
-
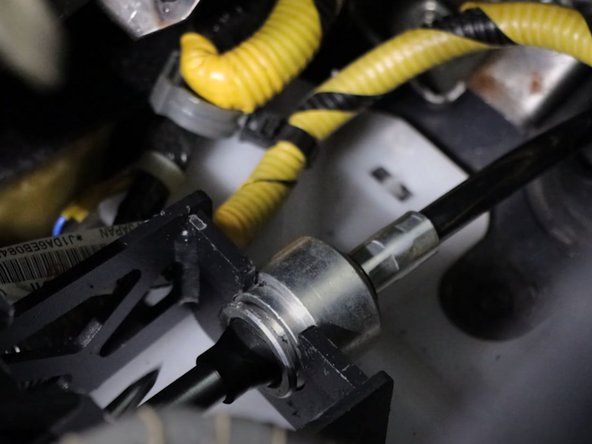
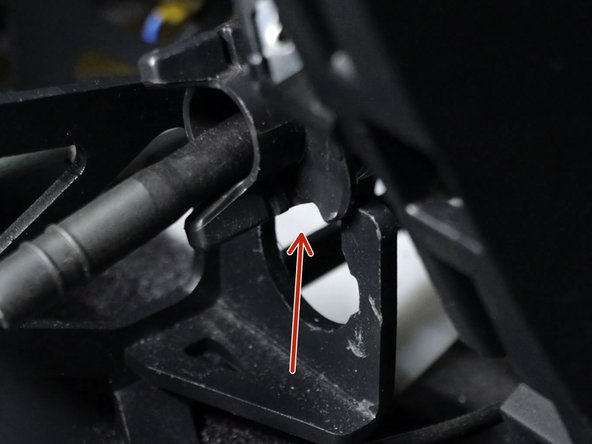
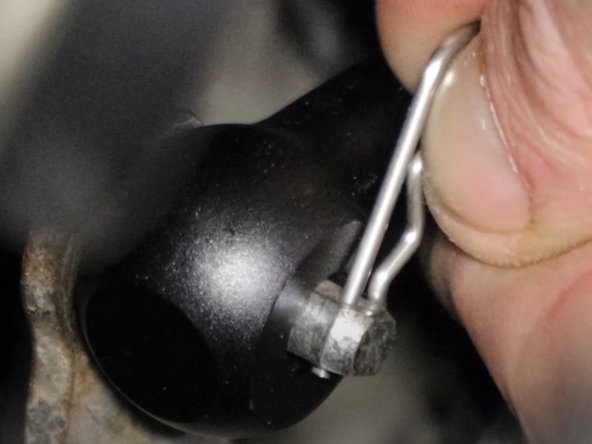
Remove the cotter pin from the right side shifter cable and slide it off the shifter pin. This cable should be completely free of the shifter.
-
-
-
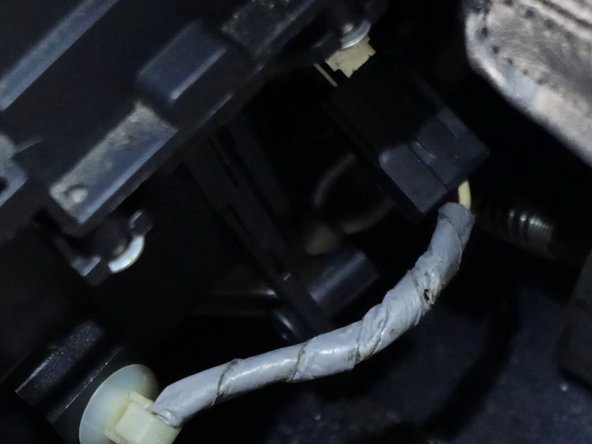
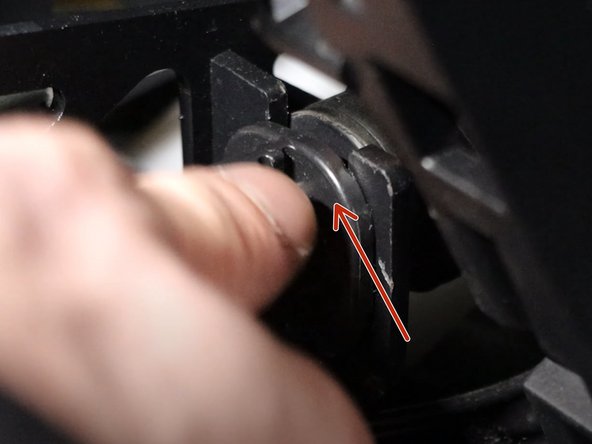
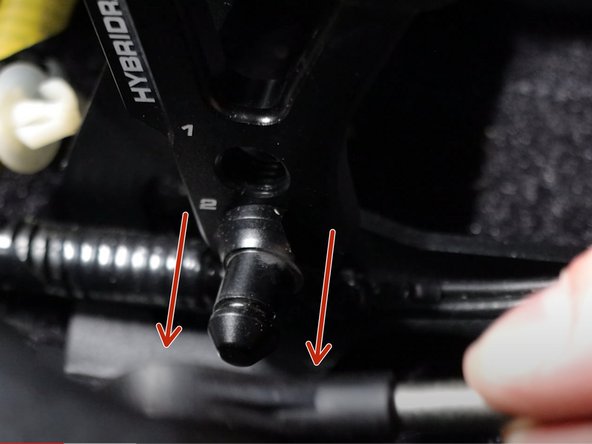
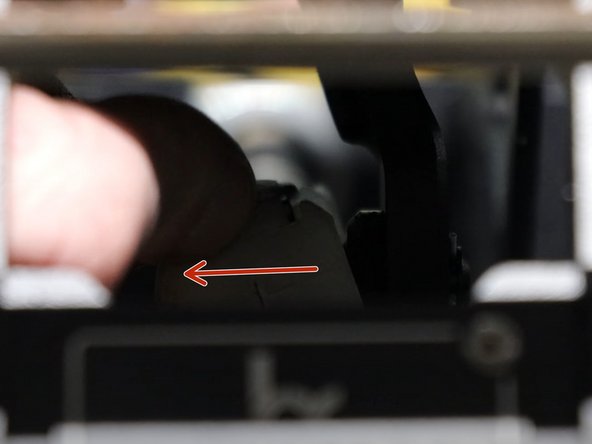
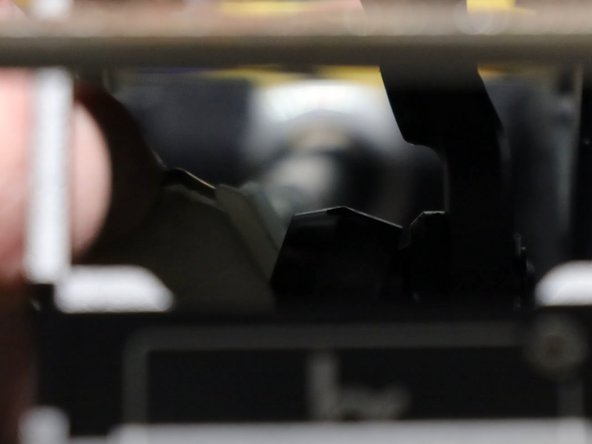
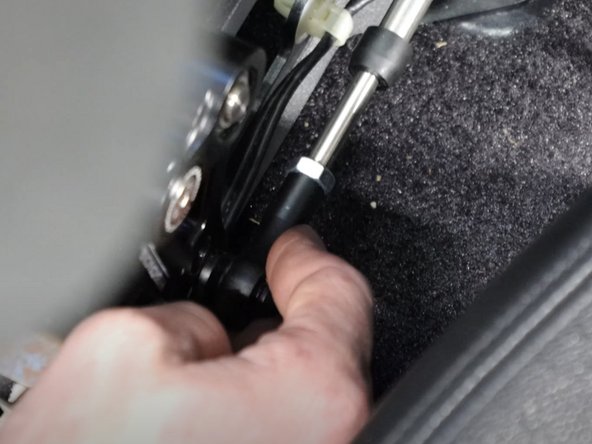
Under the shifter, on the left side shifter cable, use two fingers and spread the metal clip apart.
-
While holding it apart, pull the end link off the pivot ball.
-
This cable should be completely free from the shifter now.
-
-
-
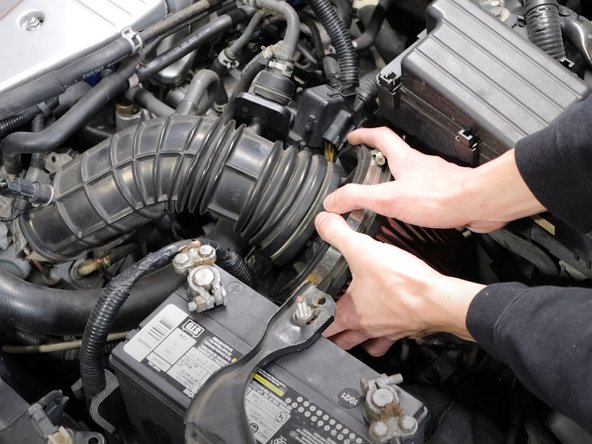
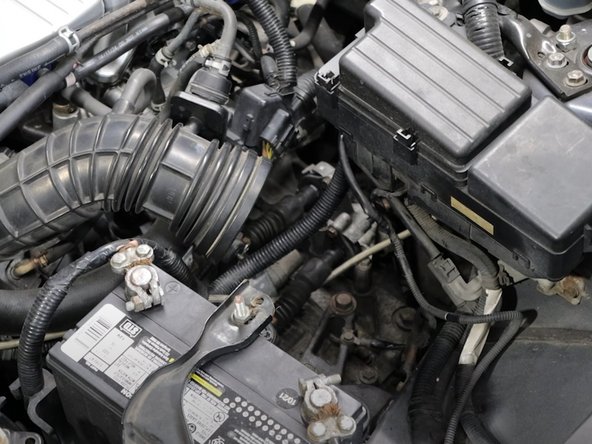
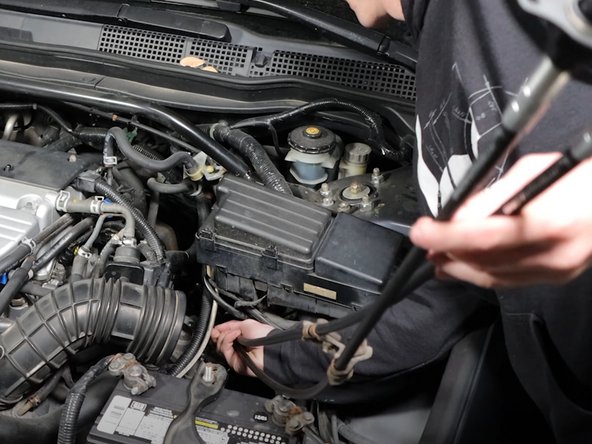
Remove the air filter, or airbox to gain access to the top of the transmission.
-
-
-
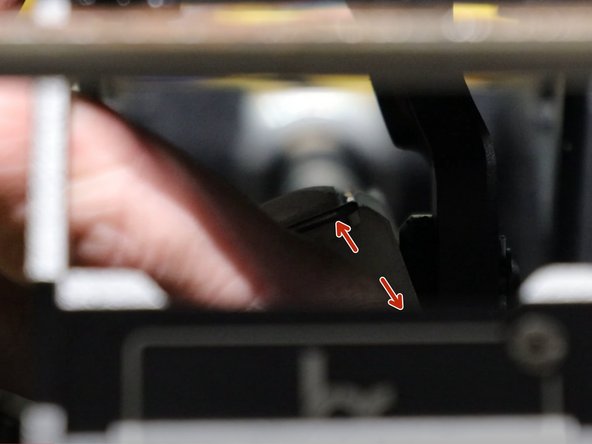
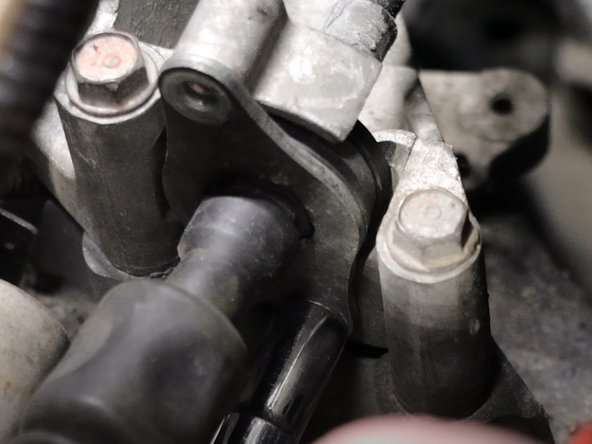
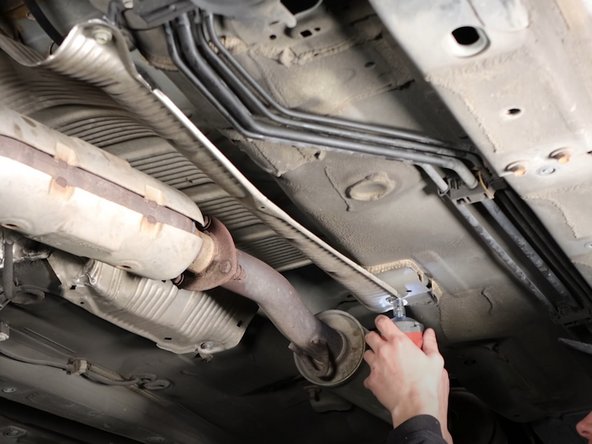
Use a 10mm socket and unbolt the shifter cables from the transmission bracket.
-
Also, be sure to remove the OEM cotter pins from the end link. (not pictured)
-
-
-
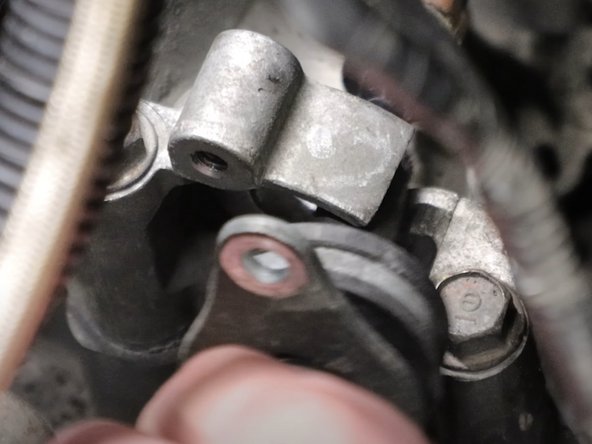
You need to gain access to the lower cable seal and bracket.
-
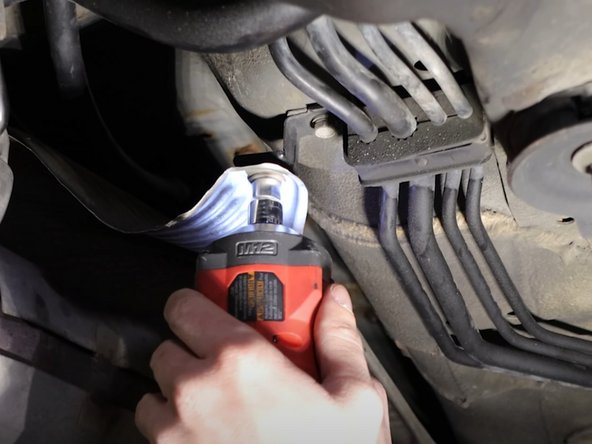
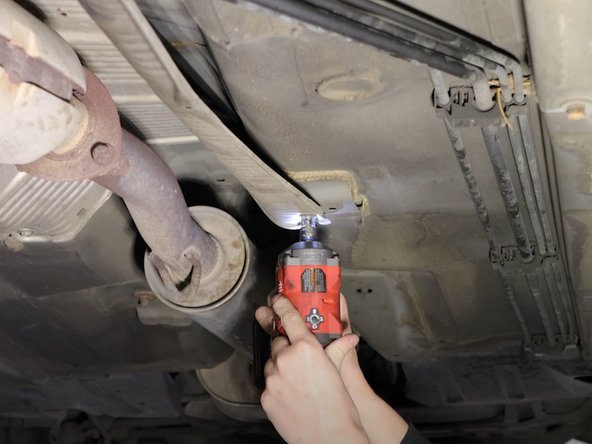
Remove the four 10mm bolts holding the heatshield in place. Slide the heatshield out of the way.
-
-
-
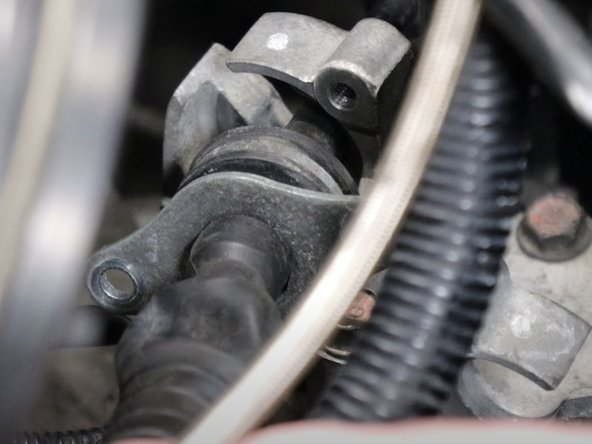
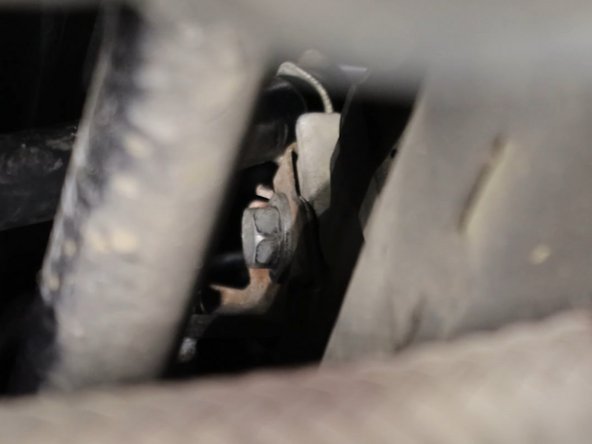
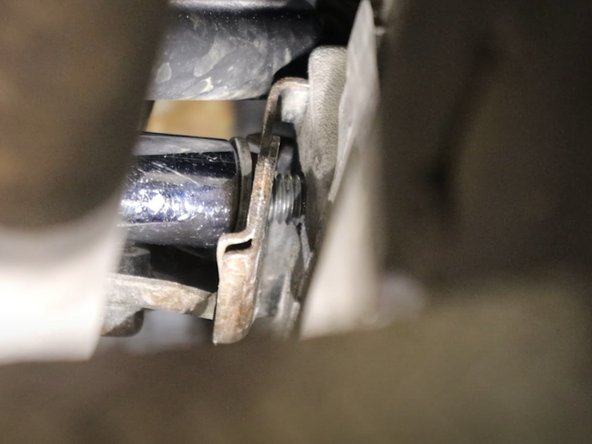
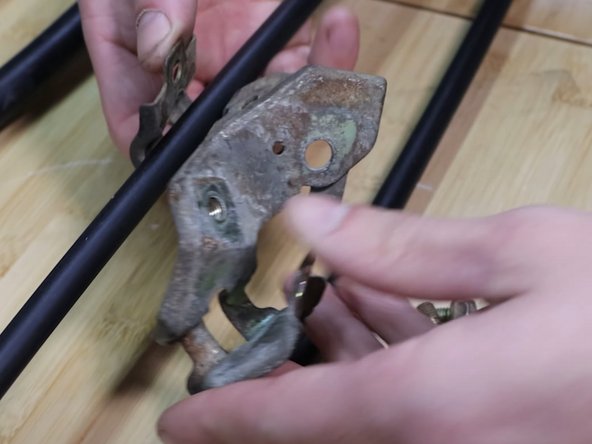
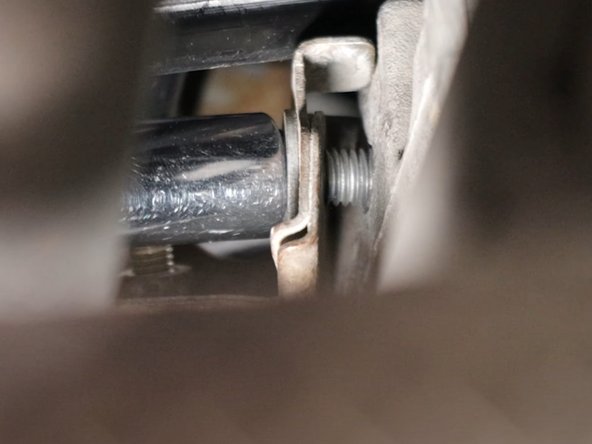
Remove the shifter cable mounting bracket.
-
This might be tough to get to. We recommend using a long extension and swivel socket.
-
-
-
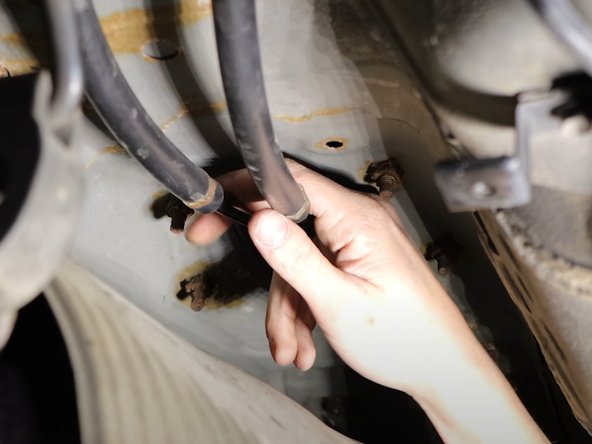
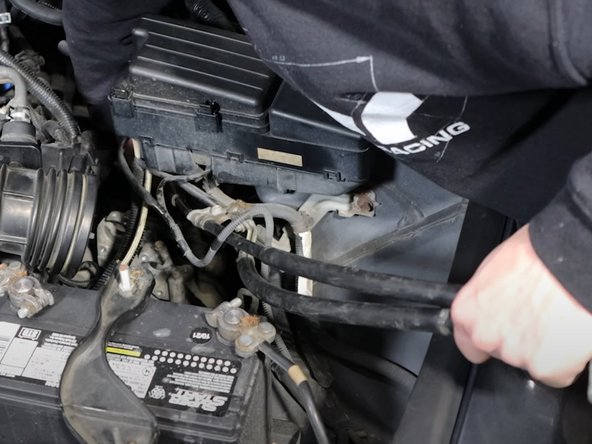
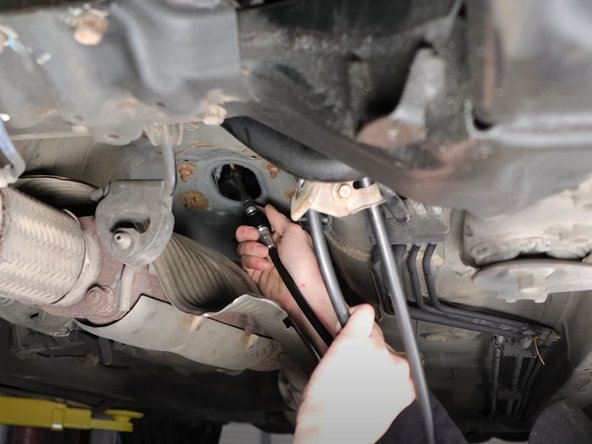
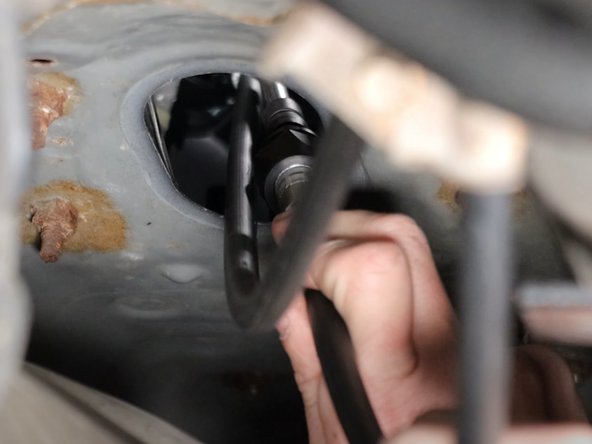
Pull the shifter cable floor seal downward and remove the cables from the cabin.
-
Then, pull the cables upward from the engine bay.
-
Make sure the bracket doesn't get caught up while pulling them out.
-
-
-
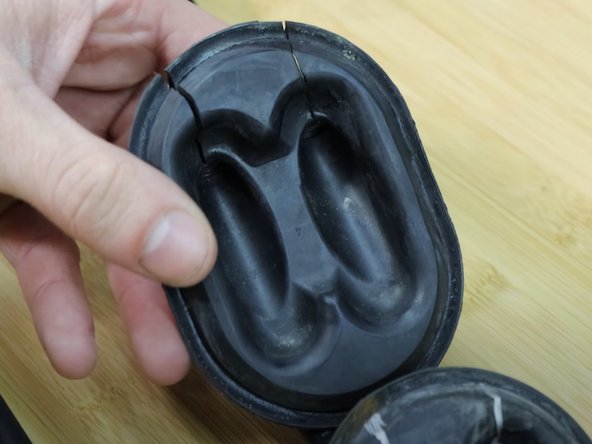
You will need to remove the OEM floor seal from your stock cables and transfer it to the HR cables.
-
We suggest drawing a line on the center of each cable and use a razor blade to slice through it.
-
Be sure to cut only one line since the new cables will fit directly into the opening.
-
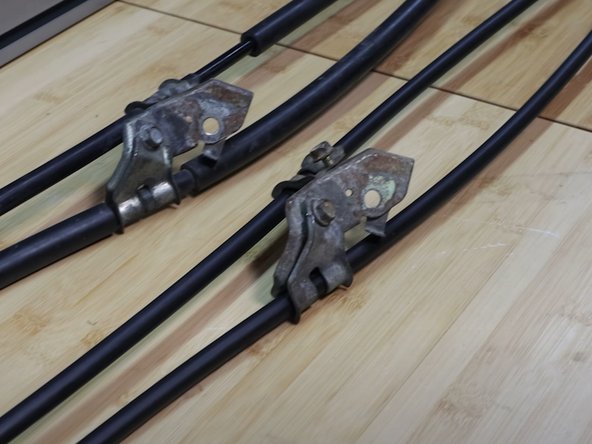
Lay the cables next to each other and orient them the same way. Make sure the cable bracket goes on in the same location as the OEM cables to make installing them easier.
-
If you don't get it 100% right, that's ok since you should be able to slide them slightly once the cables are back in the car.
-
-
-
Similar to the way the cables came out, insert them through the engine bay, above the transmission and subframe.
-
-
-
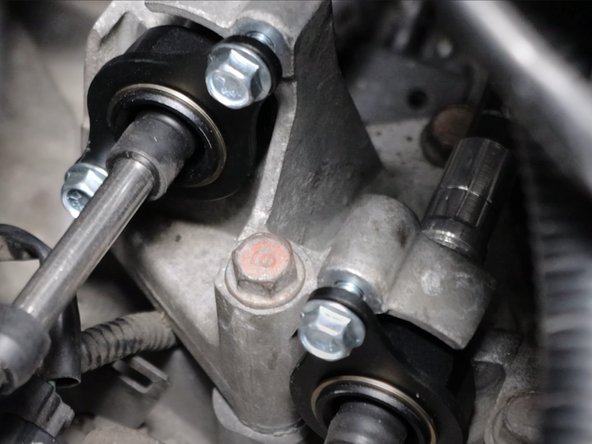
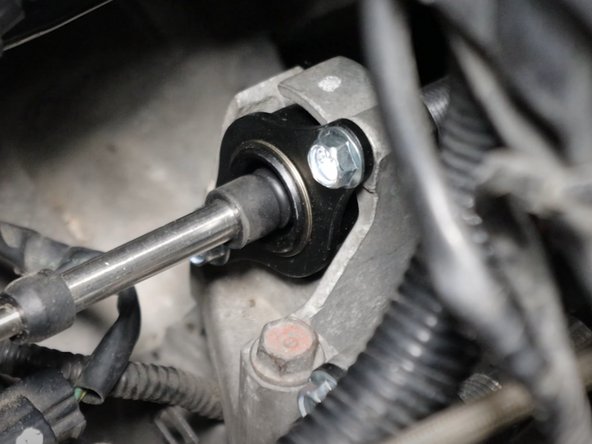
Insert the shifter cables through the transmission bracket. Don't bolt them down just yet since you might need to slide them.
-
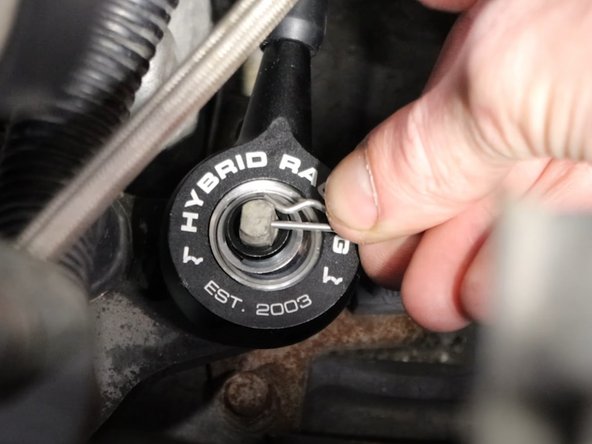
Install the retaining clip.
-
-
-
Insert the cables back into the cabin through the floor seal.
-
It might be easier to do this one at a time.
-
Reinstall the shifter cable bracket last, making sure that the cables are oriented the correct way.
-
-
-
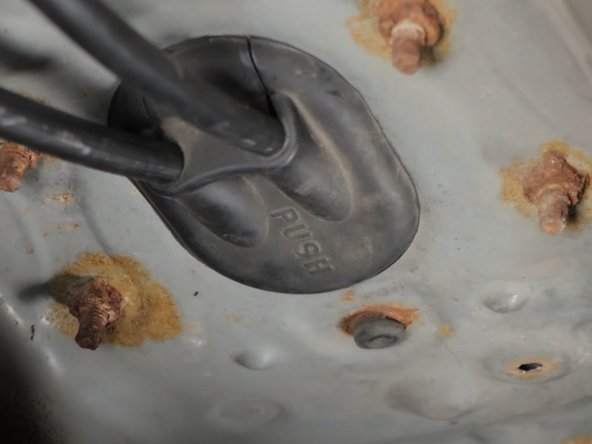
Push the cable seal back into place. Make sure it is fully clipped into place.
-
Reinstall the lower heatshield.
-
-
-
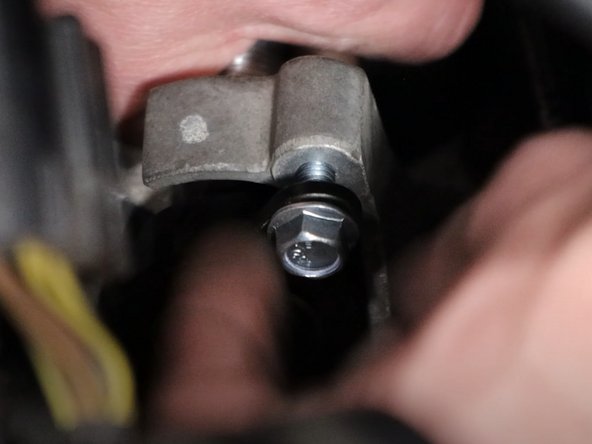
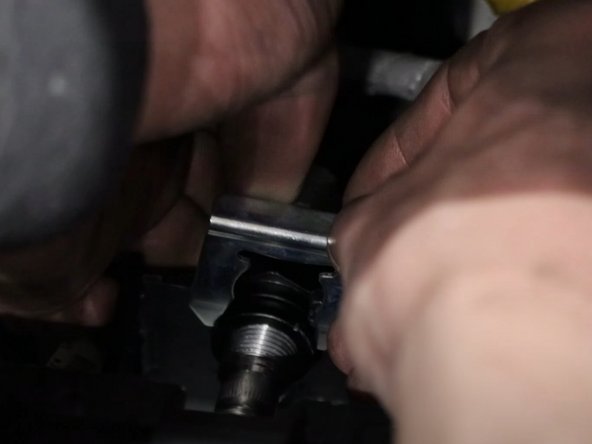
Use the supplied hardware and bolt the shifter cables to the transmission bracket.
-
Torque to 8.7ft-lb.
-
-
-
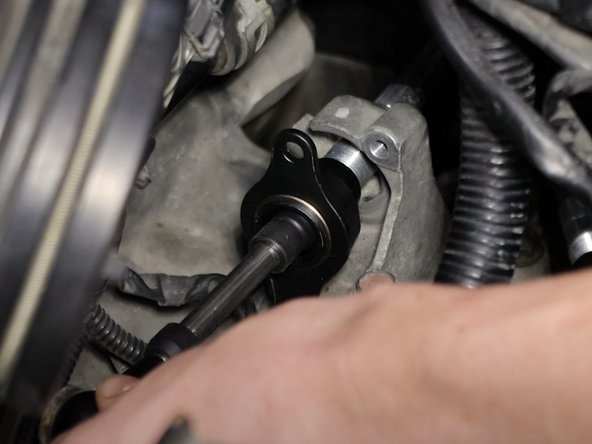
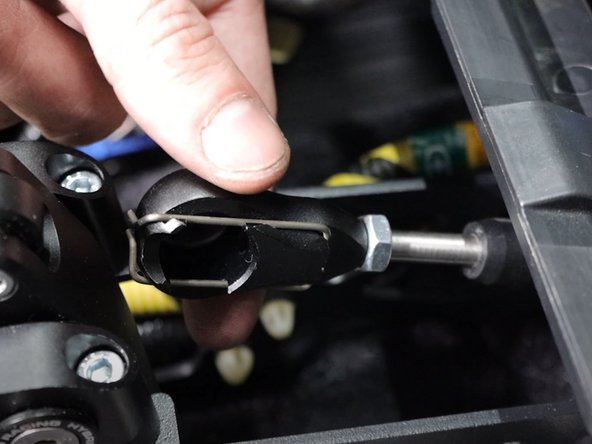
Insert the shifter cables through the end of the shifter.
-
Install the cable end link to the shifter using the supplied retaining clip.
-
-
-
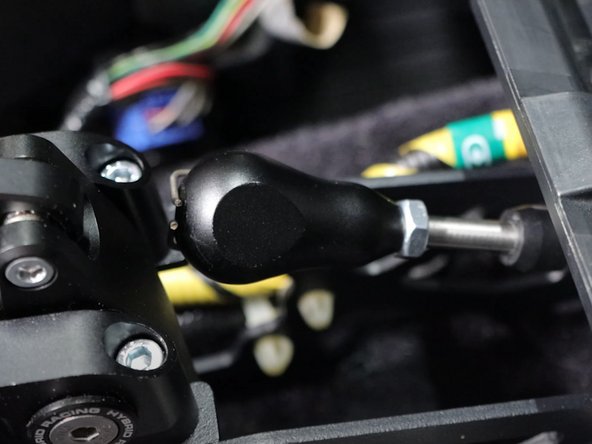
This step may or may not be necessary depending on the direction of your cable end link.
-
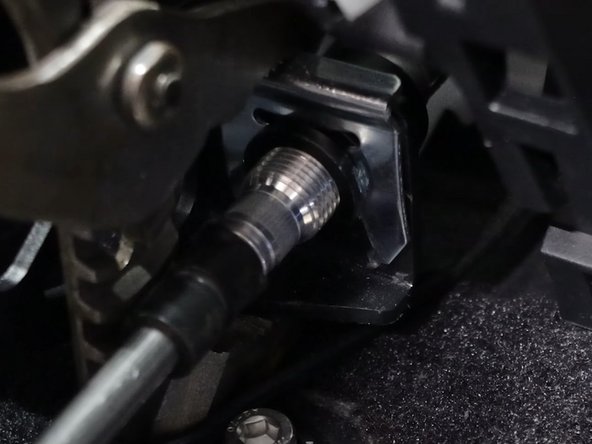
Make sure you spin the cable end link so it aligns correctly with the shifter ball.
-
Once it is lined correctly, use two wrenches to tighten the lock nut.
-
You must adjust this to prevent the cable from binding inside of the sleeve. You should only spin the end link one turn or less.
-
-
-
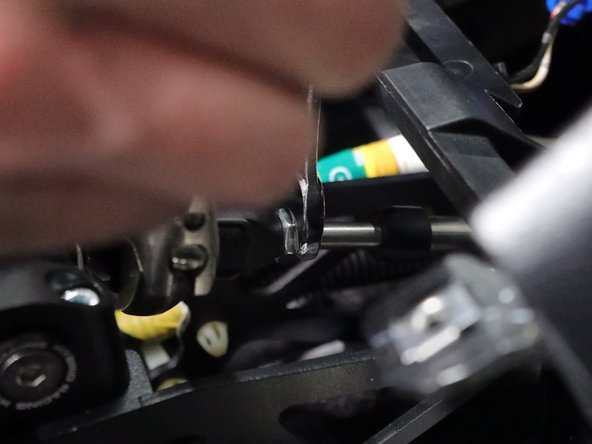
Install the right cable to the bottom of the shifter.
-
Use the supplied spring clips and install the cables to the shifter. You may need to use an extension or punch.
-
-
-
Once the clips are in place, the cables are fully installed. You may now row through each gear. Make sure everything feels good before reassembling your car.
-


Cancel: I did not complete this guide.
One other person completed this guide.
