-
-
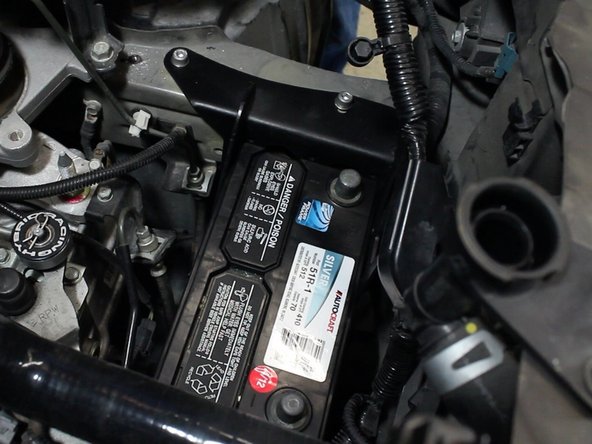
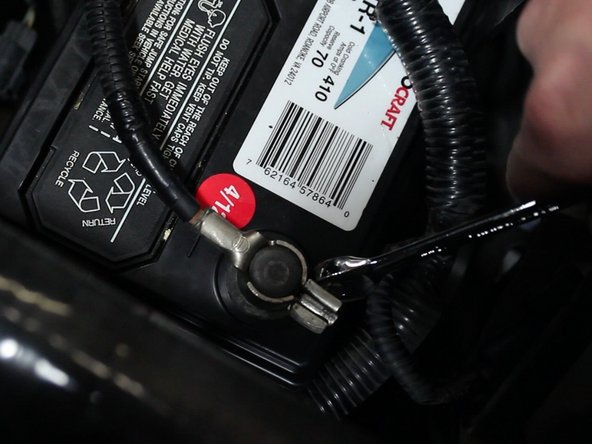
Remove the negative terminal of the battery first then remove the positive.
-
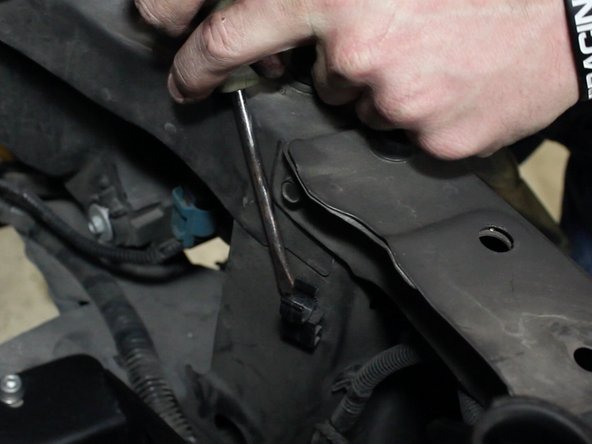
Once the battery has been disconnected, remove the battery tie down.
-
-
-
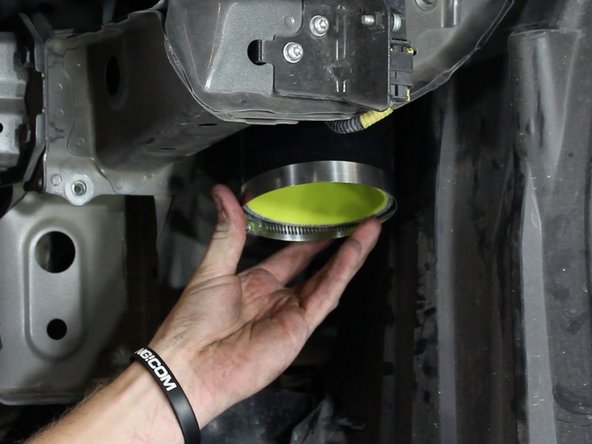
Remove the radiator cap then open the petcock on the lower radiator. You shouldn't need to remove it completely, just twist it until coolant starts to flow.
-
Never remove the radiator cap when the car is hot. Wait until the radiator and engine is cool to the touch.
-
If you plan on re-using the engine coolant, be sure to use a clean drain pan. You should never re-use dirty or discolored fluids.
-
You do not need to drain the system completely of coolant. You will be replacing the upper radiator hose only so as long as the fluid level is below that it is ok.
-
-
-
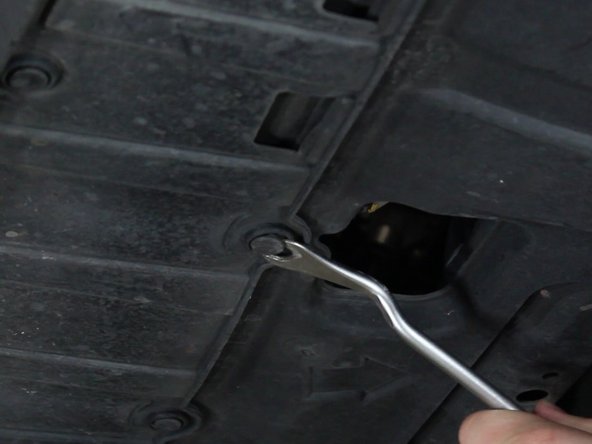
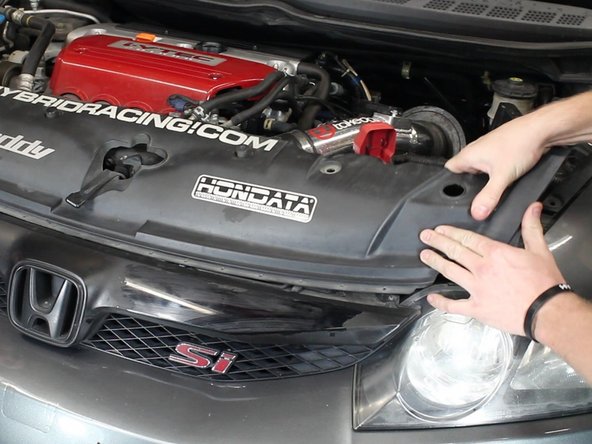
Remove all of the clips that hold the lower portion of the bumper to the lower plastic cover.
-
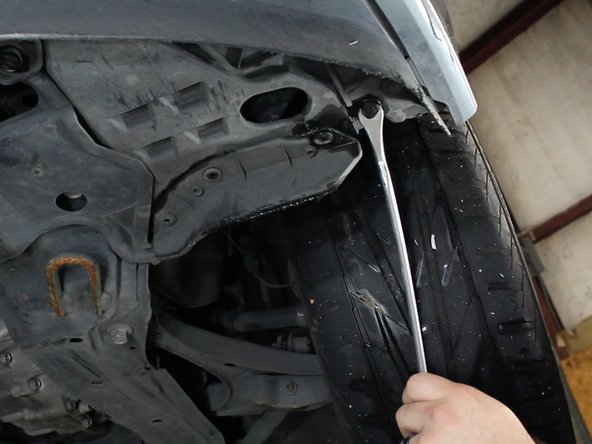
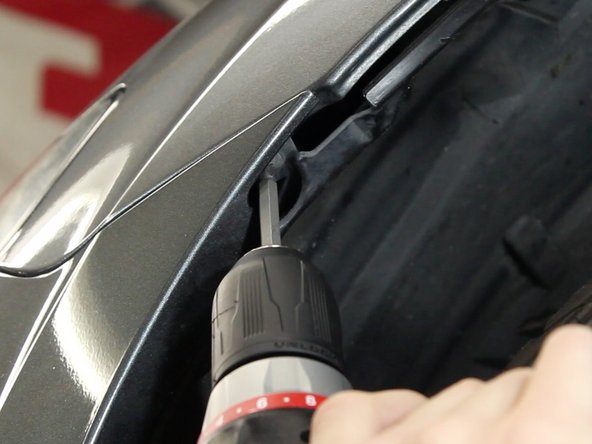
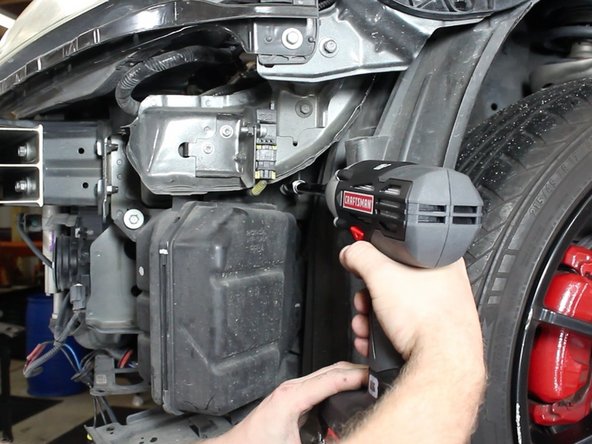
Remove the screws that fasten the bumper to the fender bracket. There is one on each side. You may have to pull back the fender lining to gain access.
-
-
-
Remove the clips that attach the upper grill cover.
-
Slide the cover backwards and remove it completely.
-
-
-
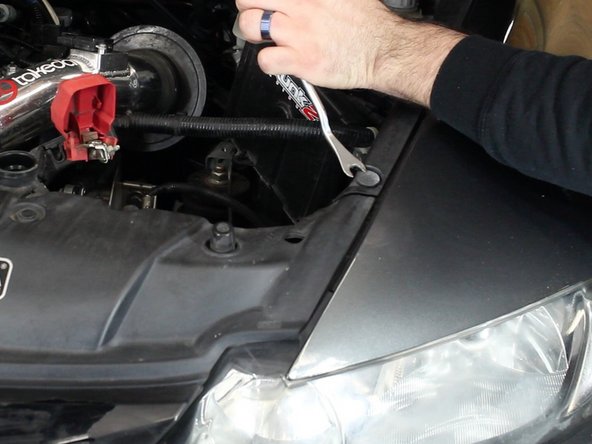
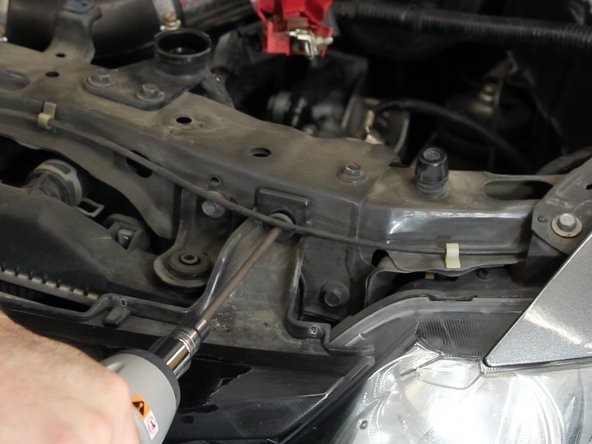
Once the upper cover is out of the way, remove the bolts that hold the grill brackets in place.
-
The sides of the bumper snap in place. Once both screws are removed, you'll need to pop the bumper out of the brackets.
-
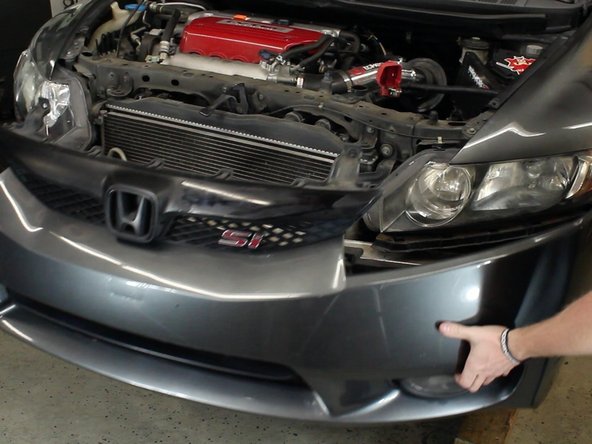
Remove the bumper.
-
Do not yank on the bumper as it could over stress the paint which can result in cracks or chips.
-
-
-
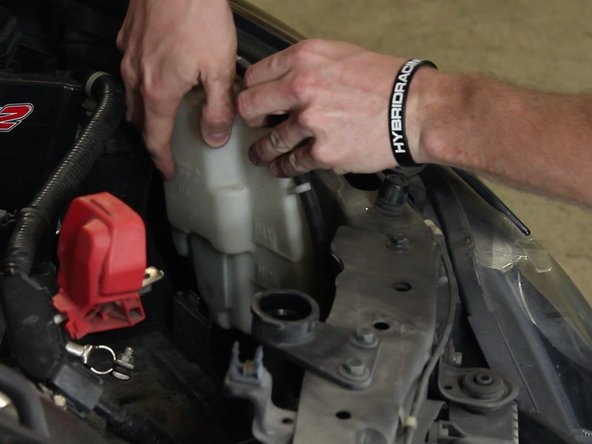
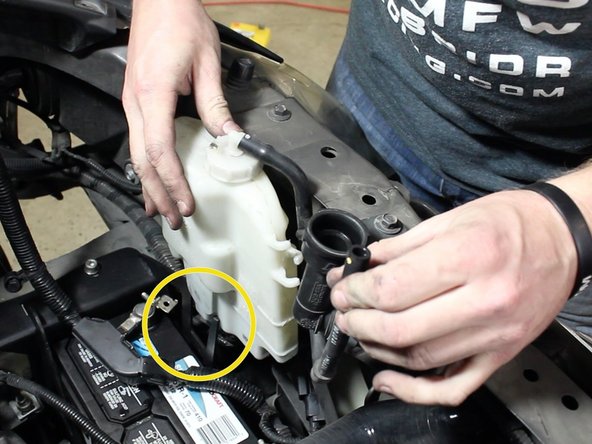
Remove the radiator overflow reservoir.
-
-
-
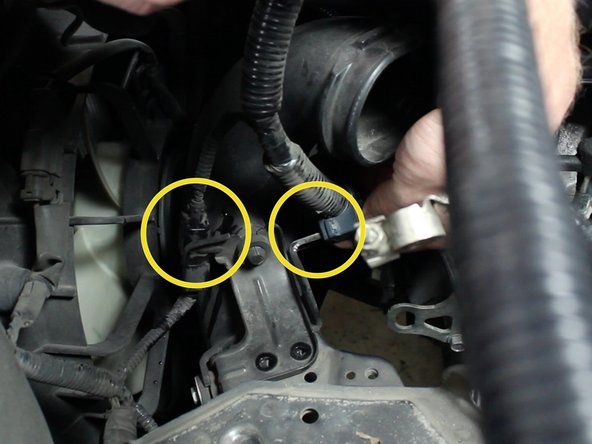
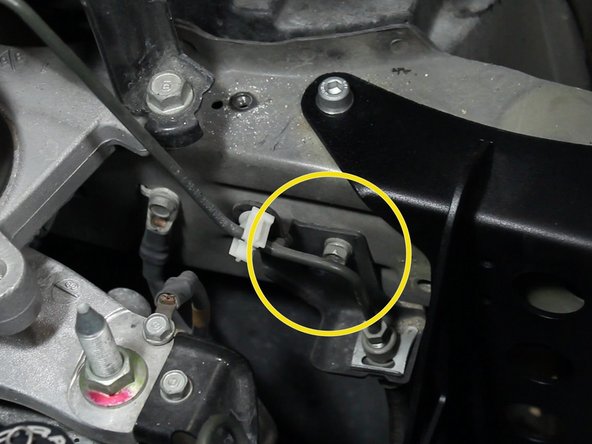
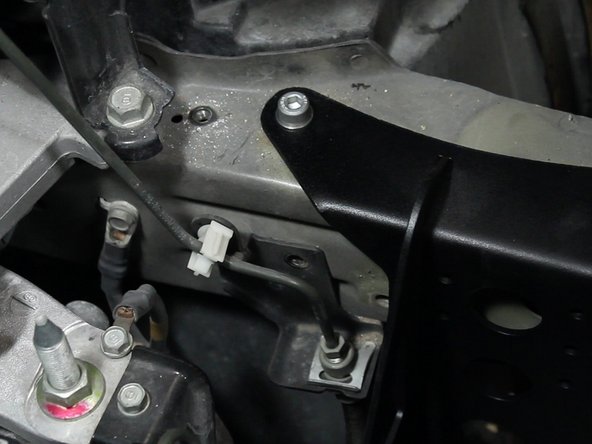
Remove the bolts that hold the battery tray to the wire harness bracket.
-
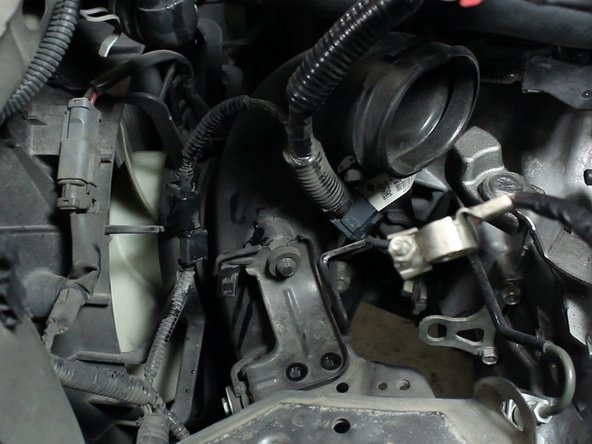
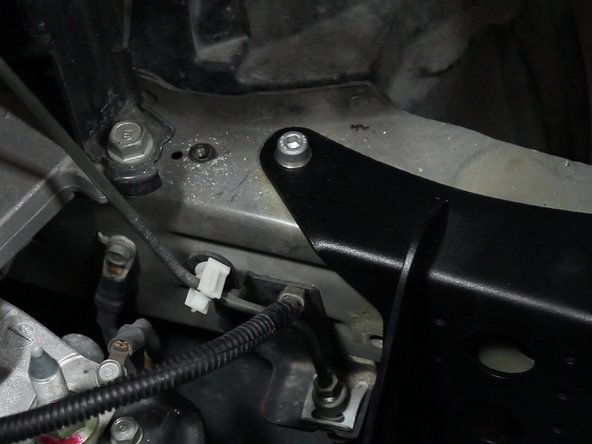
Unclip the wiring harness and move it out of the way.
-
-
-
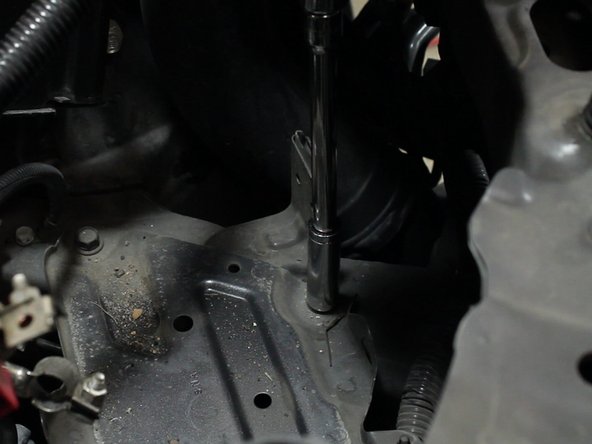
Remove the upper and lower battery tray bolts. There are 4 total.
-
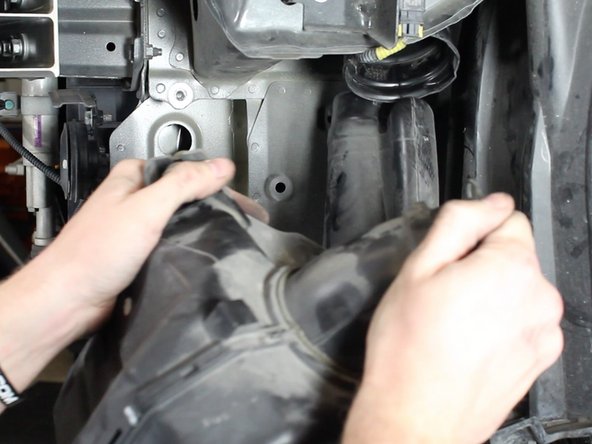
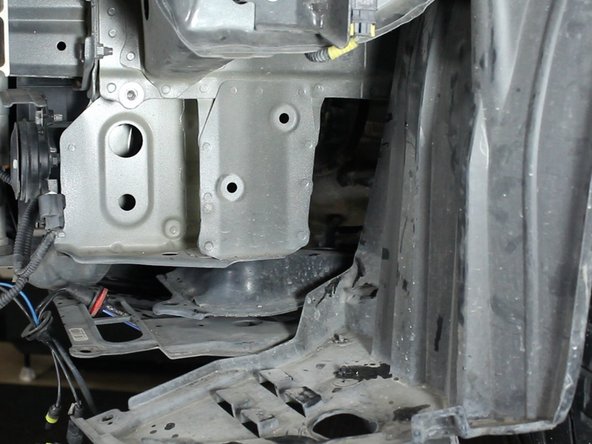
Remove the battery tray.
-
-
-
Remove the upper portion of the air intake tube.
-
-
-
With the bumper off, remove the lower section of the air intake tube.
-
It's doesn't come out easily so you will have to twist and turn while pulling. Make sure everything has been disconnected before you start to yank on it.
-
-
-
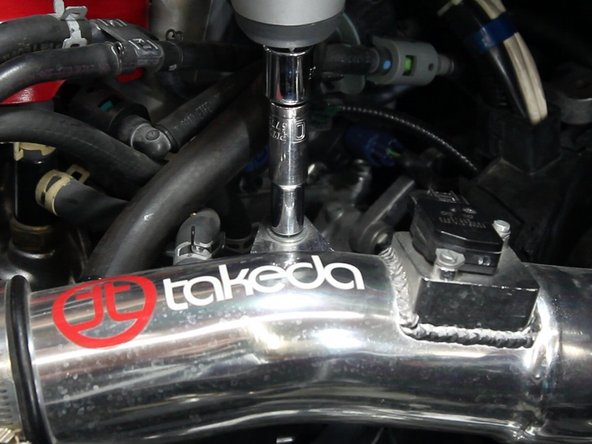
Unplug the MAF sensor and remove any bolts holding the top section of the intake in place.
-
-
-
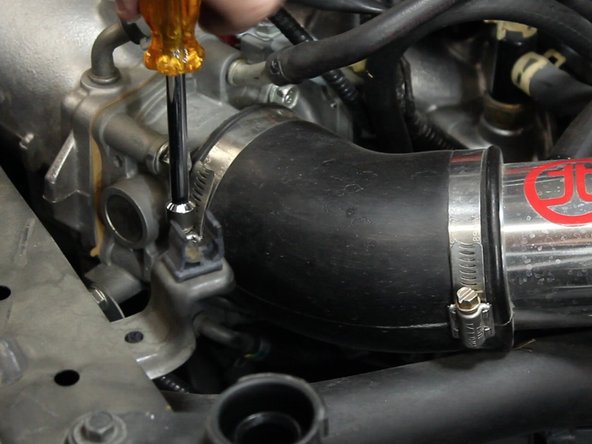
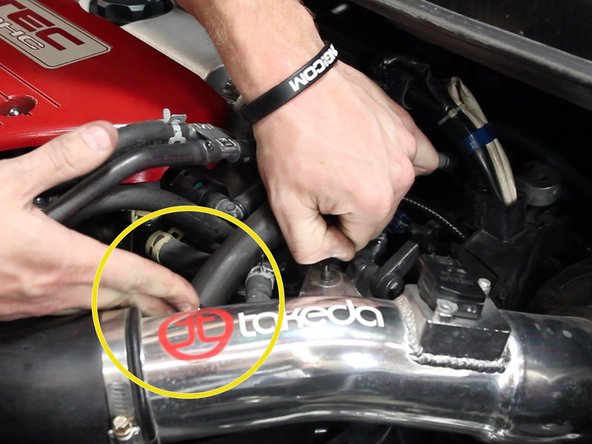
Loosen the clamp closest to the throttle body.
-
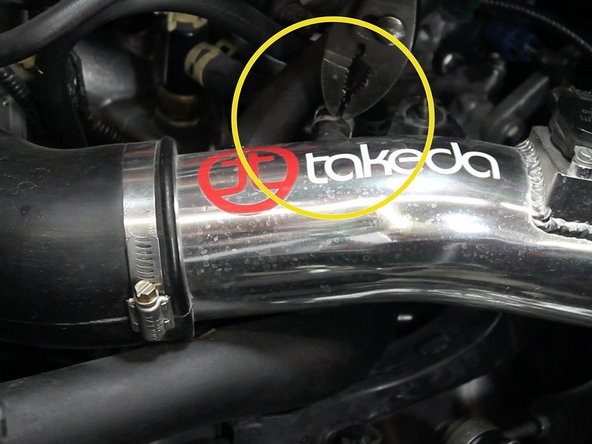
With a pair of pliers, remove the air intake accessory tubes.
-
-
-
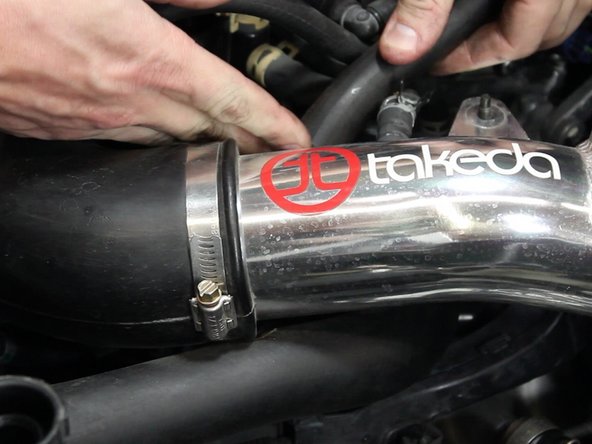
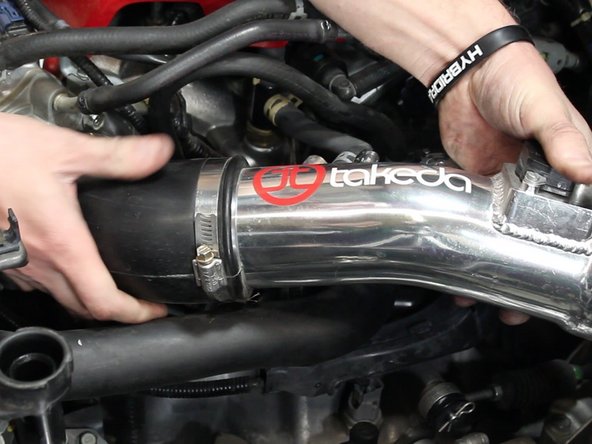
Once all of the tubes have been removed, remove the intake completely.
-
-
-
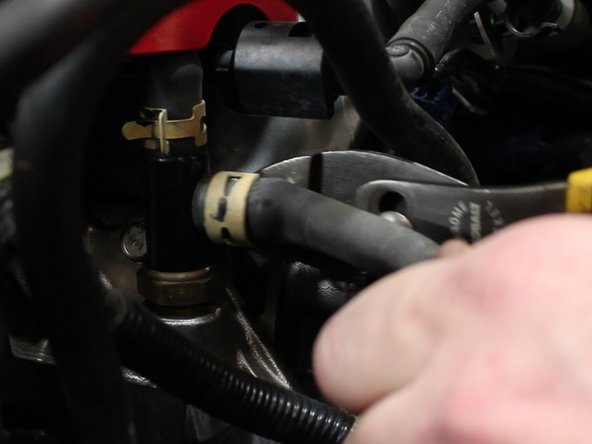
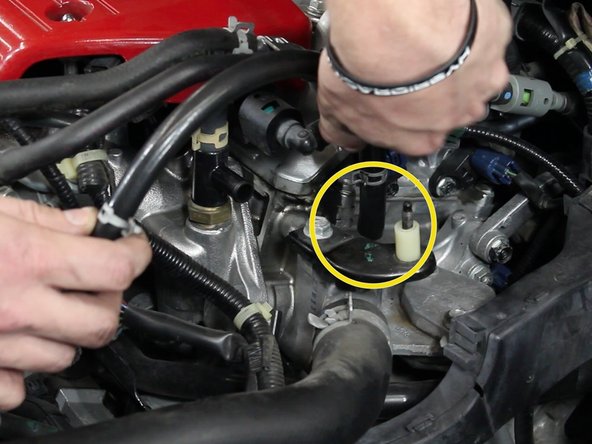
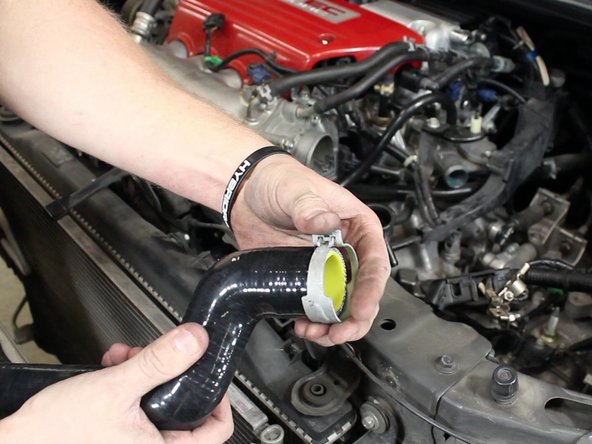
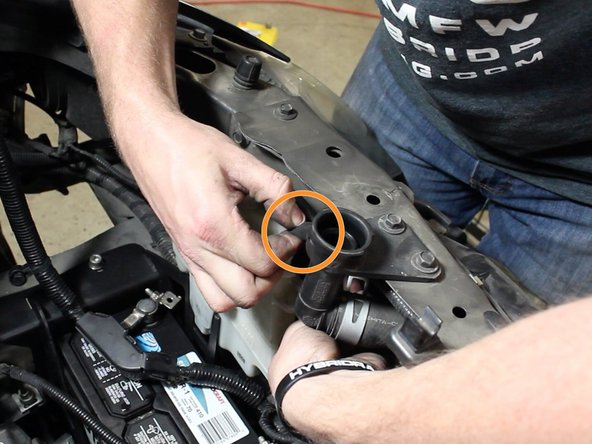
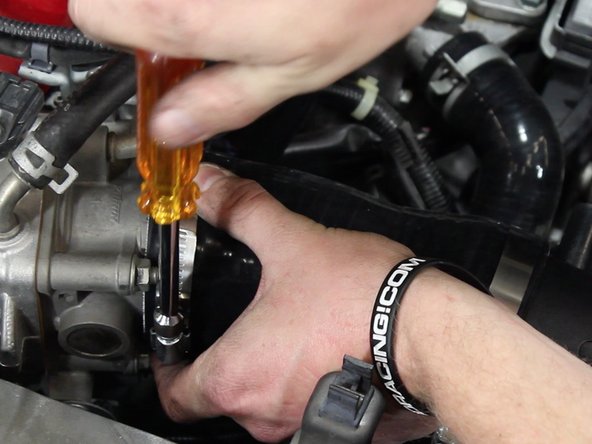
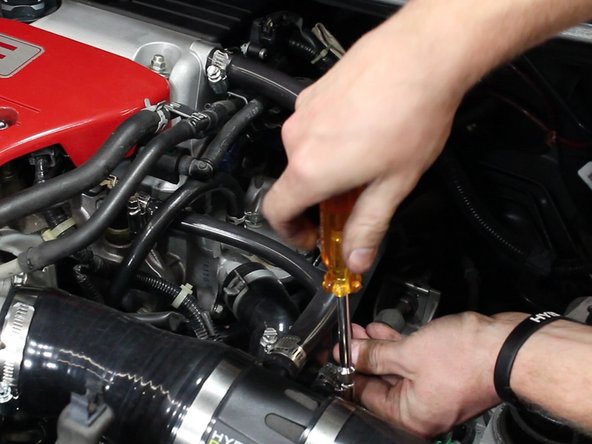
Use plies to remove the hose clamp and then remove the factory hose.
-
-
-
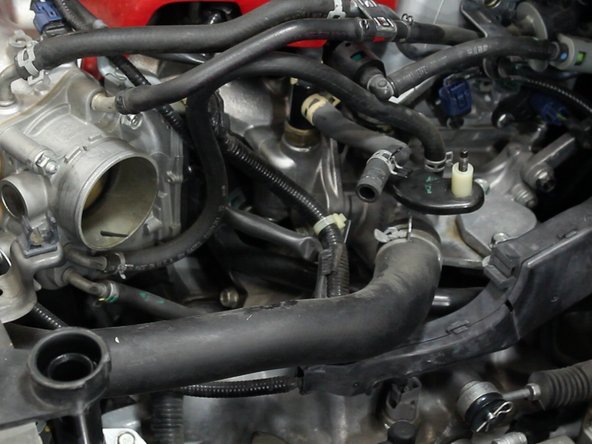
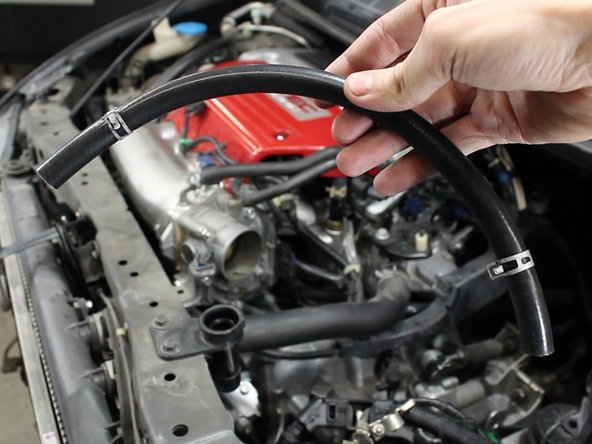
Your intake system should include a new upper IACV coolant hose. Be sure to use the OEM hose clamps.
-
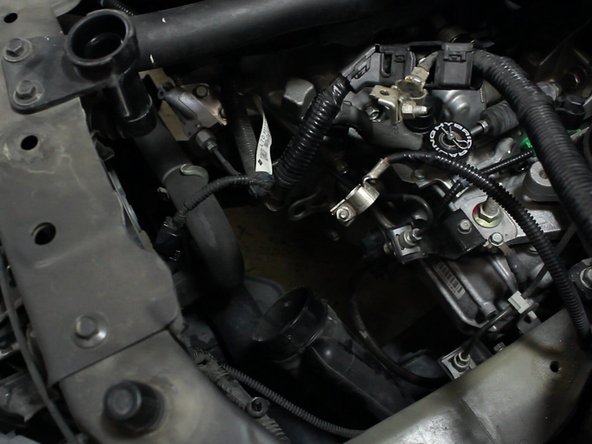
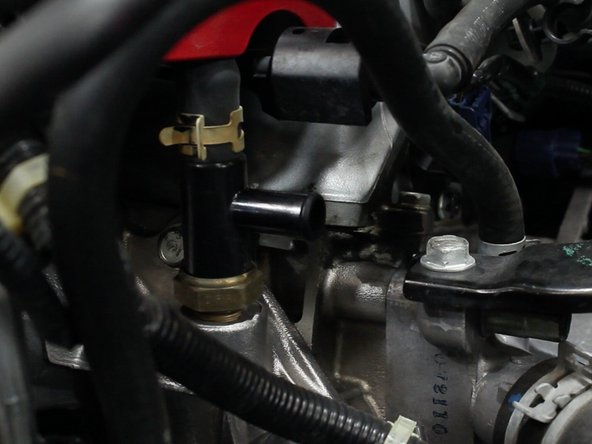
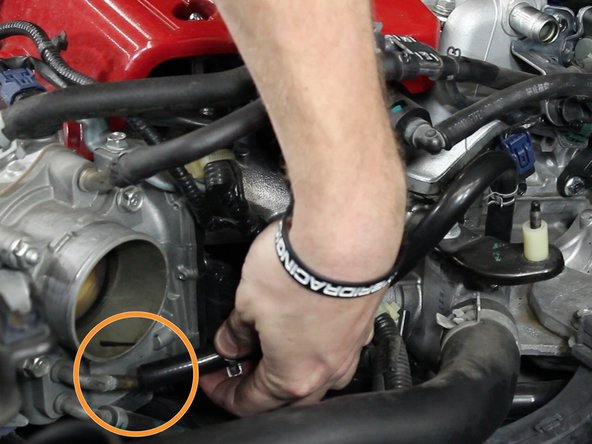
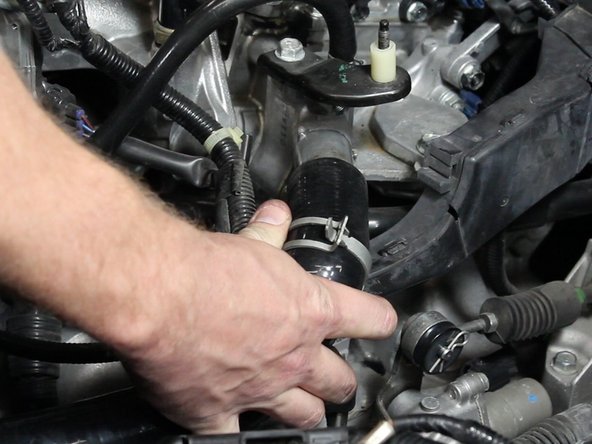
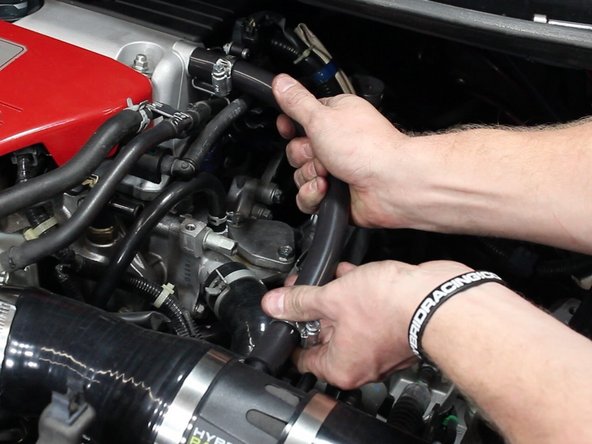
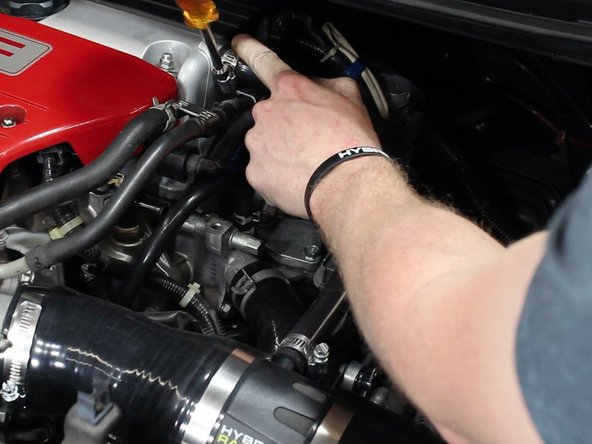
Install the line from the upper section of the IACV located on the throttle body and the coolant housing.
-
-
-
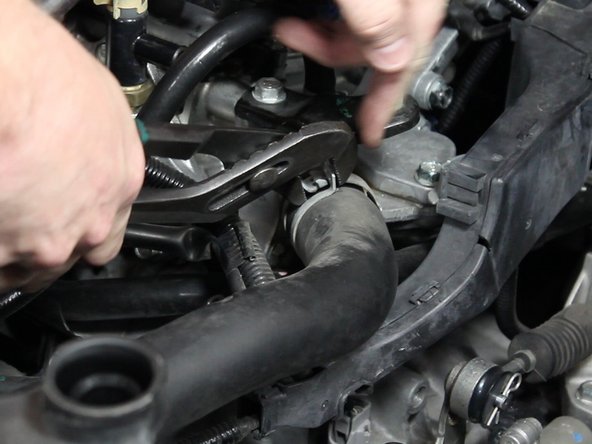
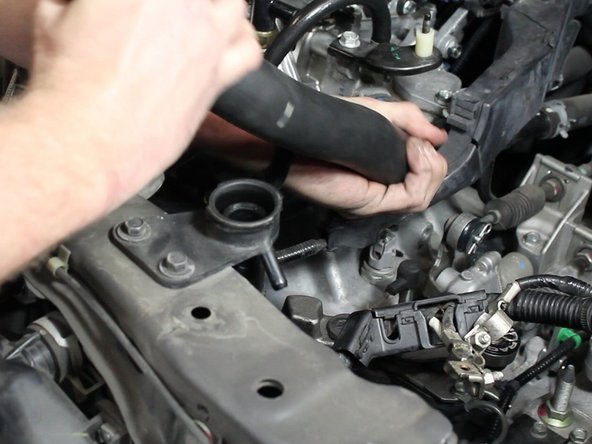
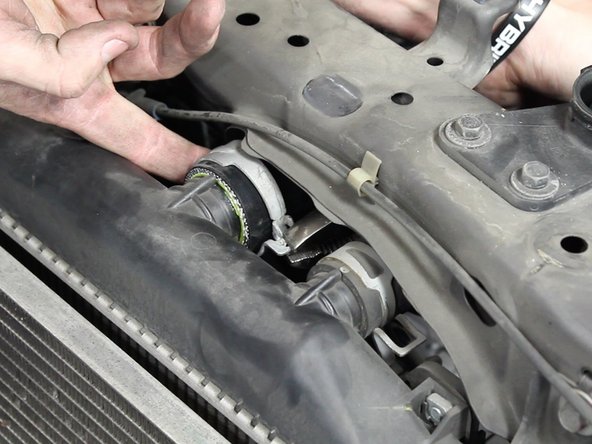
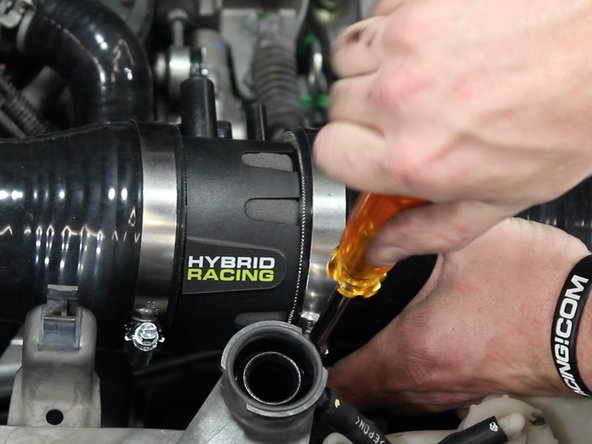
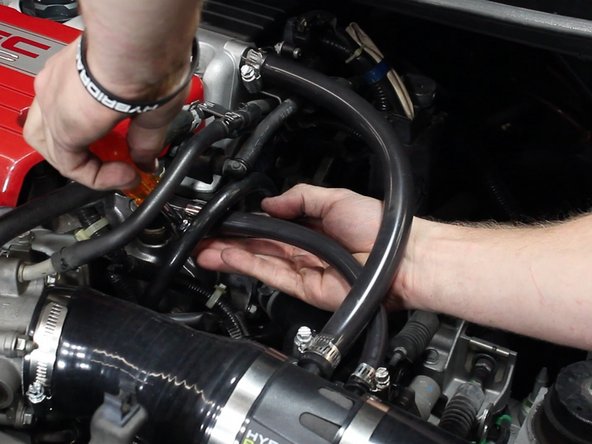
Using a pair of pliers, slide the hose clamps back. Remove the upper radiator hose.
-
-
-
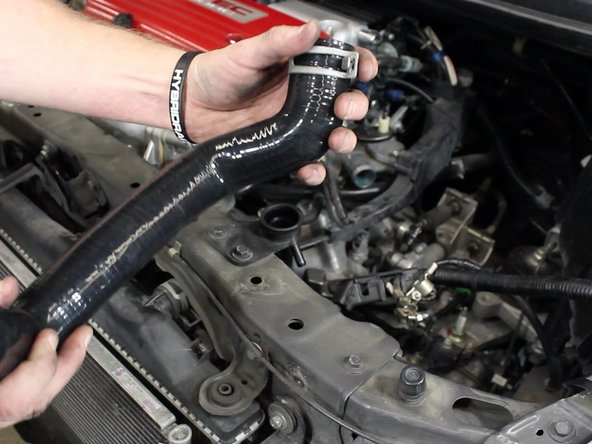
Slide the clamps onto the new upper radiator hose.
-
-
-
Install the new upper radiator hose and slide the clamps back into place.
-
-
-
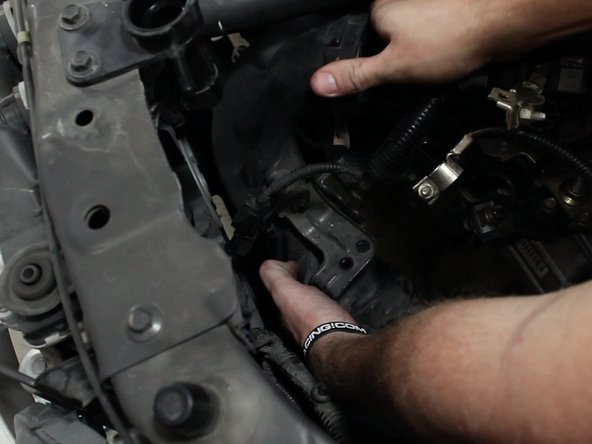
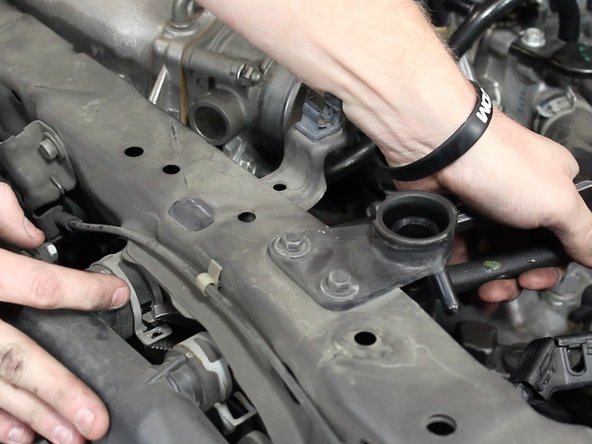
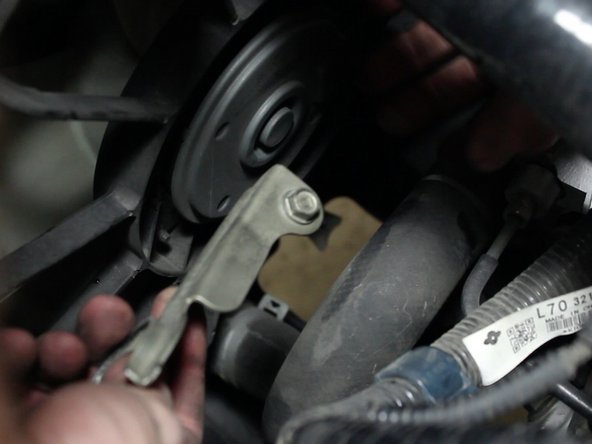
Remove the lower radiator hose bracket.
-
-
-
Remove the battery ground terminal from the upper frame rail.
-
-
-
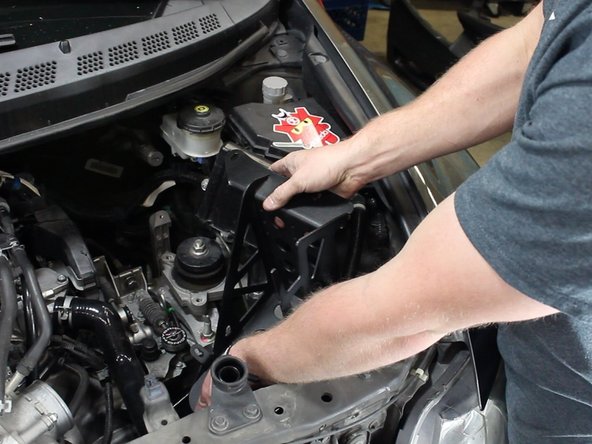
Slide the HR battery tray into place. Be sure to take your time.
-
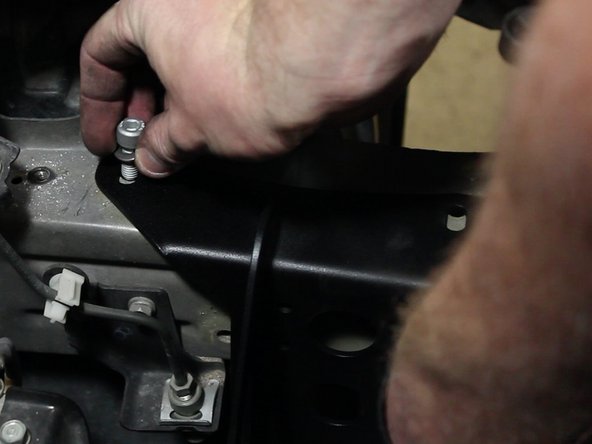
Using the supplied bolts, thread in and tighten the battery tray in place.
-
-
-
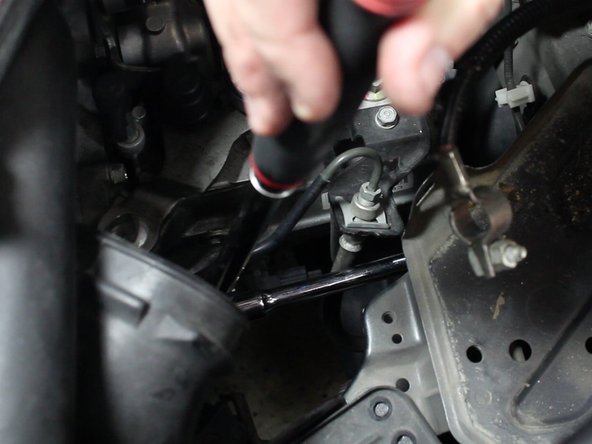
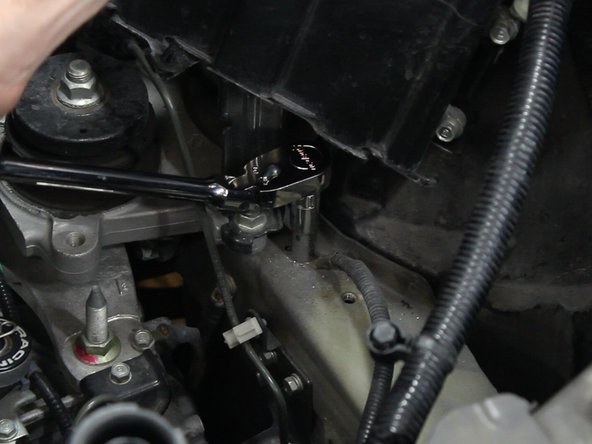
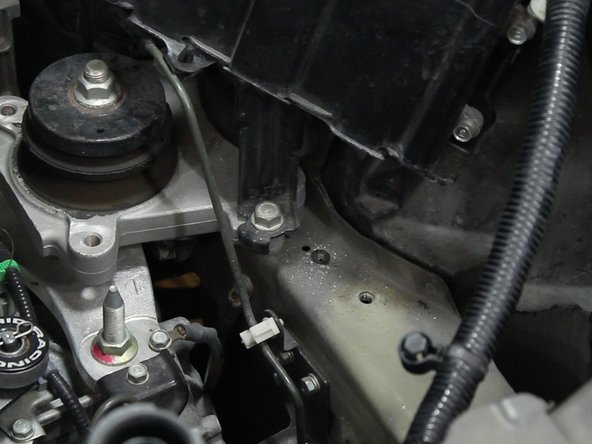
Remove the bolt holding the factory clutch line bracket in place.
-
Install the battery ground. Make sure there is a proper ground surface.
-
You may need to scratch the paint to ensure metal to metal contact.
-
-
-
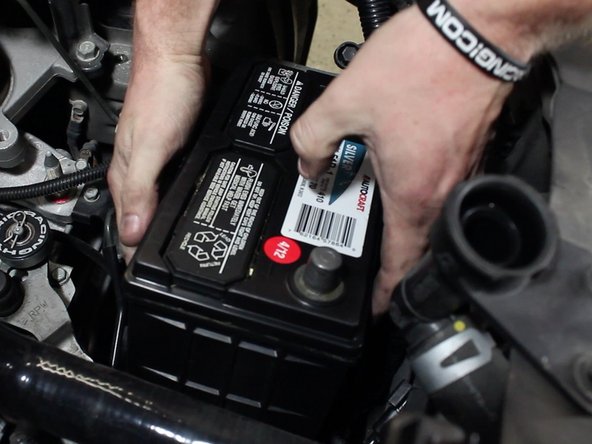
Install your battery.
-
If you are using an aftermarket battery, some trimming of the upper battery case may be required.
-
-
-
Install and tighten the battery positive, and then negative terminals.
-
-
-
Remove the clip next to the radiator fill neck on the radiator support.
-
Slide the overflow tank onto the upper battery bracket.
-
Re-install the overflow tank tube.
-
-
-
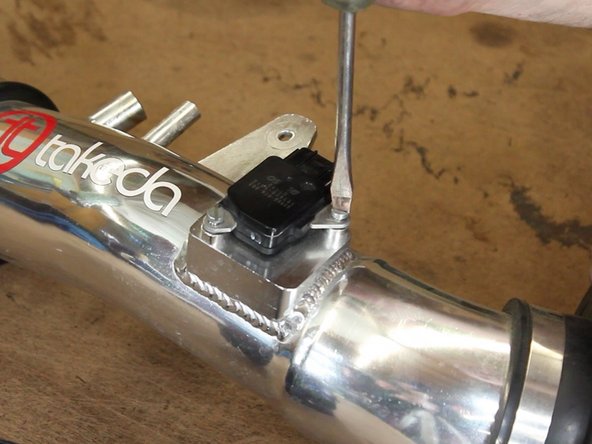
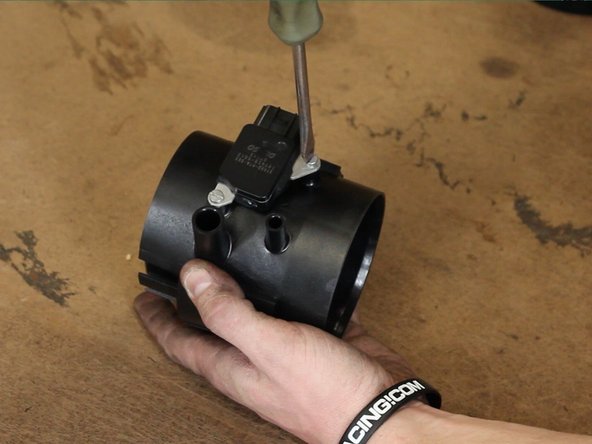
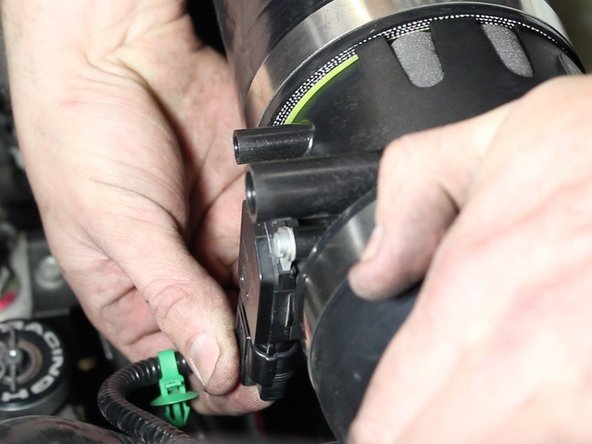
Remove the OEM MAF and install it into the HR intake chamber.
-
-
-
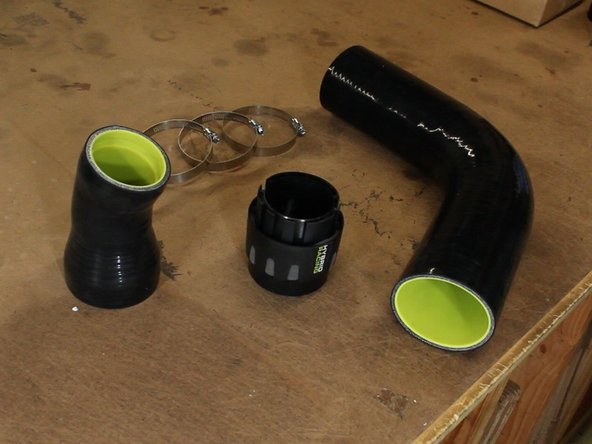
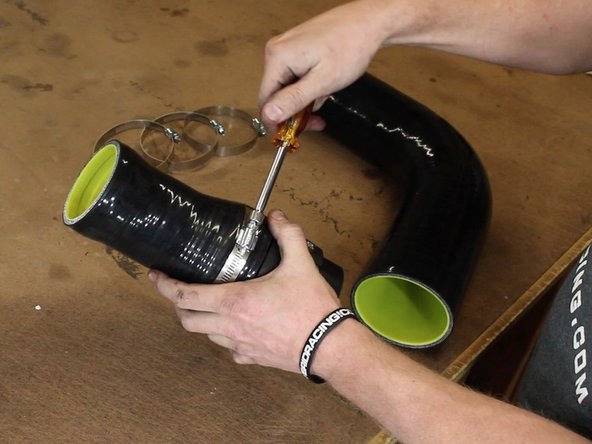
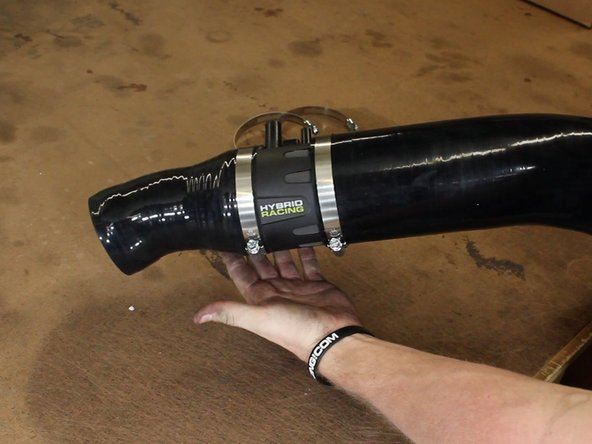
Assemble the HR intake.
-
Don't fully tighten the clamps and you may need to wiggle and adjust them.
-
-
-
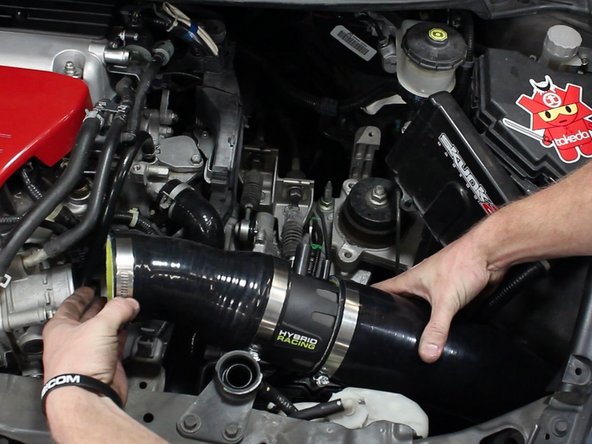
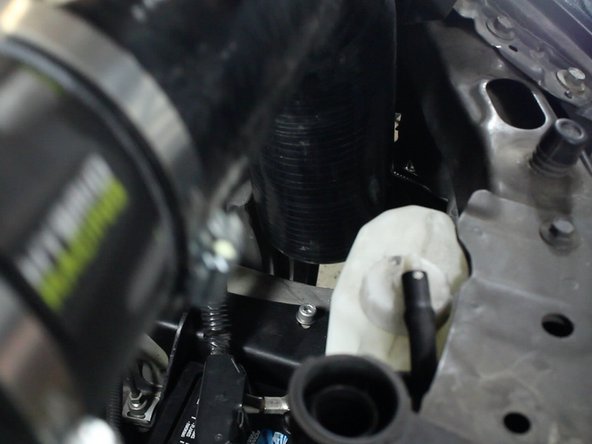
Slide the HR intake into place. Make sure there is enough room near the fender well.
-
-
-
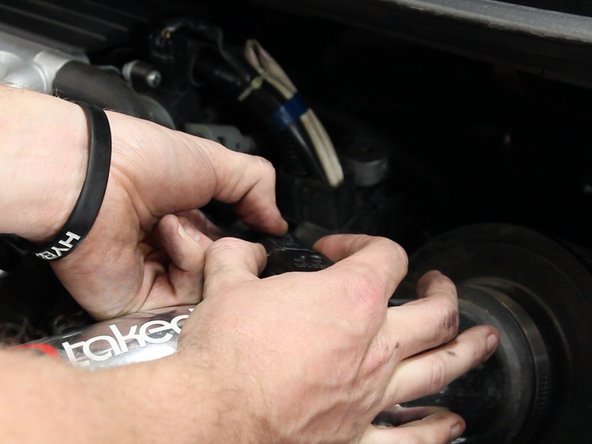
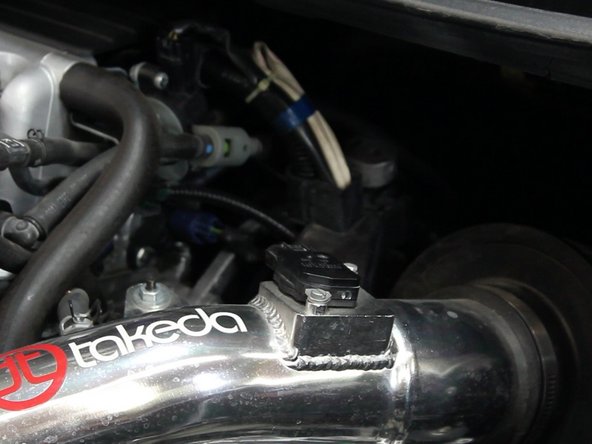
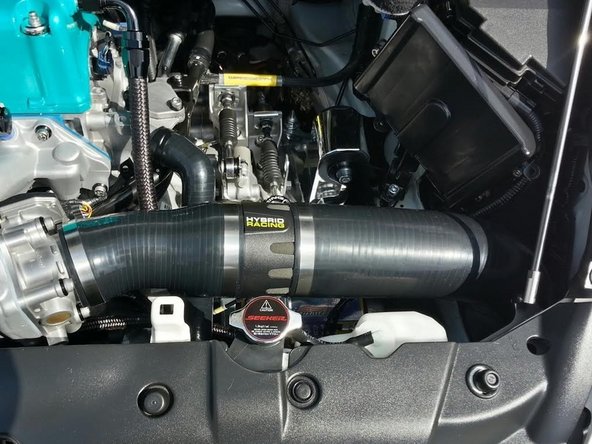
Slide the intake onto the throttle body and tighten the hose clamps.
-
Re-connect the MAF sensor.
-
-
-
Install and tighten the valve cover breather tube.
-
-
-
Install and tighten the second vacuum hose.
-
-
-
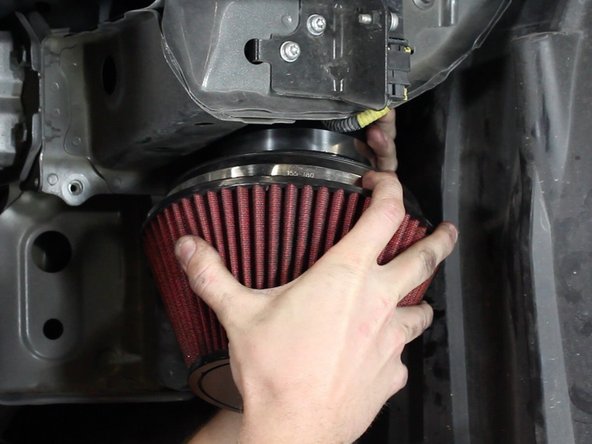
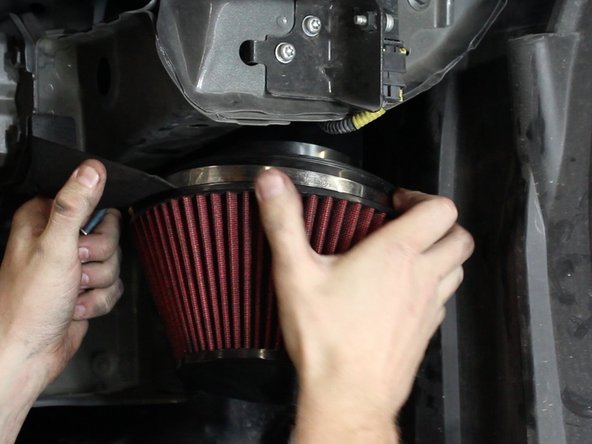
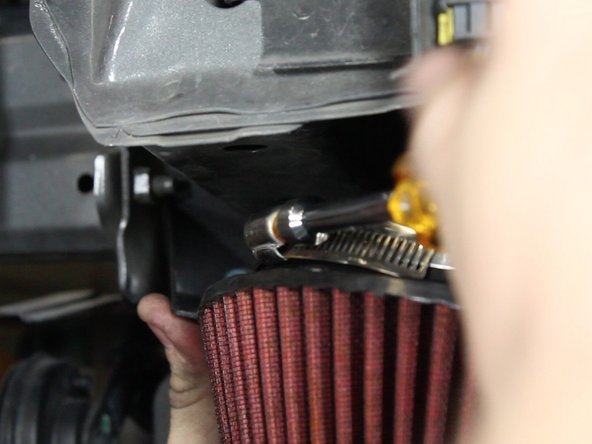
Using the supplied hose clamps, install the air intake velocity stack and filter.
-
Install the filter bracket before tightening the clamps.
-
-
-
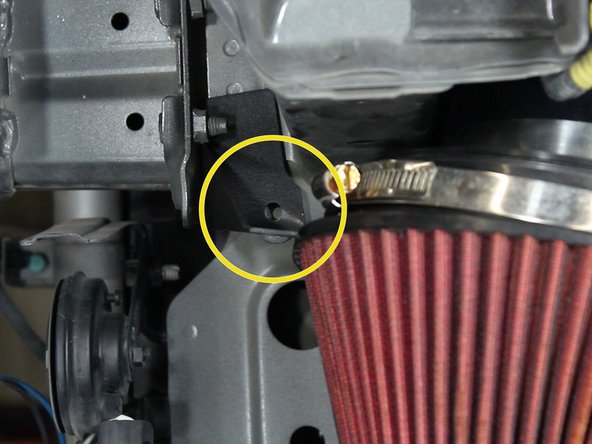
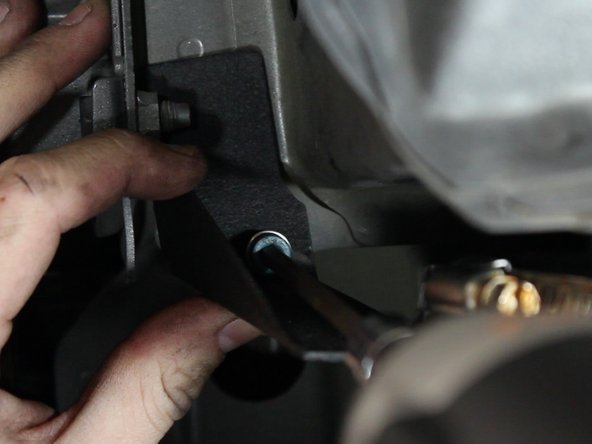
Line up the filter bracket with the threaded hole in the chassis.
-
Slight modification may be required depending on model year and coupe / sedan.
-
-
-
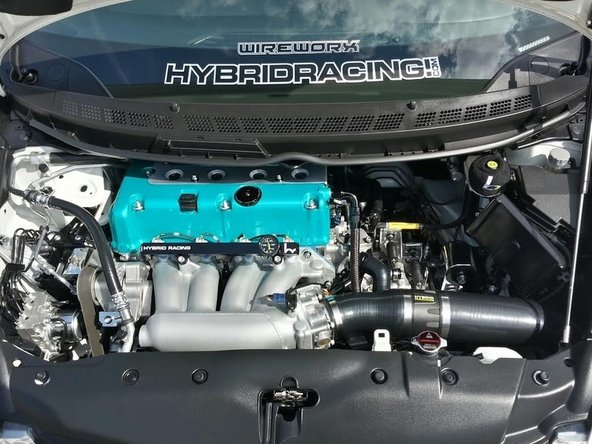
Re-install the body parts and fill the system with coolant.
-
You must change the calibration on your Hondata Flash-Pro before cranking the engine. This intake is NOT designed to work with a MAF sensor, so upload a MAP based tune accordingly.
-
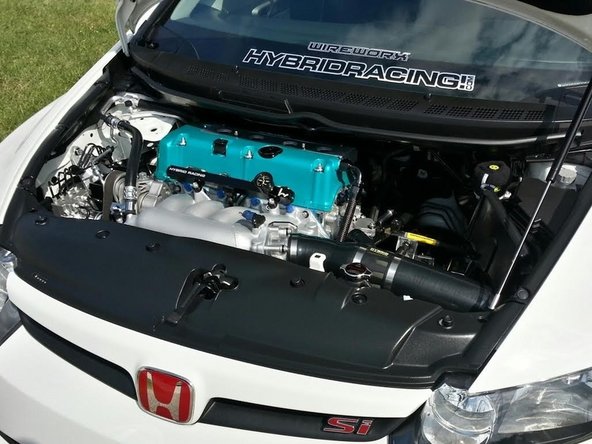
Make sure the engine is up to operating temperatures and that there is no leaks.
-