Introduction
Hybrid Racing K20Z3 upper coolant neck adapter was designed for 2006-2011 8th Gen Civics or K-Swap owners who need to modify or improve the function and form of their car’s cooling system. It boasts full 6061-T6 aluminum construction, lending it a strong and lightweight design along with a clean appearance that will put your OEM coolant housing to shame. The kit’s modular design allows the user to configure it to their exact setup.
Tools
Parts
No parts specified.
-
-
Start by removing the radiator cap
-
Never open the radiator cap if the coolant is still hot.
-
Unscrew the drain plug and drain the coolant from the engine and radiator
-
Be sure to use a coolant safe container. If you are not re-using the coolant, dispose of according to your local environmental laws.
-
-
-
Remove the air intake system.
-
This car is equipped with the Hybrid Racing air intake. The OEM air box will require a few more steps.
-
-
-
Remove the engine wiring from the bracket. Pull the tabs outward to slide the plastic cover away from the engine.
-
-
-
Remove the wiring harness bracket from the coolant housing.
-
-
-
Remove the OEM air intake support bracket.
-
-
-
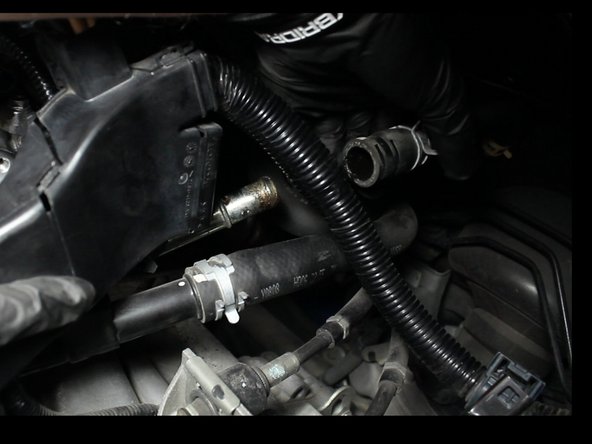
Remove the coolant hose that connects to the IACV.
-
If you choose to use the IACV with the HR coolant port, you should remove both sides of this hose now.
-
Remove the upper radiator hose.
-
-
-
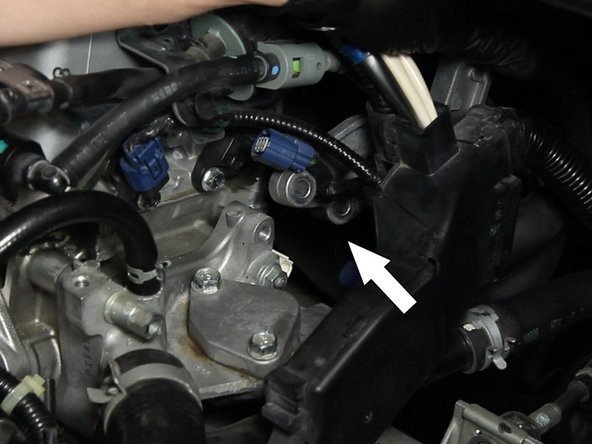
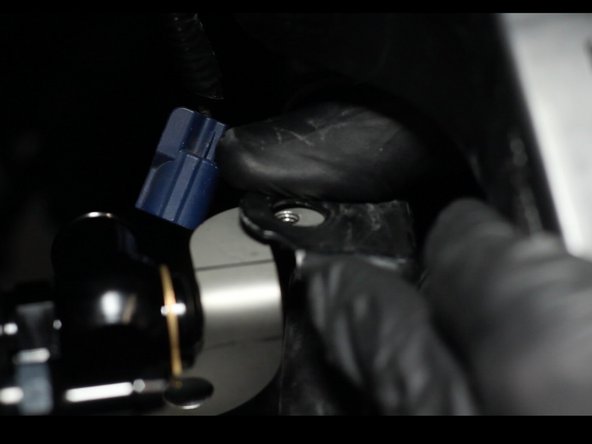
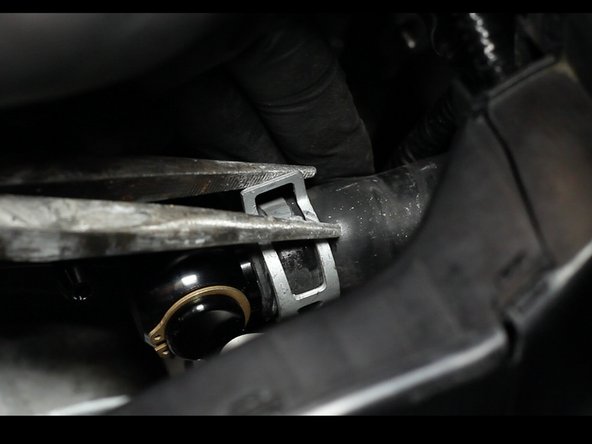
On the rear of the coolant housing, remove the heater hose.
-
-
-
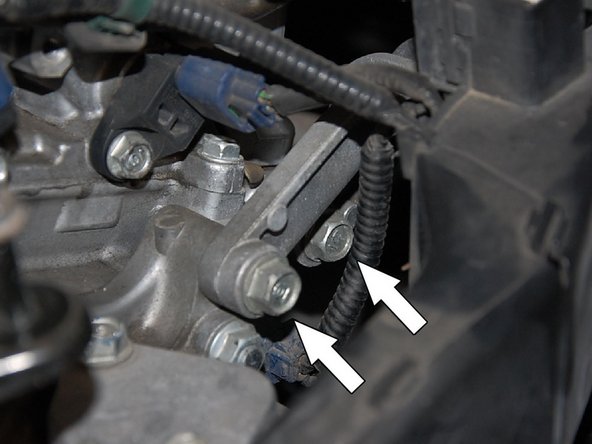
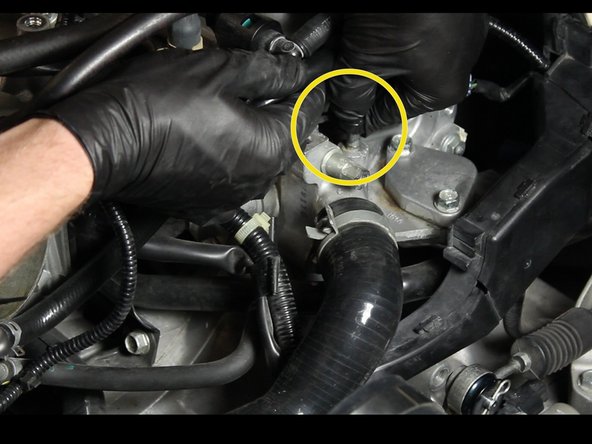
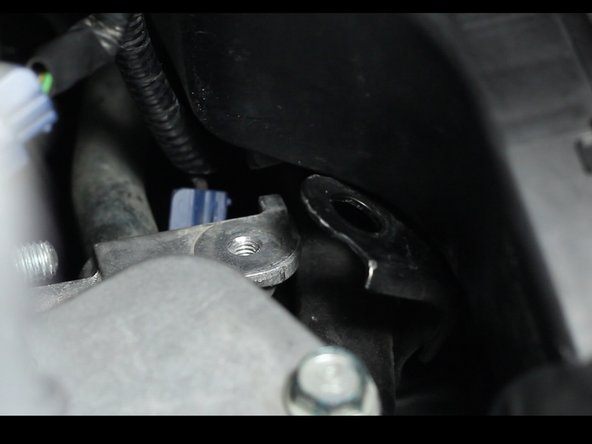
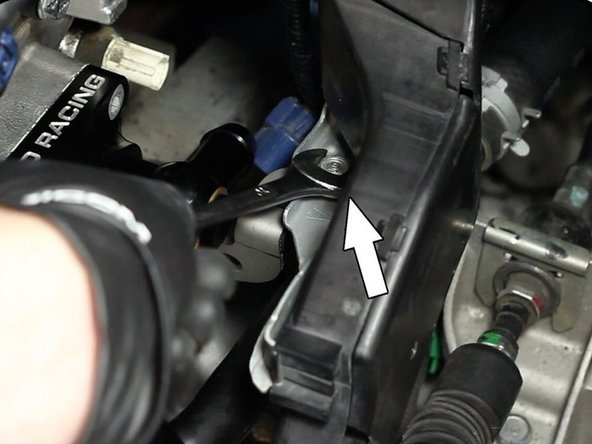
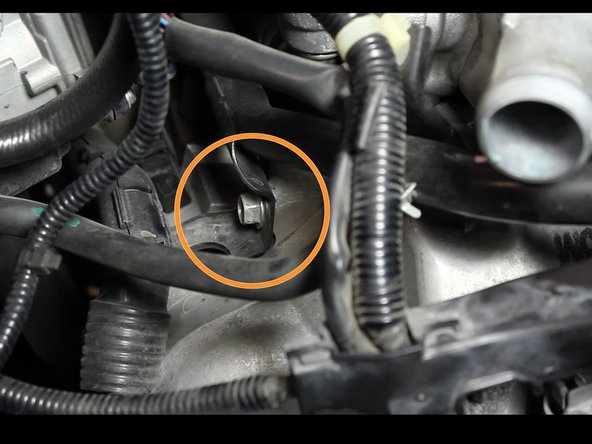
Remove the nut that holes the heater hose pipe in place.
-
-
-
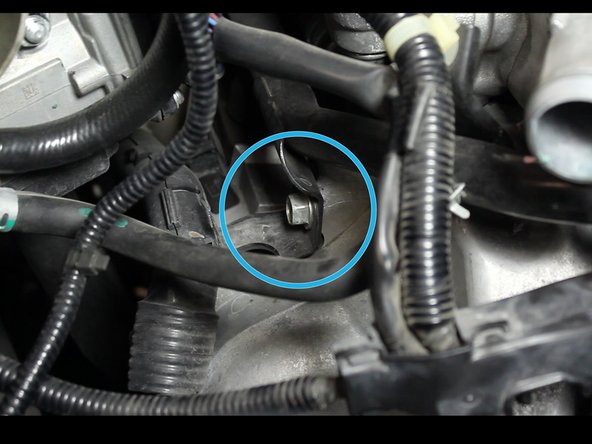
Locate and bend the heater hose pipe tab up and away from the OEM coolant housing.
-
This is necessary for removal, otherwise the housing will not have enough room to slide off the studs.
-
-
-
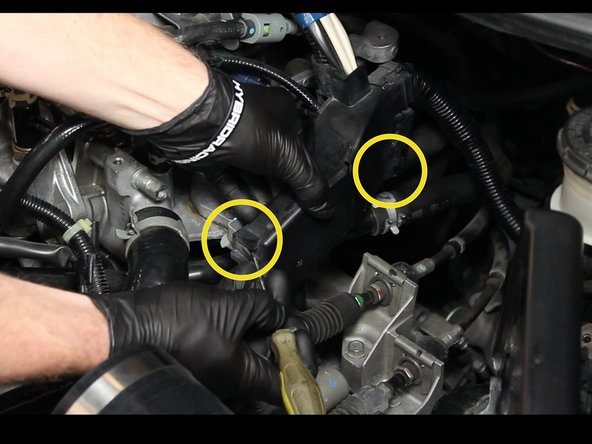
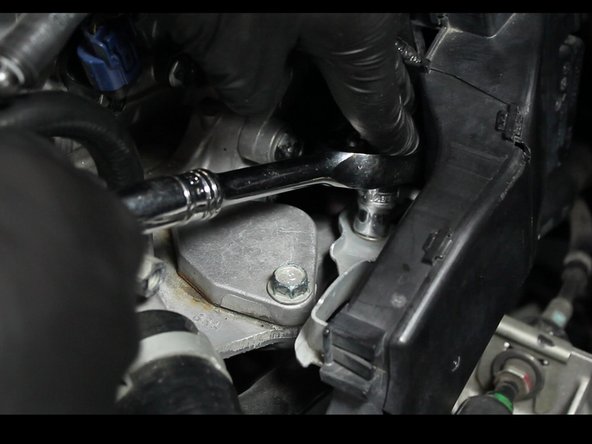
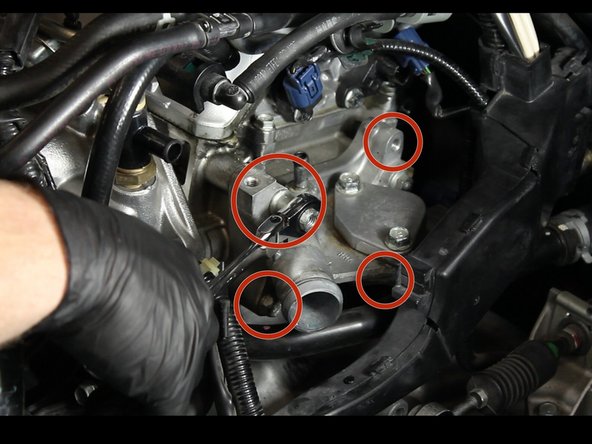
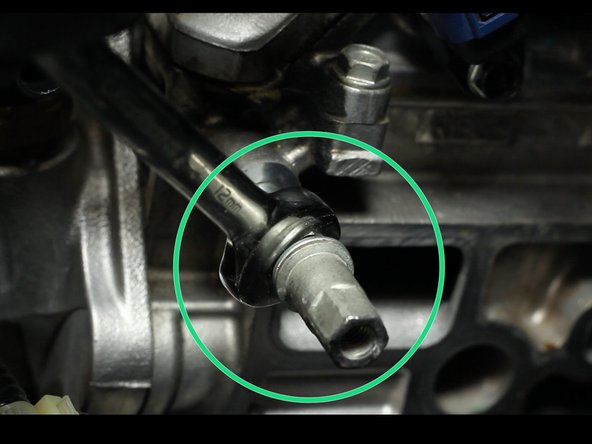
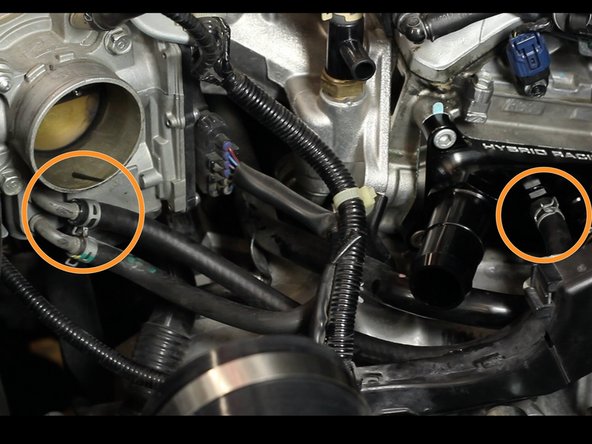
Remove the two upper nuts and two lower bolts.
-
The coolant housing should be free however you may have to wiggle it loose as it can get stuck to the gasket.
-
-
-
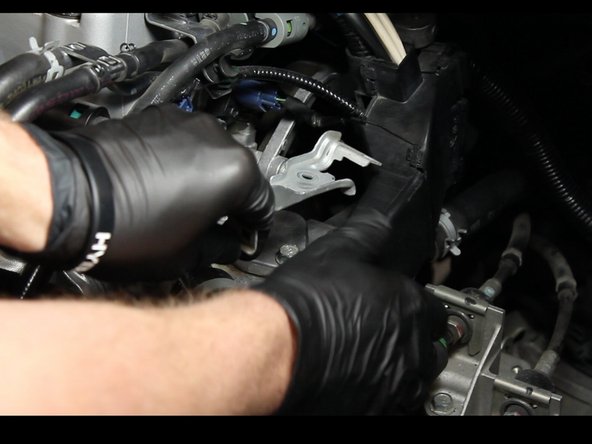
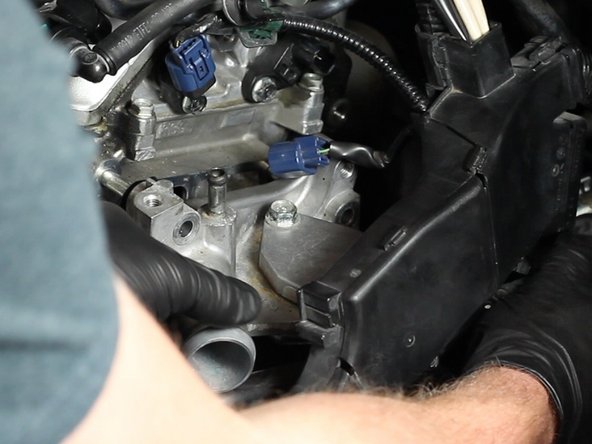
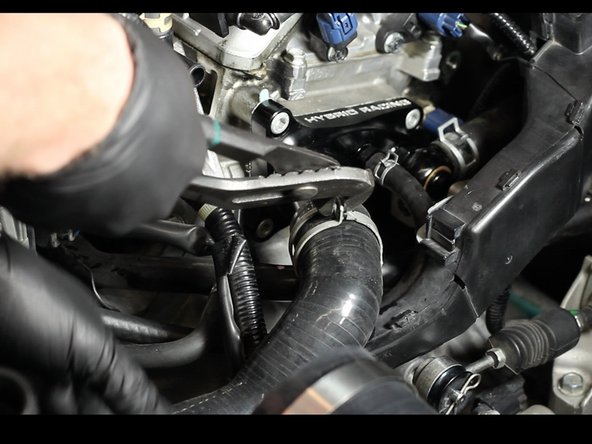
Slide the coolant housing away from the engine and remove it from the engine bay.
-
You may need to hold the heater pipe out of the way.
-
-
-
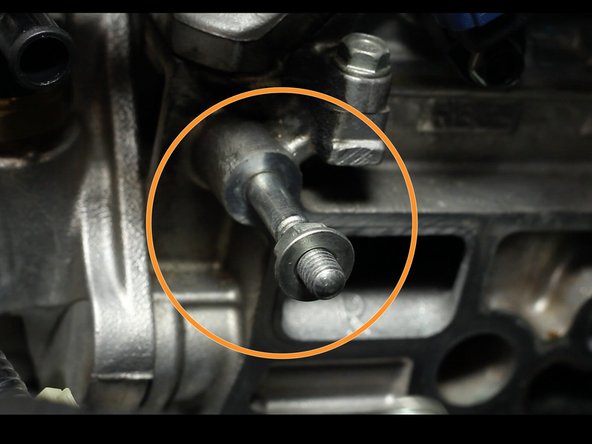
Use one of the nuts and spin it on backwards.
-
Take another nut and thread it on, tighten them together.
-
Unscrew the inside nut and the stud should back out of the cylinder head. Do this for both upper studs.
-
-
-
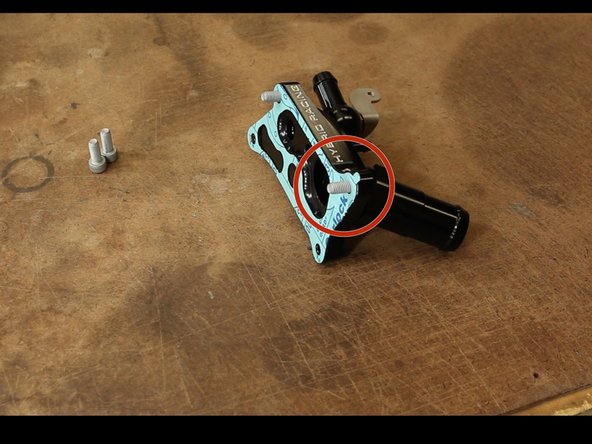
Install the gasket with the tab on the top. Take two of the included bolts and stick them through the housing.
-
Check to make sure all of the fittings are tight.
-
-
-
Install the new coolant port housing and tighten them in a crossing sequence.
-
-
-
Bend the heat hose pipe mounting tab back into place and install the factory mounting bracket.
-
-
-
Re-install the heater hose onto the new outlet fitting.
-
Re-install the heater hose pipe mounting bracket.
-
-
-
If using the IACV, install the supplied extended coolant hose. Use the OEM clamps.
-
-
-
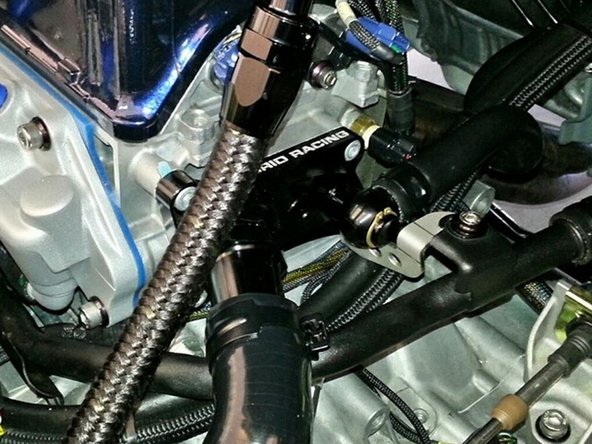
Re-install the upper coolant hose.
-
-
-
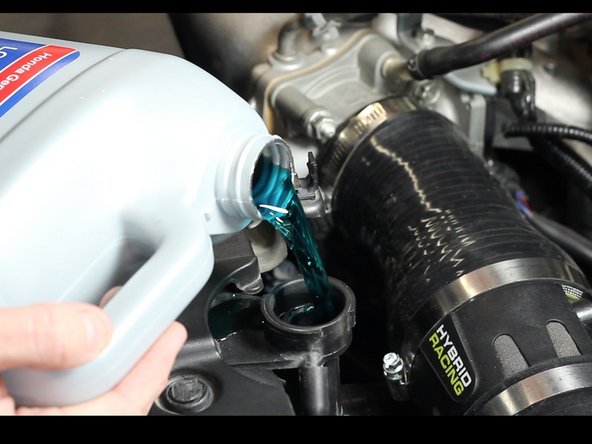
Once all of the parts are tight, fill the system with coolant and bring the engine up to operating temperature. Check for and fix all leaks.
-
Be sure that the car has enough coolant and monitor your temperature gauge. Once the engine warms up, the thermostat will open requiring you to add more coolant to the system.
-
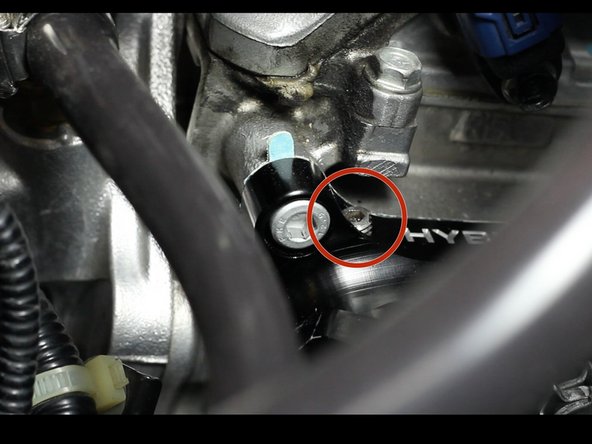
If you are having trouble getting the air out of the system, you can use the top mounted bleeder screw.
-
-
-
You're finished!
-