Difficulty
Moderate
Steps
5
Time Required

In Progress
This guide is currently being written. Reload periodically to see the latest changes.

Private
This guide will not appear in search results and can only be viewed by team members!
Quiz
0
-
-
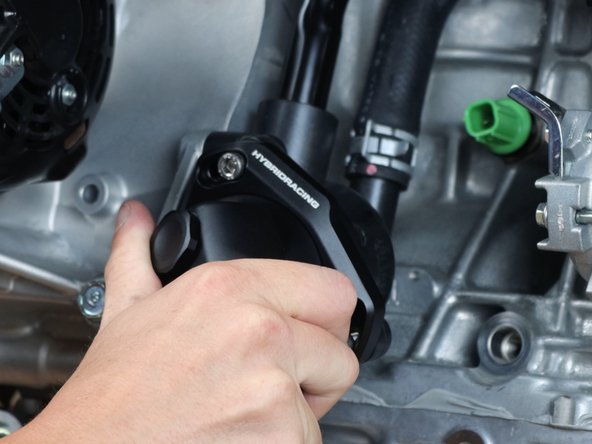
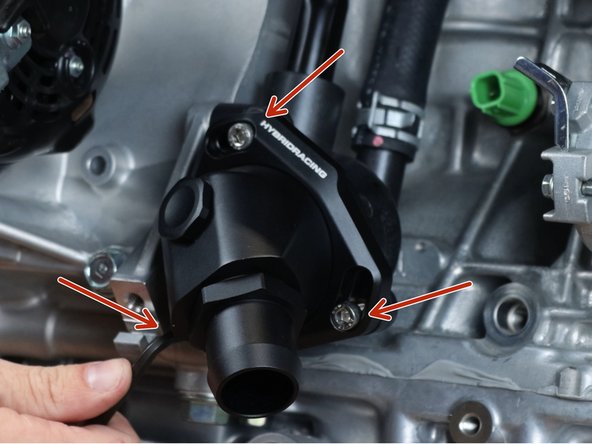
Begin the installation by removing the factory plastic thermostat neck.
-
Remove the three 10mm bolts.
-
Drain all of the coolant out of the system before removing the thermostat. If you haven't, it will leak out once you remove this part.
-
-
-
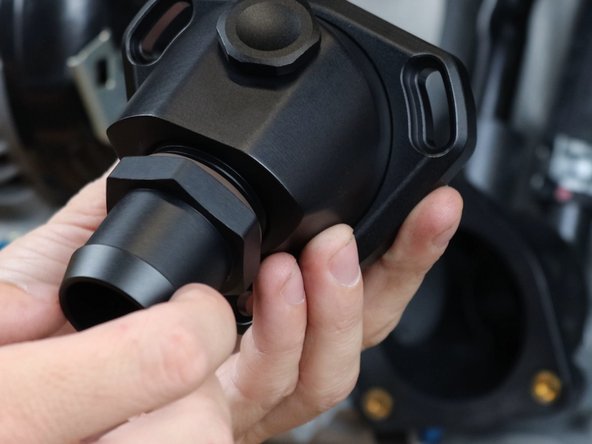
You must remove the pre-installed threaded plug before you can slide on the mounting bracket.
-
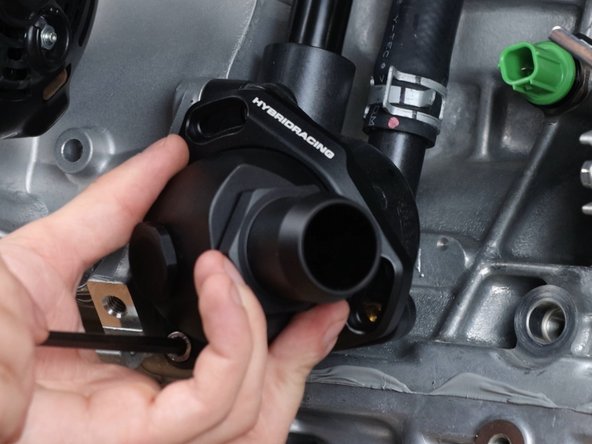
Once removed, slide on the mounting bracket and align it with the OEM thermostat housing.
-
The mounting bracket should align with the logo on top.
-
-
-
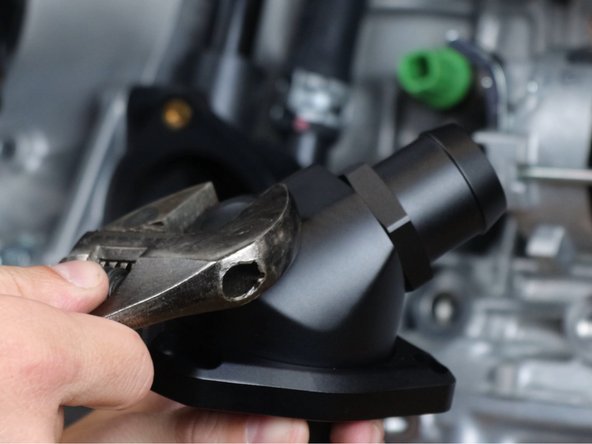
Thread the supplied hose adatper and make sure it is tight.
-
You can use a 1 1/2" adjustable wrench, large AN wrench or a pair of adjustable pliers. We show the most common method since these tools are commonly found.
-
Be sure not to mar the neck if you use pliers. Cover it with a shop towel first.
-
-
-
Insert wisdom here.
-
-
-
Insert wisdom here.
-