-
-
Begin the installation by removing the factory plastic thermostat neck.
-
Remove the three 10mm bolts.
-
Drain all of the coolant out of the system before removing the thermostat. If you haven't, it will leak out once you remove this part.
-
-
-
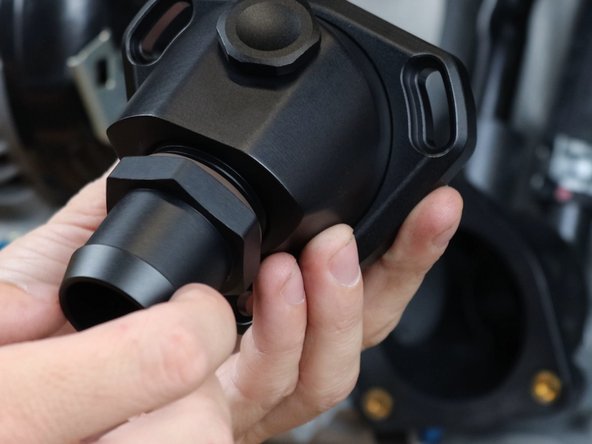
You must remove the pre-installed threaded plug before you can slide on the mounting bracket.
-
Once removed, slide on the mounting bracket and align it with the OEM thermostat housing.
-
The mounting bracket should align with the logo on top.
-
-
-
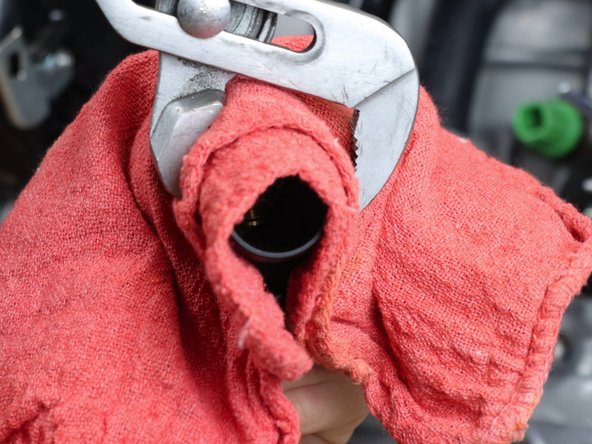
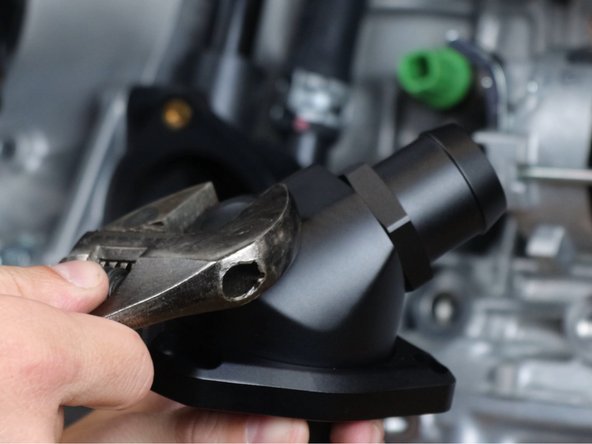
Thread the supplied hose adatper and make sure it is tight.
-
You can use a 1 1/2" adjustable wrench, large AN wrench or a pair of adjustable pliers. We show the most common method since these tools are commonly found.
-
Be sure not to mar the neck if you use pliers. Cover it with a shop towel first.
-
If you want to run a Honda fan sensor in this product, now is the time to install it. The process is the same.
-
-
-
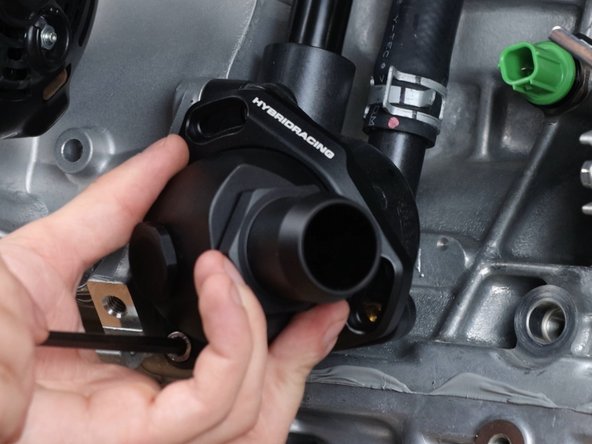
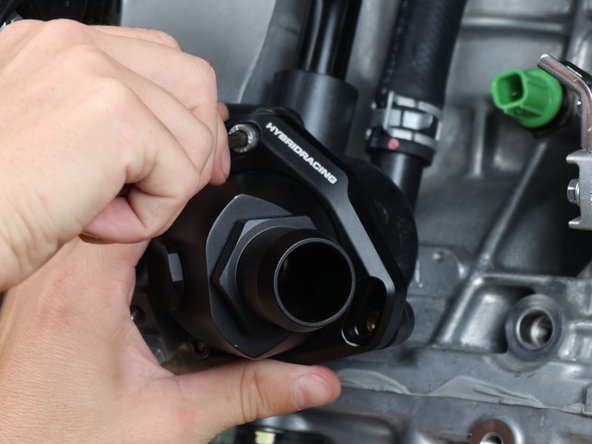
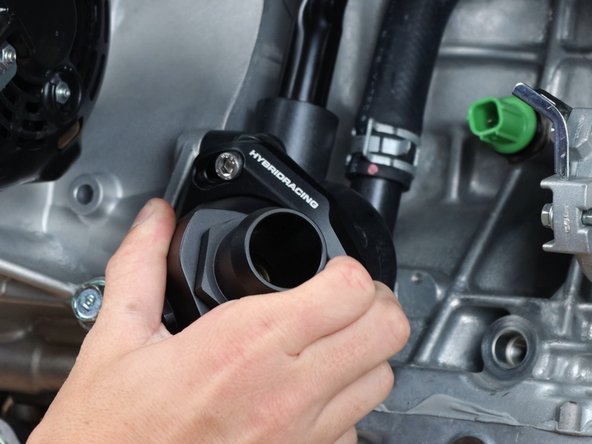
Once you have tighten everything, you can now install the thermostat neck onto the OEM housing.
-
Use the supplied hardware.
-
-
-
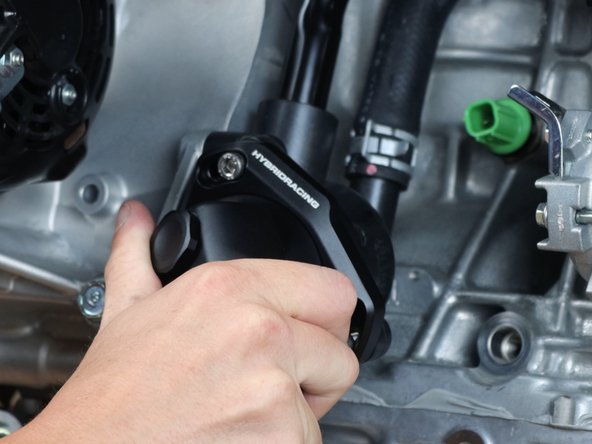
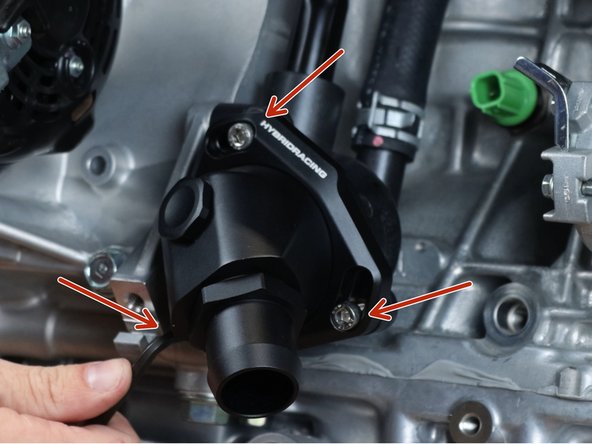
Position the housing as necessary. Once you have chosen the location, you can tighten all bolts to 7.2ft lbs.
-
Fill the cooling system and confirm there are no leaks.
-
Almost done!
Finish Line


