Difficulty
Easy
Steps
17
Time Required
02:00:00

User-Contributed Guide
This guide is not managed by the site's staff.
Quiz
0
Introduction
Important!! Please read the entire install guide twice before starting your installation. No really, it’s a good idea to read it twice before you begin so everything goes smooth.
-
-
Begin by removing the shift knob and shift boot collar.
-
-
-
Use an interior trim tool and seperate the shift boot surround from the console. Start at the front and work your way around the sides.
-
Once the front clips pop free, use your fingers and pull upwards.
-
Remove the shift boot surround.
-
-
-
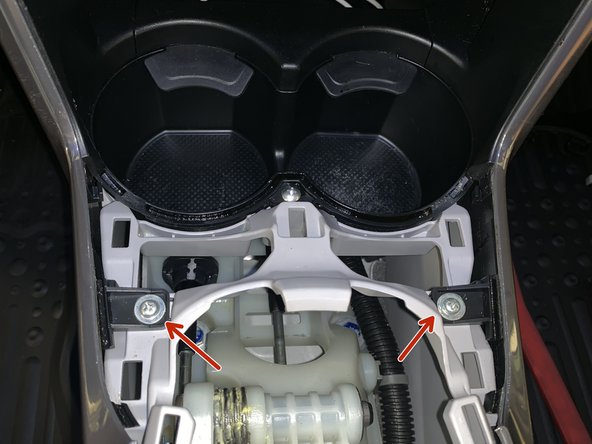
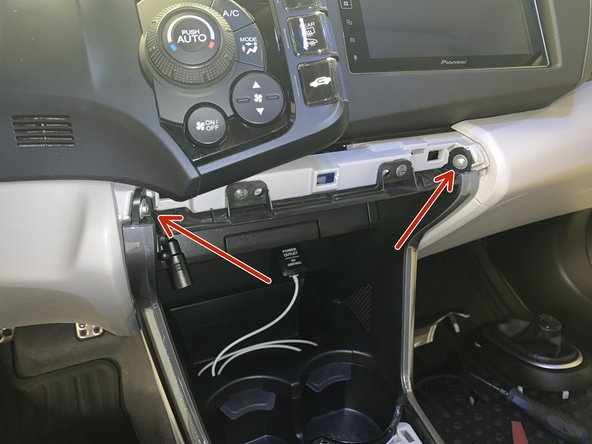
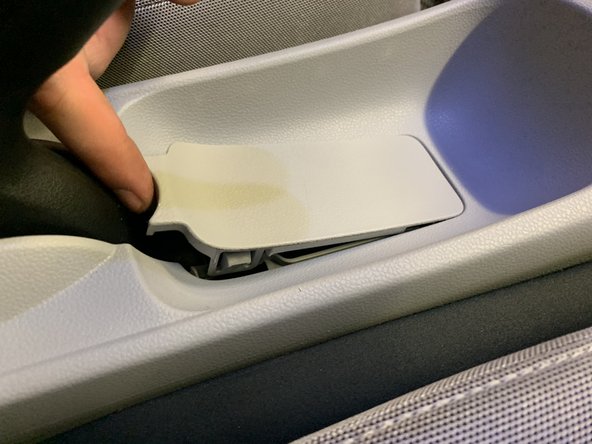
Remove the plastic trim near the cup holders. Use your fingers to pry it up and the clips will pop free.
-
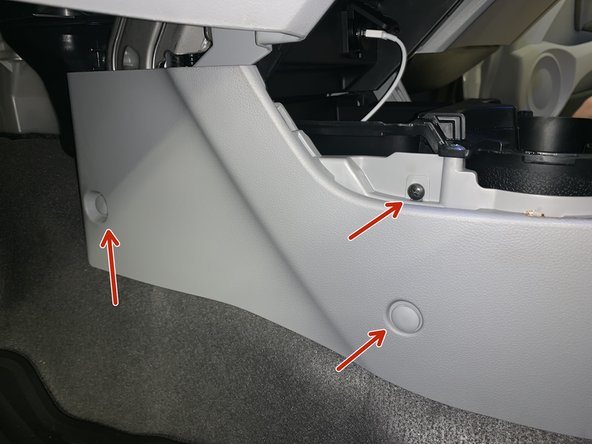
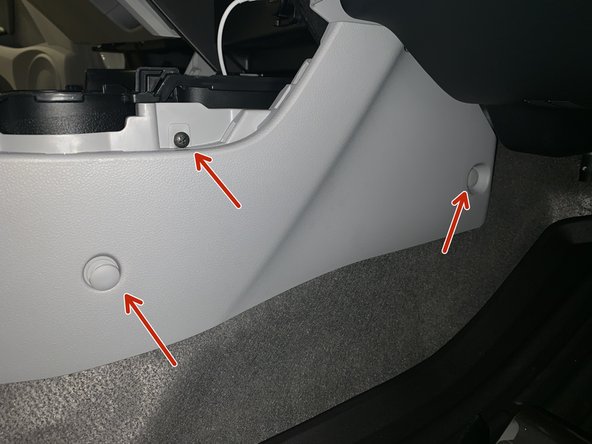
Remove the four screws holding the side trims in place.
-
-
-
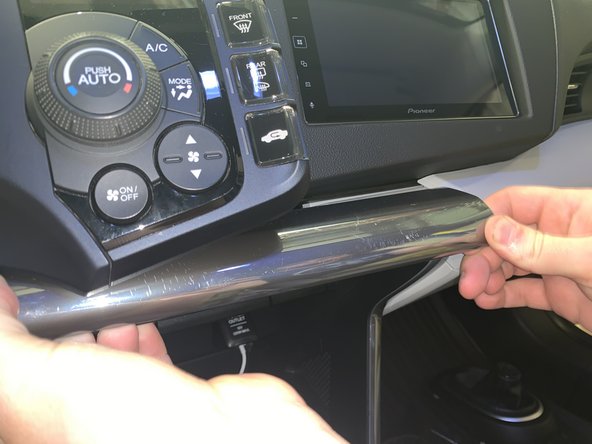
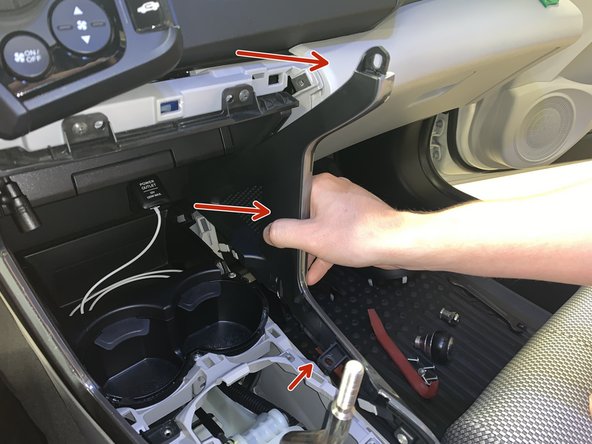
Use your fingers to remove the dash panel from the dash. You may need to use a trim tool to separate it but use your fingers to pry.
-
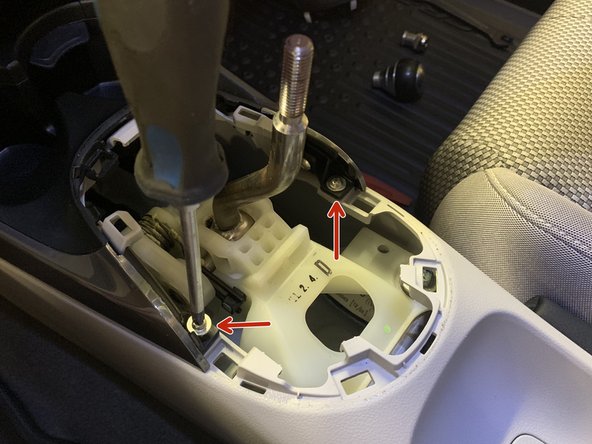
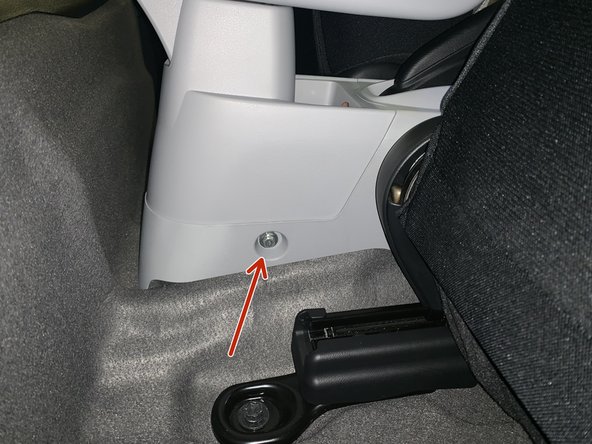
Remove the two screws holding the console sides in place.
-
-
-
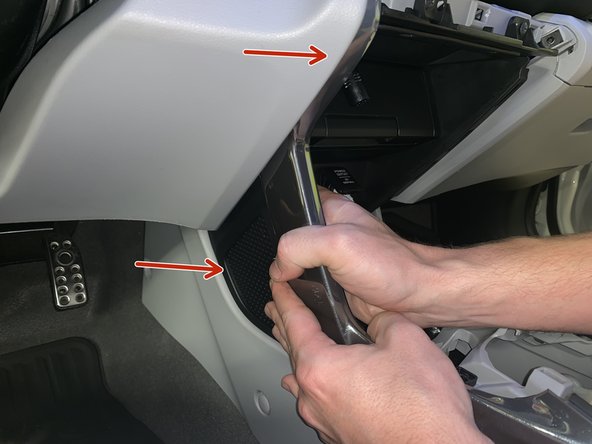
Using your hands, remove the side console trims. Once all of the screws have been removed, they just pop off.
-
-
-
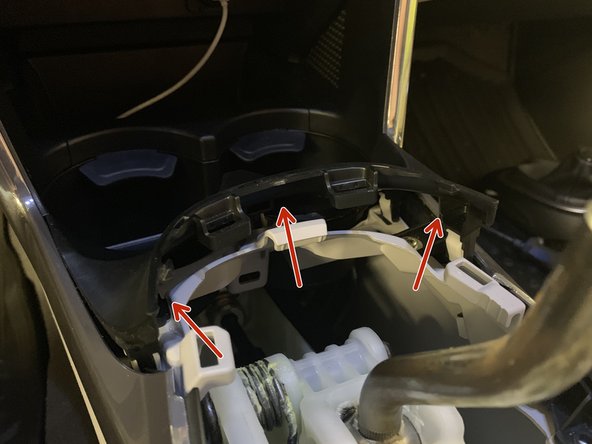
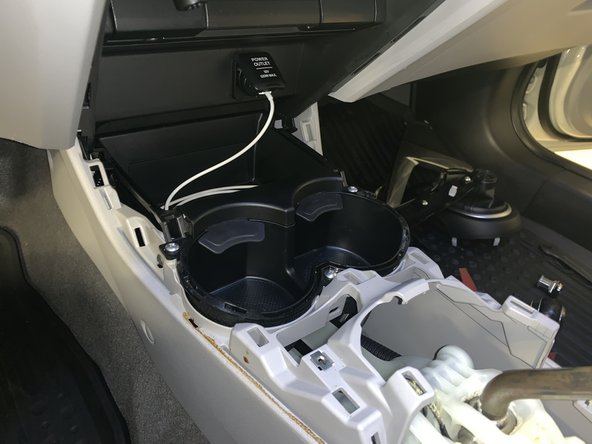
Remove the console clips and screws. There are two clips and one screw on each side.
-
-
-
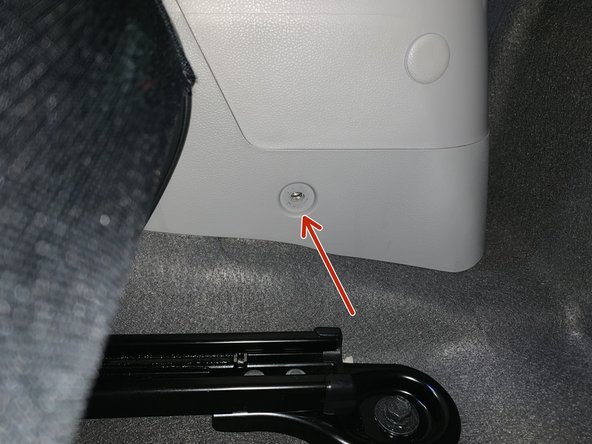
Remove the trim beneath the e-brake handle.
-
Remove the two screws on each side of the rear console. Slide the seats forward to access.
-
-
-
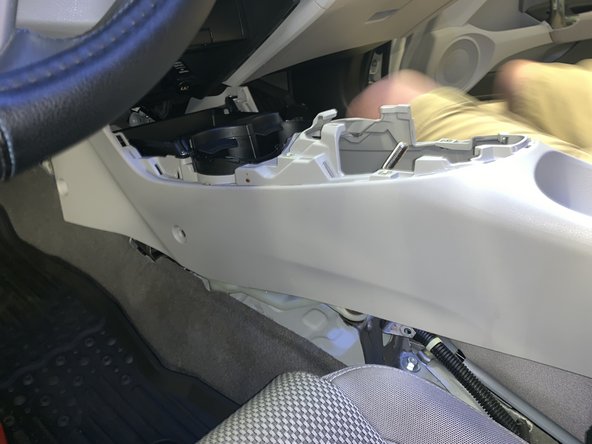
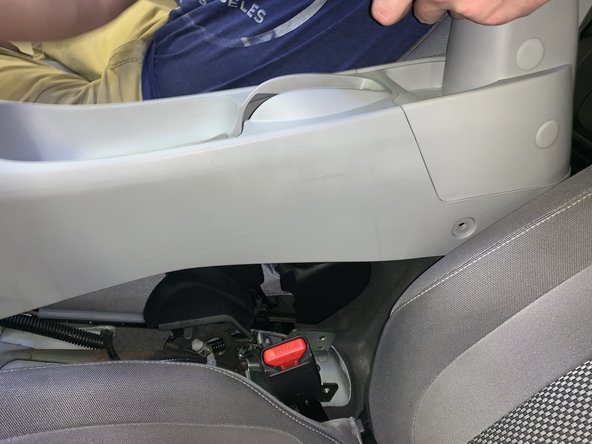
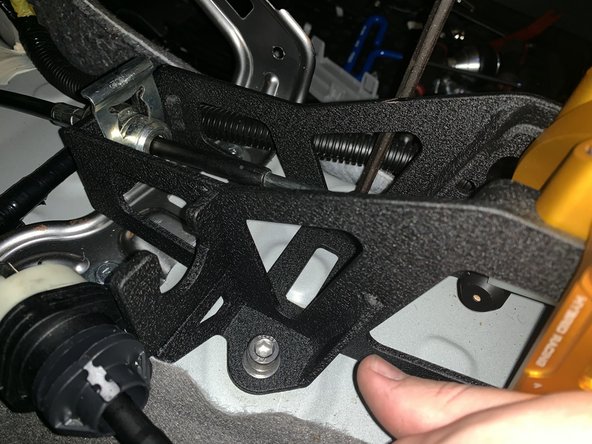
Lift the console from the rear and slide it rearward. Lift it over the shifter and remove it from the car.
-
-
-
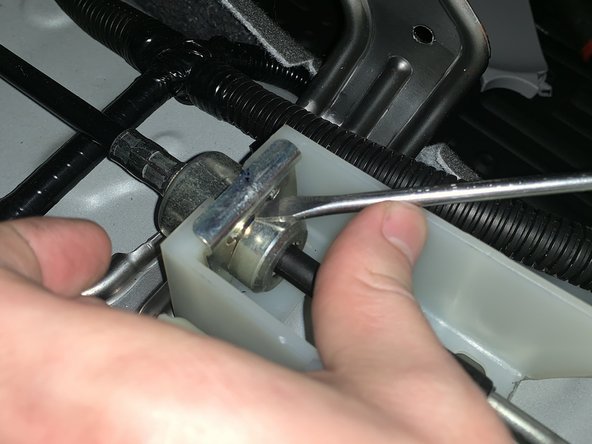
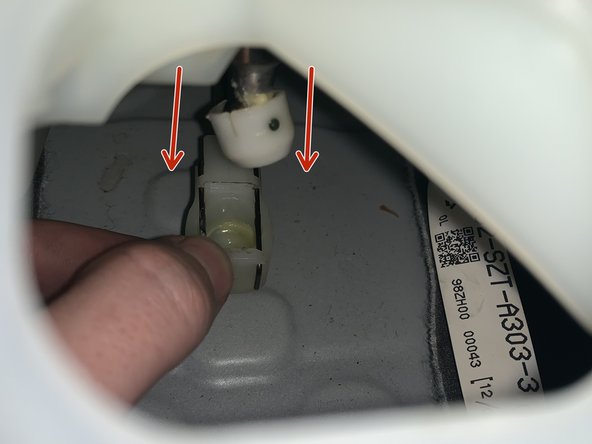
Use a flat head screw driver and remove the shifter cable C clip from the RH side cable.
-
Turn the plastic section of the LH side cable to remove it from the shifter. Once you rotate it, start wiggling it and it will slide out.
-
-
-
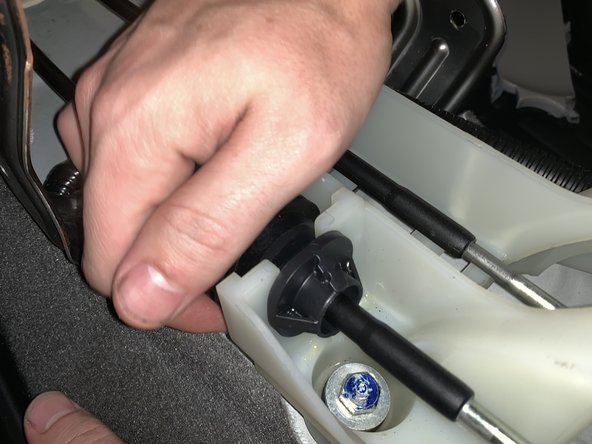
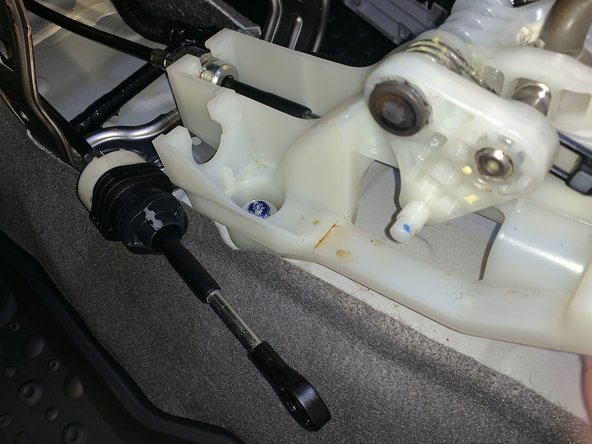
Remove the LH side shifter cable retaining clip.
-
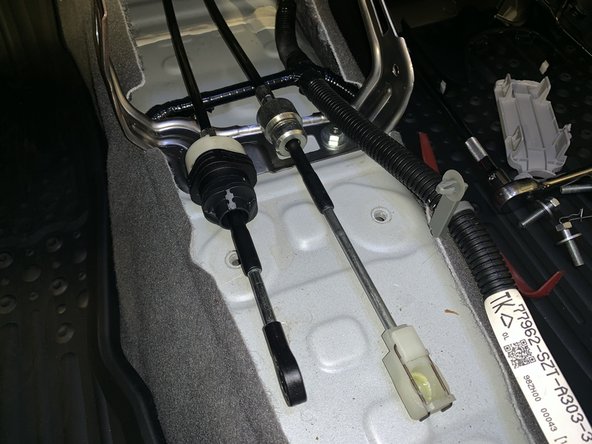
Remove the wiring harness from the shifter base.
-
-
-
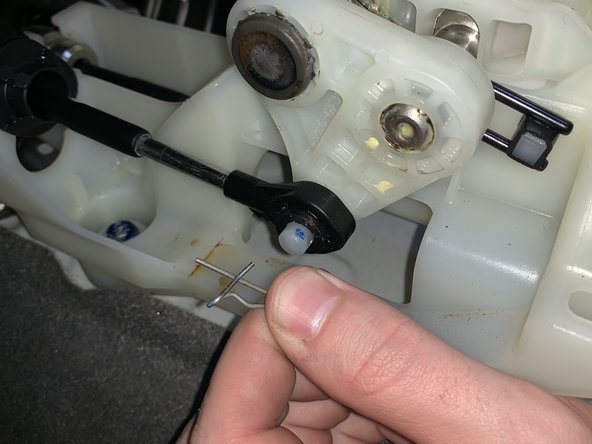
Use your fingers to seperate the clip on the RH side shifter cable. Push them up and apart and the cable end link will slide off the ball.
-
Be sure to NOT remove the clip completely. If you do, do NOT lose it.
-
-
-
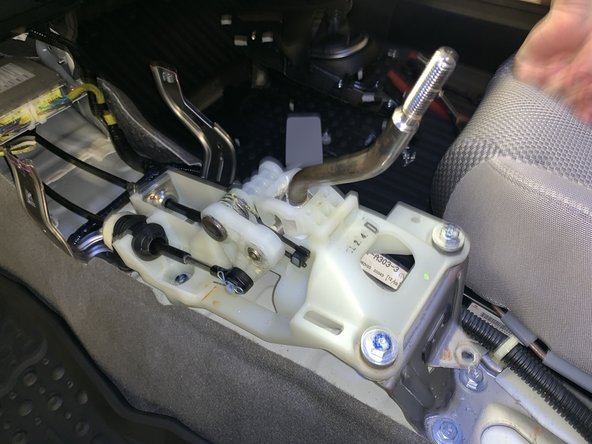
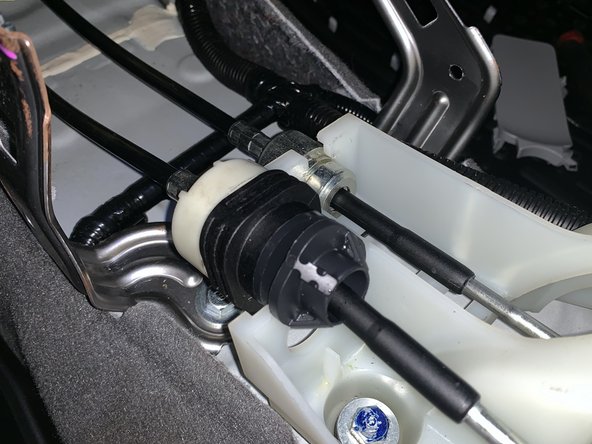
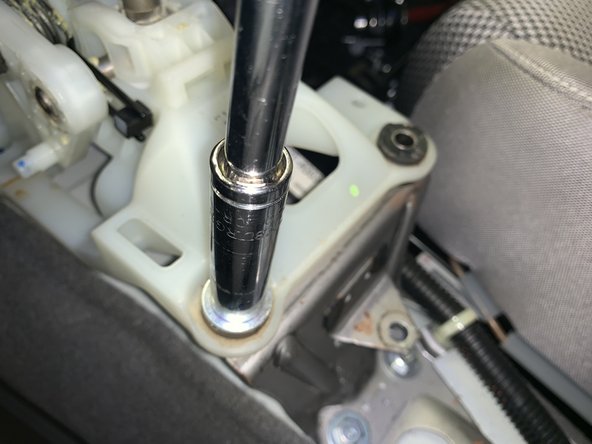
Remove all four shifter mounting bolts.
-
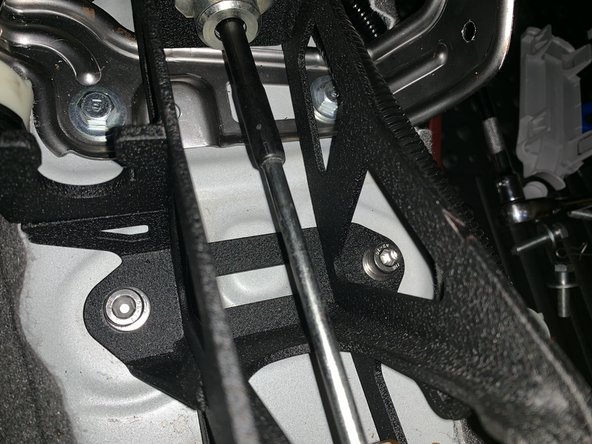
Remove the shifter from the car.
-
-
-
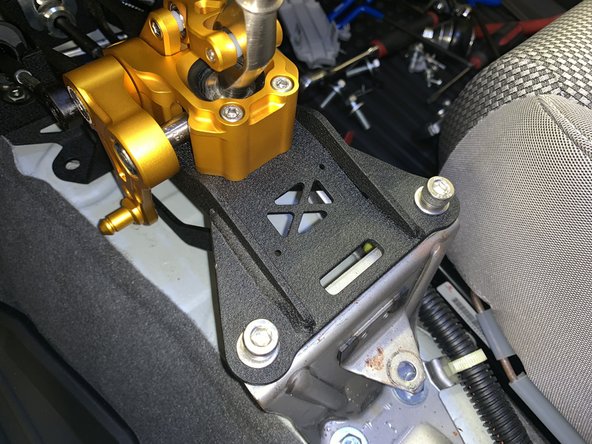
Install the Hybrid Racing shifter and use the supplied bolts to mount it directly to the chassis. It does not use any sort of base bushing.
-
-
-
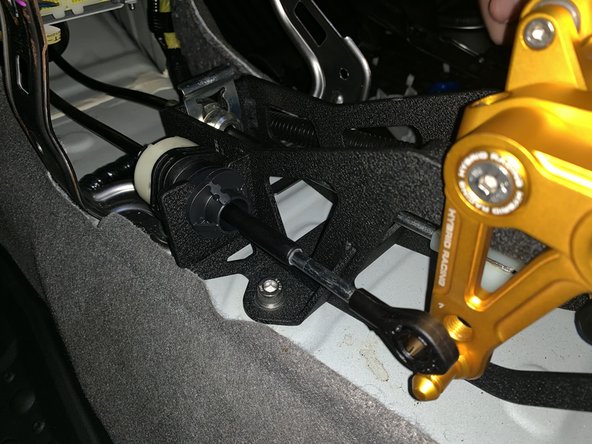
Twist the shifter cable so it slides into the shifter base. Once it is in, rotate it back to lock it into place. Be sure the cable cannot slide out.
-
Install the RH side cable and use the OE retaining C clip. You can tap it down into place.
-
-
-
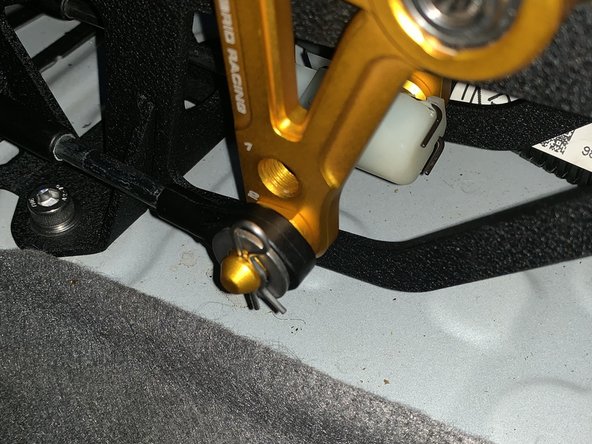
Install the RH side shifter cable end link onto the Hybrid Racing shifter. Simple place the clip on the cable and push it into the ball. It should slide on and clip into place.
-
Make sure the ball on the shifter assembly is straight.
-
Install the RH side shifter cable endlink using the supplied retaining clip.
-
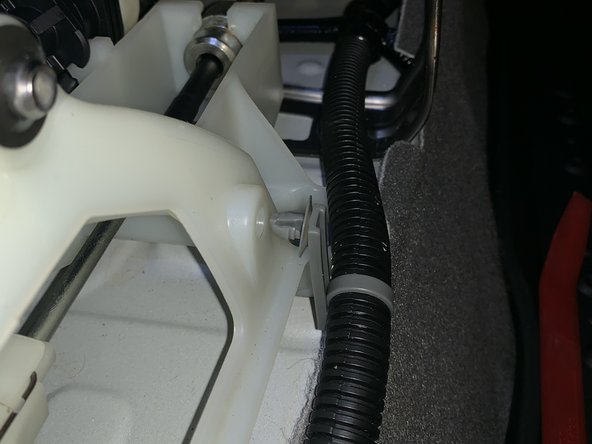
Install the factory wiring harness to the shifter base.
-
-
-
The shifter is now installed. You can now reinstall the console.
-
The shifter in this install guide is a prototype version and may not look exactly like the item you install. Please contact us with any questions or concerns.
-
It is not necessary to remove the shift boot and collar, however we did for the sake of these images.
-
-
-
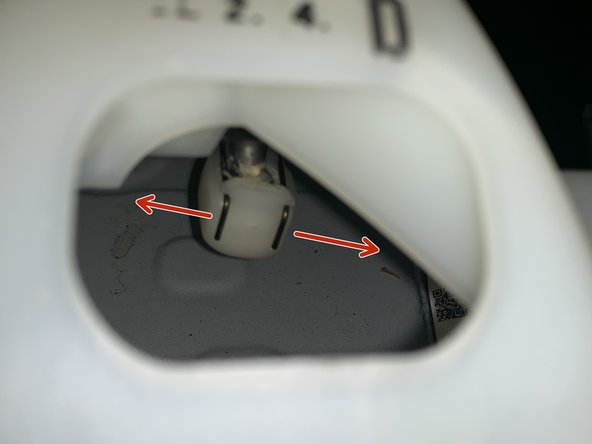
Position 1 represents the longest throw and side/side spacing.
-
Position 2 represents the shortest throw and side/side spacing.
-
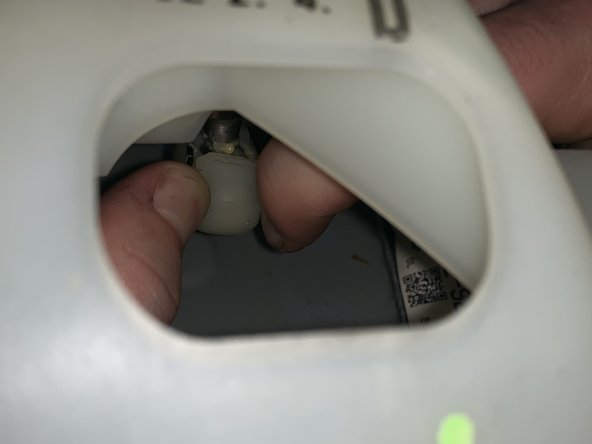
Adjust the shifter to your liking, they can be adjusted independently of each other.
-
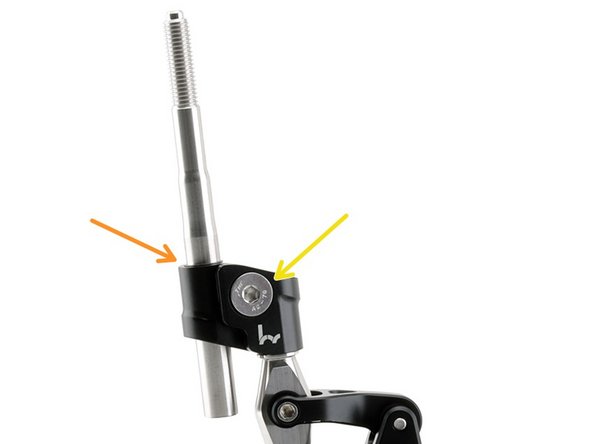
You can raise and lower the shift rod by loosening the 5mm allen bolt on the offset. There is a retaining clip on the rod, this is the LOWEST setting for the rod. It should not be removed or lowered past that, or the rod could interfere with the moving assembly.
-
Loosen the offset bolt to rotate the entire offset and rod assembly. Be sure to check clearances with your shift boot and console.
-
The internal spring can be changed. We ship each shifter with the hard spring, however you can remove the four mounting bolts and lift the entire assembly upwards. Remove the spring and insert the new one, then reinstall the assembly on the base. Tighten all screws.
-