-
-
Begin by going to Hondata.com and downloading the latest version of Flashpro Manager.
-
Click on the Flashpro manager link on the Flashpro page to start the download.
-
-
-
-
Locate the OBD2 port below the dashboard on the driver side.
-
Plug your Flashpro into the port.
-
Switch on the ignition but do not start the engine. This will send the vehicle information to the Flashpro that you will need to lock the Flashpro to your ECU.
-
-
-
Plug your Flashpro into your computer with the supplied USB cord. Driver installation may be required.
-
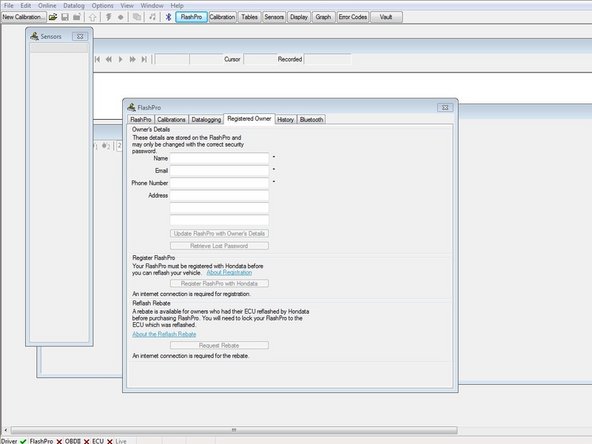
Click on the Flashpro button at the top of the Flashpro manager. This will open up the window to fill out information to register with Hondata.
-
Click the Online button at the very top of the Flashpro manager window. This will open a drop down box for you to select to lock your Flashpro to your vehicle.
-
-
-
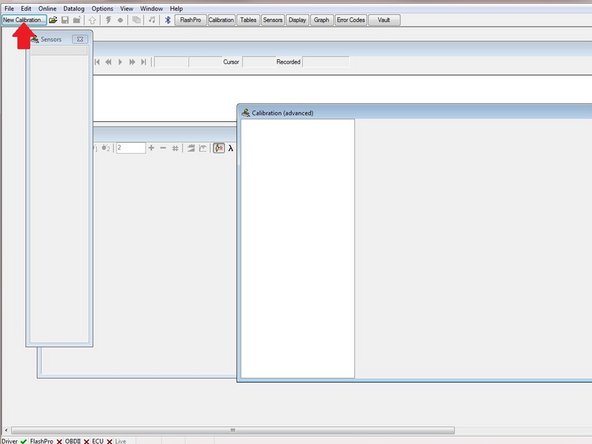
Select the New Calibration button at the top to open a calibration.
-
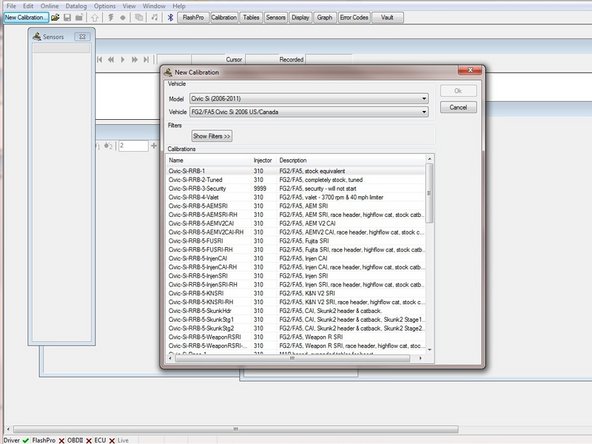
Select your model and vehicle information.
-
Select a calibration based on your engine modifications
-
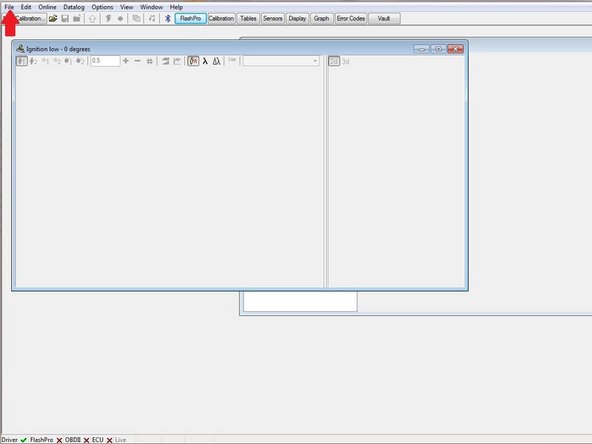
Go to the File tab at the top left of the window, save/ name the calibration you have selected.
-
-
-
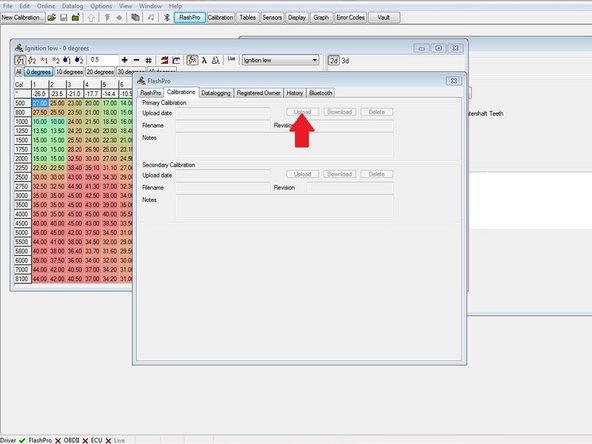
Upload your calibration to your Flashpro by selecting the Flashpro button on the Flashpro window.
-
Unplug your Flashpro from your computer.
-
Flash the calibration onto your vehicle.
-
Plug the Flashpro into the OBD2 port with the ignition switched on but the engine is not running. Hold down the program button for 3 seconds and then release. The program light will flash for 1 minute and 30 seconds while the calibration is uploaded. The light will stop flashing once the calibration is completely uploaded.
-
You have successfully installed your Flashpro and uploaded a basemap calibration!
-