
Difficulty
Easy
Steps
9
Time Required
00:30:00 - 01:00:00
- Ridgeline Door Stop Upgrade 9 steps

In Progress
This guide is currently being written. Reload periodically to see the latest changes.
Tools
Parts
-
-
Using the OEM front stops on the rear door allows the rear door to open further. This creates more room for loading long objects into the rear of the cab.
-
-
-
There are two small covers. One behind the door handle and the other in the door pocket.
-
The cover behind the handle has a tab on the top that must be depressed before it can be removed.
-
Use a thin interior panel removal tool to pull out the cover in the door pocket.
-
The three screws can be removed with a Philips screw driver. Two behind the door handle and one in the pocket.
-
-
-
Once the three screws in the previous step are removed, the door panel is only held by clips.
-
To disengage the clips, take a wider interior panel removal tool and pry along the bottom of the door panel.
-
Once the door panel is removed at the bottom, push or pull up on the panel. This will disengage the clips at the top of the panel.
-
Note: There will be two cables for the door handle and one electrical connector for the window switch.
-
-
-
To remove handle, unhook it from the door panel. It is NOT necessary to remove the cables.
-
-
-
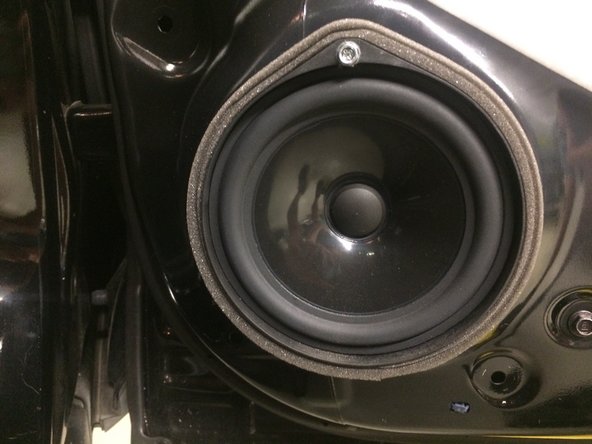
The speaker must be removed in order to remove and install the door stop.
-
Remove Philips head bolt
-
Pull up on speaker to disengage hooks at the bottom
-
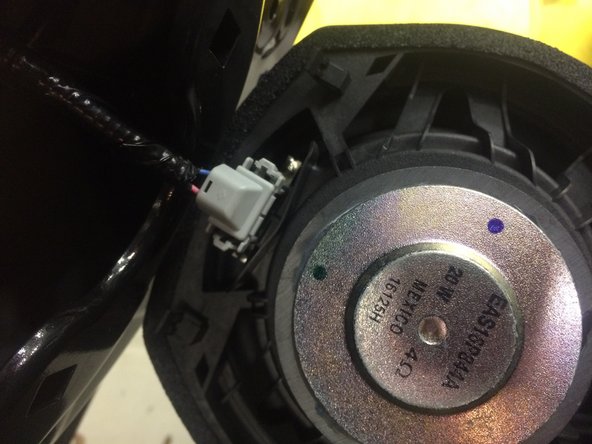
Pinch the sides of the electrical connector and pull
-
-
-
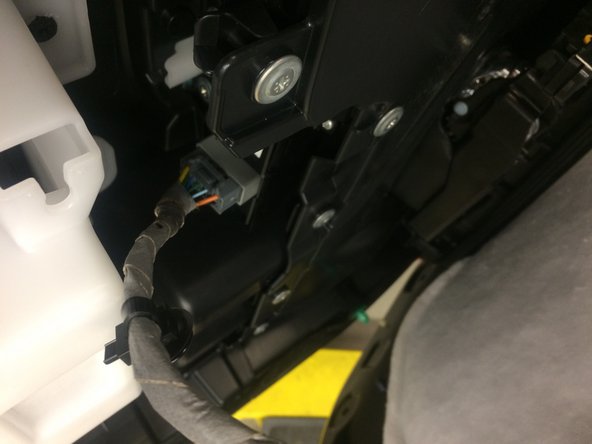
The stop is held to the door by two 10mm bolts, and to the chassis by one 12mm bolt.
-
Remove the 12mm bolt on the chassis first. The door can now swing wider, allowing access to the 10mm bolts on the door.
-
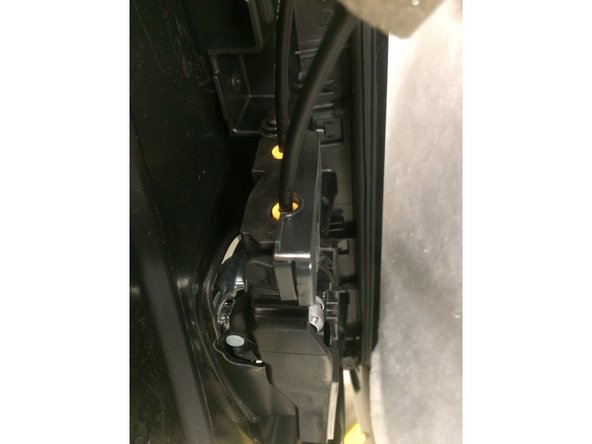
To remove stop from the door, pull the stop out through the hole for the speaker.
-
-
-
Install the new stop by feeding it into the door through the hole for the speaker.
-
Thread the two 10mm bolts that hold the stop to the door. Once tight, slowly shut the door in order to line the stop up with to bolt hole on the chassis. Then thread and tighten the 12mm chassis bolt.
-
-
-
Plug electrical connector into speaker
-
Place hooks at bottom of speaker into place.
-
Tilt speaker towards door and thread/tighten the Philips head bolt.
-
-
-
Install door panel in reverse order of removal.
-
Connect door handle before window switch. If done in the other order, the wiring for the window switch will limit the amount of room available to install the door handle.
-
Place the lip on the top of the panel over the top of the door frame. Allow the panel to rest in place. Then carefully push the panel down.
-
Ensure that the panel is flush with the door and window seals at the top left and right corners. This is a good gauge of whether or not the panel is correctly slipped at the top of the frame.
-
Check to ensure that clips are lined up with respective holes. To finish connecting panel to frame, lightly hit panel behind clips.
-


Cancel: I did not complete this guide.
One other person completed this guide.
