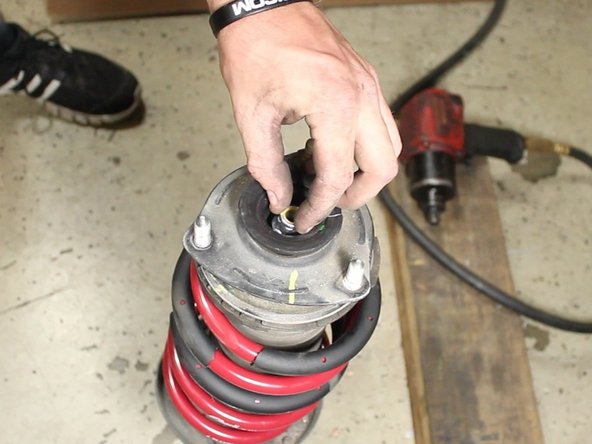
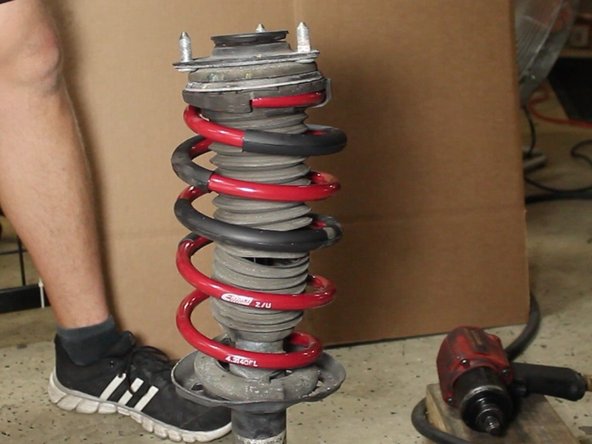
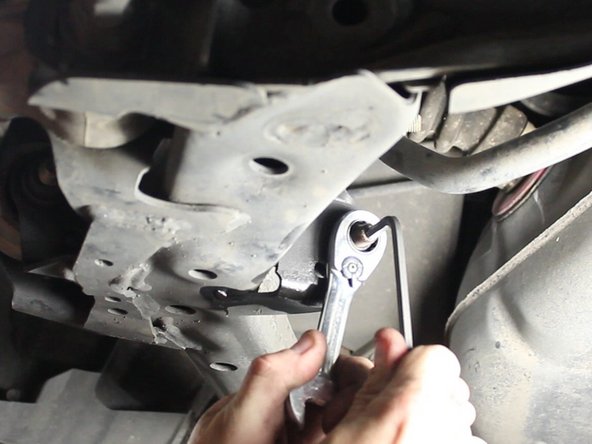
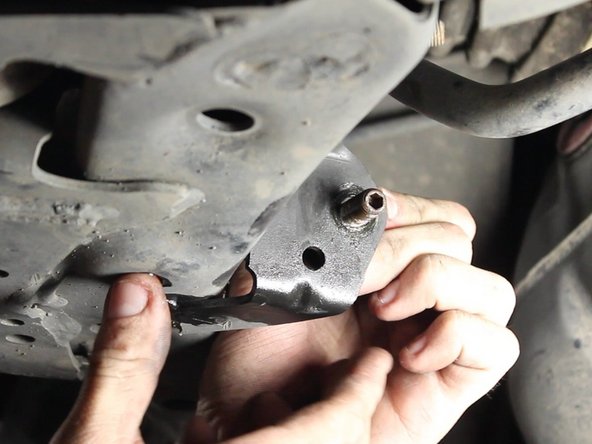
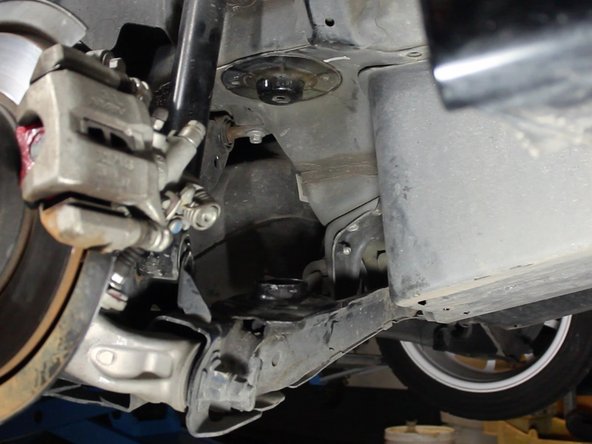
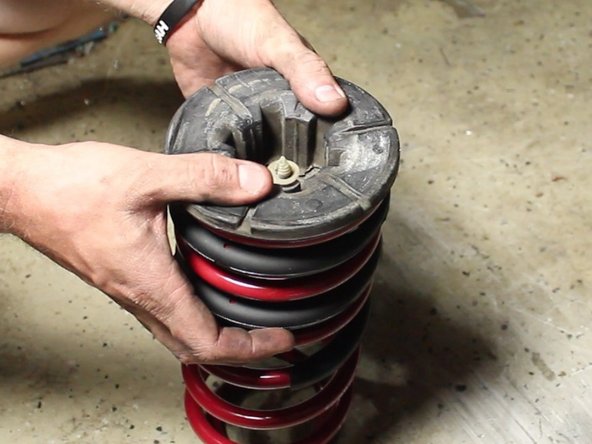
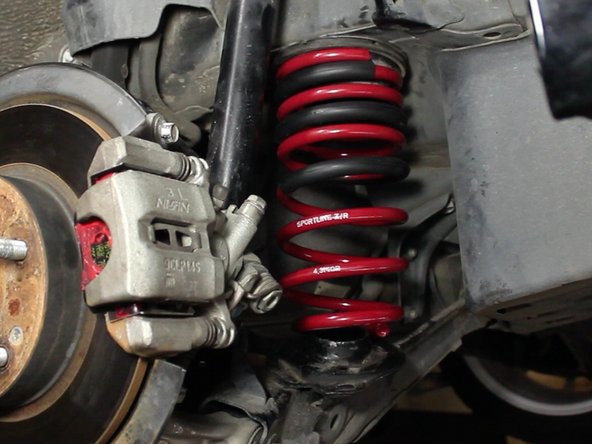
1. Un-bolt the brake line bracket from the OEM strut. Pull upwards on the ABS sensor wire to remove it from the bracket. Remove the two bolts that hold the lower strut to the knuckle.
    • Un-bolt the brake line bracket from the OEM strut.

    • Pull upwards on the ABS sensor wire to remove it from the bracket.

    • Remove the two bolts that hold the lower strut to the knuckle.

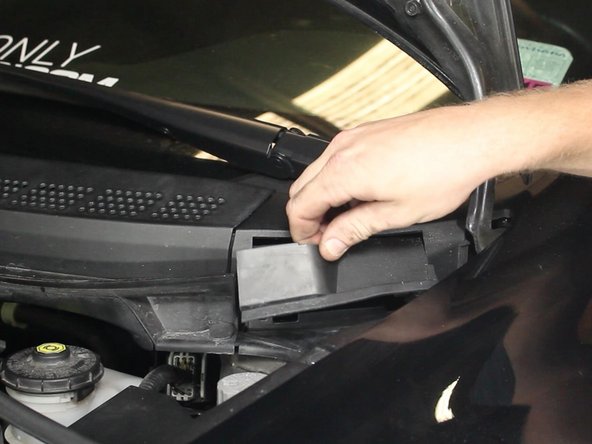
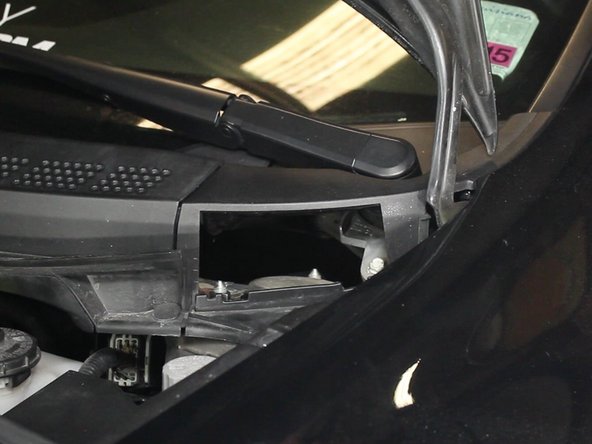
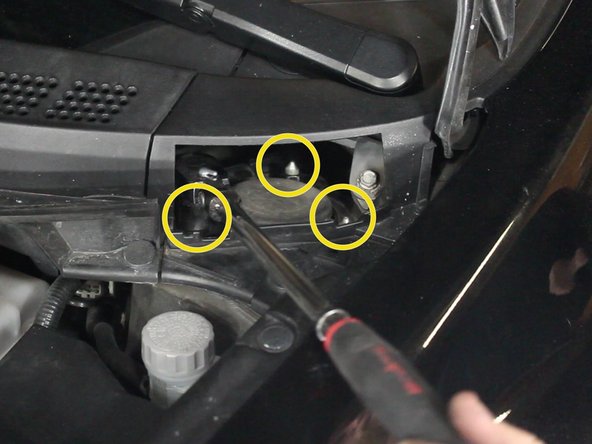
  2. Remove the cover plate to expose the upper strut nuts. Remove the upper strut mount nuts. Support the strut before removing these nuts completely as the strut could fall.
    • Remove the cover plate to expose the upper strut nuts.

    • Remove the upper strut mount nuts.

    • Support the strut before removing these nuts completely as the strut could fall.

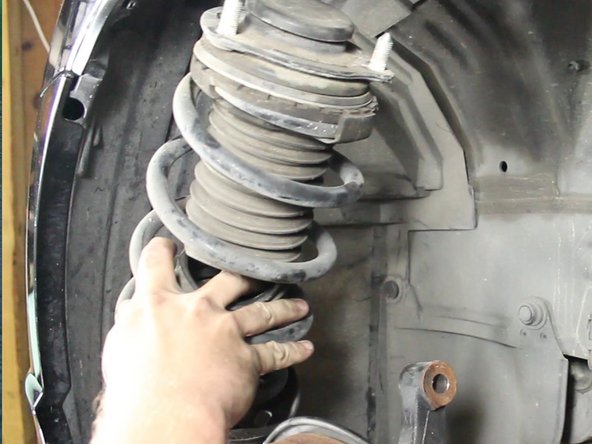
  3. Remove the strut from the car.
    • Remove the strut from the car.

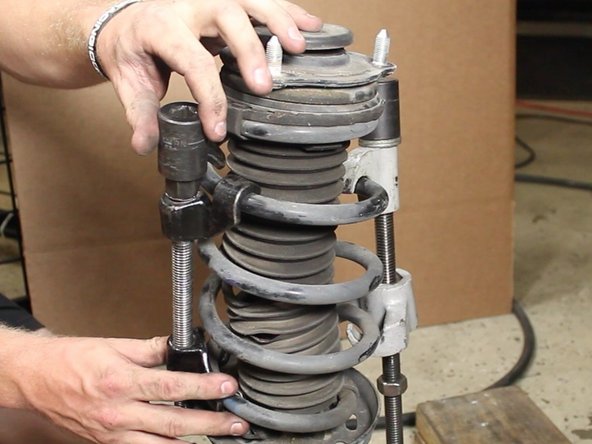
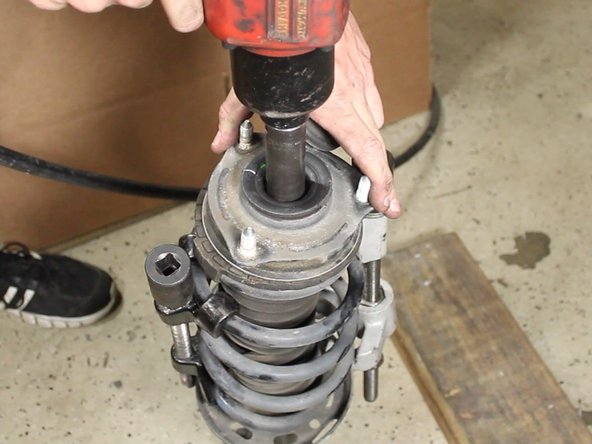
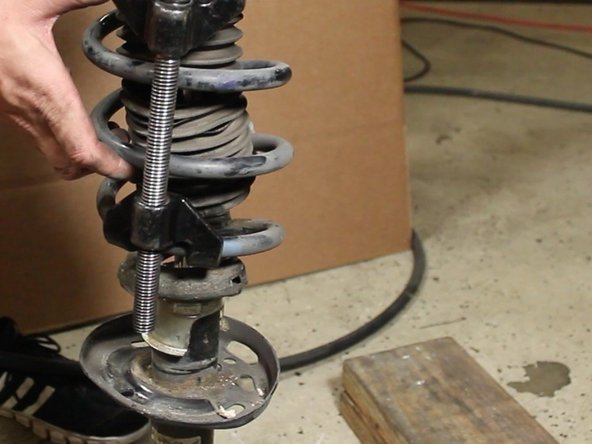
  4. Use a spring compressor to hold the spring in place. Remove the upper strut mount nut. Remove the spring & strut mount from the strut assembly.
    • Use a spring compressor to hold the spring in place.

    • Remove the upper strut mount nut.

    • Remove the spring & strut mount from the strut assembly.

    • Improper use of the spring compressor could cause injury or damage to parts. Be sure the spring compressor is secured on the spring and is tight to prevent it from slipping off.

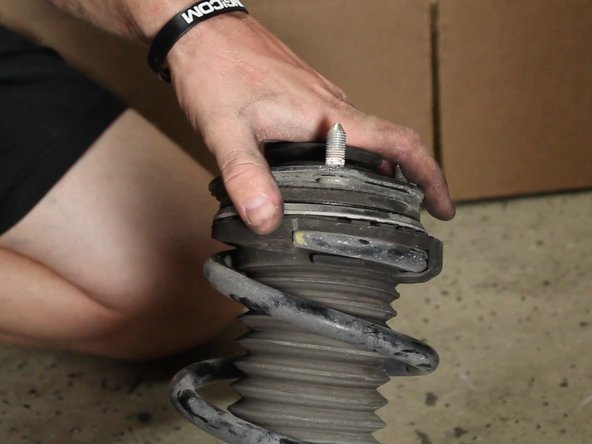
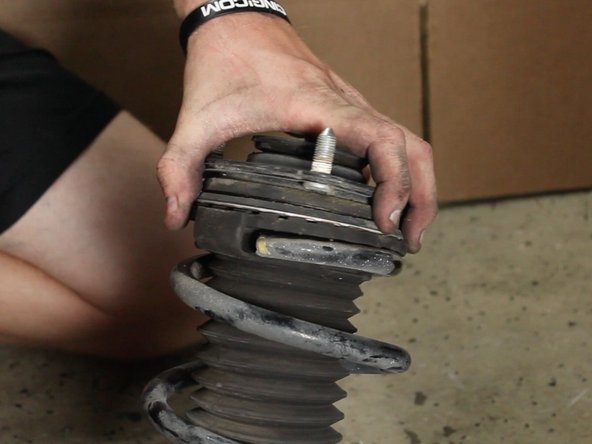
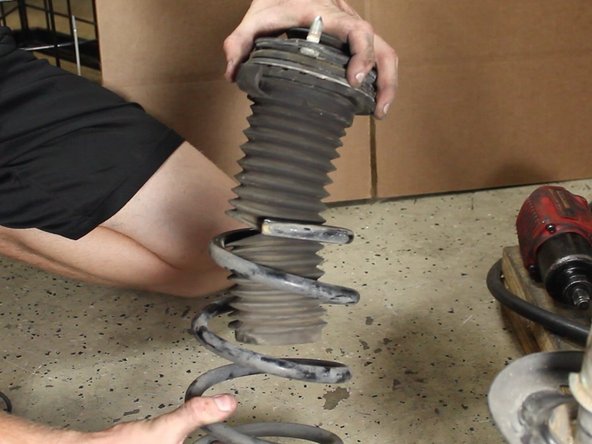
  5. Rotate the upper strut mount so the bushing slides off the spring. Remove the upper strut mount assembly. Make a note of how the struts are aligned. You will need to re-install them in the same way.
    • Rotate the upper strut mount so the bushing slides off the spring.

    • Remove the upper strut mount assembly.

    • Make a note of how the struts are aligned. You will need to re-install them in the same way.

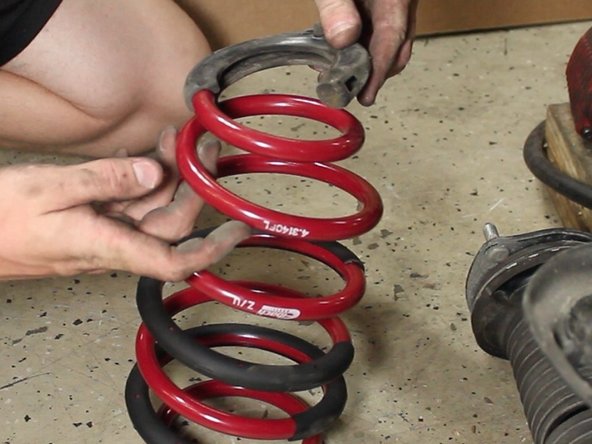
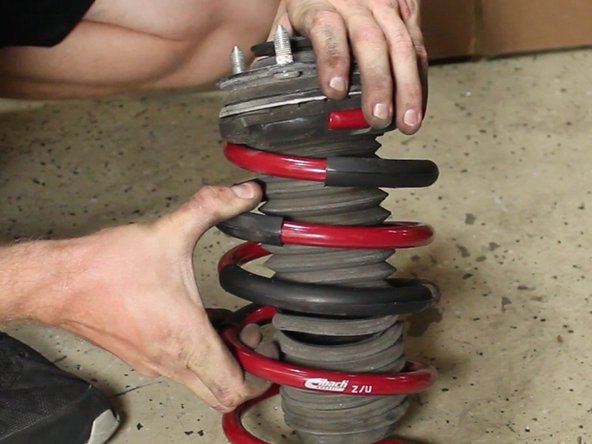
  6. Remove the lower rubber spring seat from the bottom of the factory spring. Install lower rubber spring seat on the bottom of the new lowering spring. Install the upper strut mount to the new lowering spring just as it was removed from the factory spring.
    • Remove the lower rubber spring seat from the bottom of the factory spring.

    • Install lower rubber spring seat on the bottom of the new lowering spring.

    • Install the upper strut mount to the new lowering spring just as it was removed from the factory spring.

  7. Install the new spring assembly and bolt the top hat assembly back to the strut. The new spring is shorter than the factory spring, this should allow you to slightly press down on the spring to get the threaded section of the strut to come through the top hat. If not, please use the spring compressors.
    • Install the new spring assembly and bolt the top hat assembly back to the strut.

    • The new spring is shorter than the factory spring, this should allow you to slightly press down on the spring to get the threaded section of the strut to come through the top hat. If not, please use the spring compressors.

    • The strut is now ready to be installed back on the vehicle.

    • Use these same steps for both the front driver and passenger side of the vehicle.

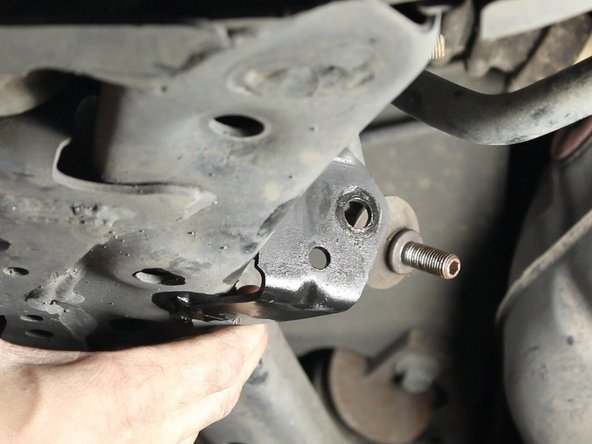
  8. Remove the rear sway bar end links for both sides of the car. It is located on the lower control arm. Prepare the removal of the 14mm nut with penetrating oil for easy removal. Use an Allen wrench to keep the end link from turning as you loosen the nut. Prepare the removal of the 14mm nut with penetrating oil for easy removal. Use an Allen wrench to keep the end link from turning as you loosen the nut.
    • Remove the rear sway bar end links for both sides of the car. It is located on the lower control arm.

    • Prepare the removal of the 14mm nut with penetrating oil for easy removal. Use an Allen wrench to keep the end link from turning as you loosen the nut.

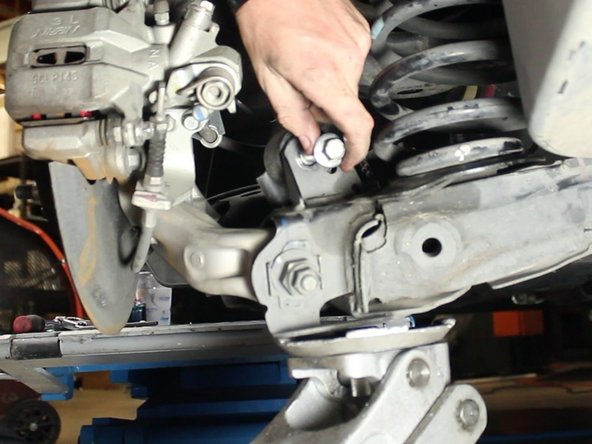
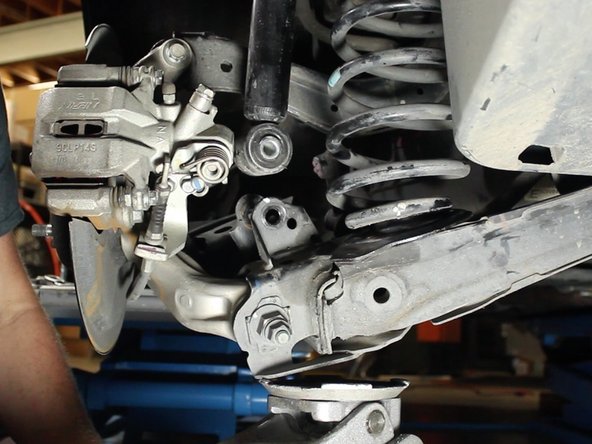
  9. Use a jack to support the lower control arm and compress the spring. This will aid in the removal of the 14mm bolt that holds the strut to the lower control arm. Remove the bolt and slowly lower the jack to separate the lower control arm completely away from the strut. Remove the bolt and slowly lower the jack to separate the lower control arm completely away from the strut.
    • Use a jack to support the lower control arm and compress the spring. This will aid in the removal of the 14mm bolt that holds the strut to the lower control arm.

    • Remove the bolt and slowly lower the jack to separate the lower control arm completely away from the strut.

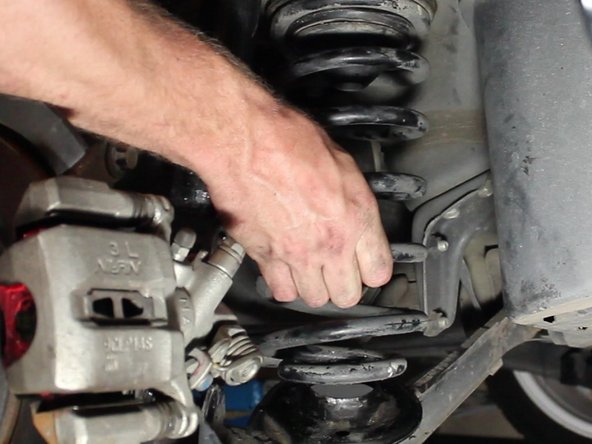
  10. Press down on the brake rotor to push down the lower control arm. This will depress the spring and allow it to be removed. We recommend to have an extra set of hands during the removal of the rear springs.
    • Press down on the brake rotor to push down the lower control arm. This will depress the spring and allow it to be removed.

    • We recommend to have an extra set of hands during the removal of the rear springs.

  11. Remove the upper spring perch from the factory spring. Install upper spring perch on the new spring. The lower spring perch should remain on the lower control arm.
    • Remove the upper spring perch from the factory spring.

    • Install upper spring perch on the new spring.

    • The lower spring perch should remain on the lower control arm.

    • Install the new spring the same way the factory was removed.

    • Reassemble the car in the order the parts were removed. Don't forget the sway bar!

Finish Line

One other person completed this guide.

Hybrid Racing

Member since: 04/29/2014

12,413 Reputation

67 Guides authored

One Comment

yo mrc man jai dropper ma whip civic 2002 pis la man ma me faire respect din meet y vont arreter de rire de moi

kevin umi - Reply

Add Comment

View Statistics:

Past 24 Hours: 0

Past 7 Days: 5

Past 30 Days: 21

All Time: 11,662