-
-
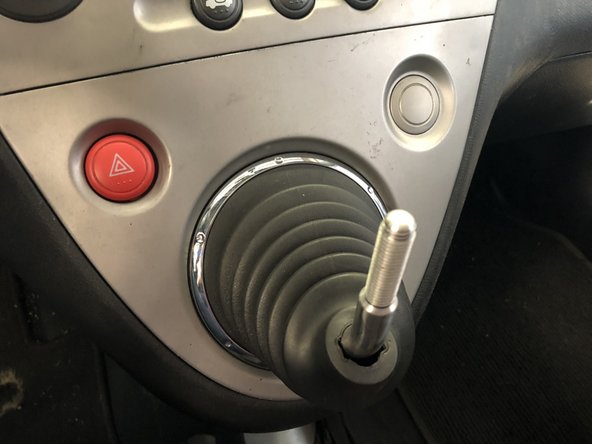
Remove the shift knob
-
Using a trim pry tool, pop the dash cover loose.
-
Use your hands and gently pry the cover away from the dash. Be sure not to scratch or bend the corners.
-
-
-
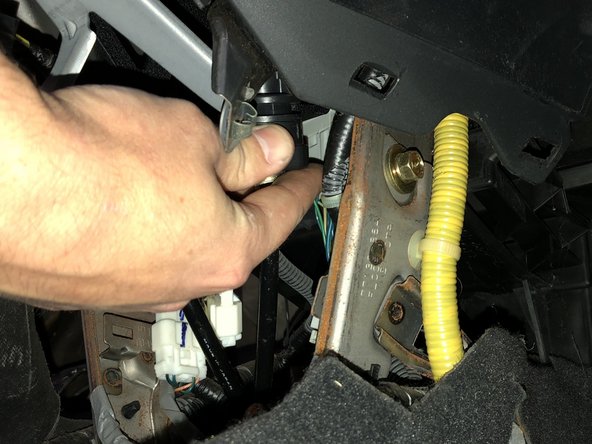
Unplug the hazard switch by depressing the tag and pulling the connector away from the trim panel.
-
Loosen the center dash by prying on the corners while pulling upwards.
-
It isn't necessary to completely remove the center dash, but you will need to pull it out so you can lift it out of the way.
-
-
-
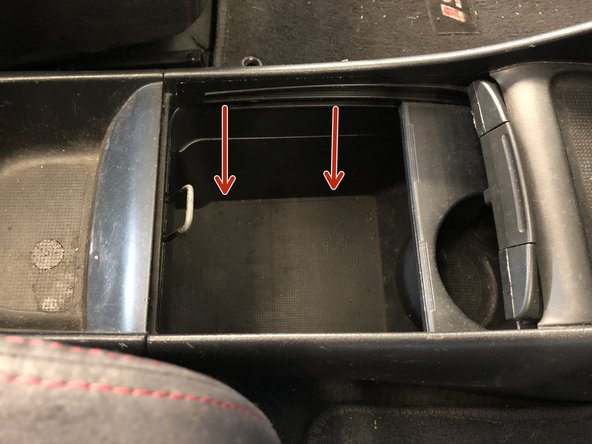
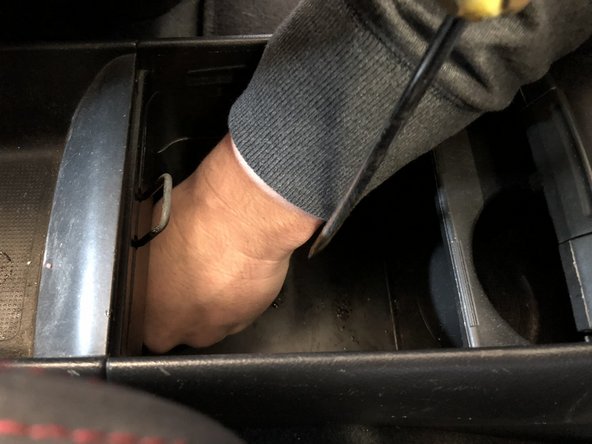
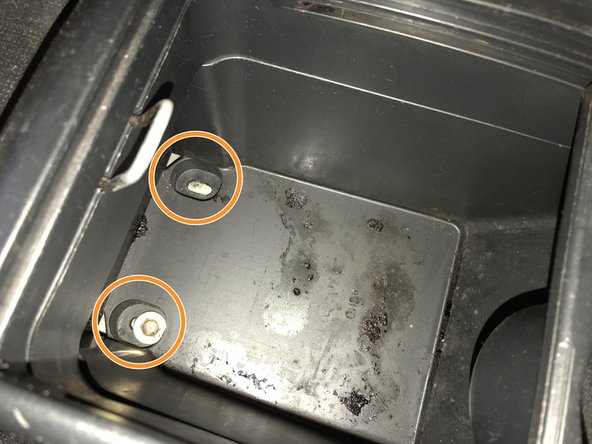
Unbolt the center console, by removing the lower cover. Underneath the mat there are 2 (10mm) bolts.
-
Find and remove them.
-
-
-
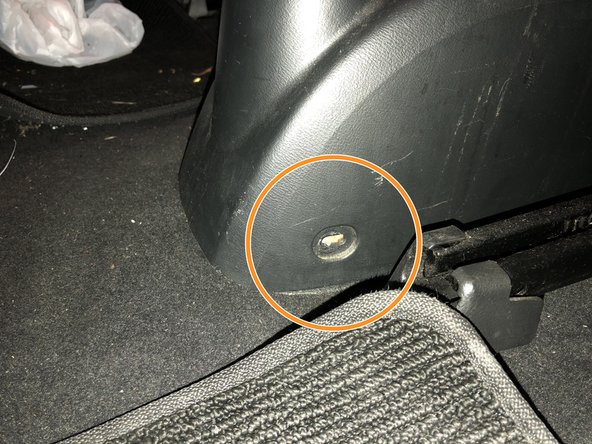
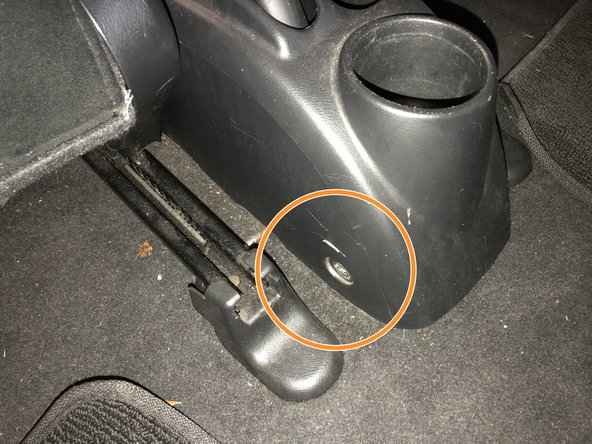
Locate the two screws holding the rear section of the center console in place.
-
Find and remove them.
-
-
-
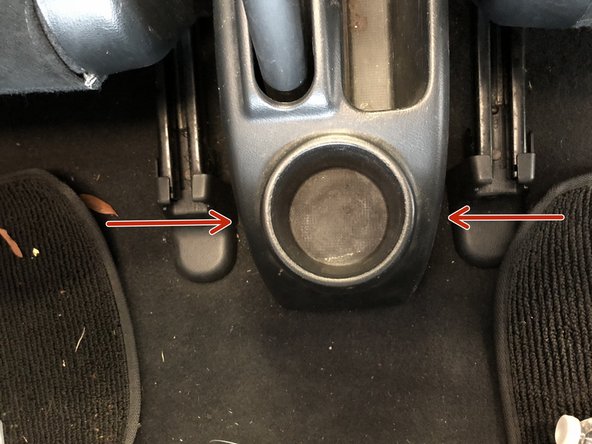
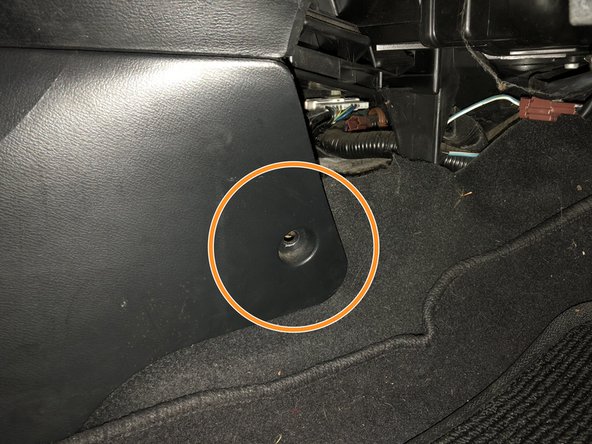
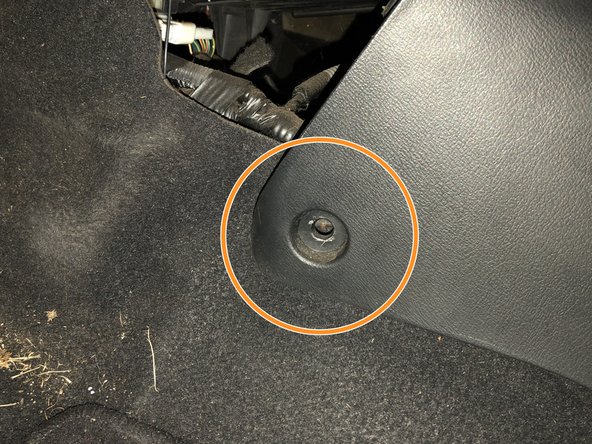
Remove the two screws holding the front section of the console in place.
-
There is one screw on each side of the footwell.
-
-
-
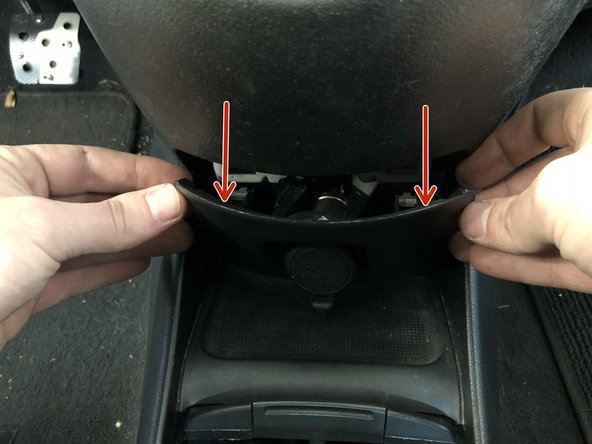
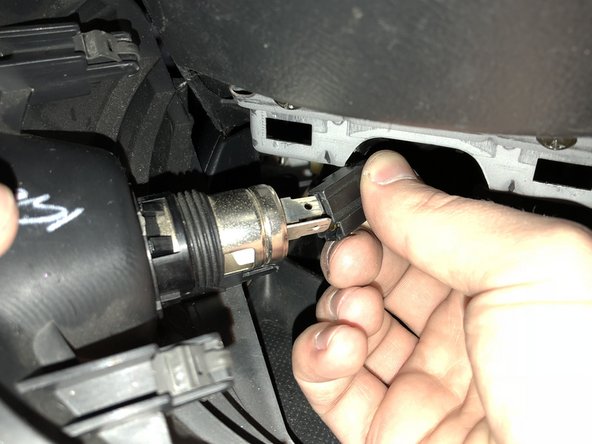
Use a trim removal tool to pop the center console cover off to expose the accessory outlet connector.
-
Depress the clip and unplug the accessory outlet and set the cover aside.
-
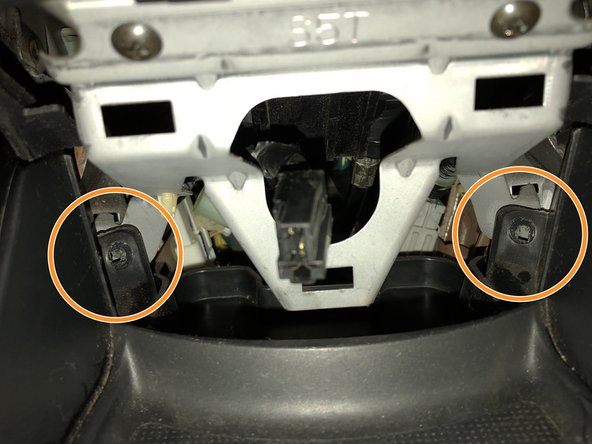
Remove the final two screws holding the top section of the center console in place.
-
-
-
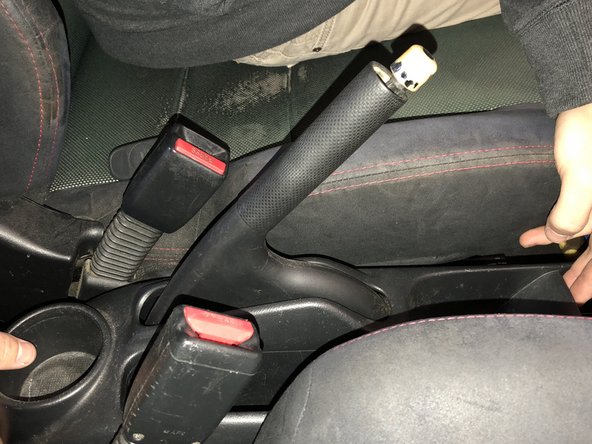
Pull the ebrake up as high as you can to make room to remove the console.
-
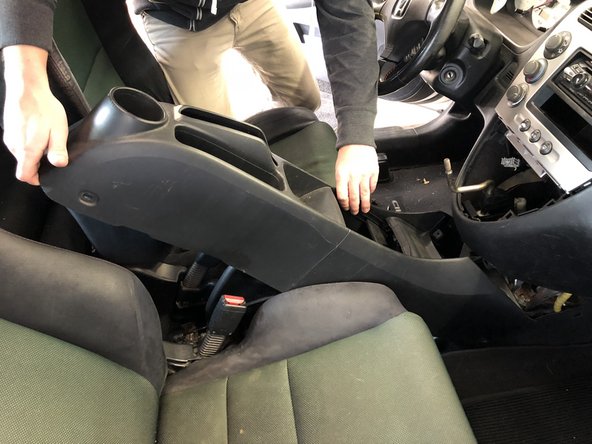
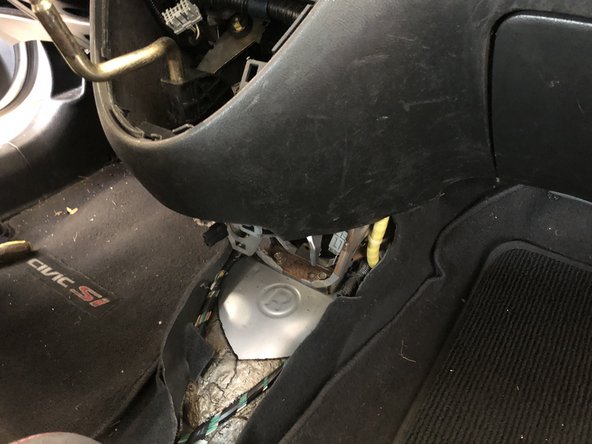
Remove the console allowing access to the lower section of the dashboard.
-
-
-
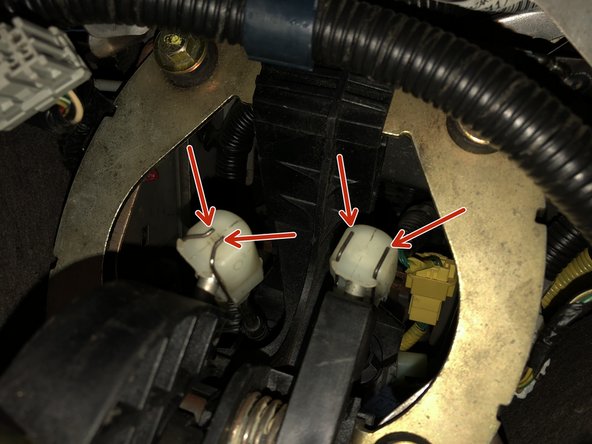
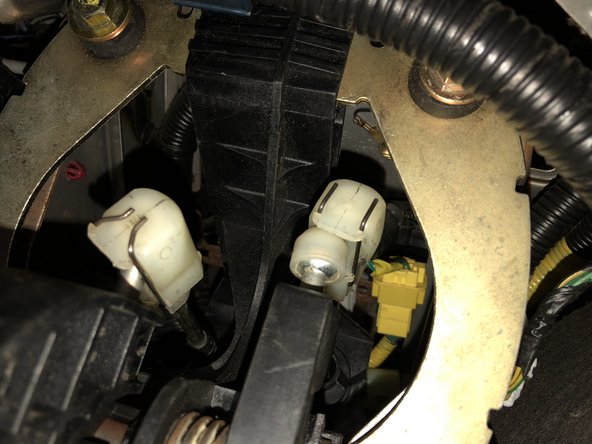
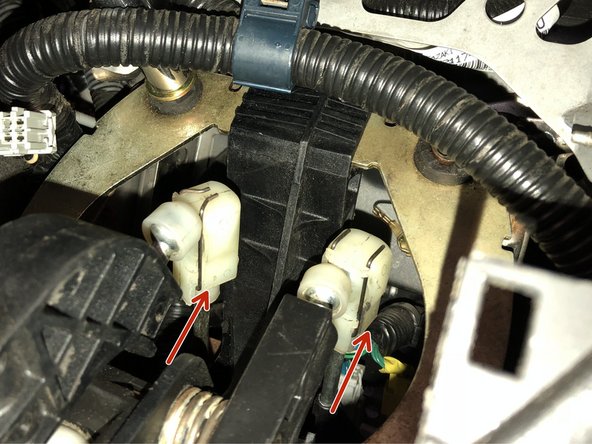
Remove the shifter cable ends from the stock shifter. The cables are held in place by metal retaining clips.
-
In order to remove them you must spread the metal retaining ring apart and slide the cable off the end.
-
Be careful as the retaining rings can slide completely off and can be hard to find if they fall down in the dash. You do not need to remove the clips completely, just slide them apart so you can pull the cable end link off.
-
-
-
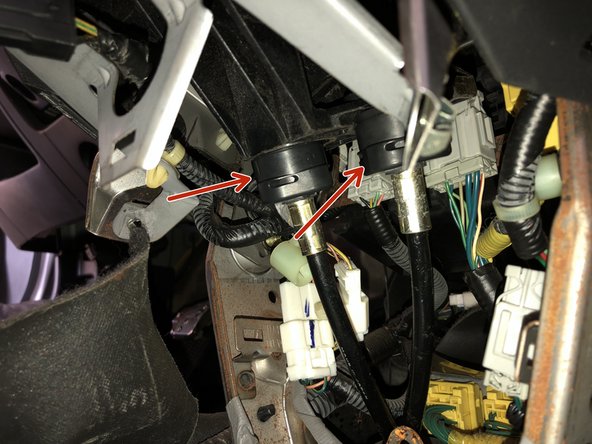
Remove the shifter cables from the shifter assembly.
-
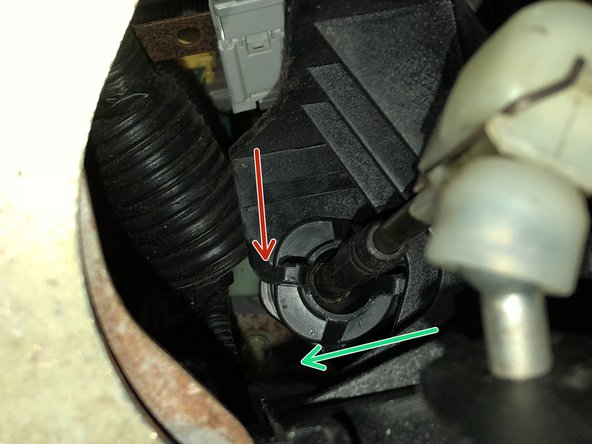
Rotate the shifter cable lock and slide it out of the shifter.
-
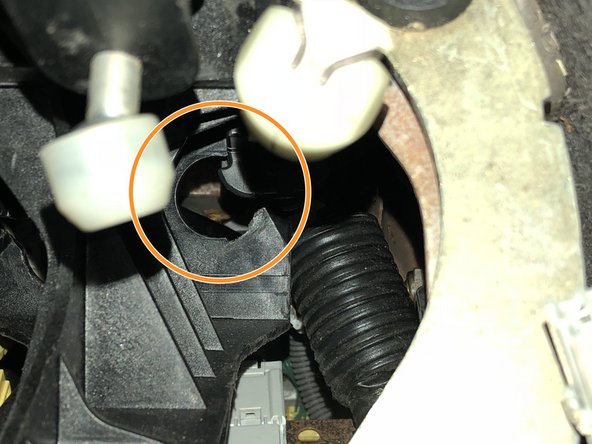
The cables can only be removed one way so take your time and be sure to rotate them enough. Once they are rotated enough they will slide right out of the side.
-
-
-
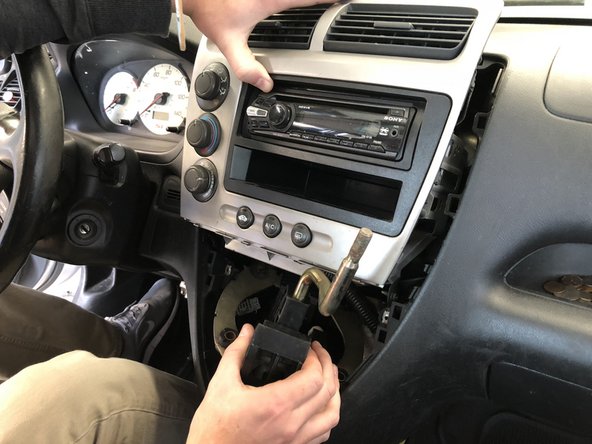
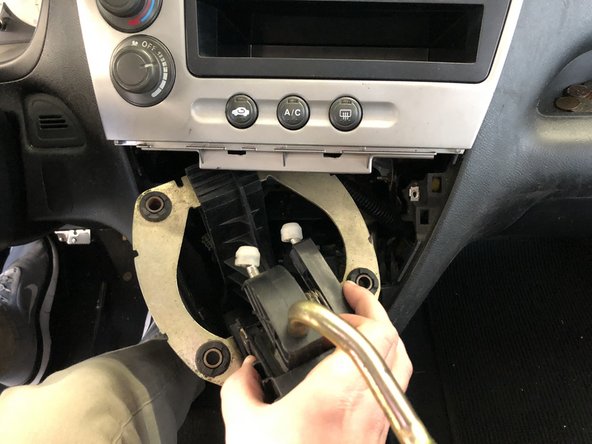
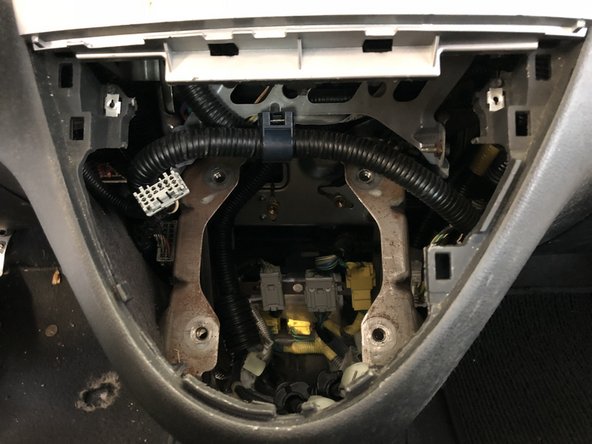
Remove the shifter assembly by pulling the center dash section outwards and upwards. Hold it out of the way to give you more room to pull the shifter out.
-
-
-
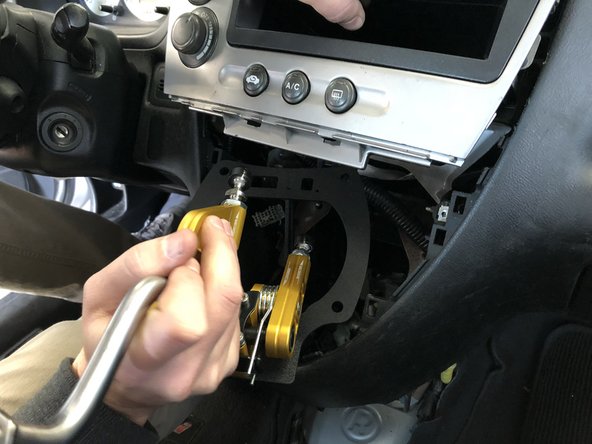
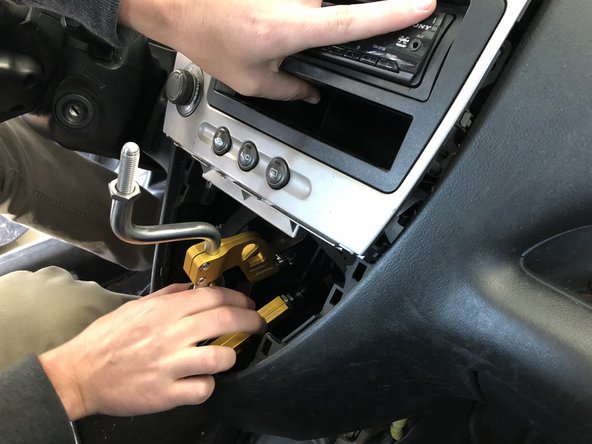
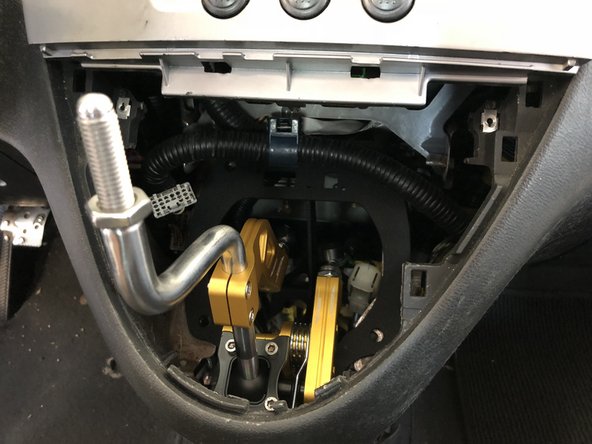
Insert your new Hybrid Racing shifter into the dash by holding the dash center out of the way. This shifter is much smaller so it should slide in easy.
-
-
-
Install the shifter cables into the shifter base by rotating and sliding them in through the side.
-
Make sure both shifter cables are installed and are tight to the base.
-
If you are finding it difficult to slide the cables into the shifter you can remove the entire shifter mechanics by loosening the 4 bolts that hold the shifter to the base. With this removed you should have more room to get the cables seated into the shifter base.
-
-
-
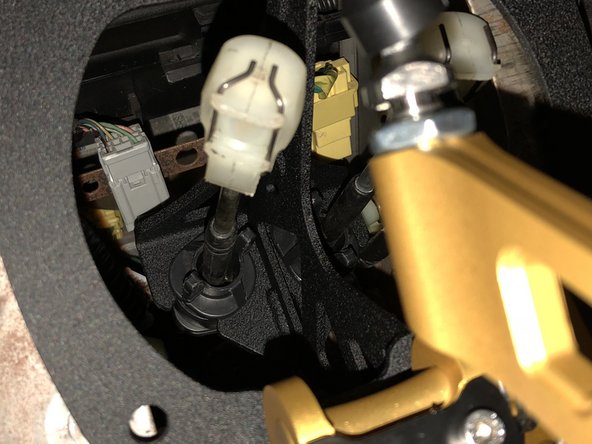
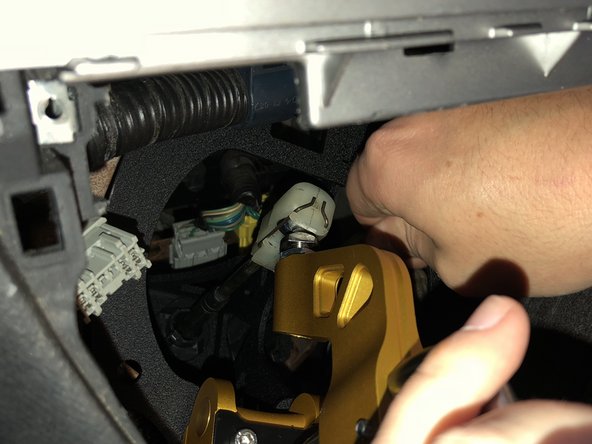
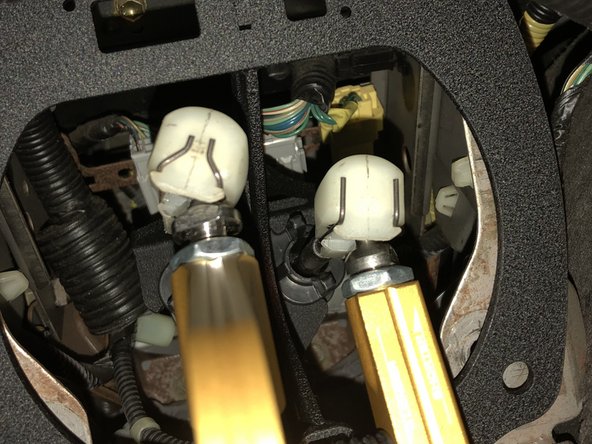
Reinstall the shifter cable end links on to the new shifter.
-
Spread the metal clips apart and slide the end link onto the shifter cup.
-
Make sure the shifter cups are greased and the end links clip into place before moving on.
-
-
-
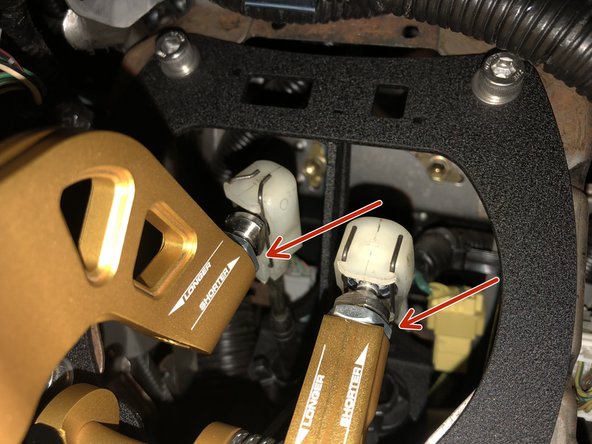
The L/R and F/B movements are independently adjustable and although they come pre-set, you can fine tune it to your liking.
-
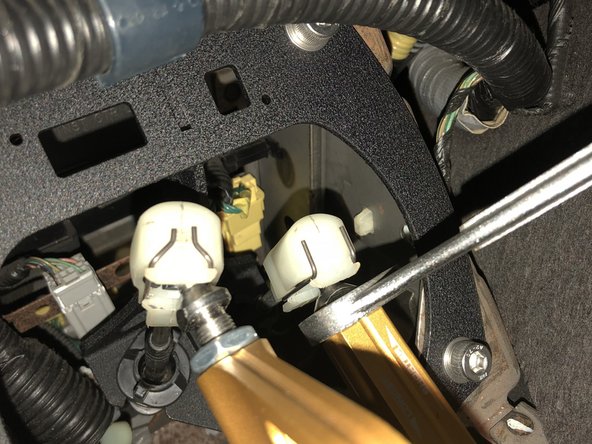
Loosen the lock nut and thread the ball inwards or outwards to adjust each movement.
-
Due to limited space, you may not be able to fully extend the pivot ball. Extending the pivot ball to its maximum position could cause interference with the cable end or shifter base.
-
-
-
Once you are happy with the shifter movement, be sure to tighten the locking nuts and the shifter base bolts.
-
You can now reinstall the dash cover and center console. Use steps 1-10 in this guide as a reference.
-
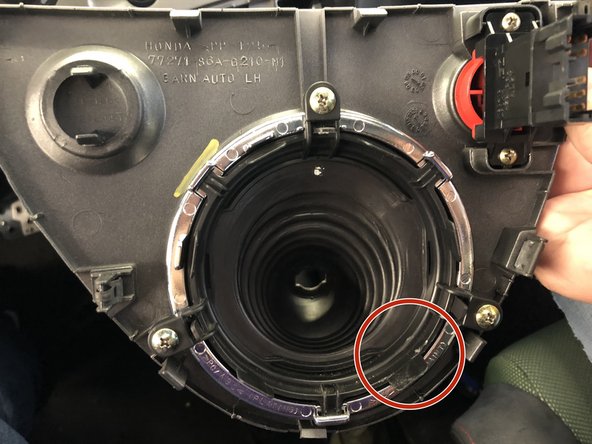
If you choose to install the shift boot, it may be necessary to trim a section of the plastic retaining ring depending on your throw adjustment. Shifters set to the longest throw setting may contact the plastic ring.
-
Almost done!
Finish Line


