-
-
This guide will show you how to install the Hybrid Racing idler bracket and pulley kit using part number HYB-IDB-01-04, and a corresponding belt.
-
If you are using one of our belts, begin by measuring your crank pulley to confirm which belt you need. This should be done before ordering.
-
This guide references a K24A engine that has a 6.5" outer diameter crank pulley.
-
This means we are using Hybrid Racing serpentine belt part number HYB-BLT-00-03.
-
Visit our website to determine which belt size is right for your application. We may not have the correct belt size, depending on your crank pulley size.
-
-
-
Begin by installing the aluminum idler bracket. You must remove the power steering pump.
-
Install the supplied mounting hardware.
-
-
-
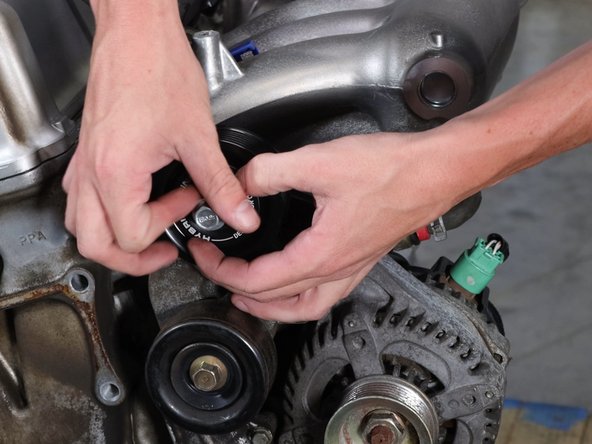
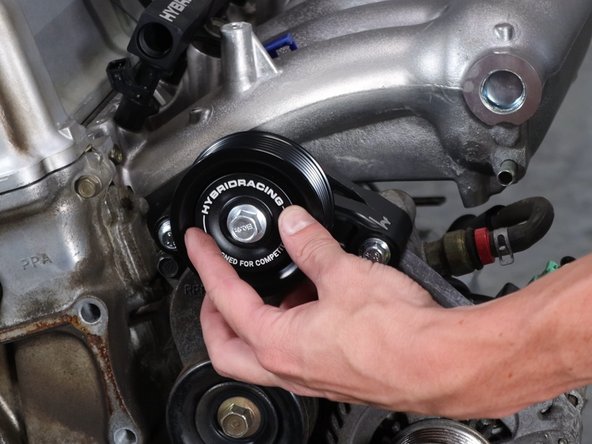
Install the supplied pulley along with the bearing spacer.
-
Align the logo and use the supplied bolt.
-
-
-
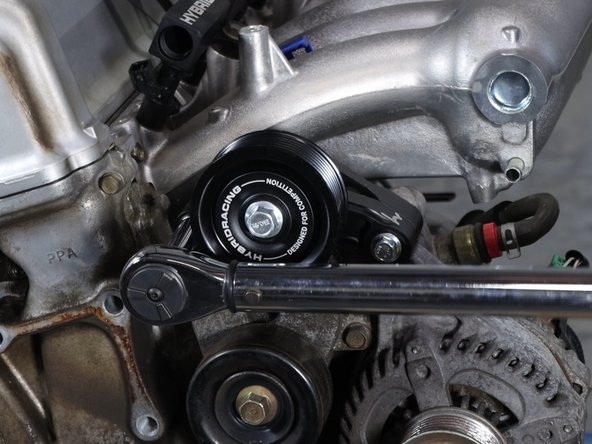
Bracket toruqe spec: 16ft-lb
-
Pulley torque spec: 47ft-lb
-
-
-
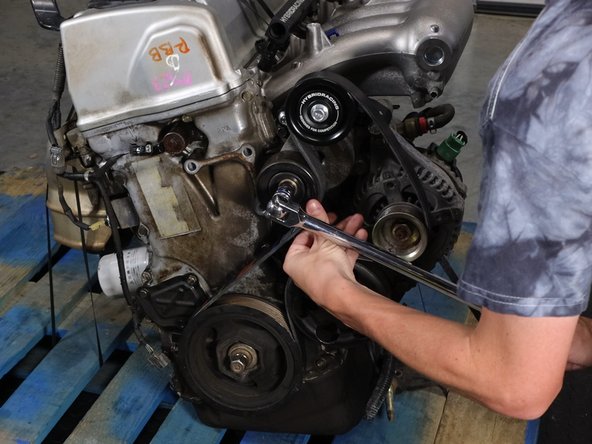
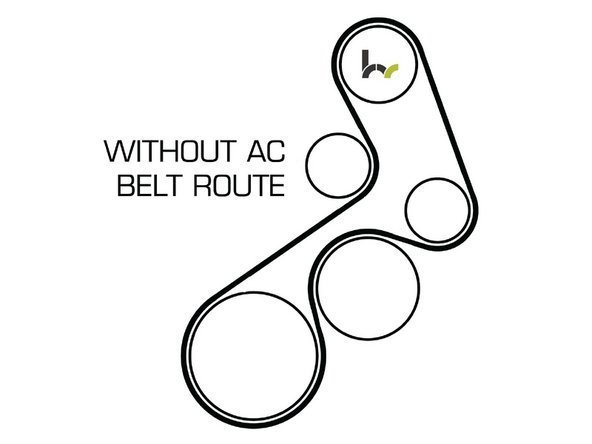
If you have picked the right size belt, you can now install it using the OEM tensioner.
-
Route the belt per the diagram. Use a breaker bar or long handle wrench to move the tensioner out of the way. Slide the belt on the pulleys and release the tensioner.
-
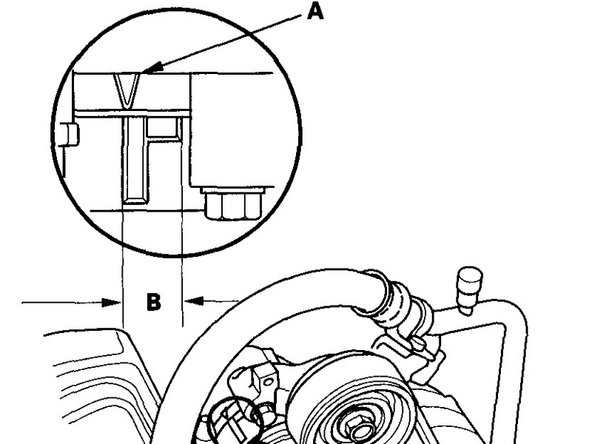
The system should operate within the tension markers located on the tensioner.
-
The tensioner mark (A) should be inside of the marking zone (B). If it is not, there is not sufficient tension on the belt which can cause alignment or reliability issues. Please recheck the belt size.
-
-
-
Use the diagrams as a reference to install your serpentine belt.
-
If you plan to use AC, you must install the AC compressor and then follow the chart on our website to determine which belt size we suggest.
-