Introduction
Important!! Please read the entire install guide twice before starting your installation. No really, it’s a good idea to read it twice before you begin so everything goes smooth.
-
-
Remove your shift knob.
-
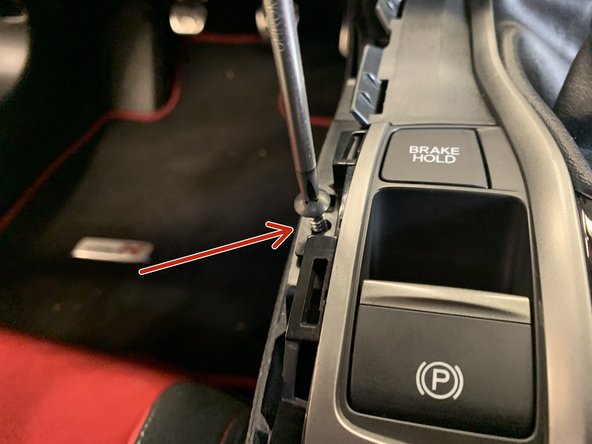
Remove the boot collar by pushing downward on the clip.
-
Use a 14mm Open End Wrench to unscrew the threaded section of the collar. Some may require tools to remove, be careful not to damage the threads.
-
-
-
Pull upwards on the side console pads and remove them.
-
They aren't screwed or bolted into place so just pull up and they will pop out.
-
-
-
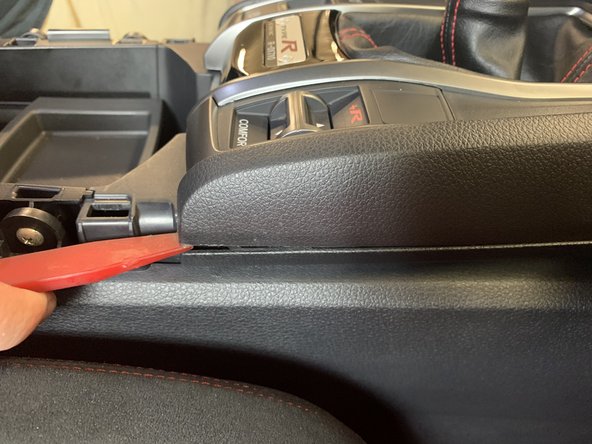
Use a plastic panel tool to pry the upper console section. Once it pops up, grab the upper section and pull it towards you.
-
These panels are held in with clips and do not require tools.
-
Pop both left and right upper sections off.
-
-
-
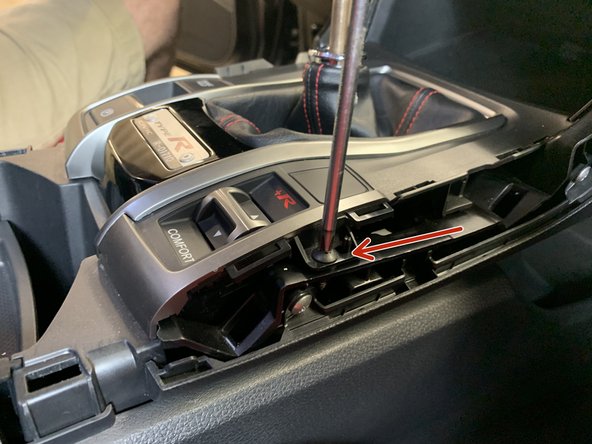
Using a #2 phillips screwdriver, unscrew the two screws that hold the shift boot cover.
-
Use your hands and pry the sides of the cover up and pop it off.
-
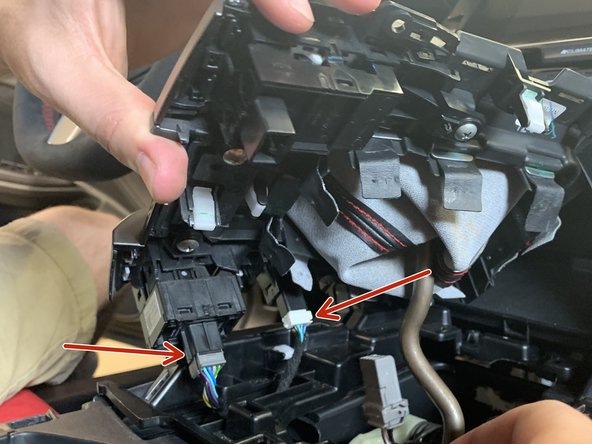
Don't pull on it too hard because there are electrical connectors holding it in place.
-
-
-
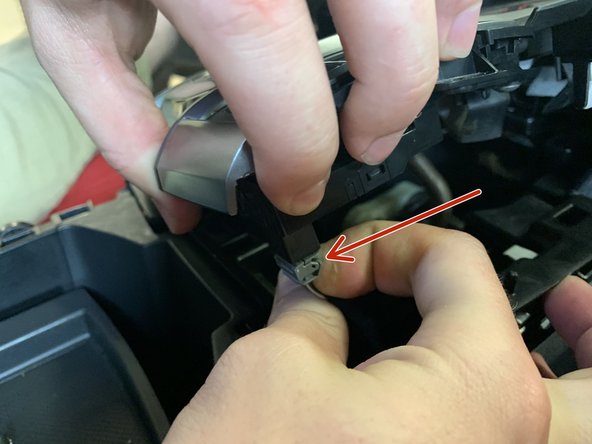
Unplug the drive mode selector as well as the parking brake and brake hold button.
-
Depending on the year/model you may have more or less buttons to unplug here.
-
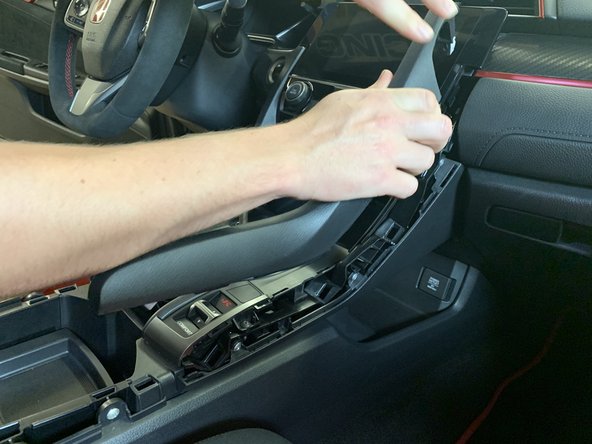
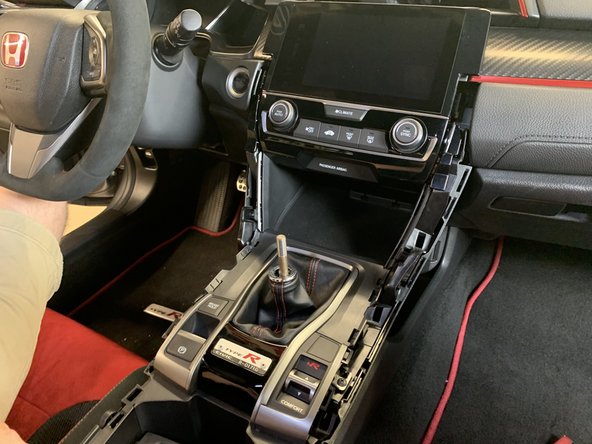
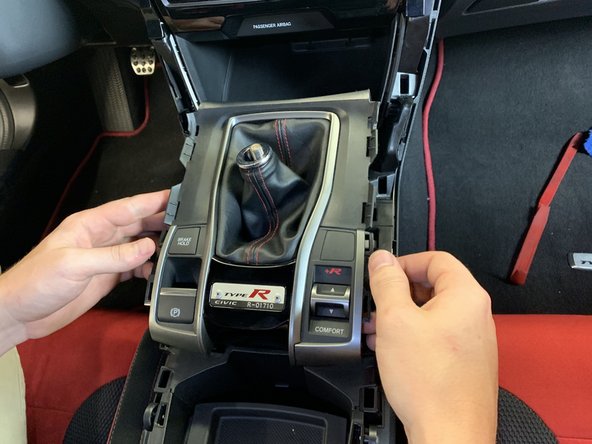
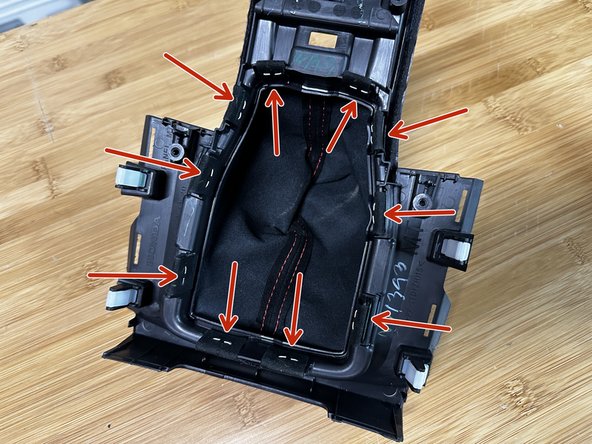
Remove the center console cover and place it on a clean workspace.
-
-
-
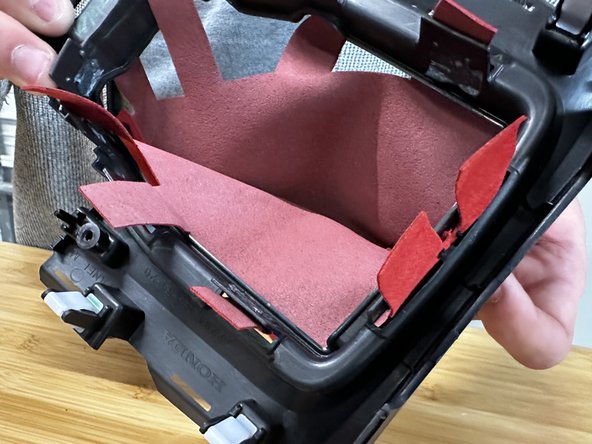
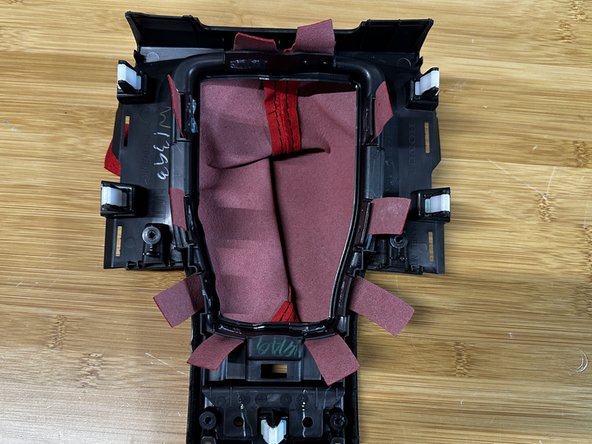
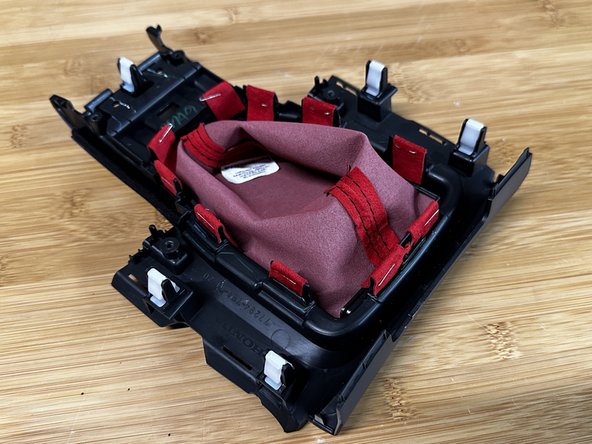
Locate the shift boot fabric on the inside section of the console cover. The factory fabric is attached with staples and tape.
-
You must remove all of the staples before you are able to remove the shift boot.
-
-
-
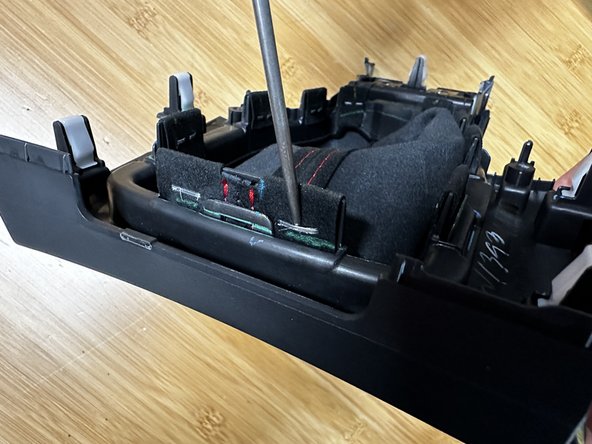
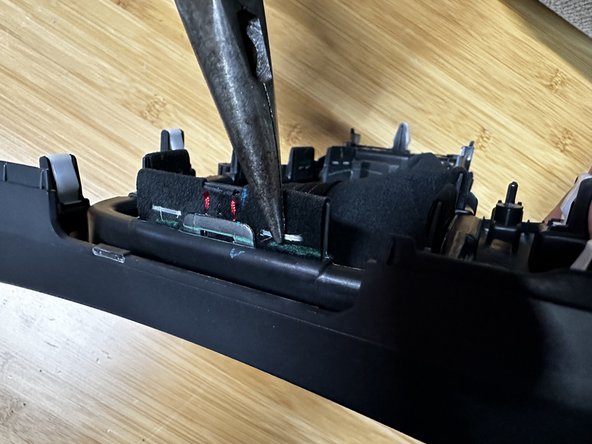
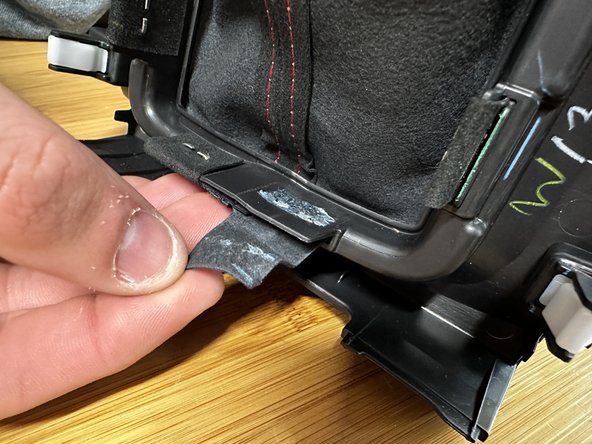
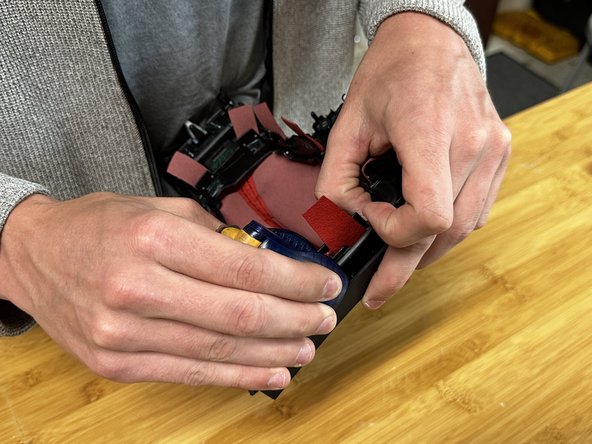
Use a thin pick or flat tipped screwdriver and pry the staples outward.
-
Once you have space, you can use a pair of needle nose pliers to pull them out. Remove all of the staples.
-
There are 10 staples in total.
-
Once the staples are removed, you can peel the fabric off the tape.
-
-
-
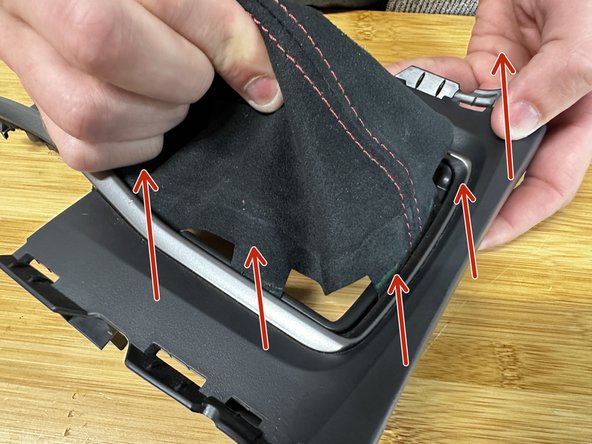
Flip the console cover over and pull the factory fabric out. It should slide out easily.
-
-
-
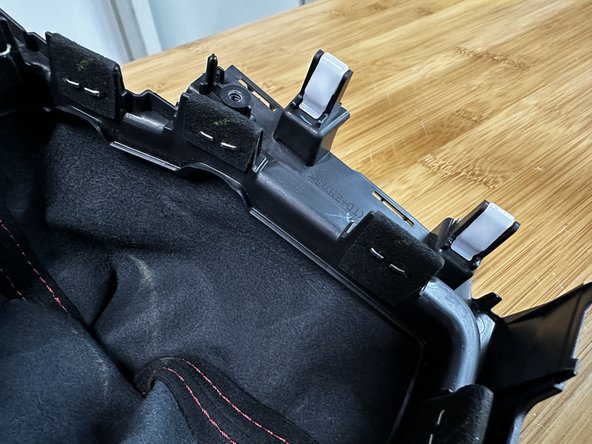
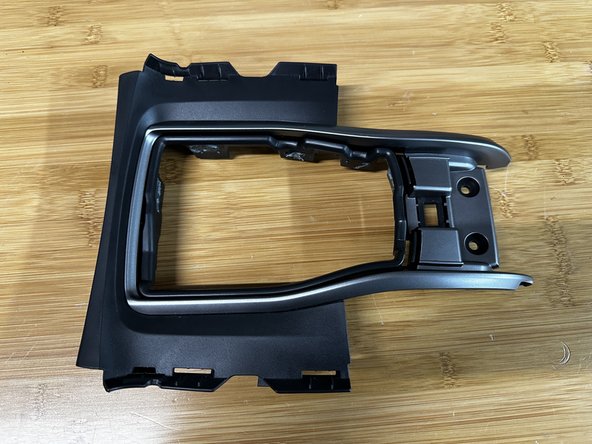
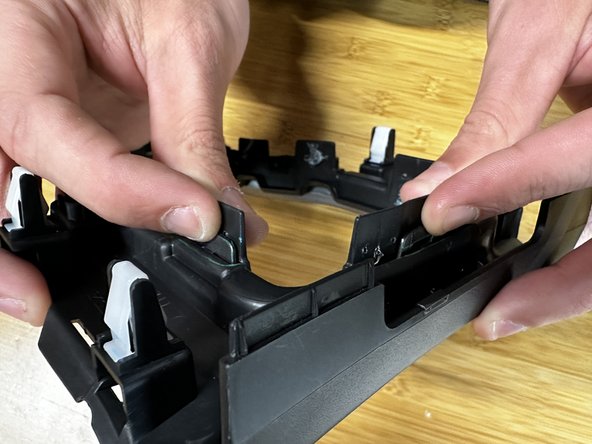
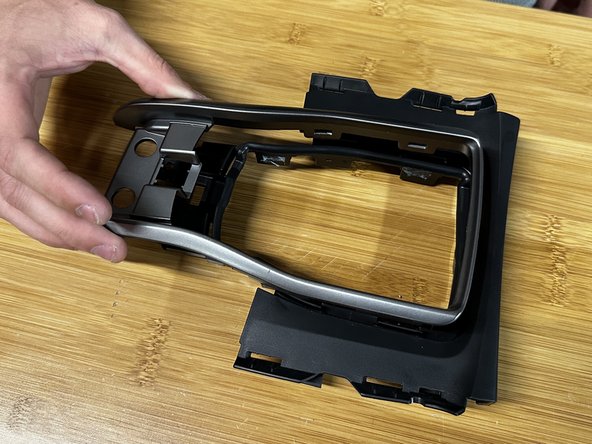
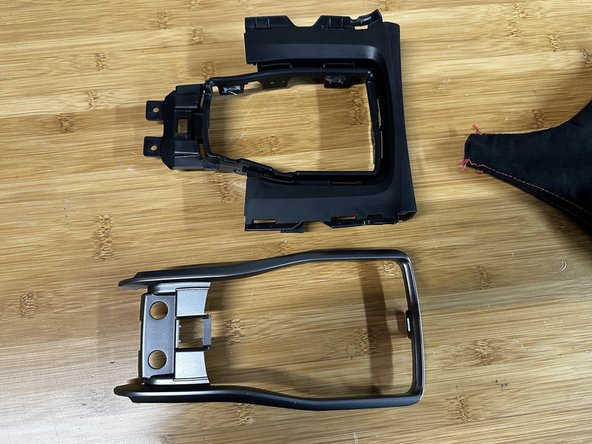
You can now remove the trim ring from the console cover. Depress the tabs and push the ring out.
-
-
-
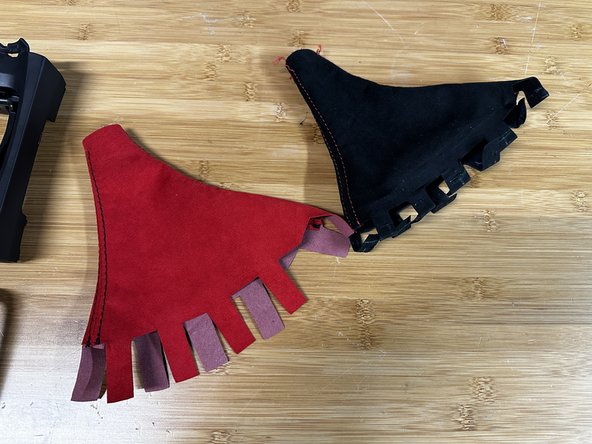
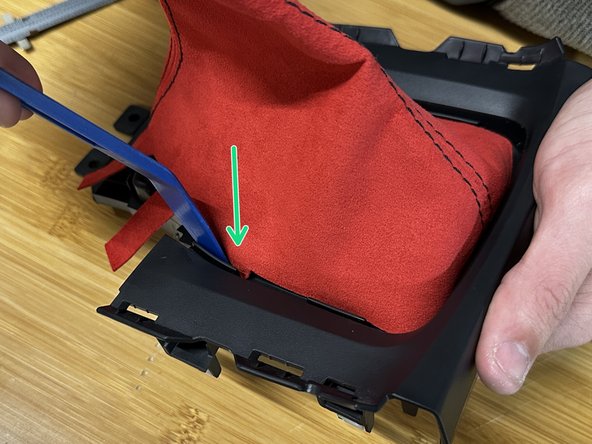
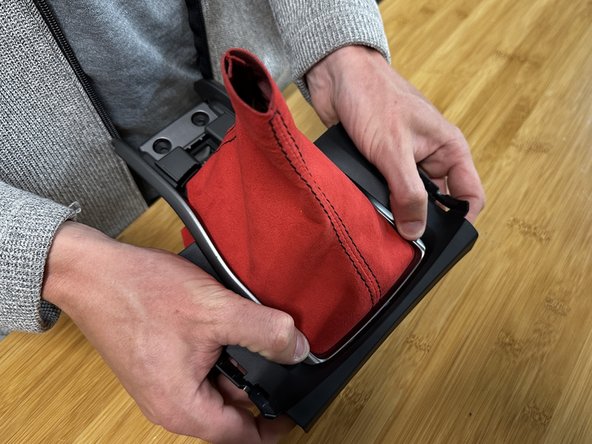
Take the Hybrid Racing shift boot and insert the ears through the OE slots in the console cover.
-
The fabric doesn't need to fit super tight, it just needs to sit in place with all of the tabs through the plastic.
-
-
-
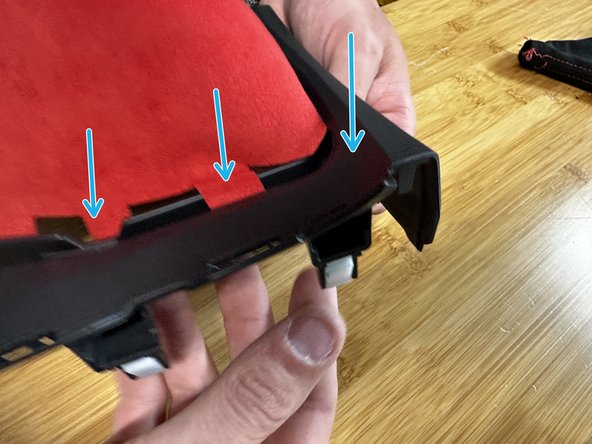
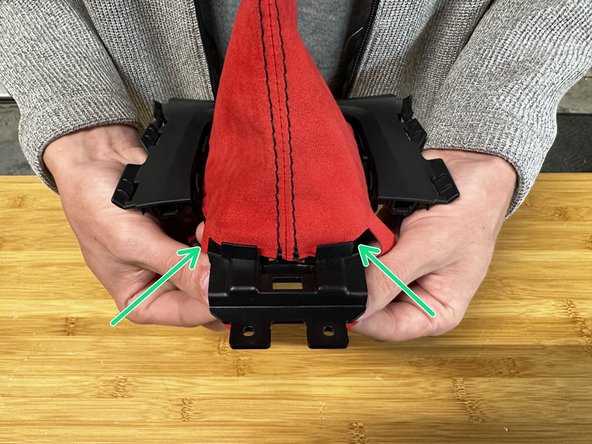
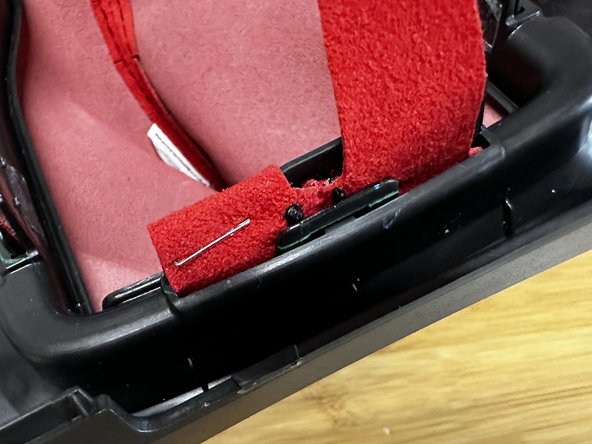
Use a trim tool, pick or flat screw driver and push the fabric through the trim. Make sure the boot is spaced evenly.
-
Make sure the fabric covers all corners before installing the silver trim ring.
-
-
-
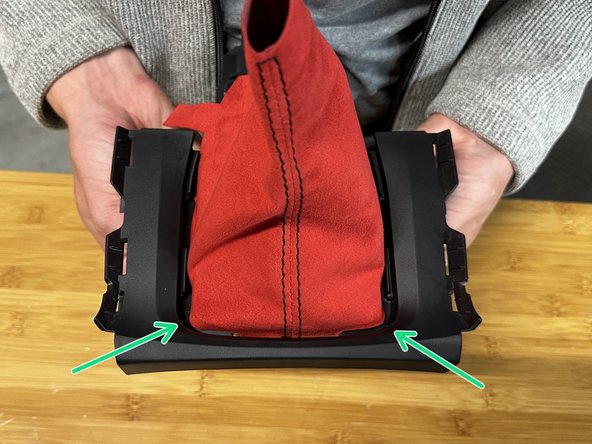
Reinstall the silver trim ring and clip it into place. Make sure all the fabric tabs are in place, and there are no gaps in the corners.
-
Install silver trim working from front to back of the bezel.
-
-
-
Use a general-purpose stapler to secure the fabric to the factory plastic tabs. Small staplers work great since they are easy to hold and maneuver.
-
You can also use double sides tape to secure it, but the stapling method is the most durable.
-
-
-
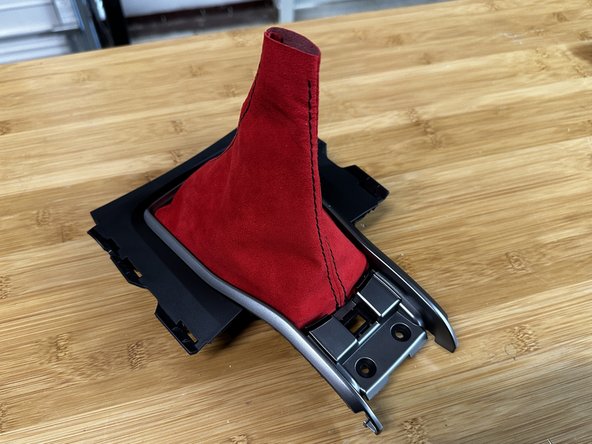
You can now reinstall the console cover. Be sure to check out our guide on installing the MAXIM shift boot collar!
-
Thanks for reading!
-