
Introduction
This will help you understand how to create a guide—the foundation of your work instructions.
-
-
Navigate to the user menu top right corner of the site.
-
Press the user menu.
-
A list of options should appear on a dropdown menu.
-
-
-
On the dropdown menu, select Create a Page.
-
-
-
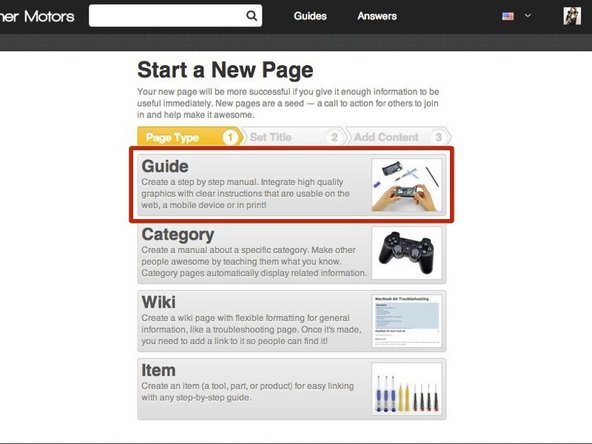
You will be redirected to a page with options of four different page types you can create.
-
Select Guide.
-
-
-
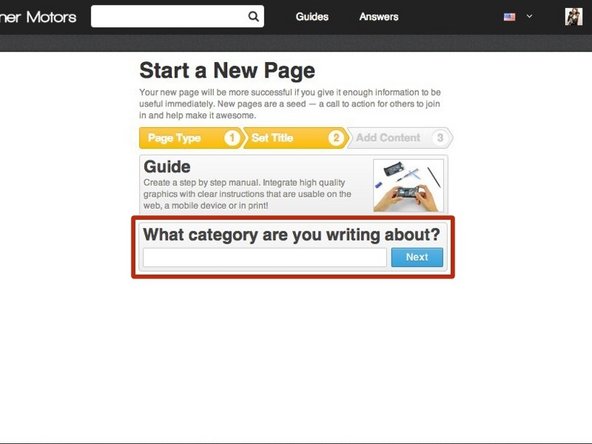
Type the name of the category that you want the guide to be listed under.
-
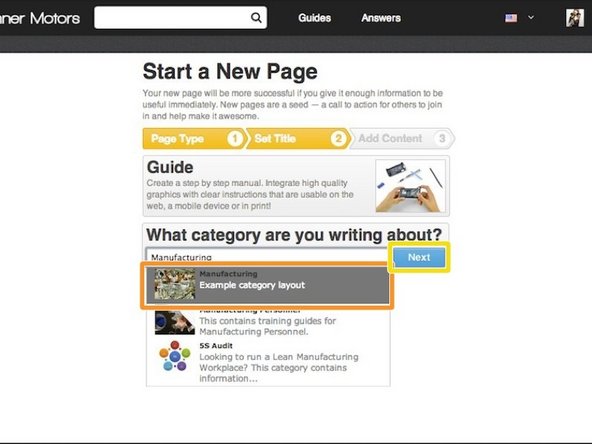
If the category is already created, it should appear below where you are typing as you type.
-
Select the category from the dropdown list.
-
Press Next.
-
-
-
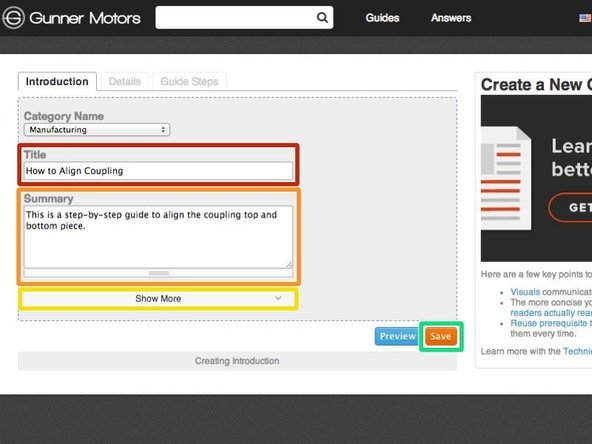
Give your guide a title.
-
Add a summary about what the guide will accomplish.
-
If you would like to add other information at this time, such as an introduction or flags, press See More.
-
When finished adding information, press Save.
-
-
-
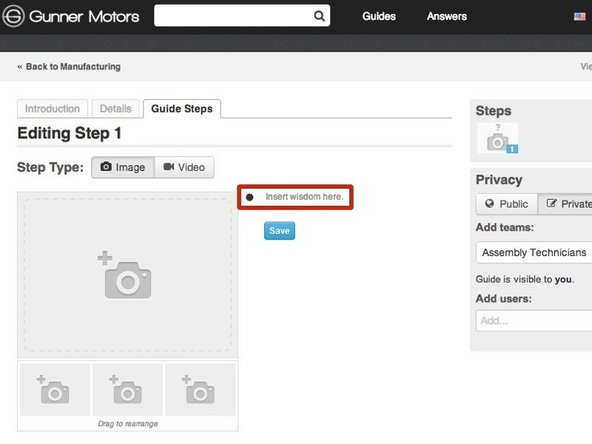
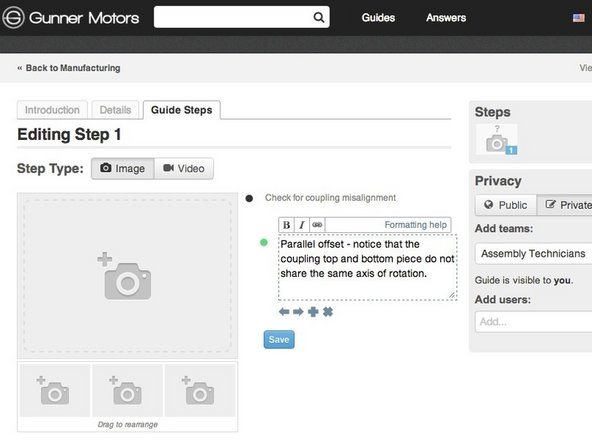
Begin creating the body of your guide by inserting step-by-step instructions.
-
Press Insert Wisdom Here to select a bullet point to type in.
-
-
-
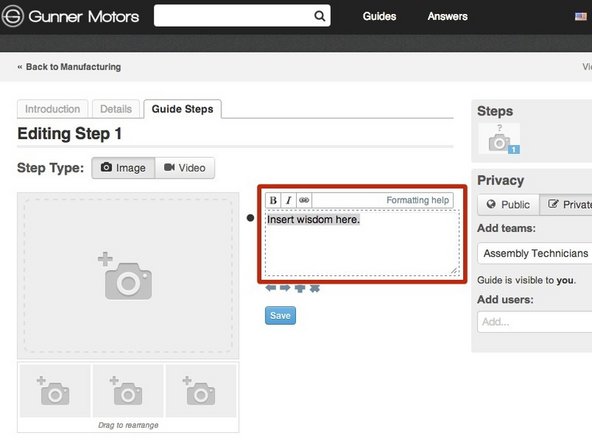
Type instructions into the text box that appears.
-
-
-
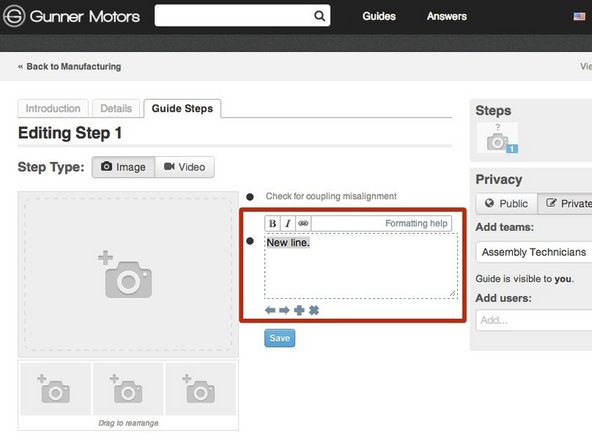
To add another bullet point, press Enter while in the text box of a previous bullet point.
-
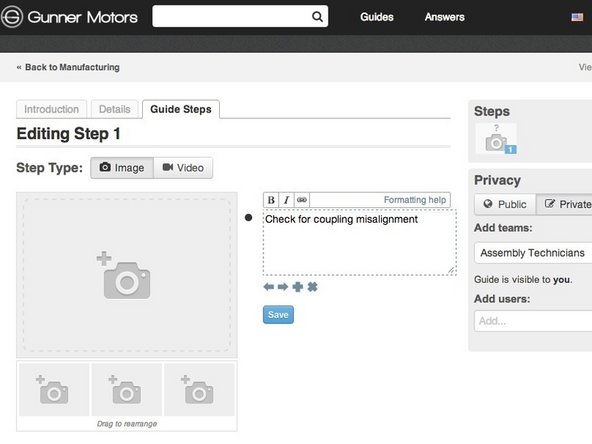
Type all of the information that you need for this step into bullets.
-
For additional formatting of bullets, such as making them colored or a symbol, see Bullet Formatting (URL to come).
-
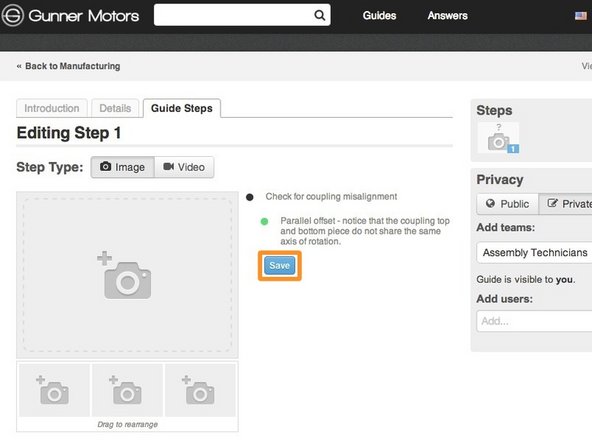
When you are done adding information, press Save.
-
-
-
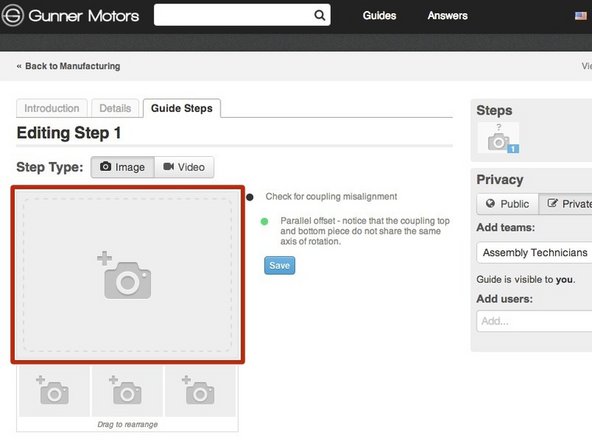
Now that you have added written instructions, it's time to add visuals.
-
Locate the grey image placeholder next to the bullet points of information that you typed and click on it.
-
-
-
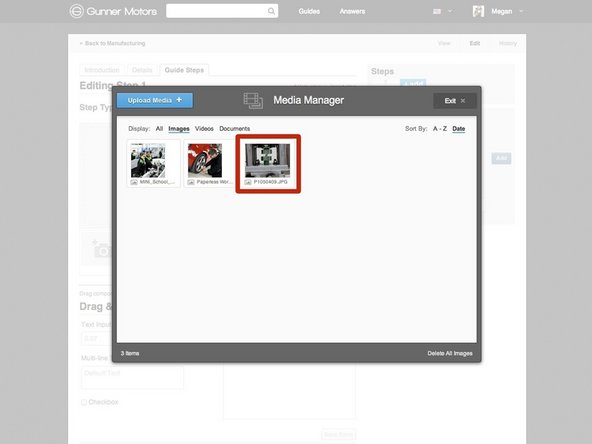
When you click on the image placeholer, the Media Manager will pop up.
-
For in depth instructions on how to use the Media Manager, see How to Upload Photos and Videos.
-
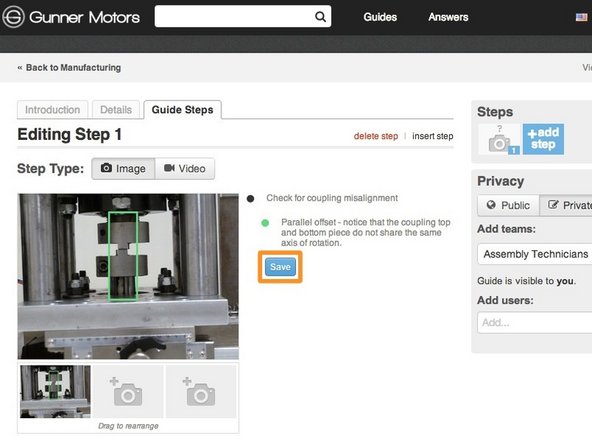
Choose a photo or video to insert by clicking on it.
-
All images must be 800 px by 600 px, and in 4:3 aspect ratio.
-
Press Save.
-
-
-
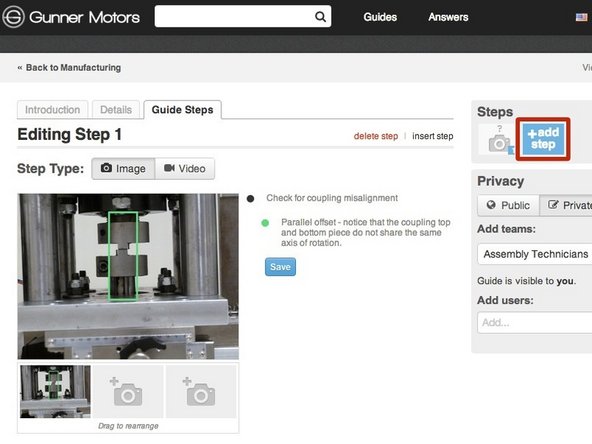
To add another step to your guide, press the Add Step button.
-
Repeat [invalid guide link] through [invalid guide link] until all of your information is in the guide.
-
For further information on guides, please see the Dozuki Help Documentation about Guides.
-


To reassemble your device, follow these instructions in reverse order.
To reassemble your device, follow these instructions in reverse order.
