Difficulty
Moderate
Steps
8
Time Required
02:00:00 - 03:00:00

Private
This guide will not appear in search results and can only be viewed by team members!
Quiz
0
-
-
Begin by removing the wheel.
-
-
-
Un-bolt the brake line bracket from the OEM strut.
-
Pull upwards on the ABS sensor wire to remove it from the bracket.
-
Remove the two bolts that hold the lower strut to the knuckle.
-
-
-
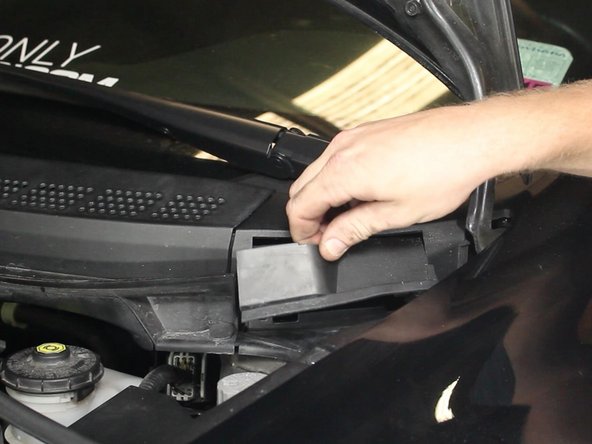
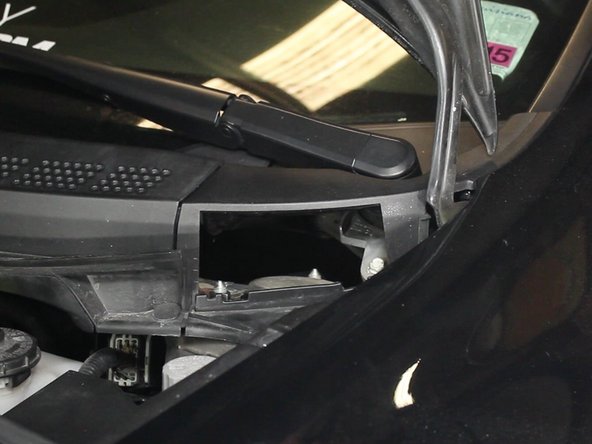
Remove the cover plate to expose the upper strut nuts.
-
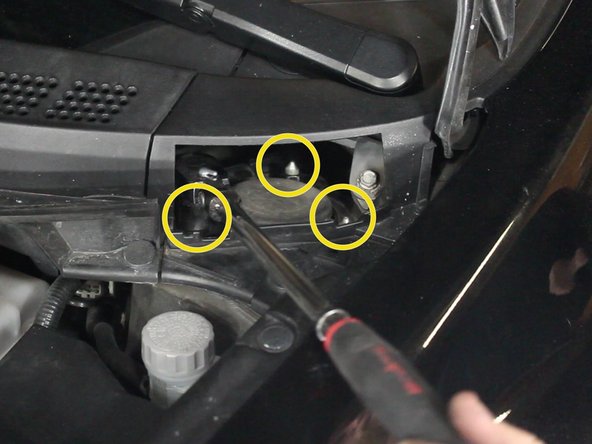
Remove the upper strut mount nuts.
-
Support the strut before removing these nuts completely as the strut could fall.
-
-
-
Remove the strut from the car.
-
-
-
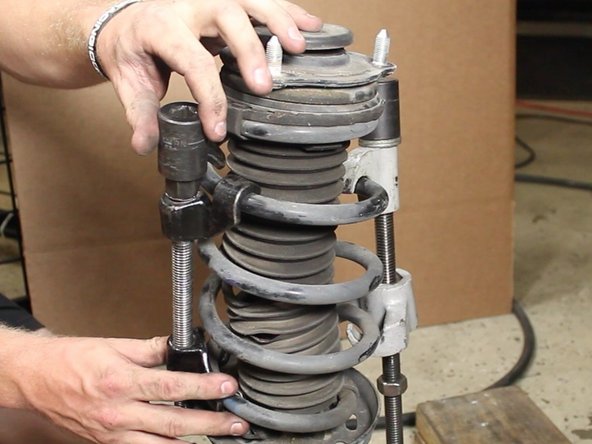
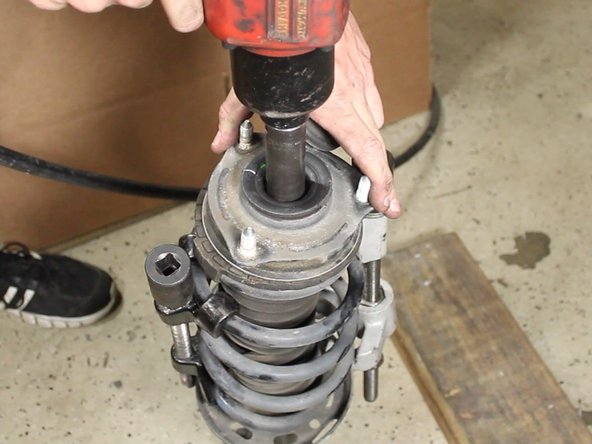
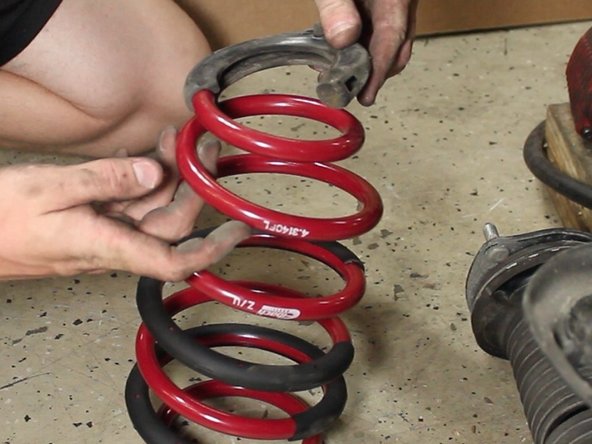
Use a spring compressor to hold the spring in place.
-
Remove the upper strut mount nut.
-
Remove the spring & strut mount from the strut assembly.
-
Improper use of the spring compressor could cause injury or damage to parts. Be sure the spring compressor is secured on the spring and is tight to prevent it from slipping off.
-
-
-
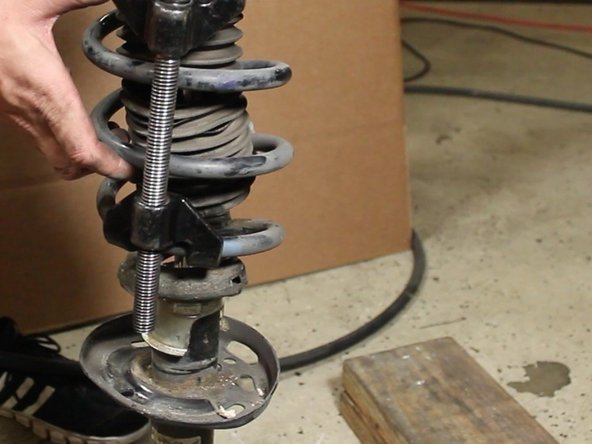
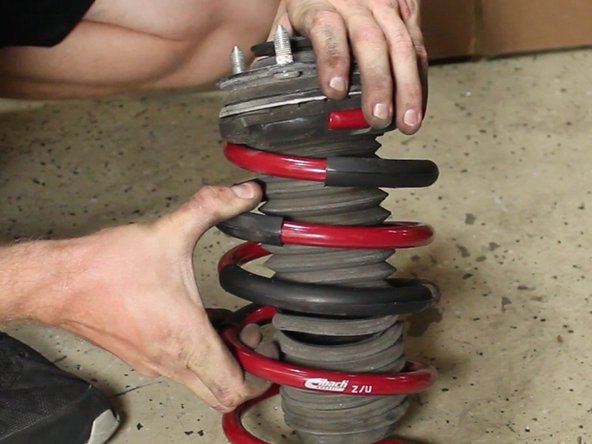
Rotate the upper strut mount so the bushing slides off the spring.
-
Remove the upper strut mount assembly.
-
Make a note of how the struts are aligned. You will need to re-install them in the same way.
-
-
-
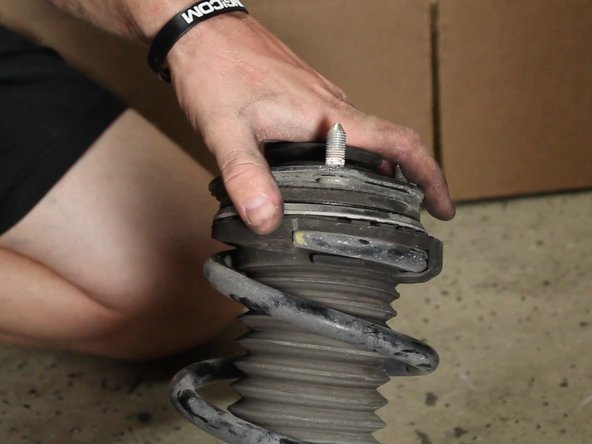
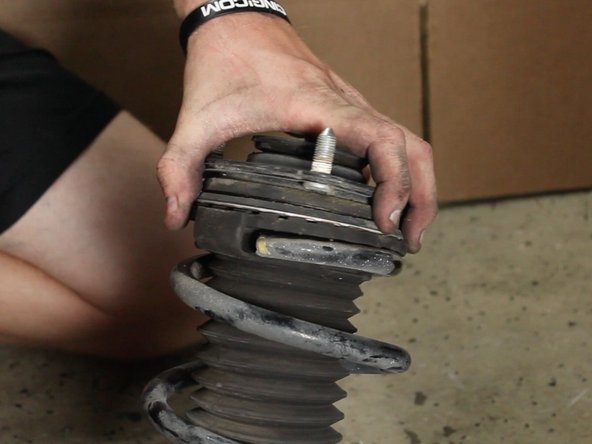
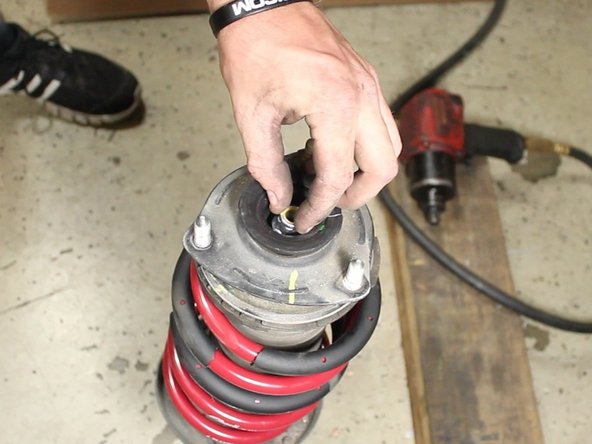
Remove the lower rubber spring seat from the bottom of the factory spring.
-
Install lower rubber spring seat on the bottom of the new lowering spring.
-
Install the upper strut mount to the new lowering spring just as it was removed from the factory spring.
-
-
-
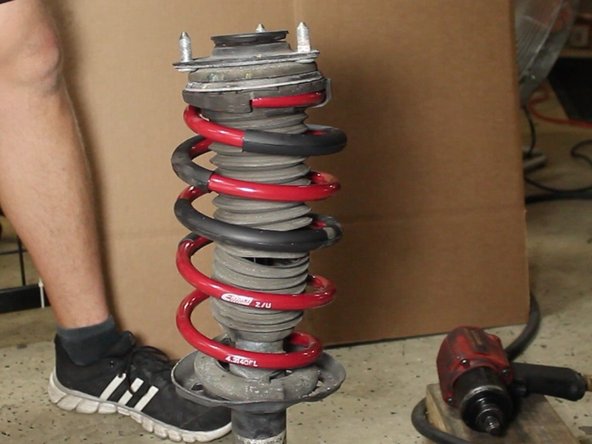
Install the new spring assembly back onto the factory strut and bolt the top hat assembly back to the strut.
-
The new spring is shorter than the factory spring, this should allow you to slightly press down on the spring to get the threaded section of the strut to come through the top hat. If not, please use the spring compressors.
-
The strut is now ready to be installed back on the vehicle.
-
Use these same steps for both the front driver and passenger side of the vehicle.
-