
-
-
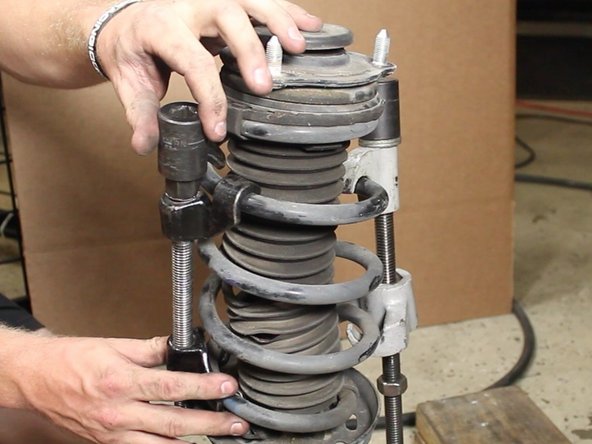
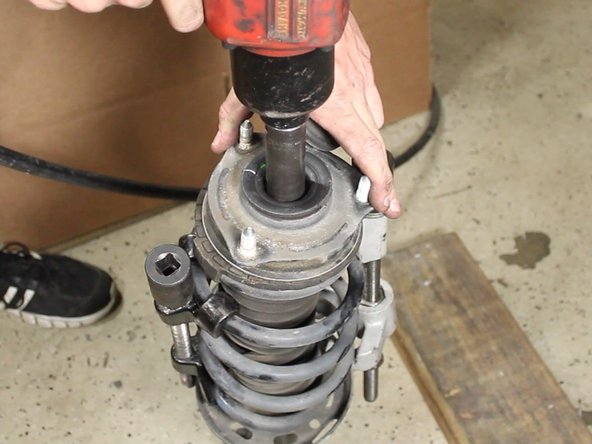
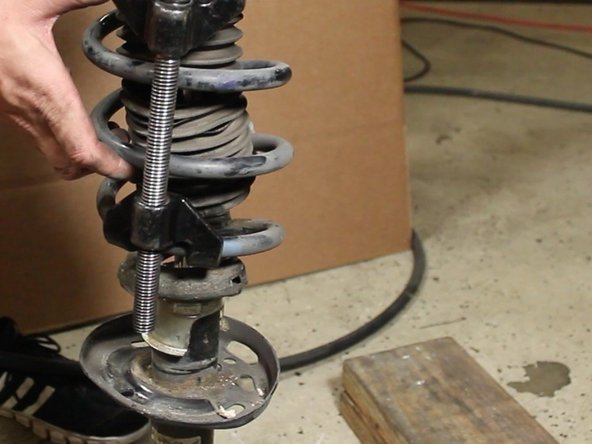
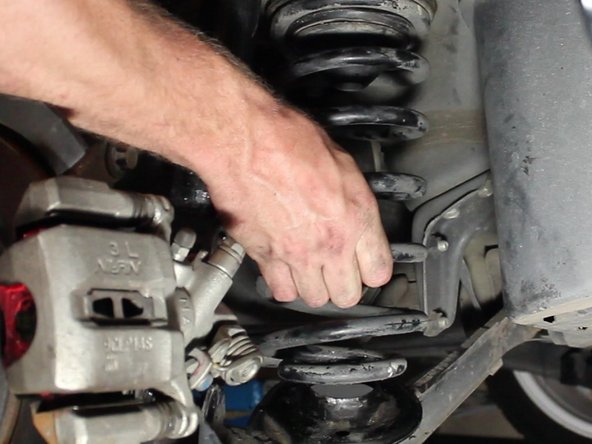
Use a spring compressor to hold the spring in place.
-
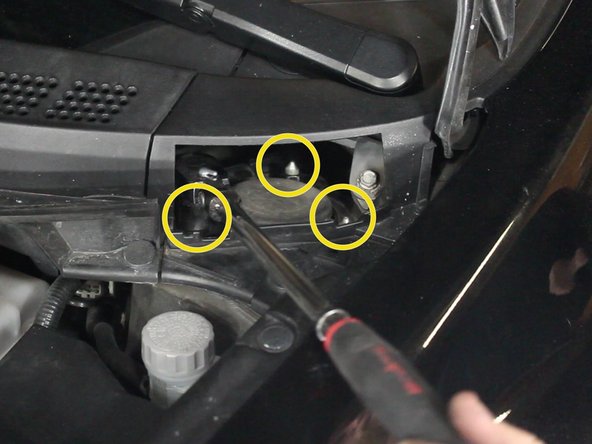
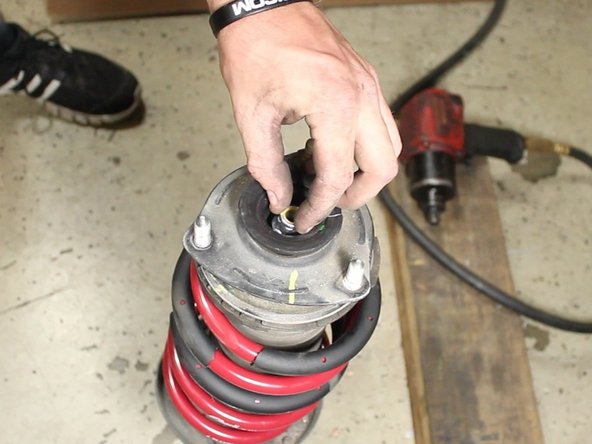
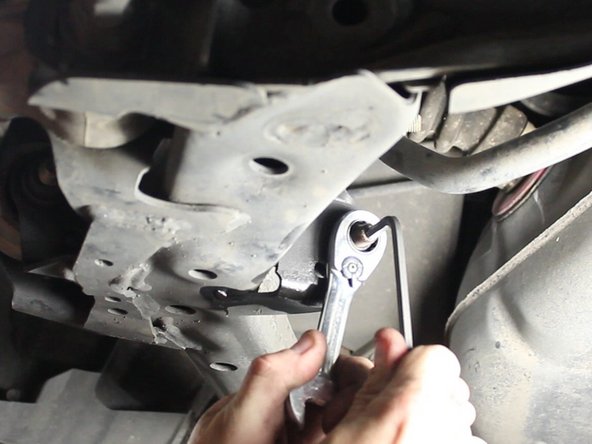
Remove the upper strut mount nut.
-
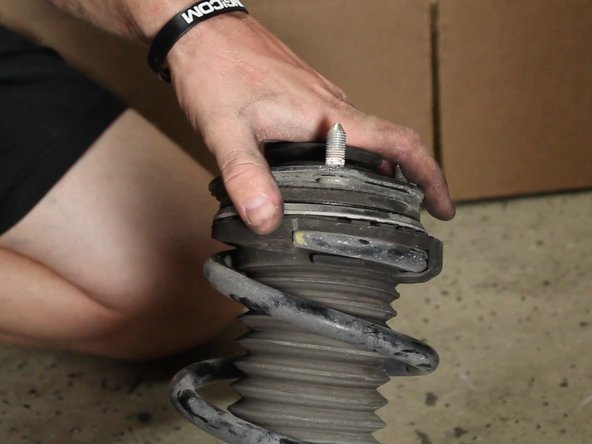
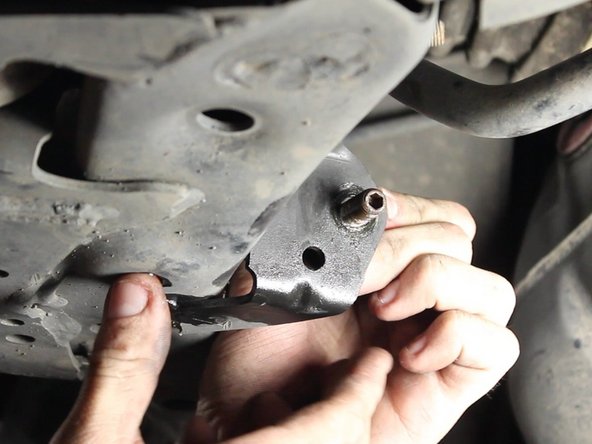
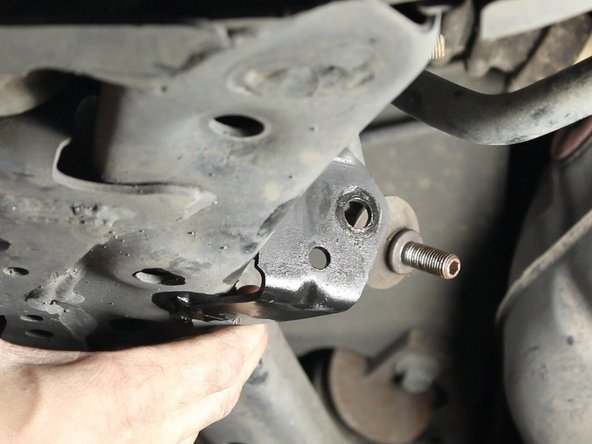
Remove the spring & strut mount from the strut assembly.
-
Improper use of the spring compressor could cause injury or damage to parts. Be sure the spring compressor is secured on the spring and is tight to prevent it from slipping off.
-
-
-
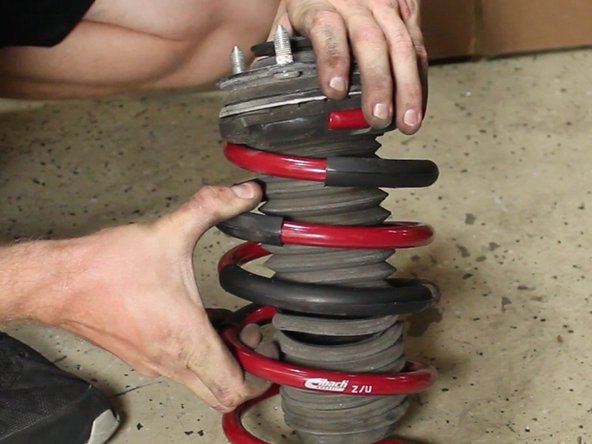
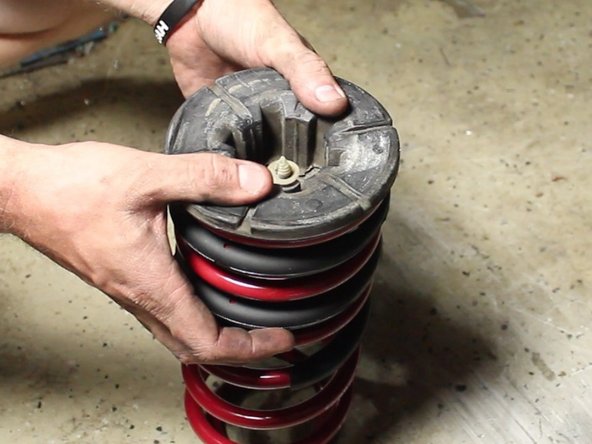
Install the new spring assembly and bolt the top hat assembly back to the strut.
-
The new spring is shorter than the factory spring, this should allow you to slightly press down on the spring to get the threaded section of the strut to come through the top hat. If not, please use the spring compressors.
-
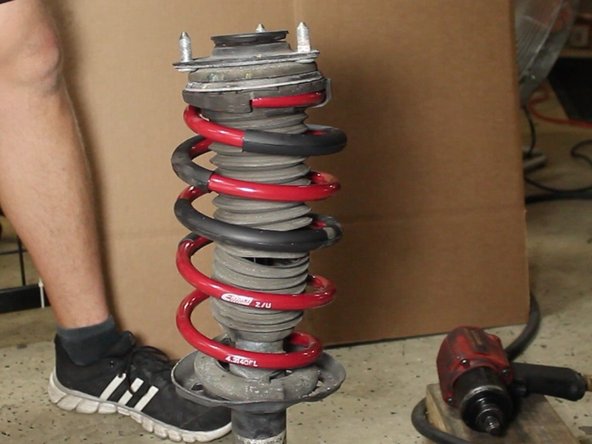
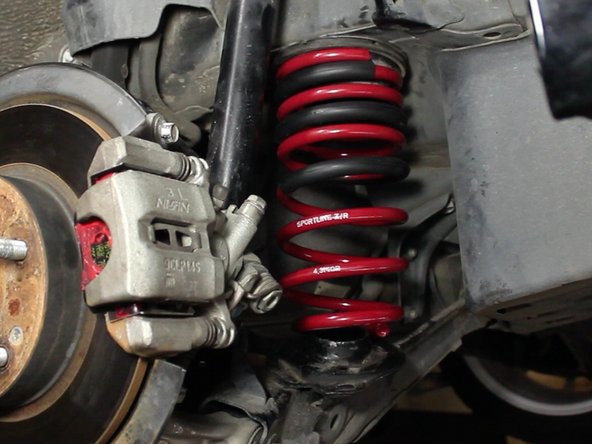
The strut is now ready to be installed back on the vehicle.
-
Use these same steps for both the front driver and passenger side of the vehicle.
-
-
-
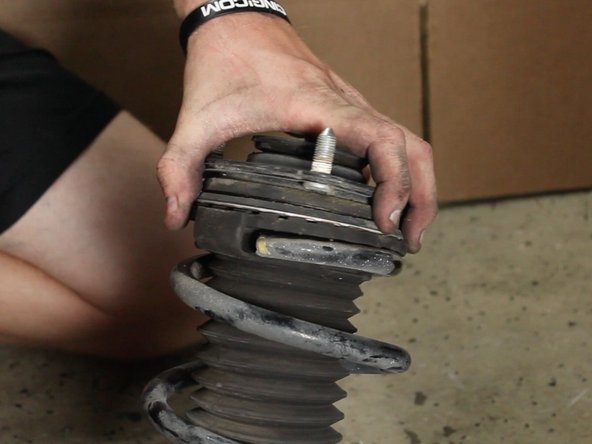
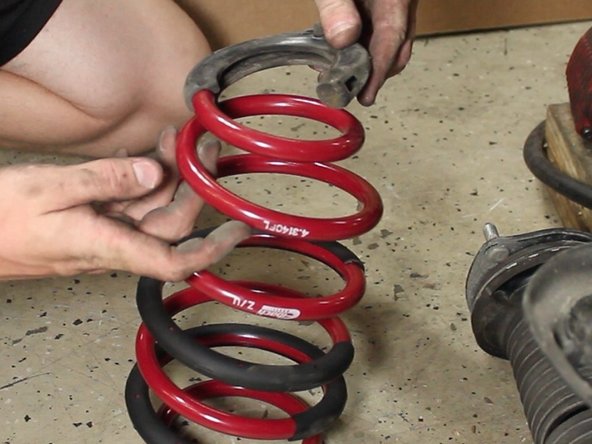
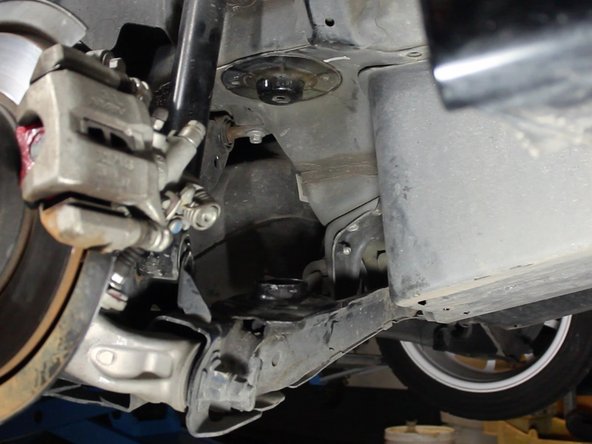
Remove the upper spring perch from the factory spring.
-
Install upper spring perch on the new spring.
-
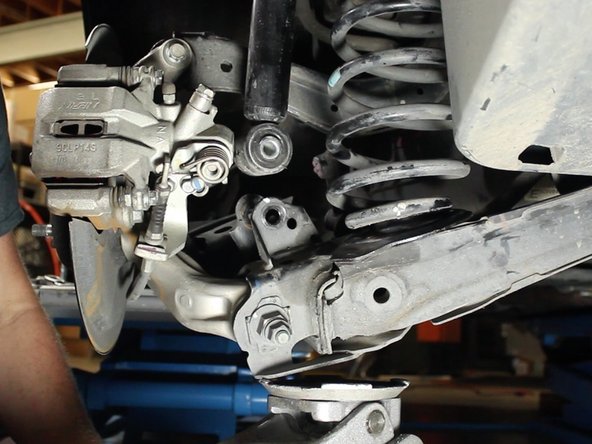
The lower spring perch should remain on the lower control arm.
-
Install the new spring the same way the factory was removed.
-
Reassemble the car in the order the parts were removed. Don't forget the sway bar!
-


Cancel: I did not complete this guide.
2 other people completed this guide.
