
Difficulty
Moderate
Steps
14
Time Required
- Fuel Rail 14 steps

In Progress
This guide is currently being written. Reload periodically to see the latest changes.
Introduction
Before getting started we need to set up your fuel rail for with the correct fittings for you fuel lines. This install guide is targeted at installing this fuel rail on a non k-swap vehicle. If you are installing this on a k-swap vehicle, the set up of your fuel rail will be outlined in the fuel line kit you have. Port A: Optional to run a fuel pressure gauge here. If you are not installing a gauge , install the stainless steel NPT plug here. Be sure to place fuel-safe sealant on the threads whether you are running a gauge or the plug.
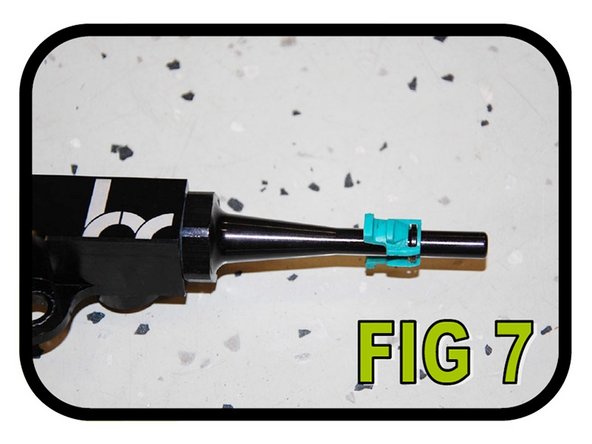
Port B: -8 to 5/16 quick disconnect union.
Port C: -8 AN plug.
Port D: -8 AN plug.
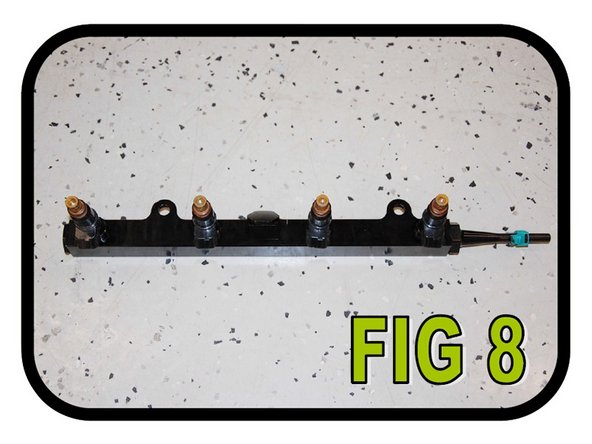
When set up with the correct fittings, your fuel rail should appear as the one below.
Tools
Parts
No parts specified.
-
-
Using a 10 mm socket, remove the two (2) caps nuts holding the cover in place (FIG 1). Once these are removed, pull the cover off. This will take some force. The cover is held on with rubber grommets.
-
-
-
2A. Unplug all four (4) injector wires from the injectors and using your 10 mm socket again, remove the ground connection from the intake manifold as illustrated in FIG 2A.
-
2B: Using a flat head screwdriver, unclip the injector harness from the fuel rail as illustrated in FIG 2B. Once both clips are undone, slide the harness off and set it to the side.
-
-
-
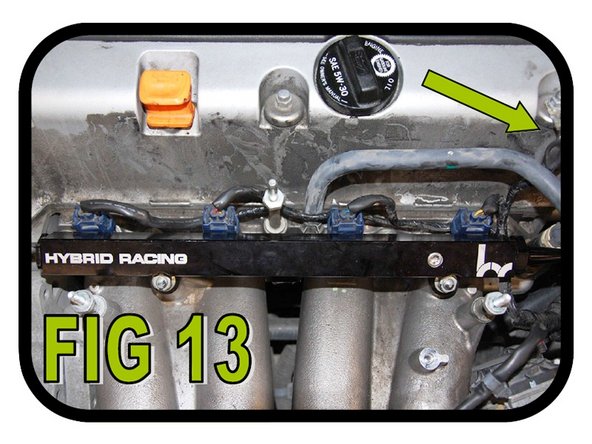
Plug all four (4) injectors back in. Then, using a 10 mm socket, remove the cap nut on the valve cover. Relocate the injector ground wire to that stud and tighten the cap nut back on top as shown in FIG 13. Note: if the correct wire is not on the corresponding injector the car will not run correctly.
-


If you have any questions or comments, please email support at support@hybrid-racing.com
If you have any questions or comments, please email support at support@hybrid-racing.com
