
-
-
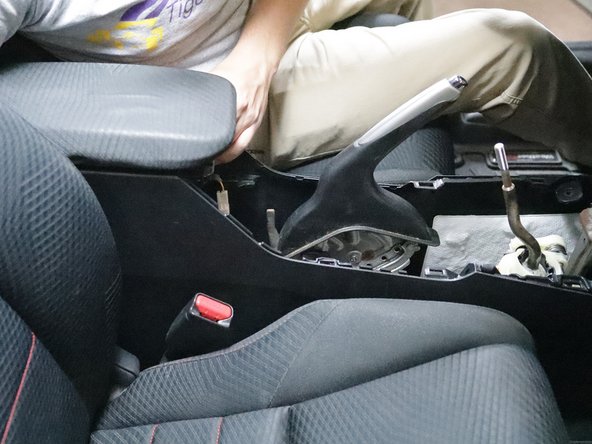
Begin by removing the shift knob.
-
Pull the shift boot down to release it from the retaining clip.
-
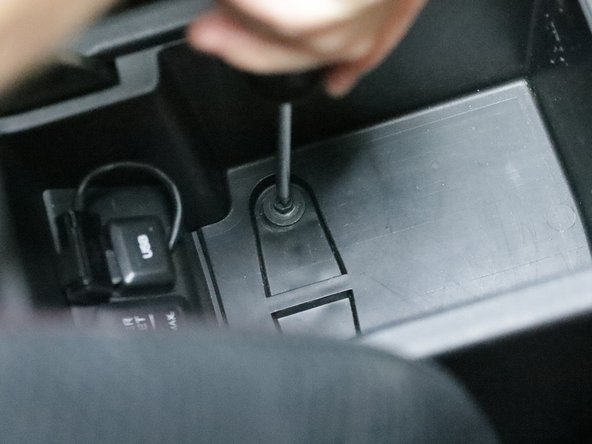
Once the boot has been detached, unscrew the threaded retaining collar.
-
-
-
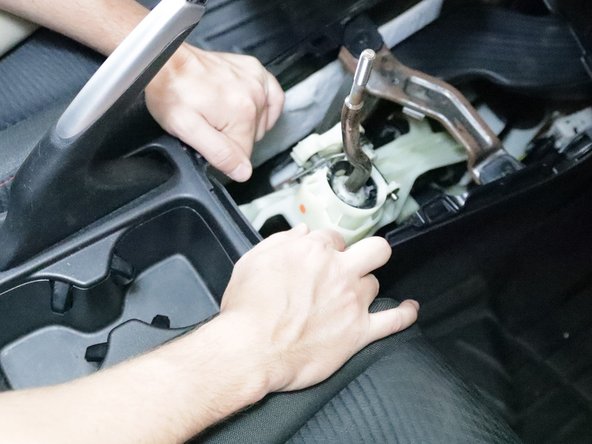
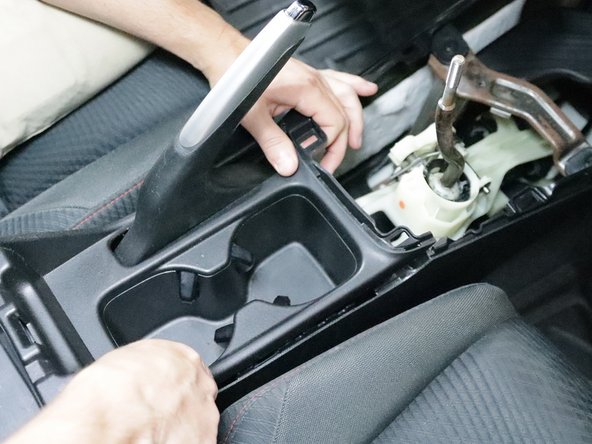
Use a trim tool to remove the upper shift boot trim.
-
This part is only held in place by clips.
-
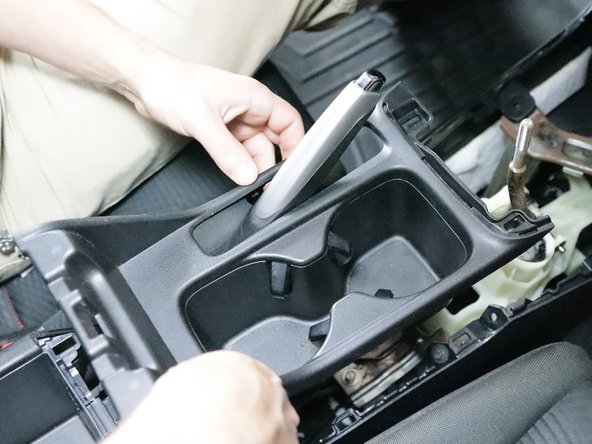
Remove it completely and set it aside.
-
-
-
Use a Phillips screwdriver and remove the two screws that hold the console bracket in place.
-
-
-
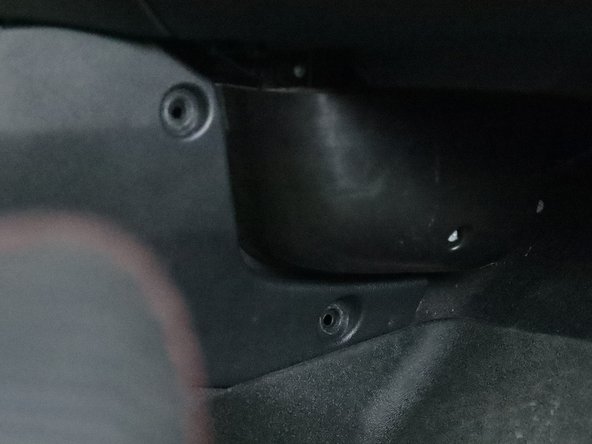
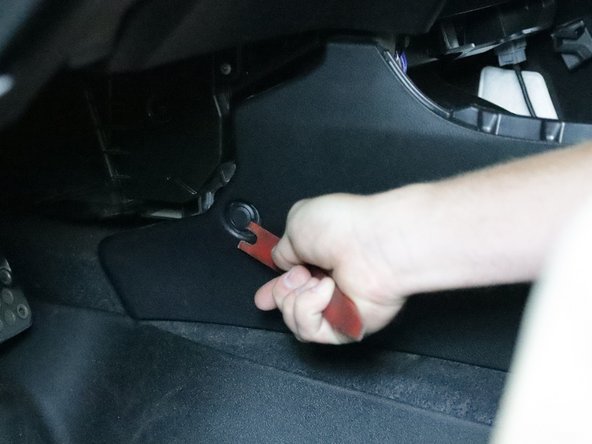
Use a trim tool and remove the three retaining clips from the front corners of the console.
-
There are two on the RH side and one on the LH side.
-
-
-
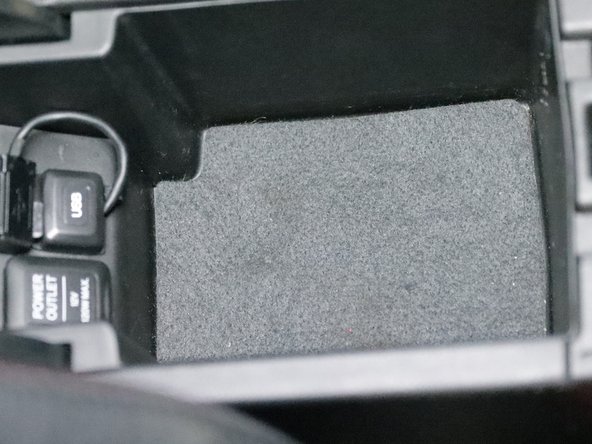
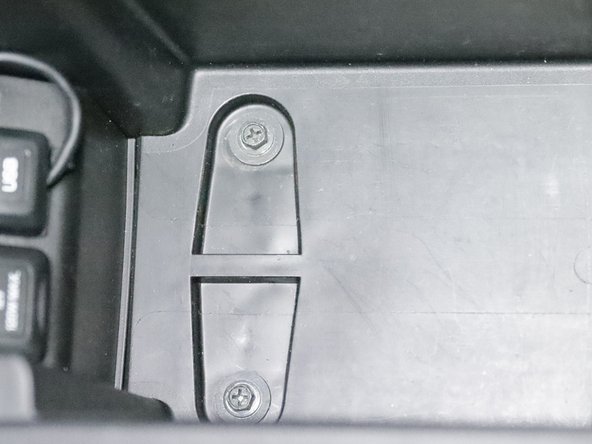
Inside of the center console armrest, there are two screws located under the felt liner. Remove them.
-
-
-
Use your hands and pull upwards on the upper console trim. This can be tough if it has never been removed before.
-
Work your way towards the arm rest and pop it free.
-
Remove it completely and set it aside.
-
-
-
Remove the screws holding the upper console in place.
-
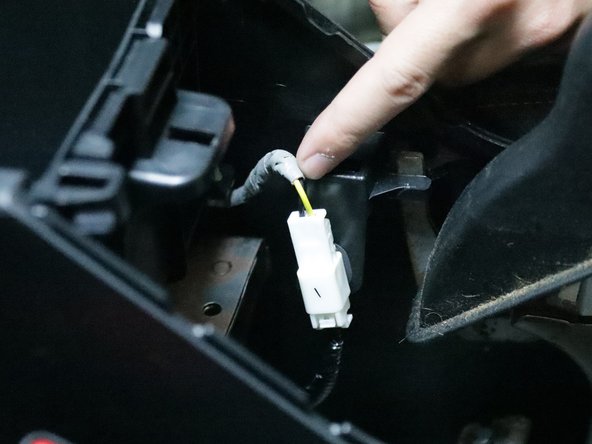
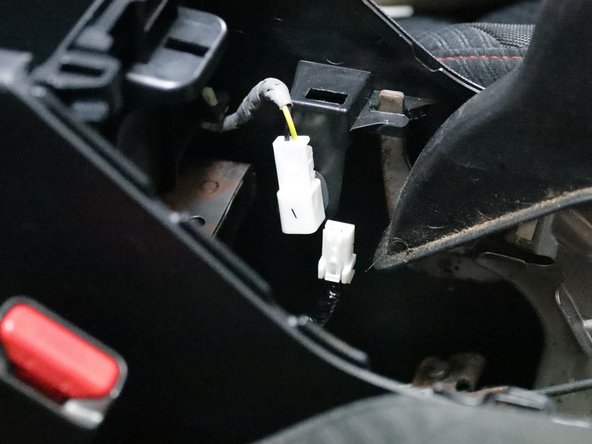
Unplug the white connector and prepare to remove the console from the car.
-
-
-
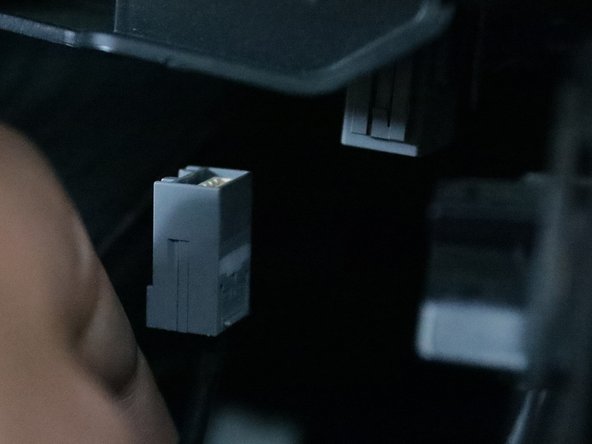
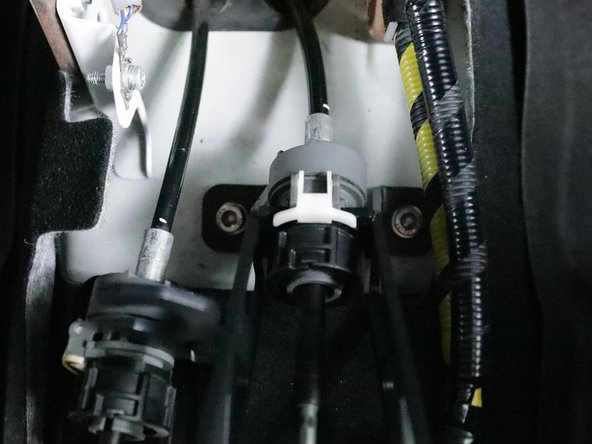
Unplug the gray connector near the front of the console and slide the entire console backward.
-
Remove the console from the car and set it aside.
-
-
-
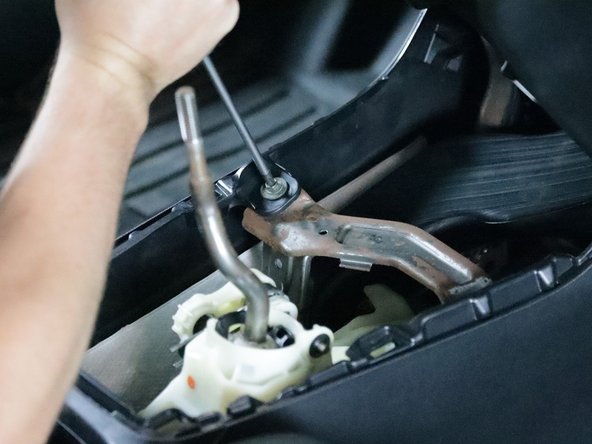
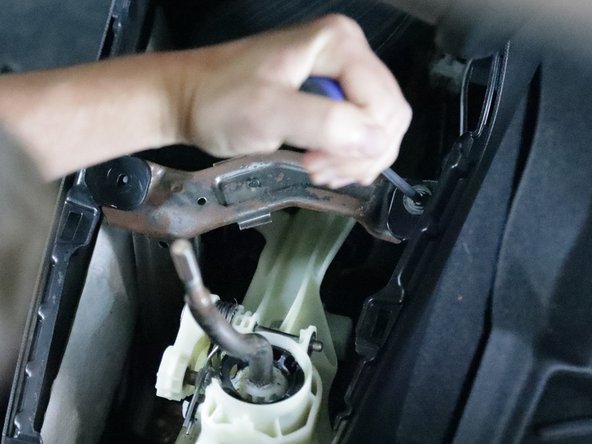
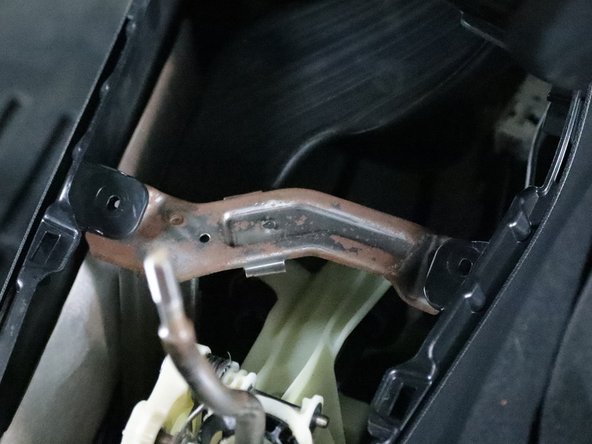
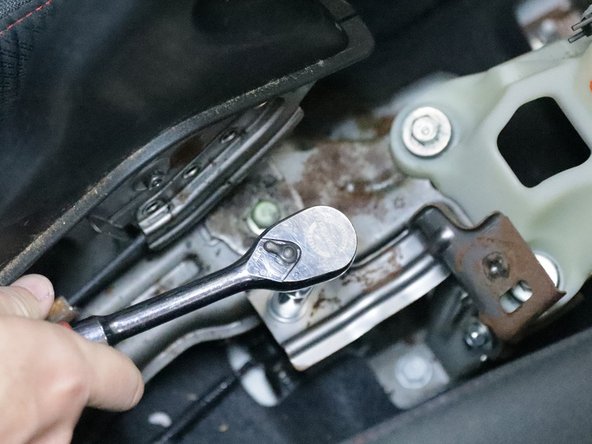
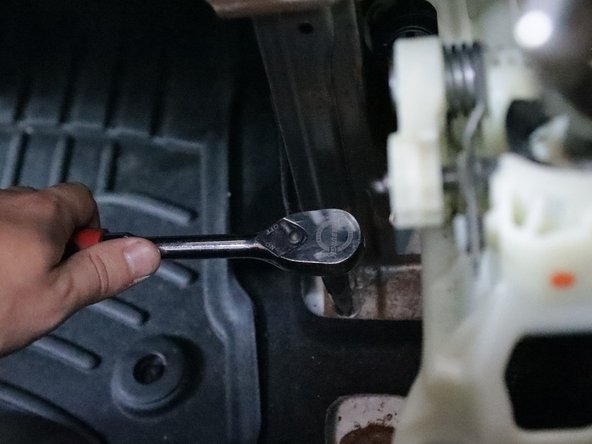
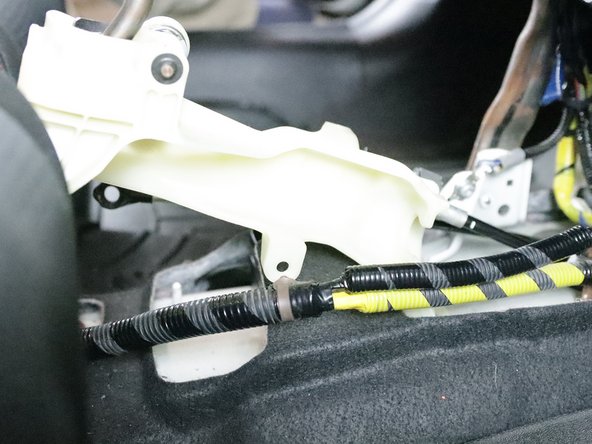
Use a 10m socket and remove the steel bracket located behind the shifter.
-
-
-
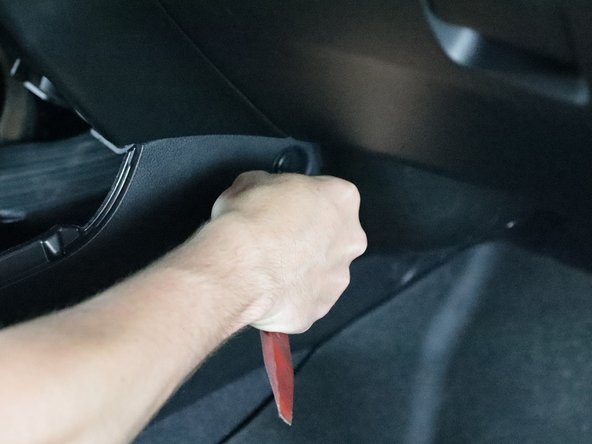
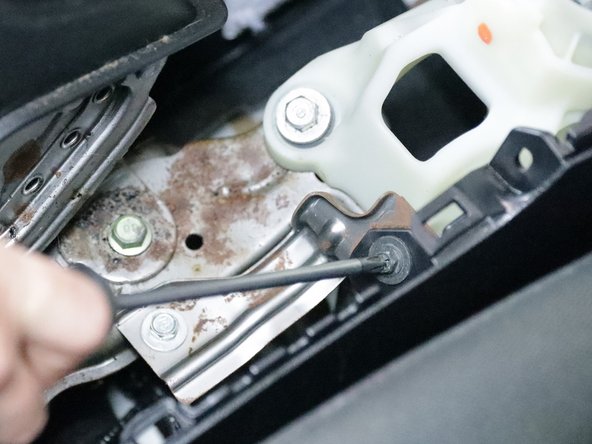
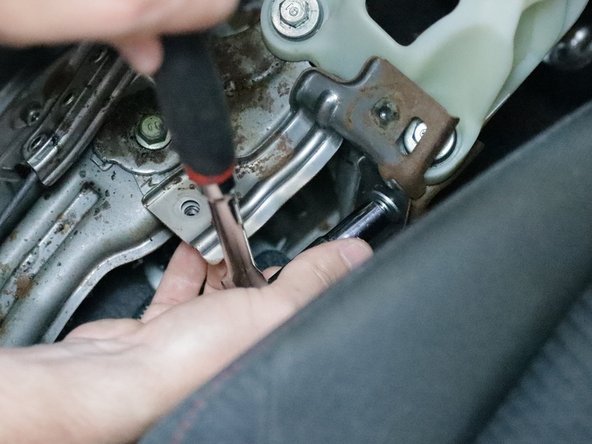
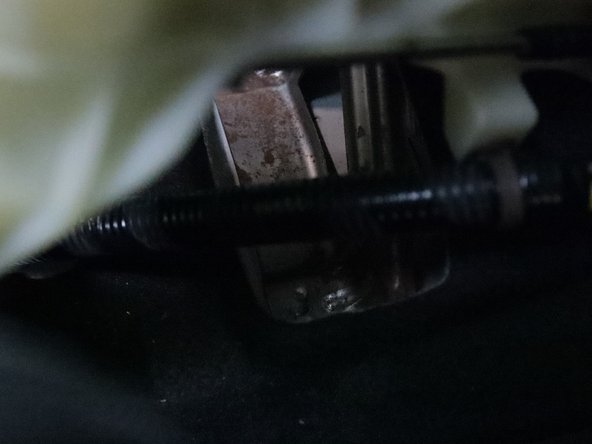
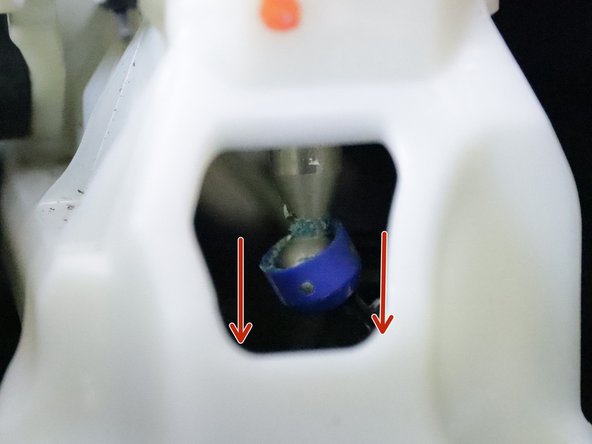
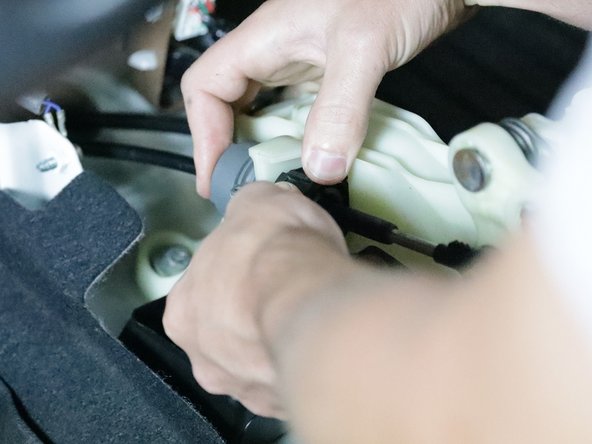
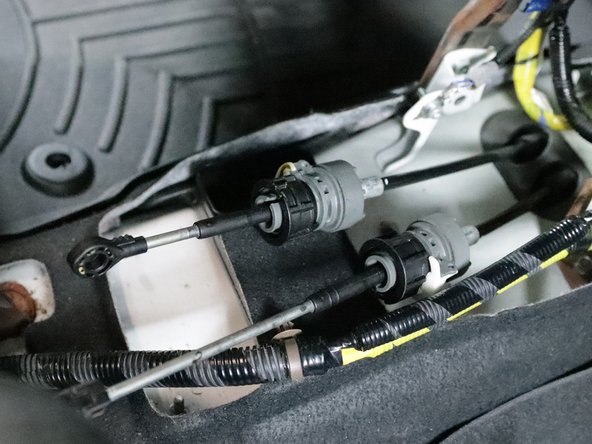
Remove the shifter cable from the shifter by spreading the metal clip apart and pulling it away from the shifter.
-
-
-
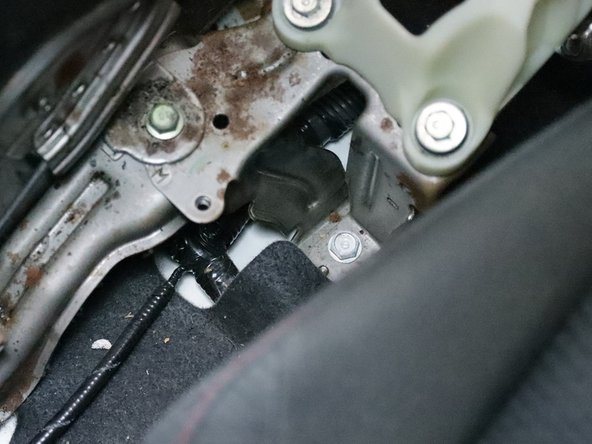
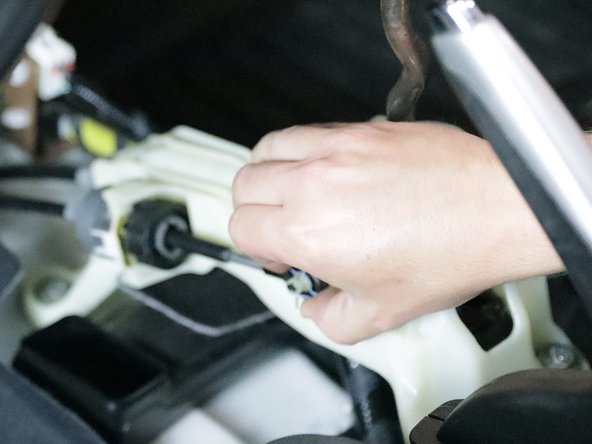
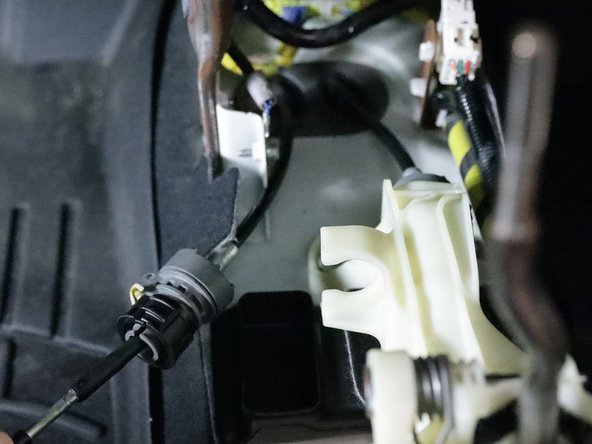
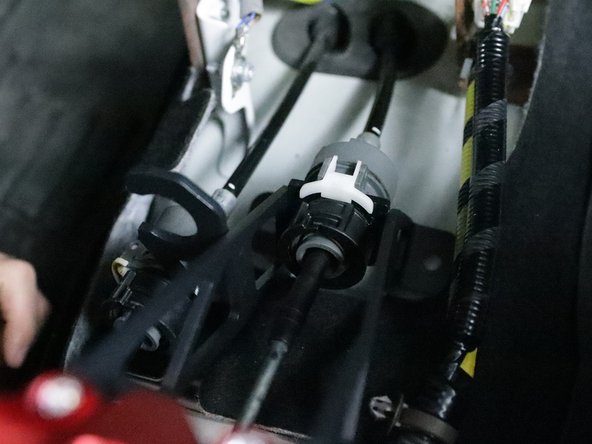
Remove the shifter cables.
-
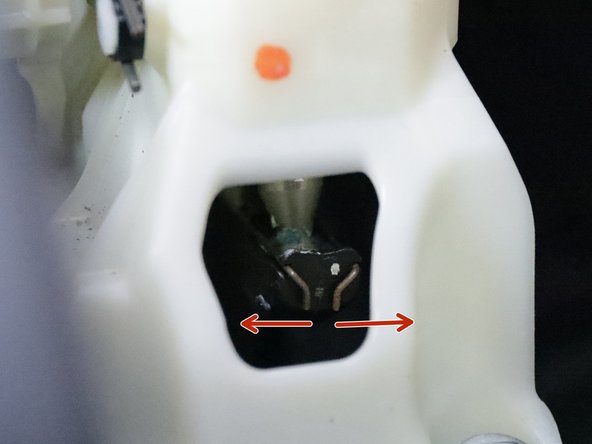
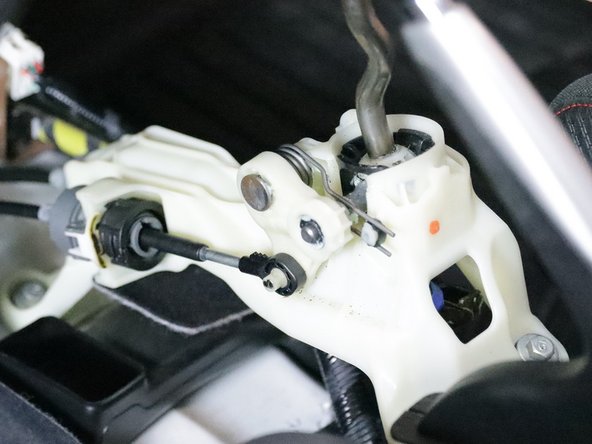
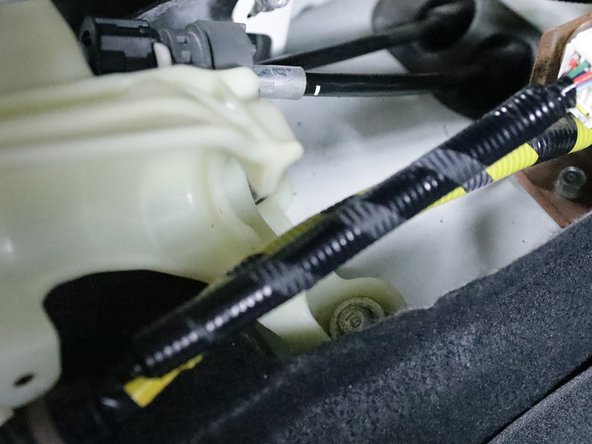
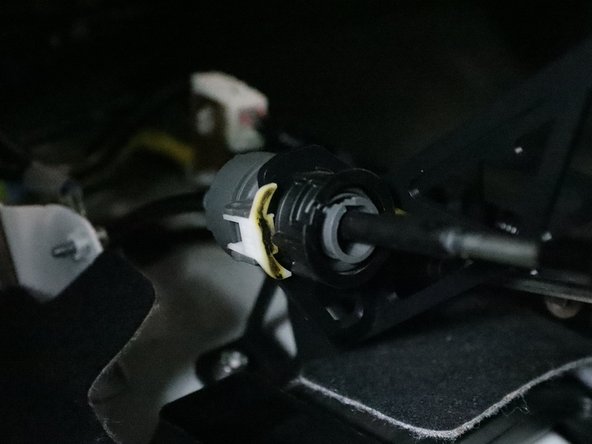
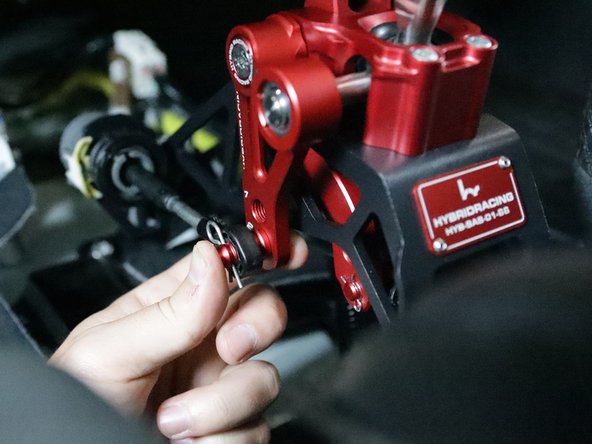
Flip the lock up and spin the shifter cable ring. This can be tough because you must spin it enough for the slot to align with the shifter. Once it aligns you can slide it out and the cable lock will twist back.
-
-
-
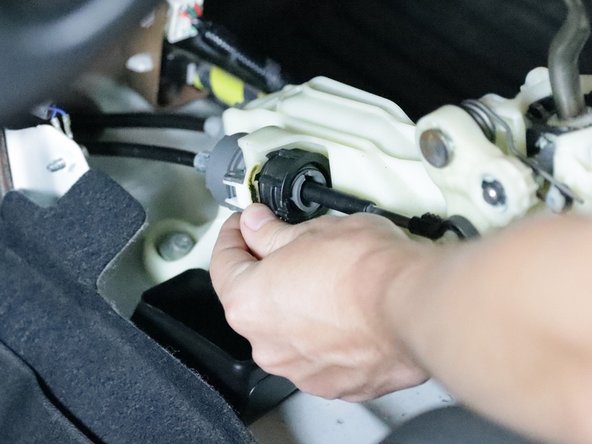
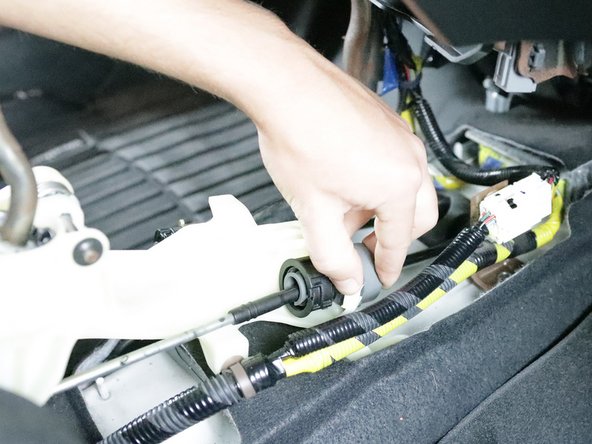
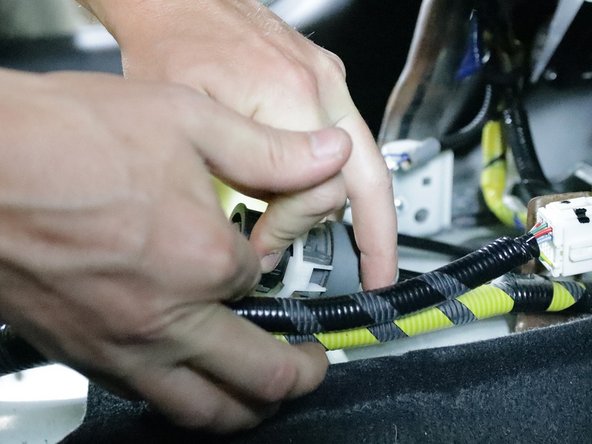
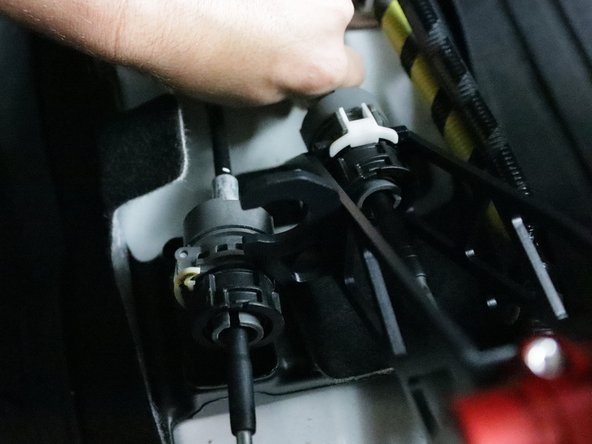
Repeat step 13 on the right-side cable. Spin the lock, slide it out and let it spin back once it is off the shifter. Keep this in mind as you will need to use the same technique to install them onto the new shifter.
-
-
-
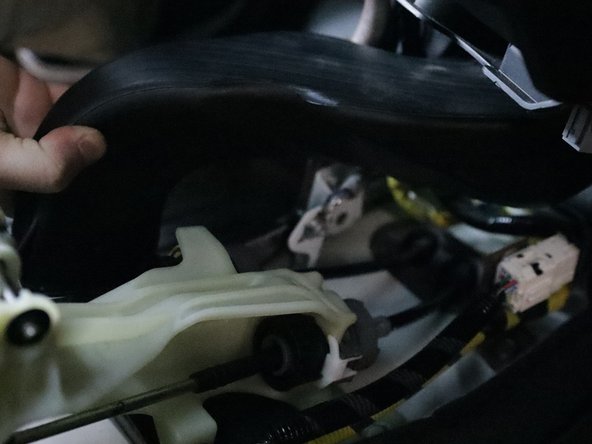
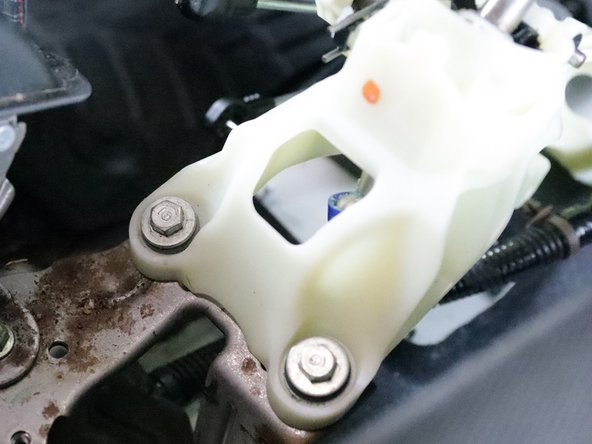
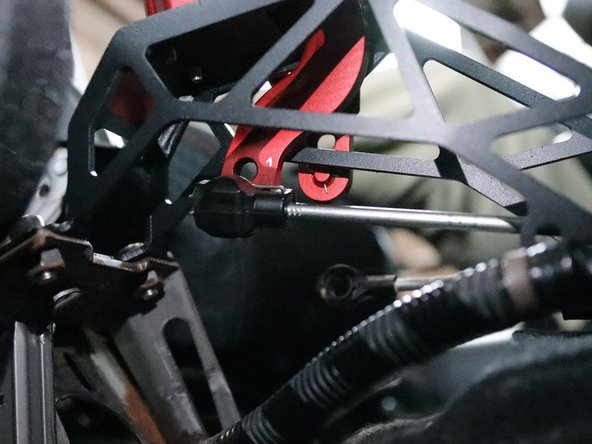
Use a 12mm socket and remove all four bolts that hold the shifter in place. Remove the shifter from the car.
-
-
-
Refer to step 13 & 14 and re-install the shifter cables onto the Hybrid Racing shifter.
-
-
-
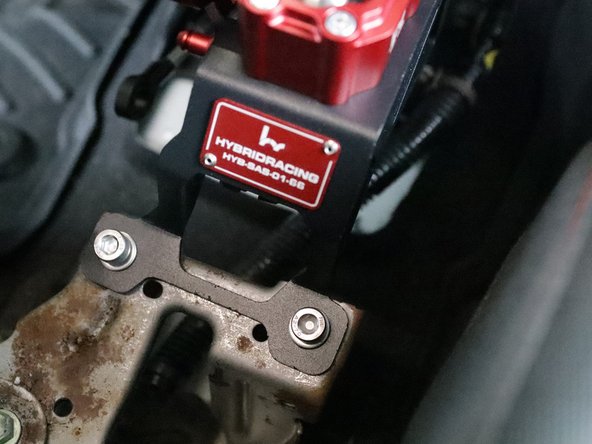
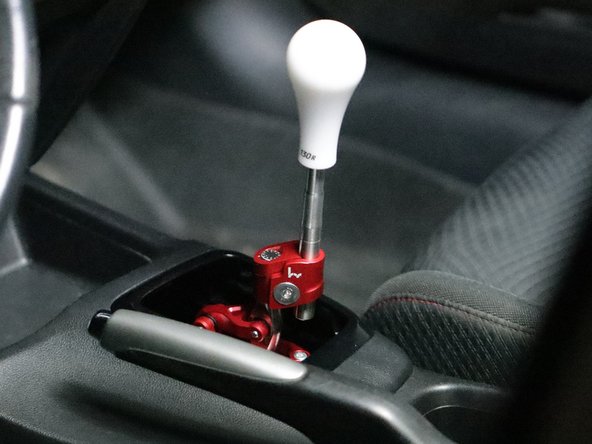
Use the supplied mounting hardware to bolt the Hybrid Racing shifter to the chassis.
-
It may be necessary for you to push the shifter cable forward slightly in order for the holes to line up on the chassis. This is normal and will not cause any issues.
-
-
-
Re-install the shifter cables.
-
Use setting 1 for the longest throw
-
Use setting 2 for the shortest throw
-
-
-
You can now reinstall the center console by following these steps in reverse.
-
You can also remove your shift boot and install just the trim ring to leave your shifter exposed.
-
The centering spring can also be removed and swapped for the softer one that is supplied with the package. To do this, remove the found main mounting bolts in the center of the shifter. Once they have been removed, lift the body of the shifter up and swap out the spring. Reinstall and tighten all of the hardware.
-


Cancel: I did not complete this guide.
2 other people completed this guide.

3 Comments
With large enough washers, it may be possible to use the OEM bolts, but we provide shorter ones as our baseplate is thinner than OEM.
Perfect instructions. 100% better than stock shifter. Precise!!