-
-
Begin by disconnecting the negative terminal of the battery.
-
Next remove the positive terminal, then loosen the battery bracket.
-
-
-
Once the battery bracket is loose, rotate the studs and pull the assembly out.
-
Lift up on the battery cover and remove it.
-
Remove the battery from the car.
-
-
-
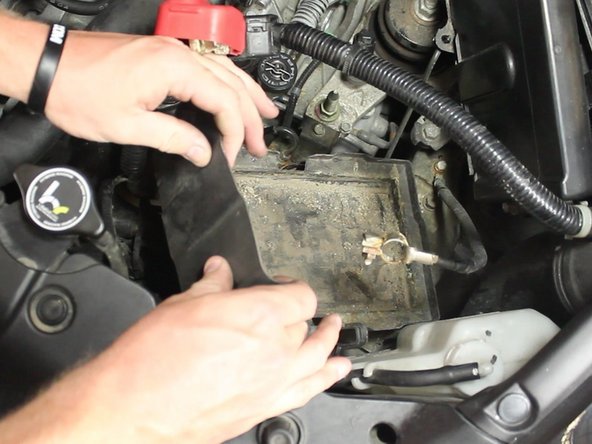
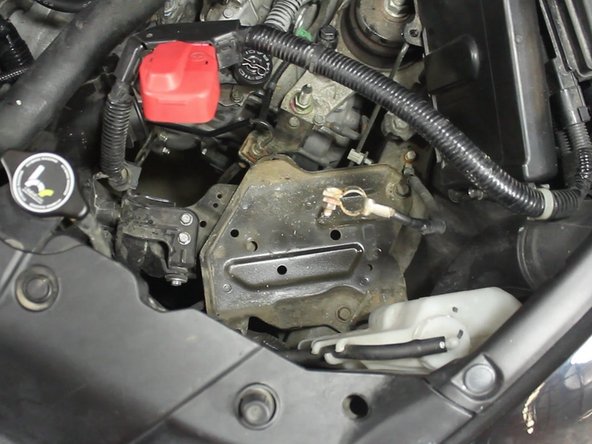
Remove the battery tray cover to expose the battery tray.
-
-
-
Use a pair of clamping pliers to pinch the reservoir fluid line that runs to the clutch master cylinder.
-
Doing this will prevent an unwanted leak of the fluid. You can drain the used fluid into a brake fluid safe container for disposal.
-
-
-
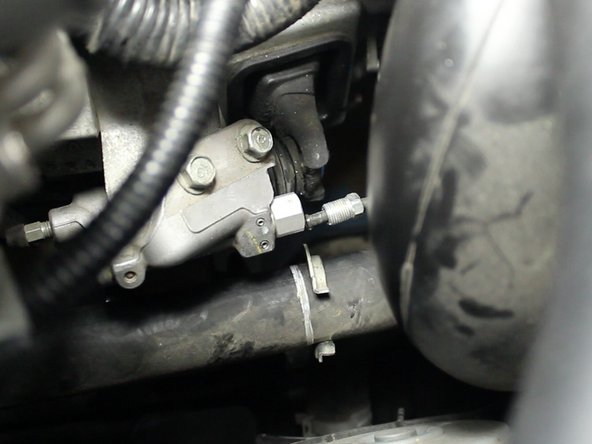
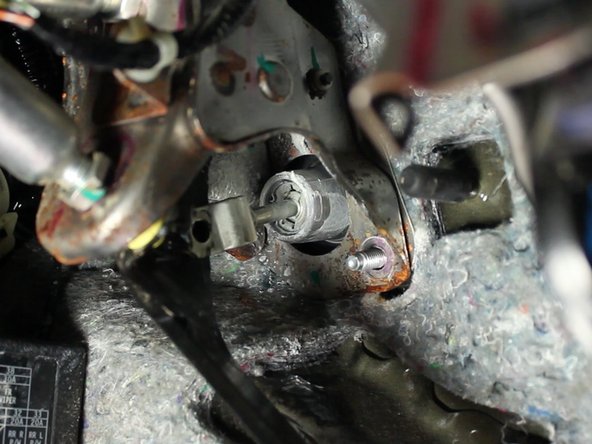
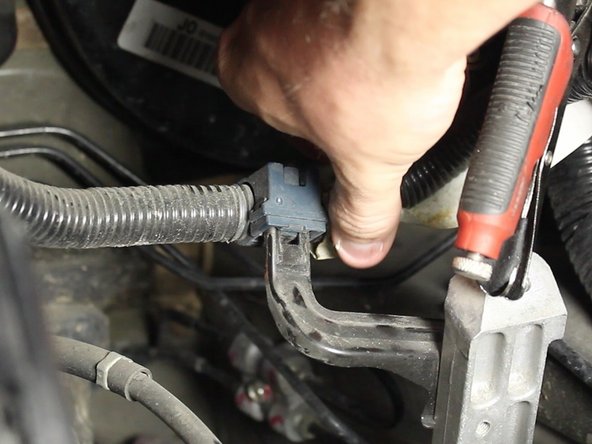
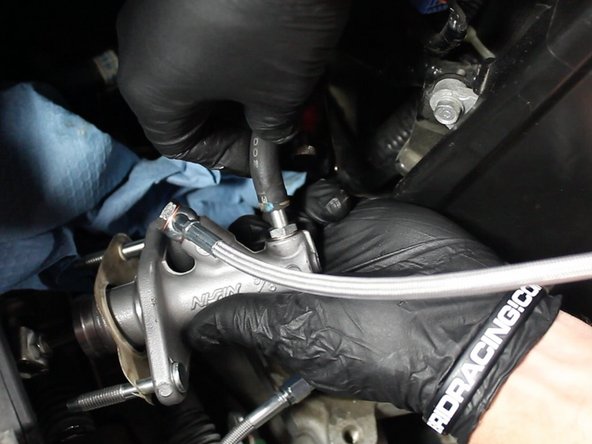
Using a metric line wrench, remove the factory clutch line from the clutch slave cylinder.
-
You may need to hold the CSC fitting with another wrench.
-
-
-
Remove the lower dash panel to allow for easier access to the pedal assembly.
-
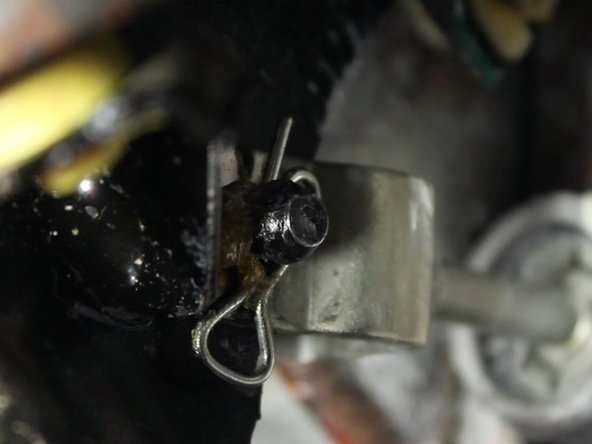
Locate and remove the clutch master cylinder pin.
-
Loosen the clutch interlock switch sensor. You will need this loose for clutch adjustment at the end of the install.
-
-
-
Using a 12mm socket, remove the two mounting nuts that hold the clutch master cylinder in place.
-
-
-
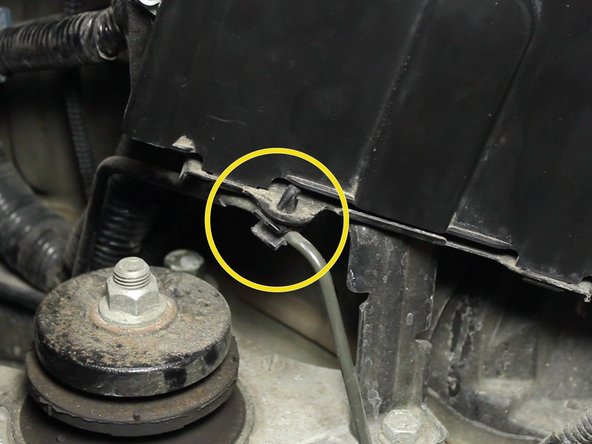
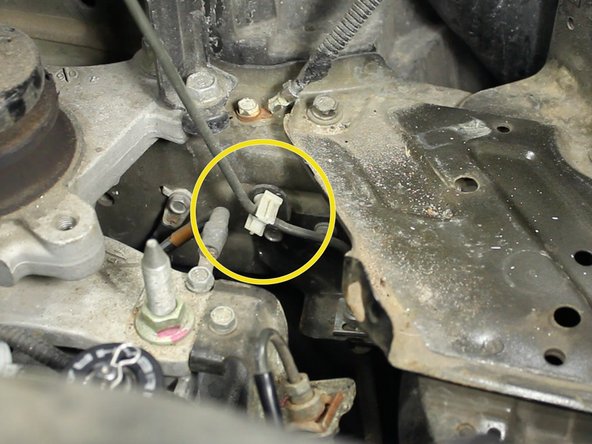
Locate the three mounting locations for the factory clutch line. Un-clip them all now.
-
-
-
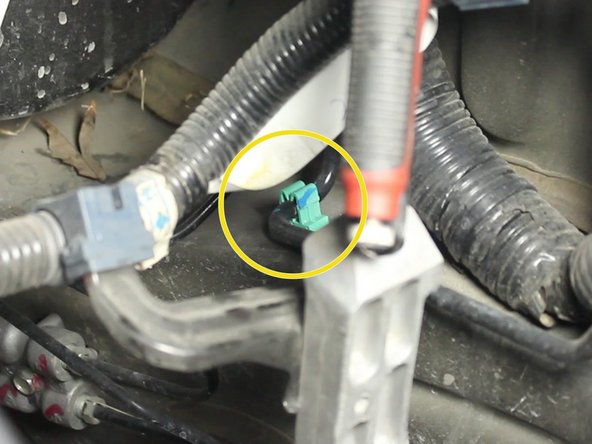
Un-clip the factory wiring harness from its mounting bracket.
-
Remove the reservoir fluid line from the top of the clutch master cylinder, then remove the clutch master cylinder assembly & clutch line from the car.
-
-
-
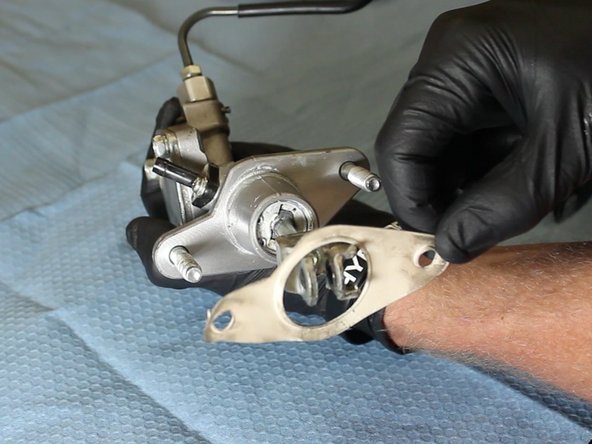
Remove the factory CMC gasket.
-
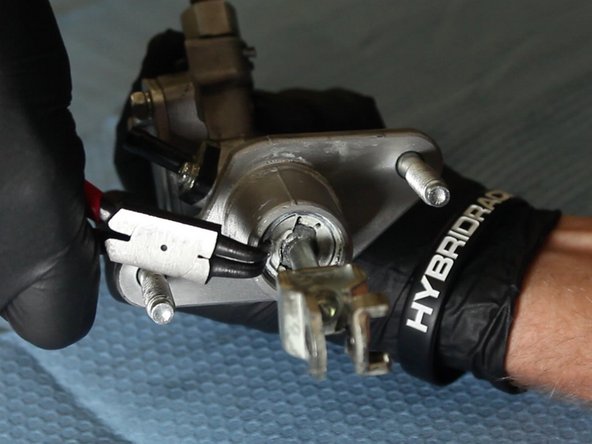
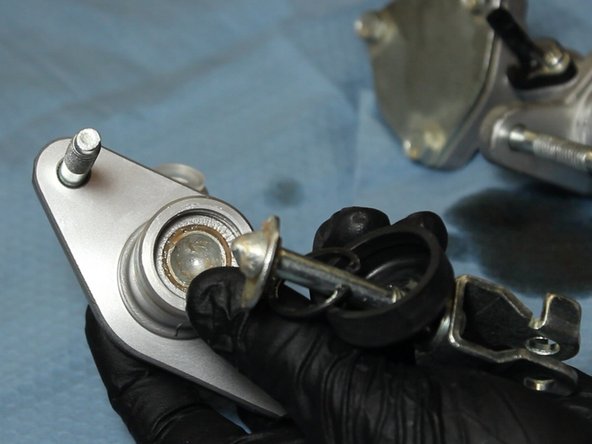
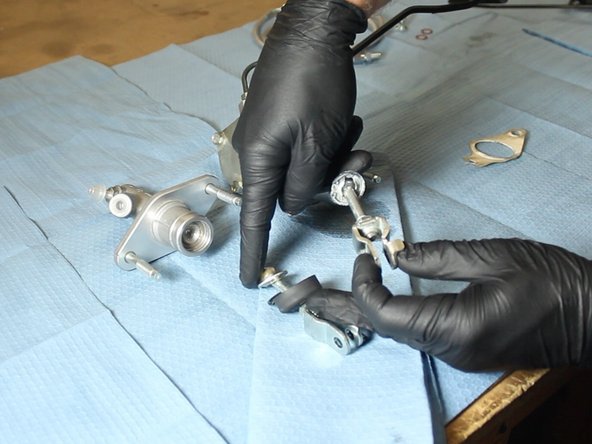
Using a pair of C-Clip pliers, squeeze the C-clip and remove the OEM CMC rod & fork.
-
-
-
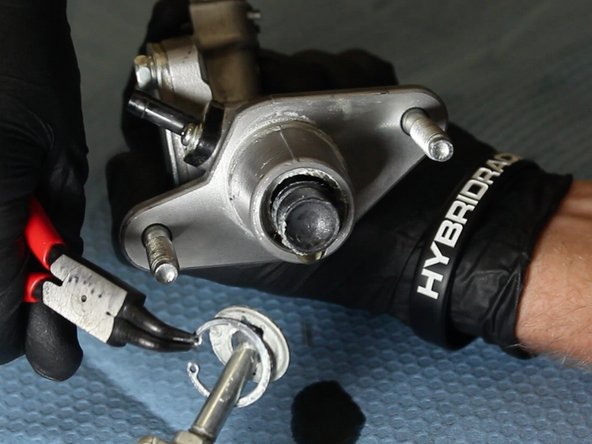
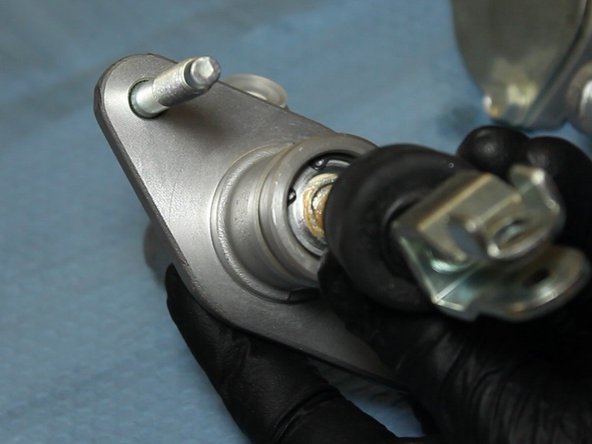
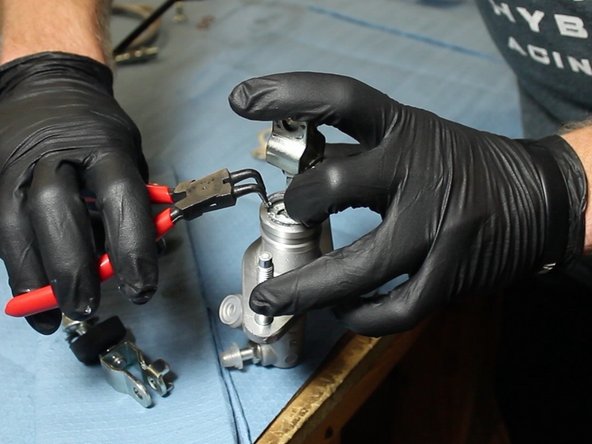
Pull the dust cover back on the EM1 CMC to expose the C-clip.
-
Using the C-clip pliers, remove the rod and for from the EM1 CMC.
-
-
-
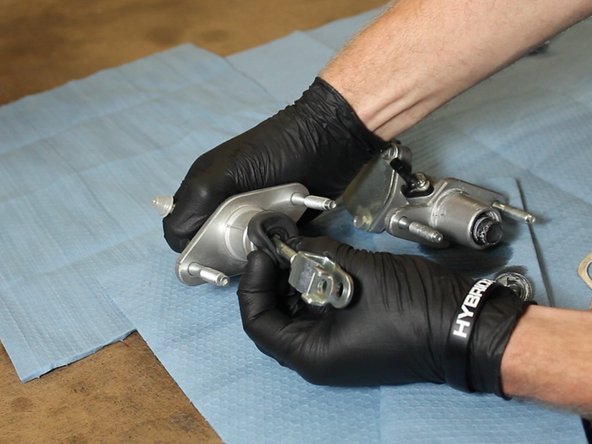
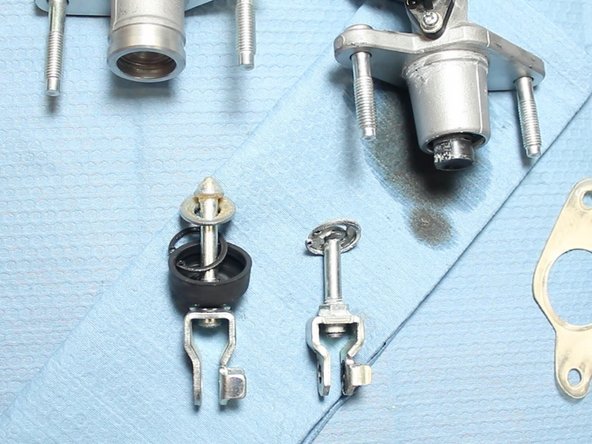
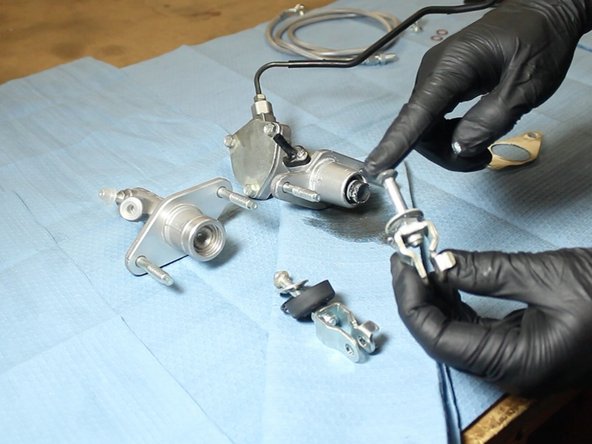
Compare the CMC's & rod/fork assemblies.
-
Be sure to grease the rod before inserting it into the EM1 CMC. You can use some of the grease that is on the CMC, or supply your own.
-
-
-
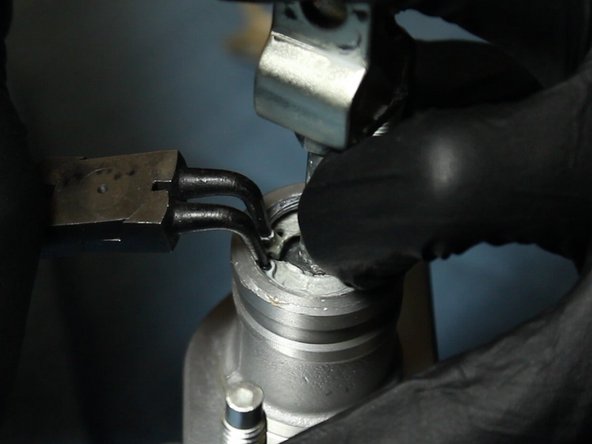
Using the C-clip pliers, insert the OEM rod & fork into the EM1 CMC. The EM1 dust boot is optional.
-
-
-
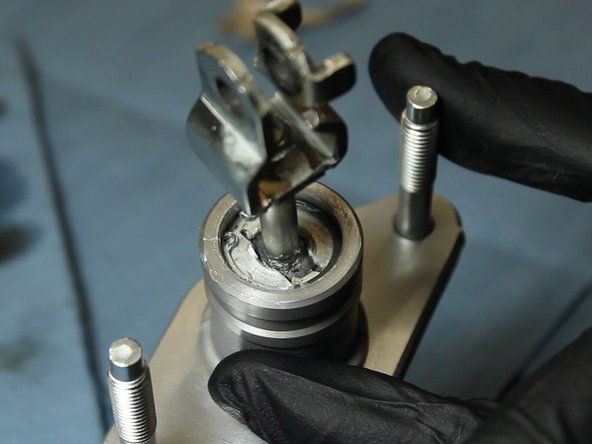
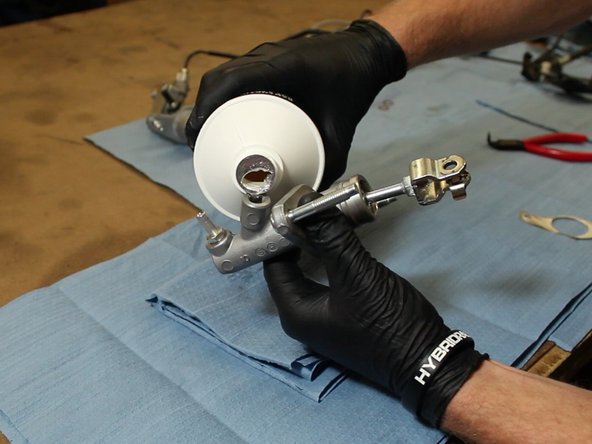
Once the EM1 CMC has the correct rod/fork, fill it with fluid. We recommend DOT 4 brake fluid.
-
Slowly push the rod in and watch for air bubbles to come out of the fitting. The goal of this is to remove as much air from the CMC as possible. This will aid in the bleeding process.
-
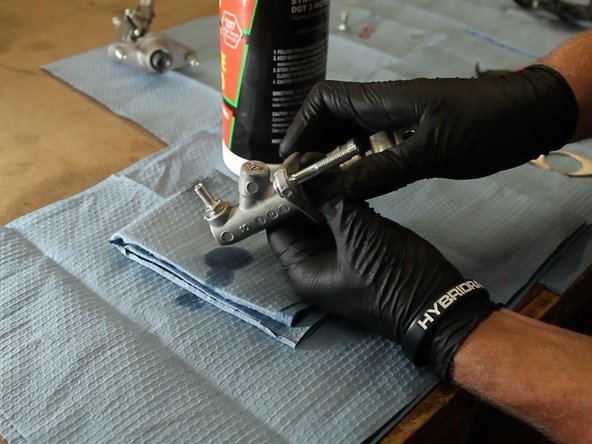
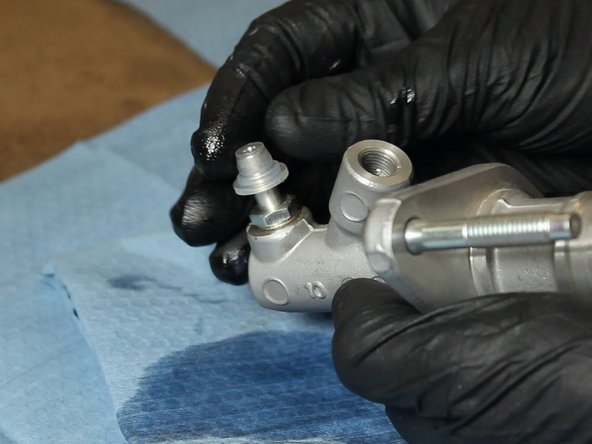
Cap the fluid outlet on the EM1 CMC.
-
-
-
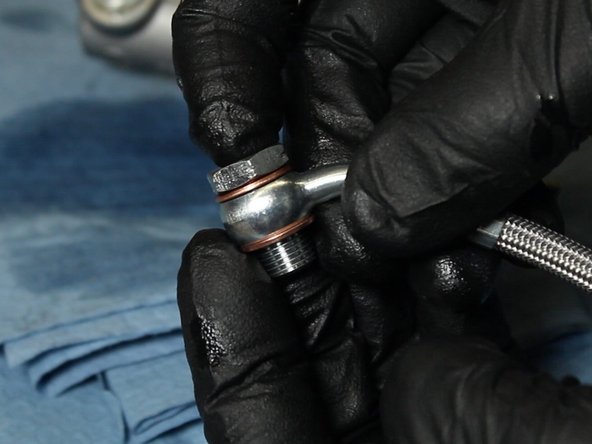
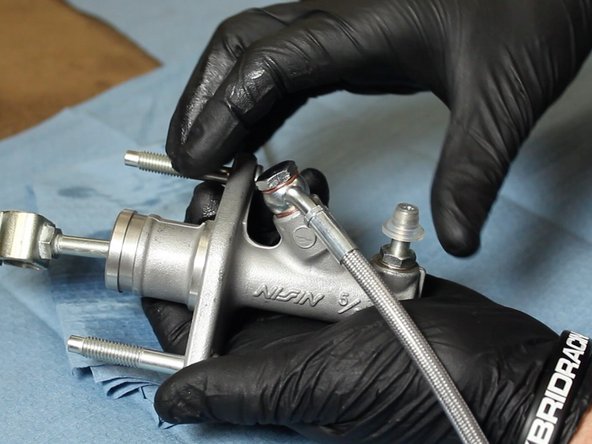
Be sure to install the copper sealing washers on both sides of the banjo fitting.
-
Install the clutch line with the banjo fitting pointing away from the CMC mounting flange.
-
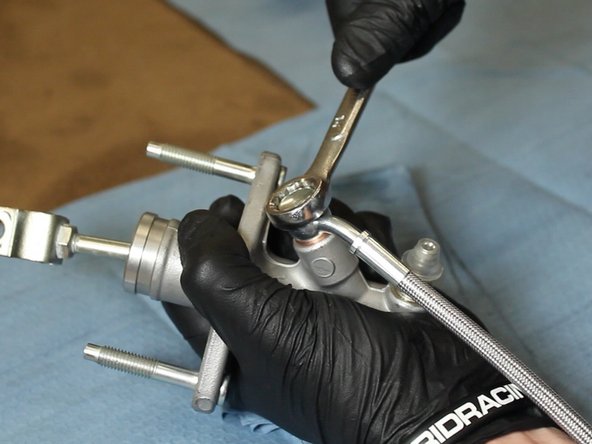
Tighten the bajo fitting.
-
Do not over tighten the banjo, you could strip or break the fitting.
-
-
-
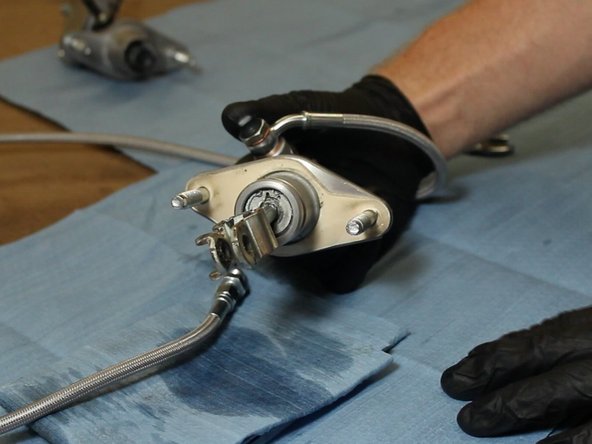
Re-install the CMC into the chassis.
-
Bleed the system and adjust the CMC rod accordingly for proper clutch engagement. Tighten the clutch interlock switch sensor once the adjustment has been made.
-
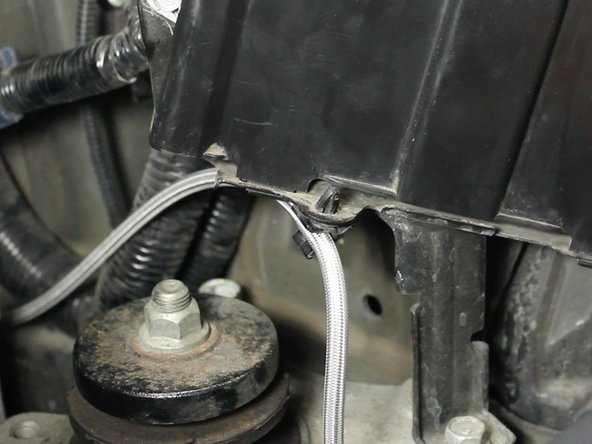
Optional - The new clutch line will be able to mount in the factory hard line clips.
-