
-
-
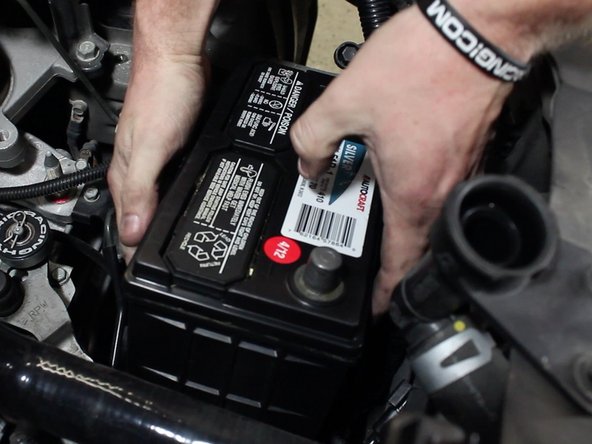
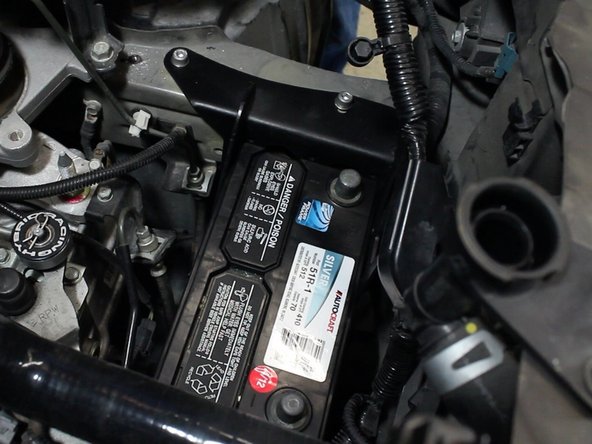
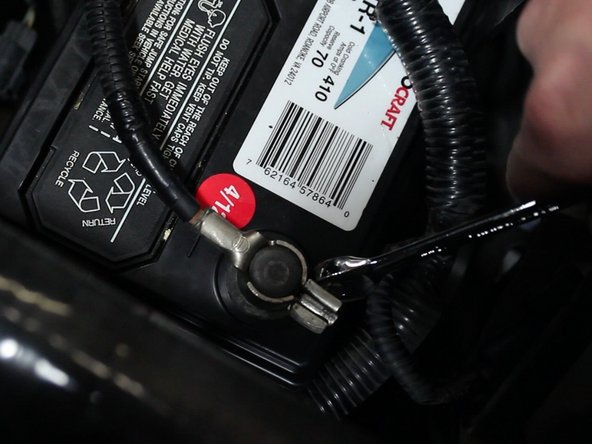
Remove the negative terminal of the battery first then remove the positive.
-
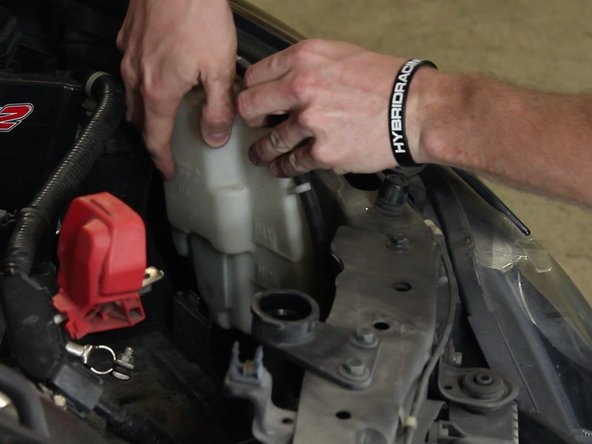
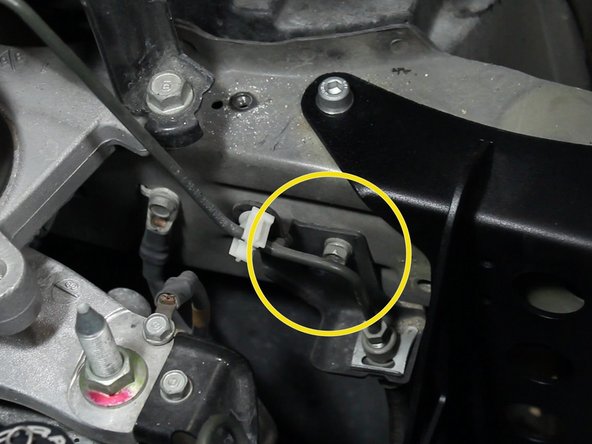
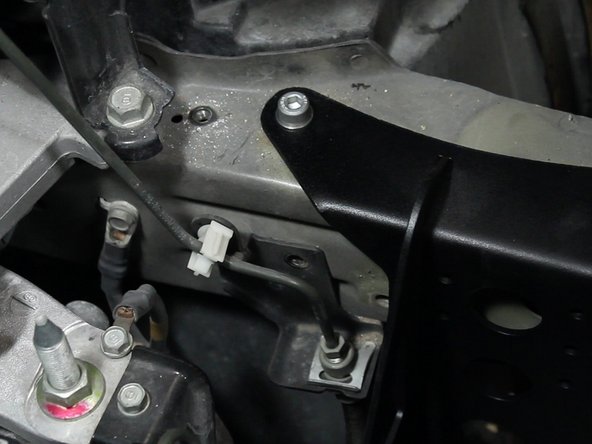
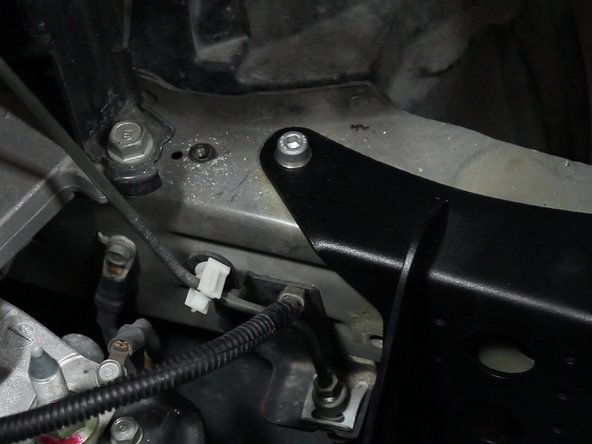
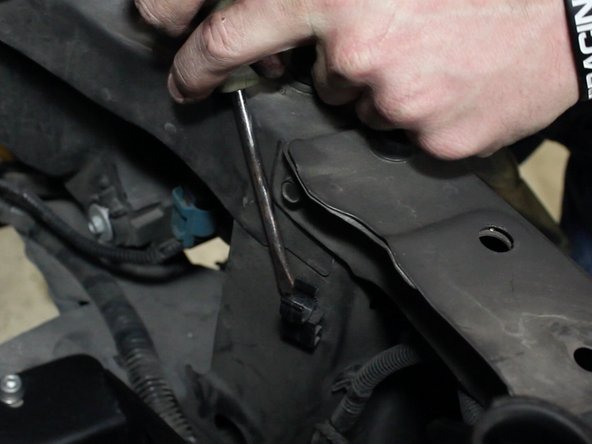
Once the battery has been disconnected, remove the battery tie down.
-
-
-
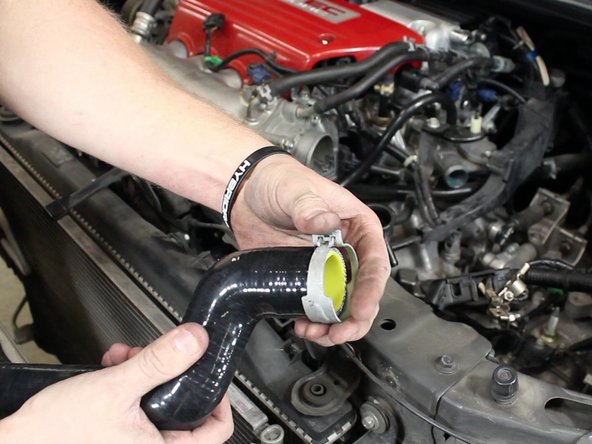
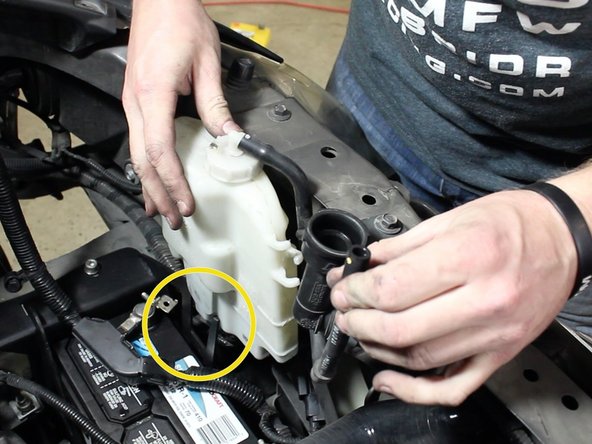
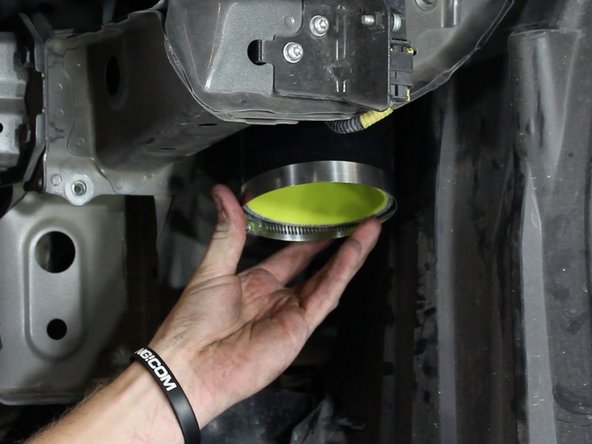
Remove the radiator cap then open the petcock on the lower radiator. You shouldn't need to remove it completely, just twist it until coolant starts to flow.
-
Never remove the radiator cap when the car is hot. Wait until the radiator and engine is cool to the touch.
-
If you plan on re-using the engine coolant, be sure to use a clean drain pan. You should never re-use dirty or discolored fluids.
-
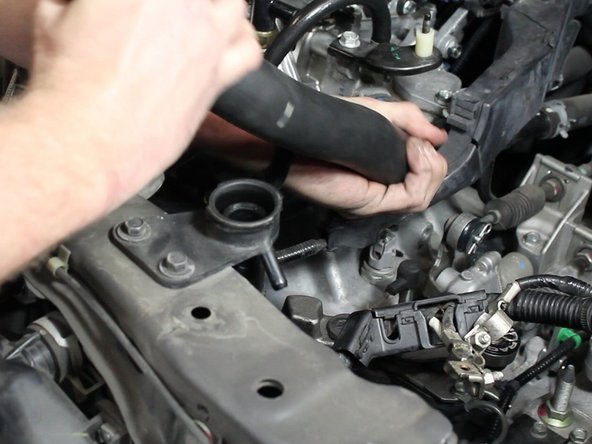
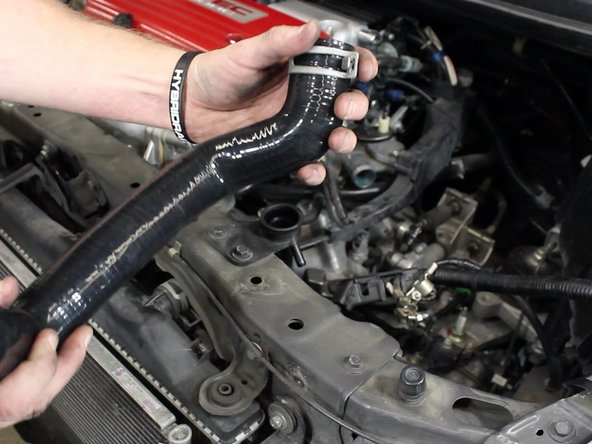
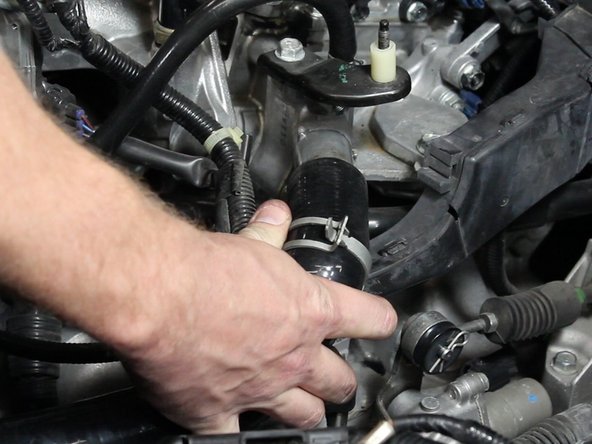
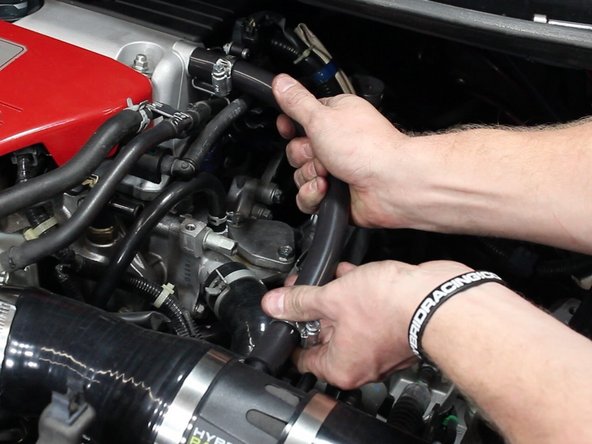
You do not need to drain the system completely of coolant. You will be replacing the upper radiator hose only so as long as the fluid level is below that it is ok.
-
-
-
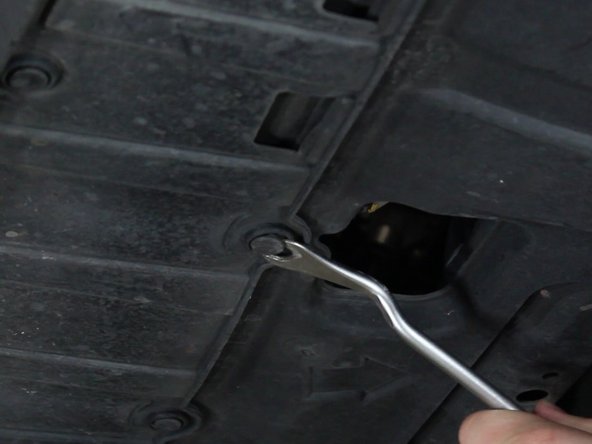
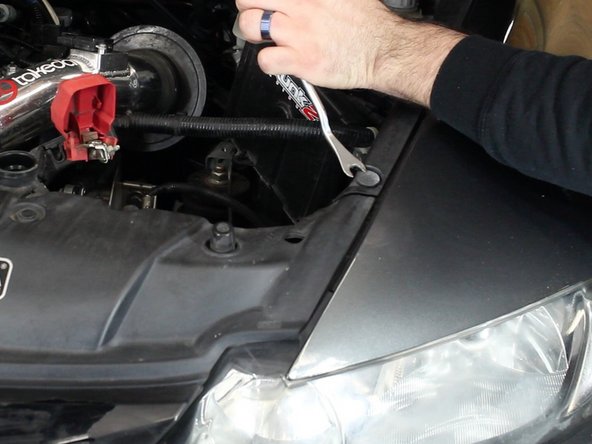
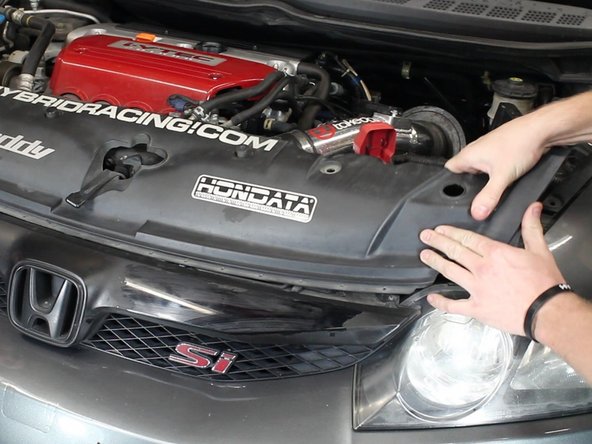
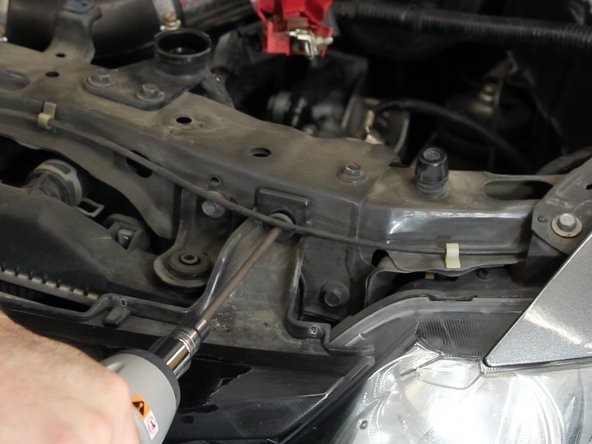
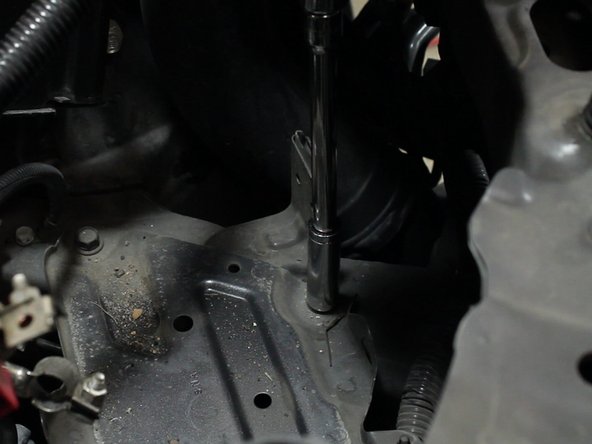
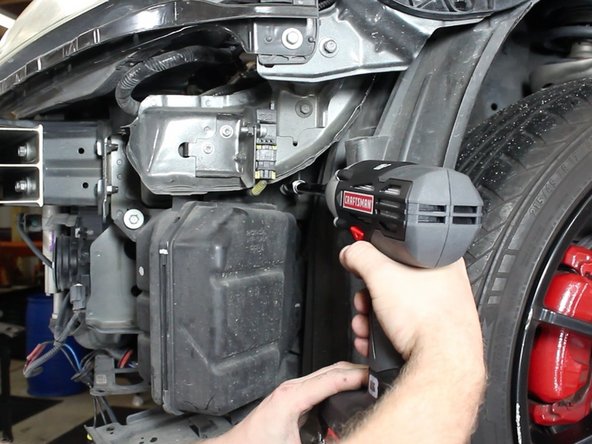
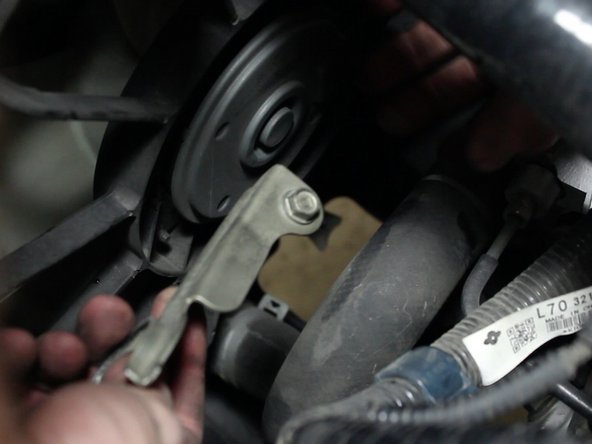
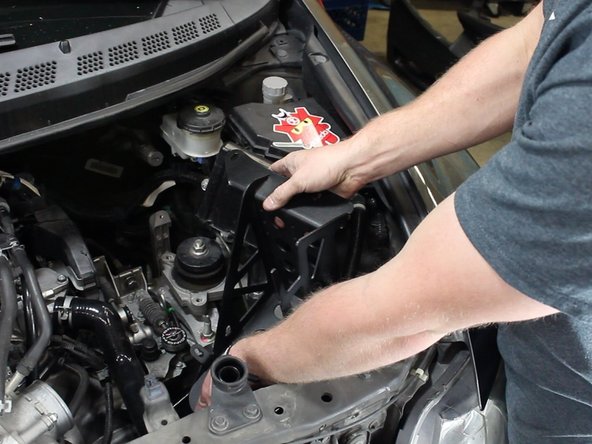
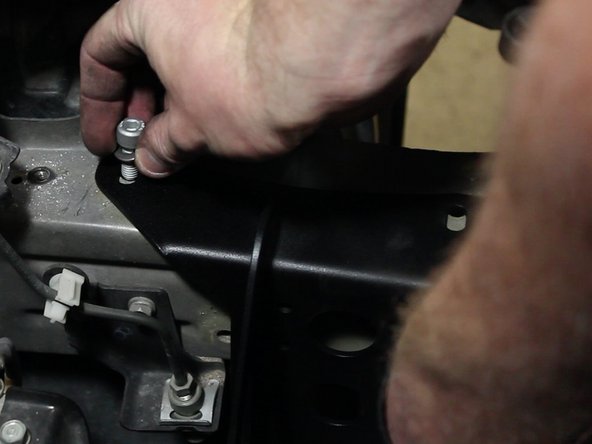
Once the upper cover is out of the way, remove the bolts that hold the grill brackets in place.
-
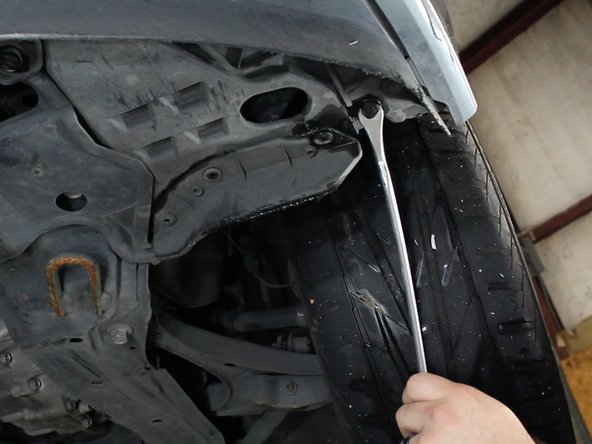
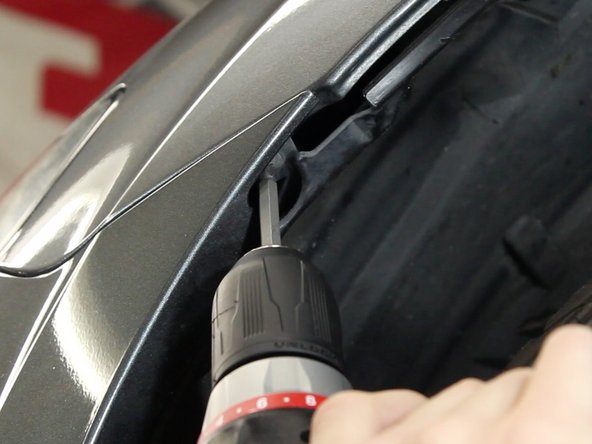
The sides of the bumper snap in place. Once both screws are removed, you'll need to pop the bumper out of the brackets.
-
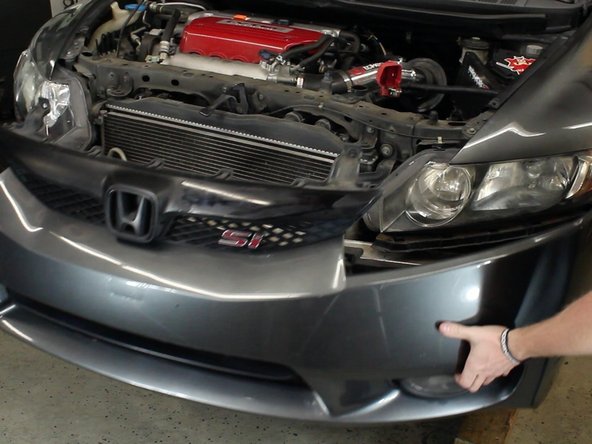
Remove the bumper.
-
Do not yank on the bumper as it could over stress the paint which can result in cracks or chips.
-
-
-
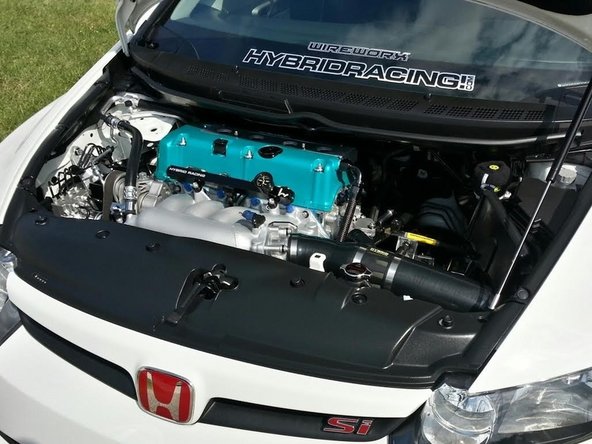
Re-install the body parts and fill the system with coolant.
-
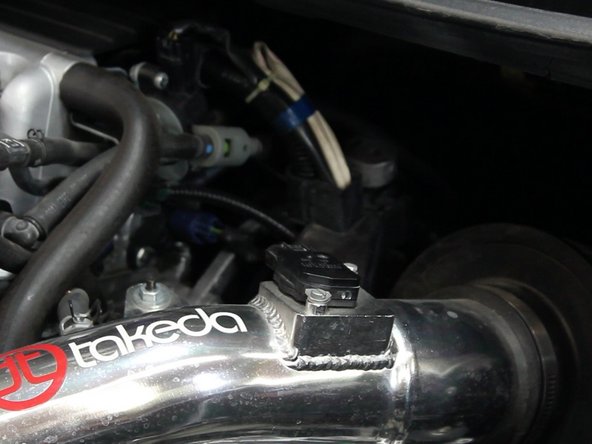
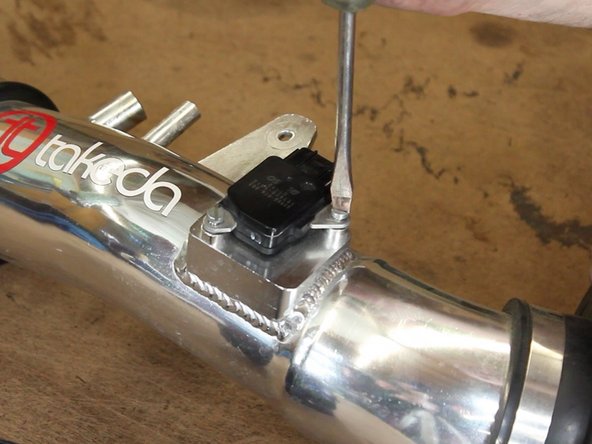
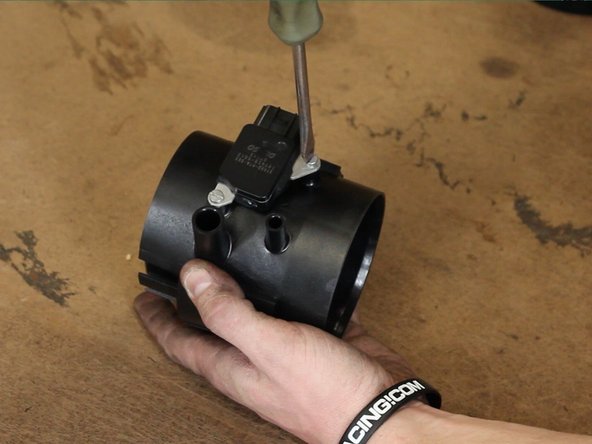
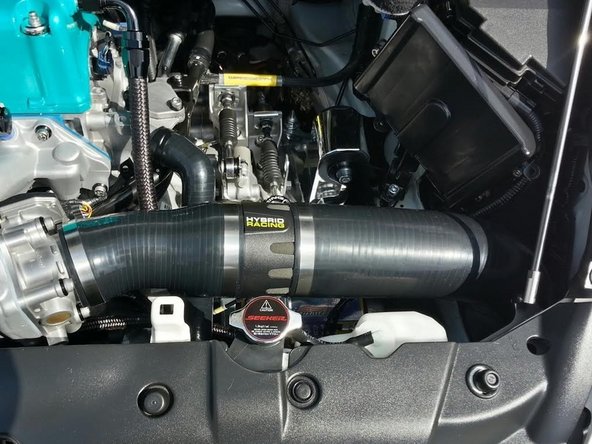
You must change the calibration on your Hondata Flash-Pro before cranking the engine. This intake is NOT designed to work with a MAF sensor, so upload a MAP based tune accordingly.
-
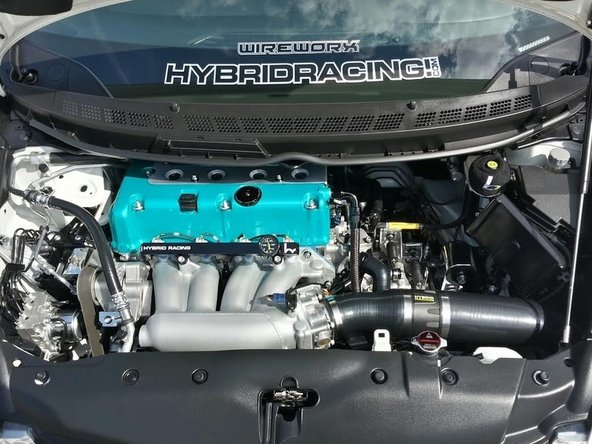
Make sure the engine is up to operating temperatures and that there is no leaks.
-


Cancel: I did not complete this guide.
One other person completed this guide.

4 Comments
Hi I just finished installing the 3.5 intake on my 2008 fa5. I was wondering if its normal to have the positive terminal almost touching the battery relocater bracket? Seems a little too close for me. Also, is the battery not supposed to be clamped down with a top support? I used the existing battery tie down in combination with the relocater but its rubbing against the trans speed sensor.
So just got hondata all I have is the rdx injectors and This intake what base map do you think I should put
Hi Erwin, thanks for posting. You need to be sure you are loading a RACE / MAP sensor based map. If you do not, your car is going to run terrible and throw all kinds of engine lights. When you are loading the new calibration be sure to click the “show RACE calibrations” tab. It will display a list calibrations that have MAP sensor based fuel tables. That is what you need.
Hi guy!I bought a hybrid racing intake for my 08 civic si sedan.I followed your instructions and I uploaded my hondata flash pro with cai/shunk2/exhaust.But it’s still giving me p0171 code.But when I put everything back to stock there’s no code.any ideas how to fix this issue?TY